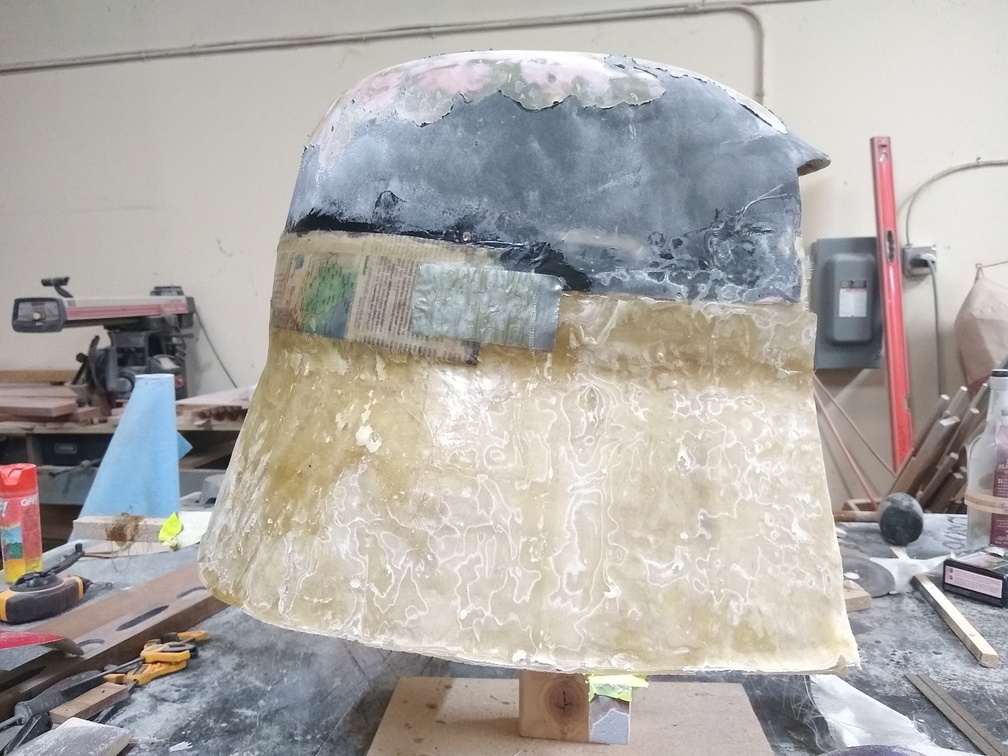
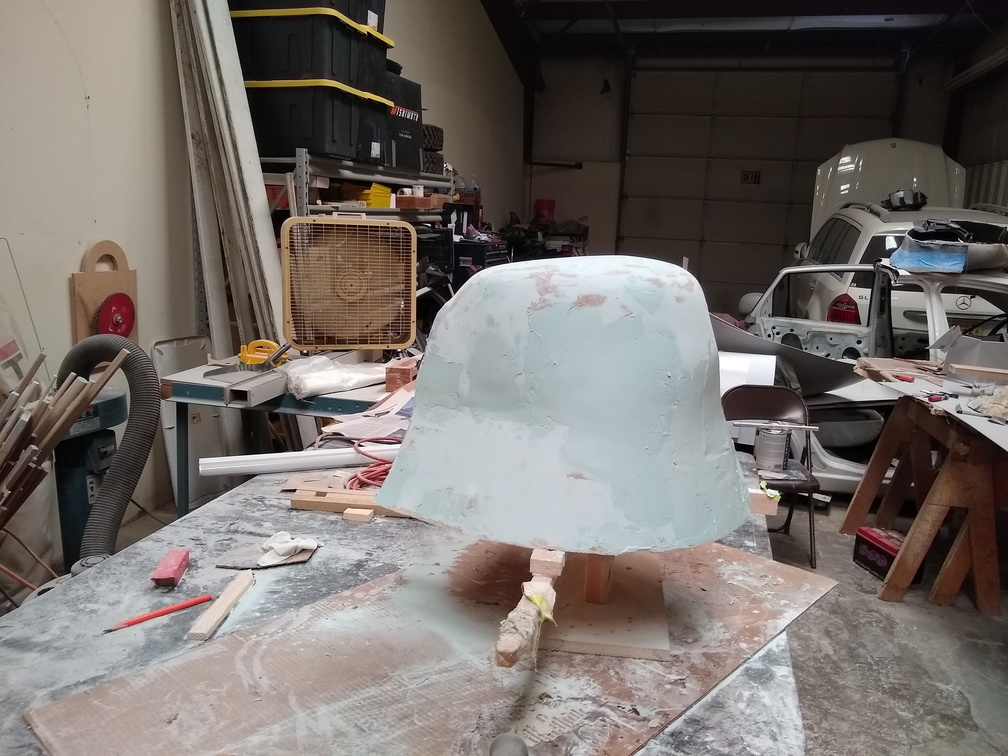
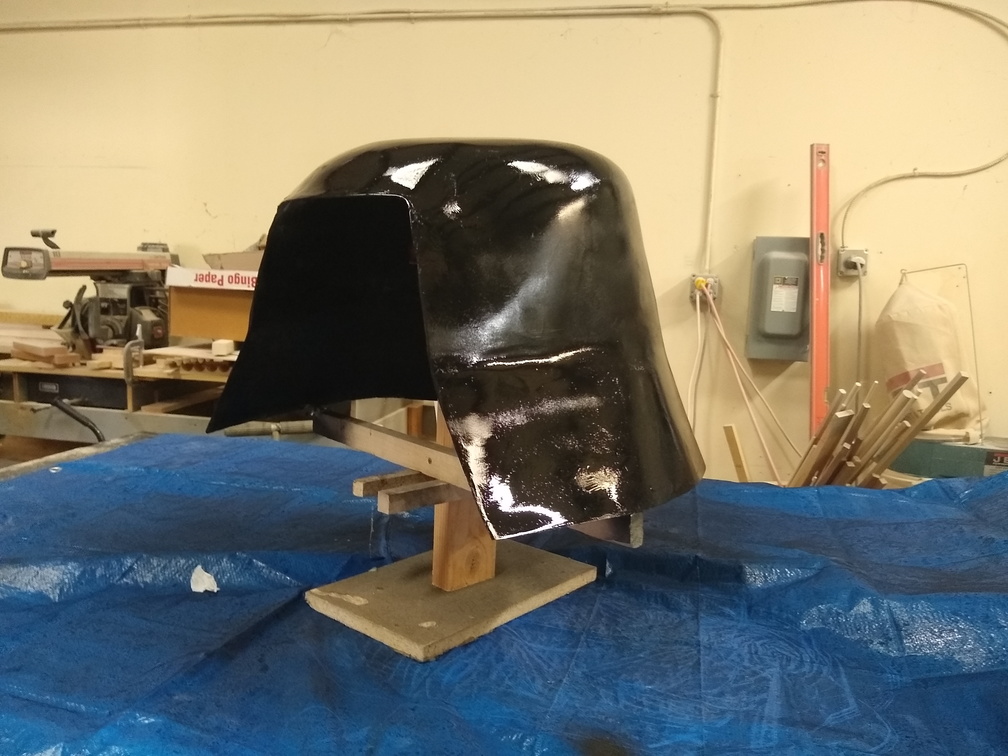
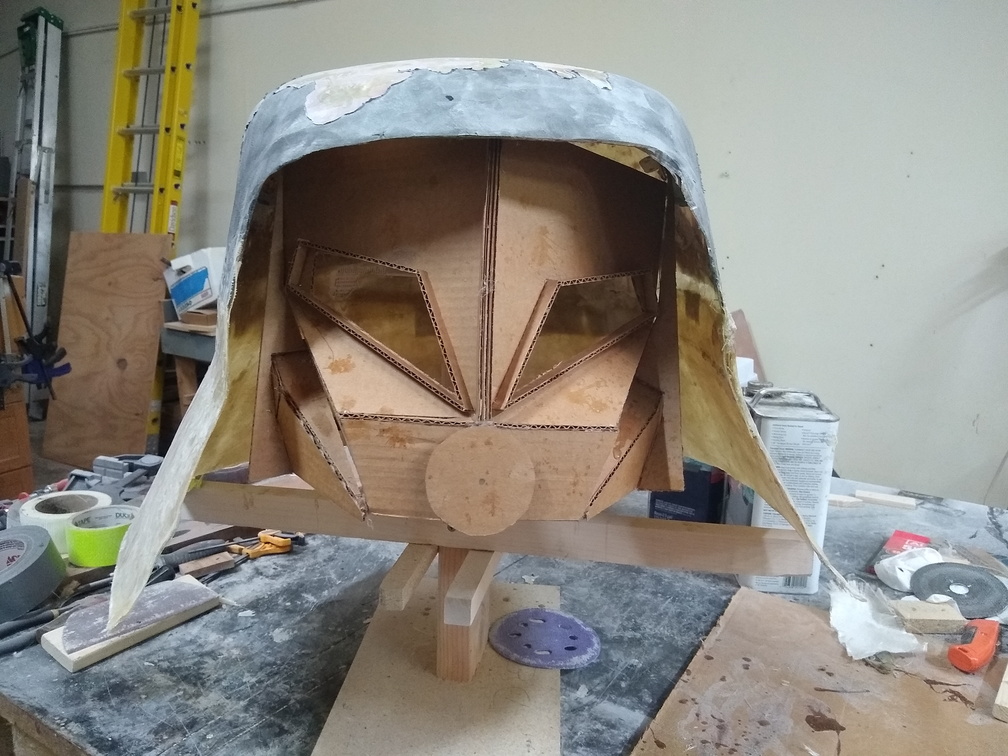
Finishing the project wound up becoming an all-consuming rush to the finish line that wasn’t actually completed until about 20 minutes after we got our badges at GenCon!
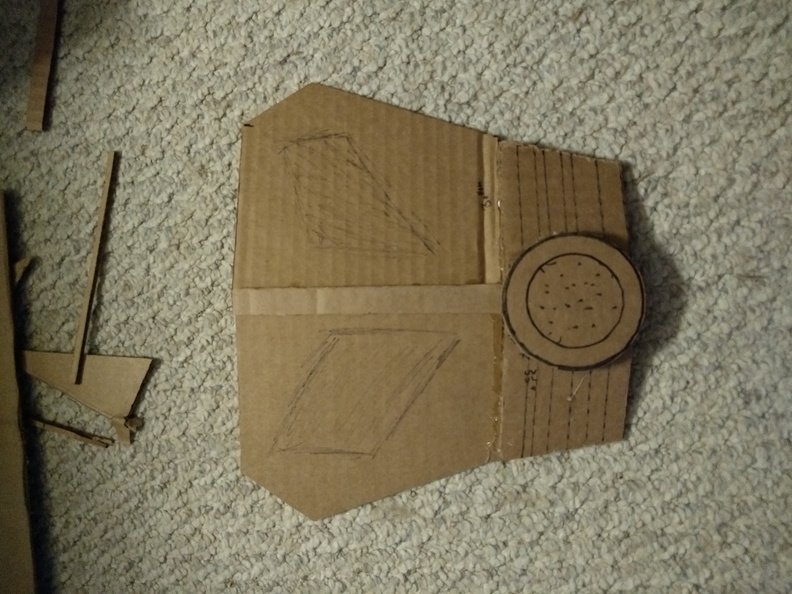
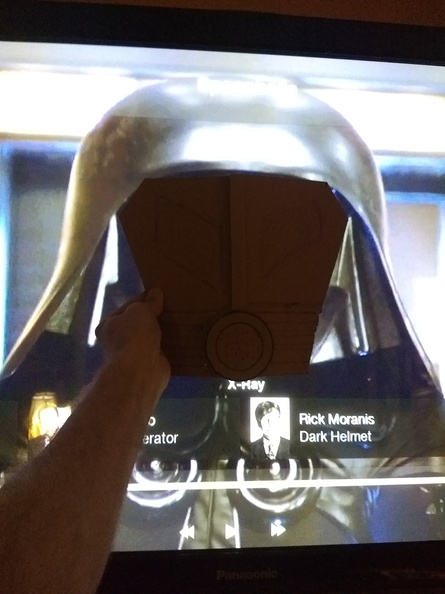
The original facemask was going to be resin over cardboard, but it just wasn’t coming out right. My typical goal with these projects is that it shouldn’t look like a 3rd grade art project, and (with all due deference to the Third Graders of the world) this was looking pretty much 3rd grade.
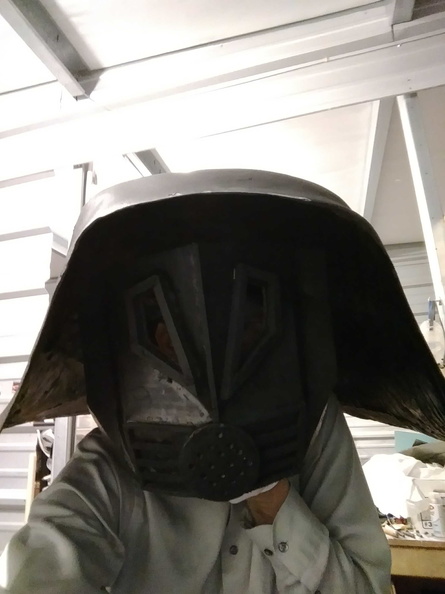
Maybe it was the rush job, maybe it was enthusiasm that exceeded capability, maybe a combination of the two, but either way that wasn’t going to work.
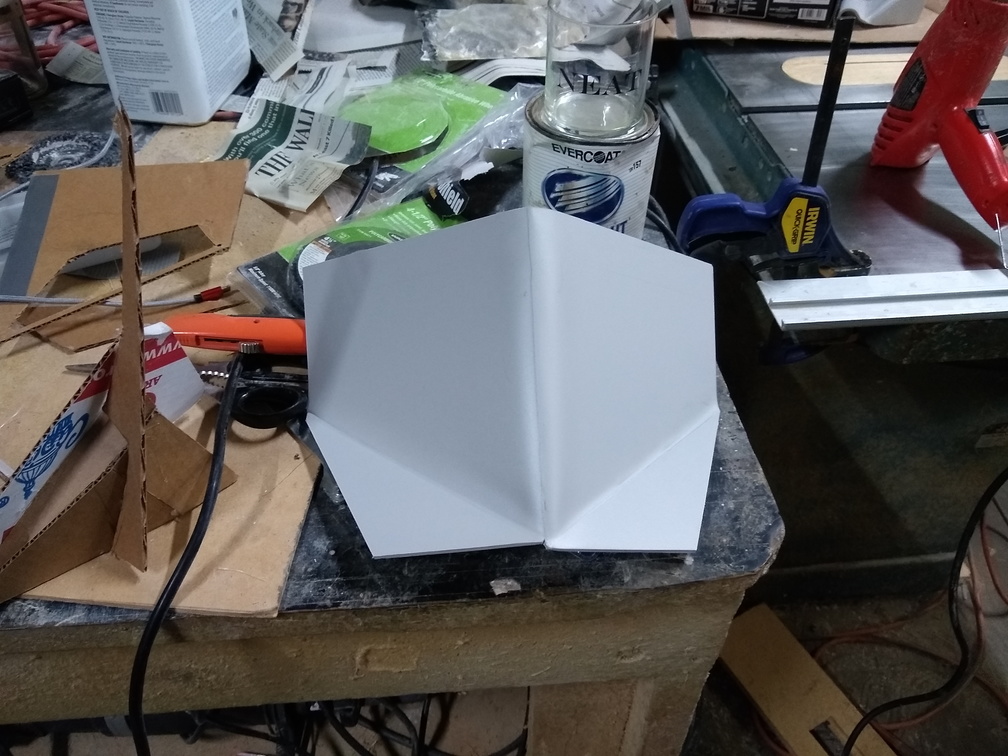
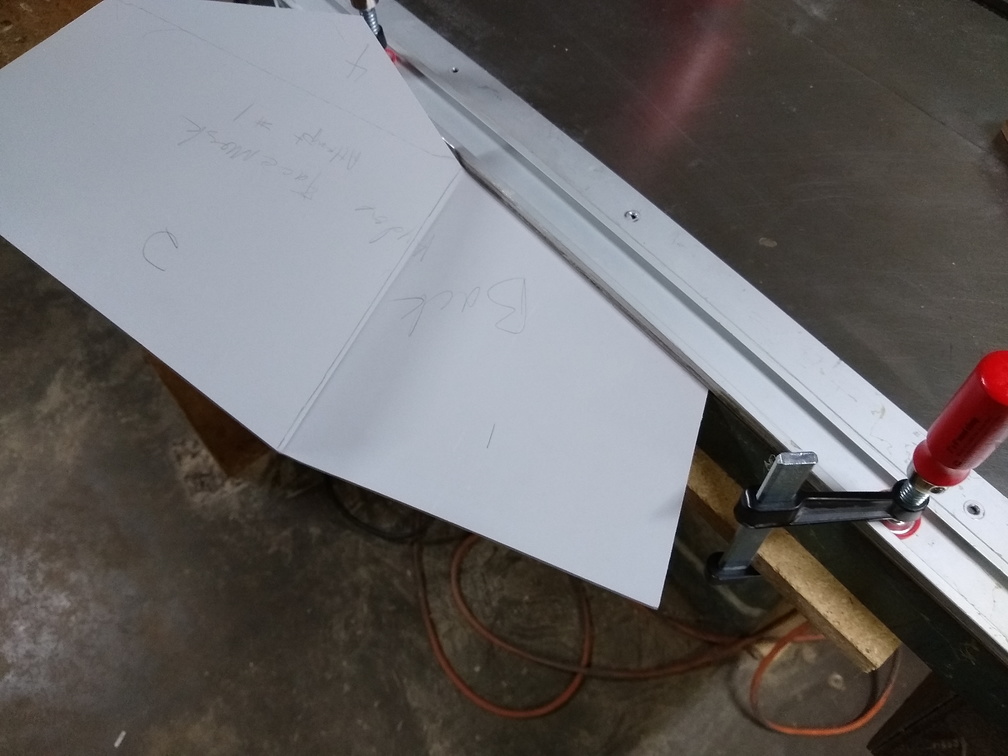
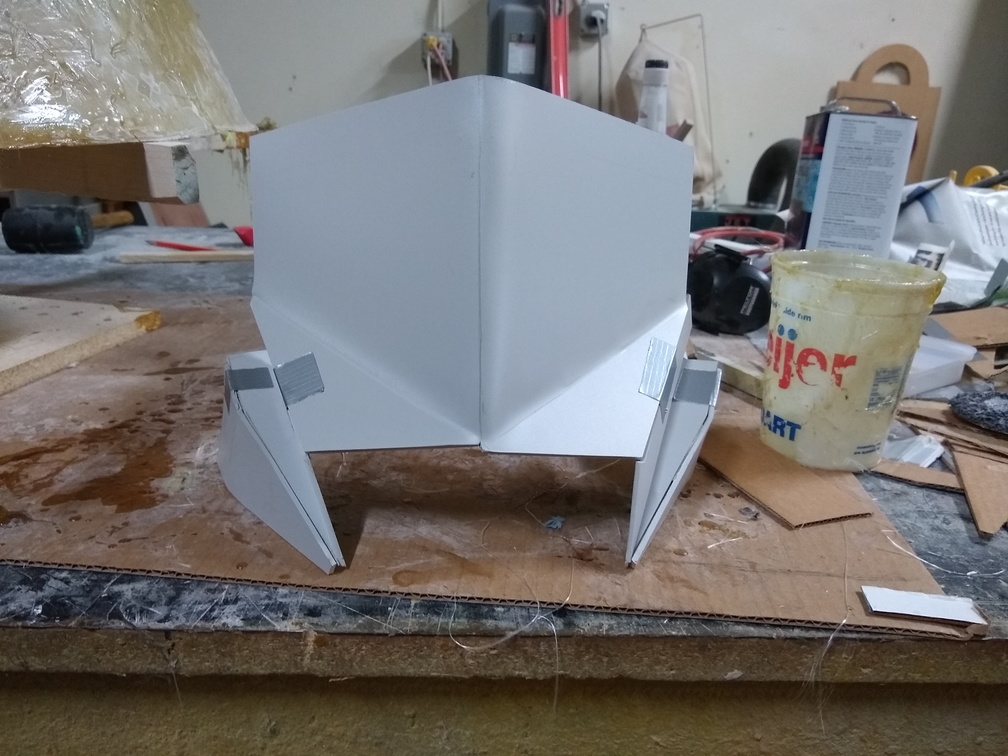
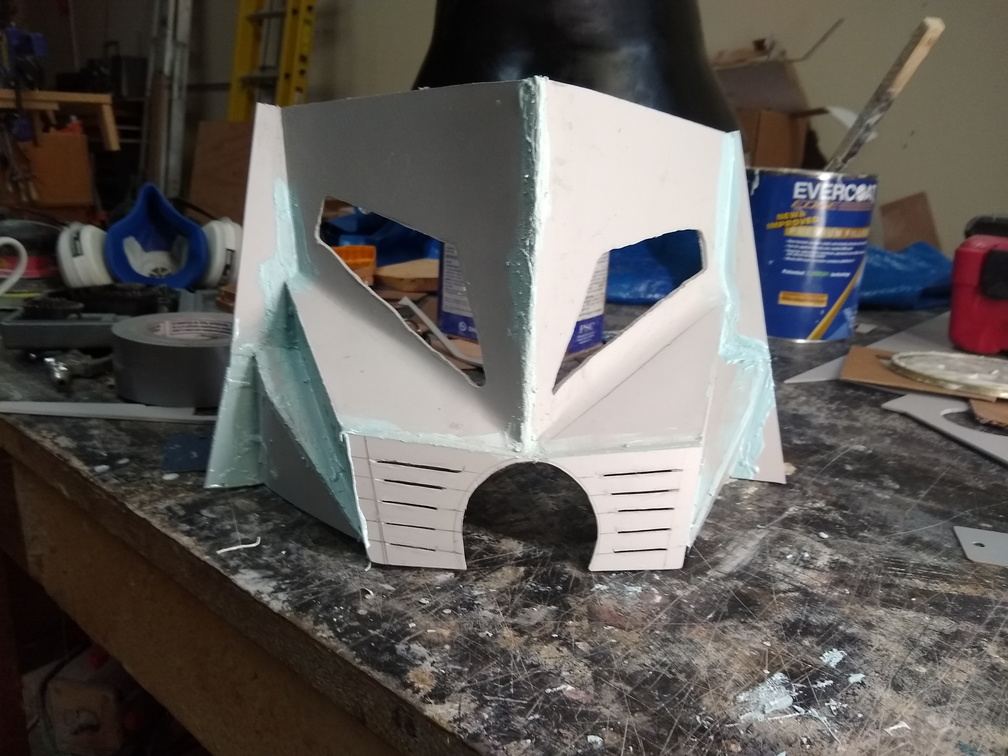
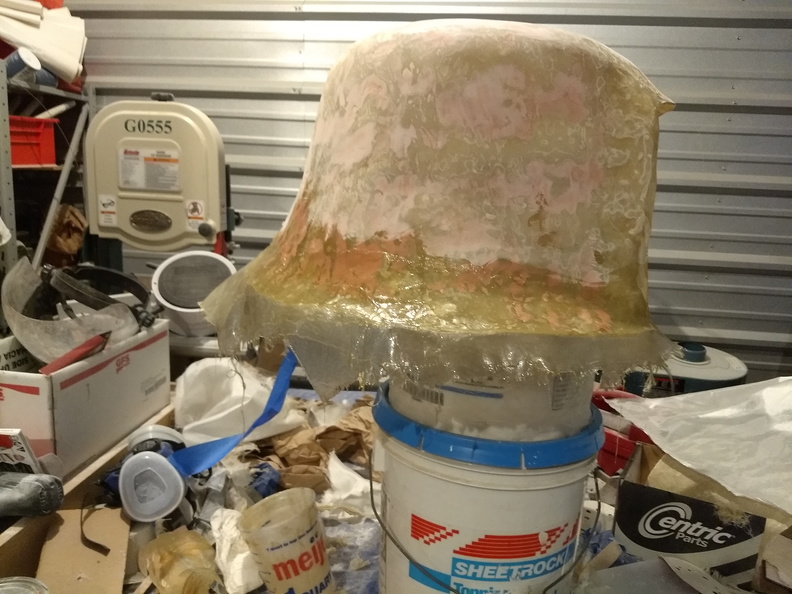
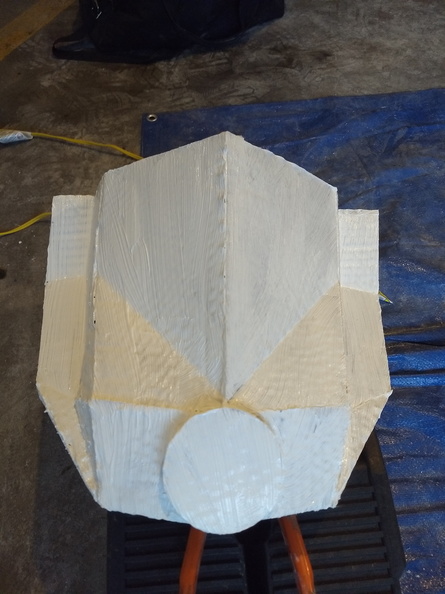
It was the day before we were to leave for GenCon that the cardboard mask wasn’t turning out and I had some volunteer work to do that night, so I had a while to think about what to do. When I got home around 22:30, I had decided that the only possible direction to take was to start over on the facemask, so I pulled an all-nighter. I wish I had saved my template bits from the original mask because it would have sped things up a bit, but I used paper to re-build the template pieces and then using some 6mm craft foam, I cut the new facemask.
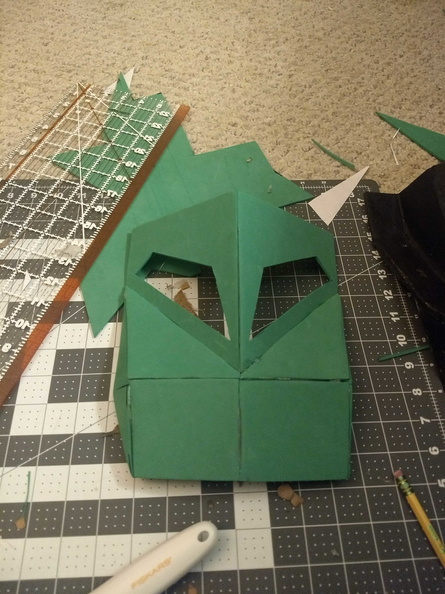
Before and after:
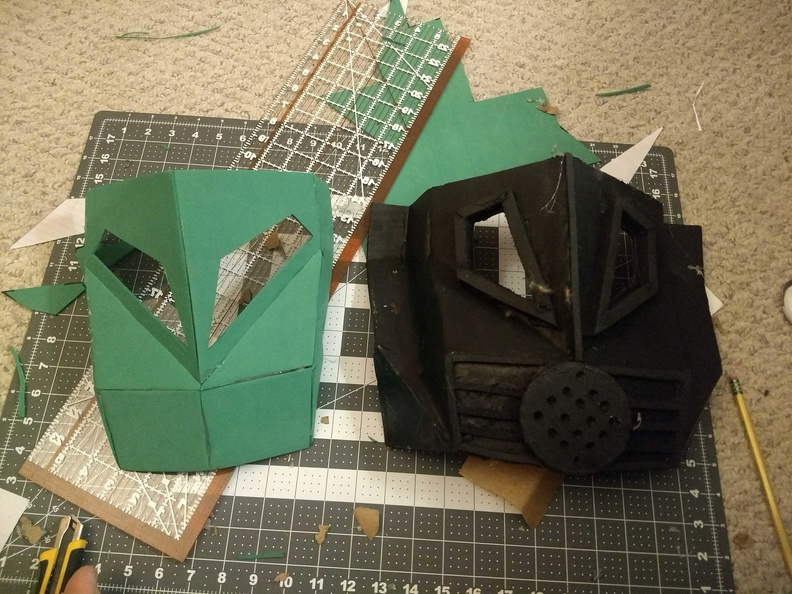
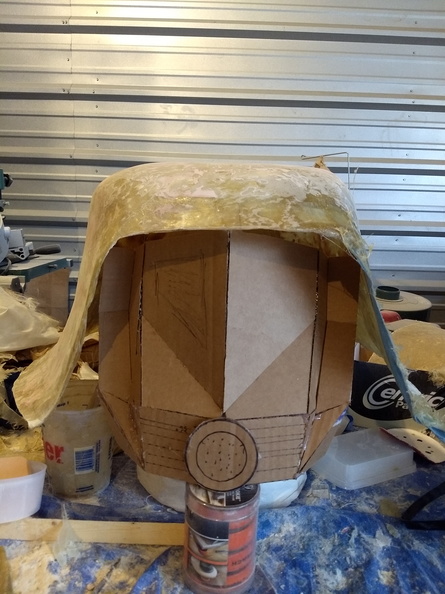
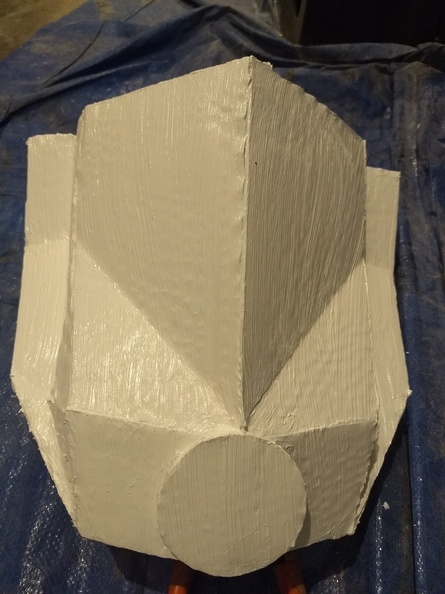
Once I had the craft foam mask built, I experimented with Worbla for the first time. Thanks to a small bit of damage on the sheet, we were able to get a small length of the stuff from a booth at DragonCon last year for a discount, so I chopped off a bit and started to play. Turns out the stuff is pretty easy to work with and doesn’t require a whole lot of heat to get very pliable. Using the Worbla, I covered the mask to give it some form.
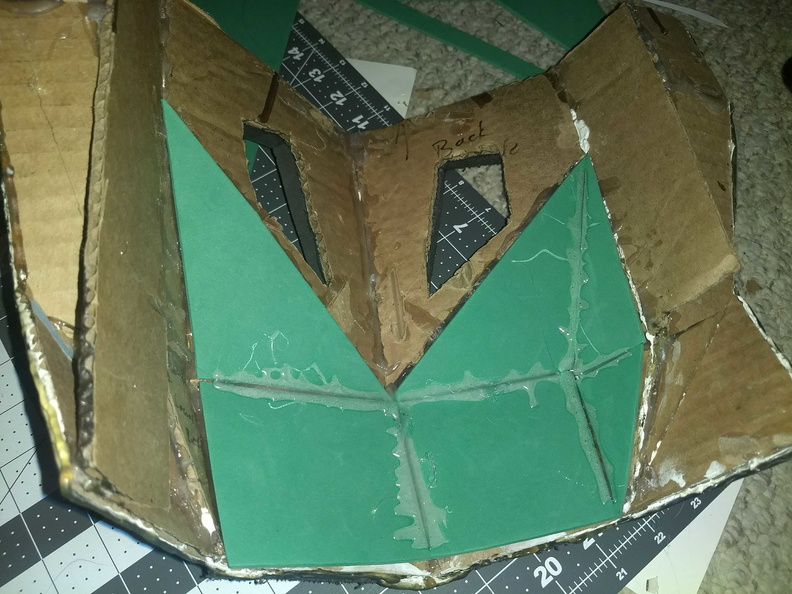
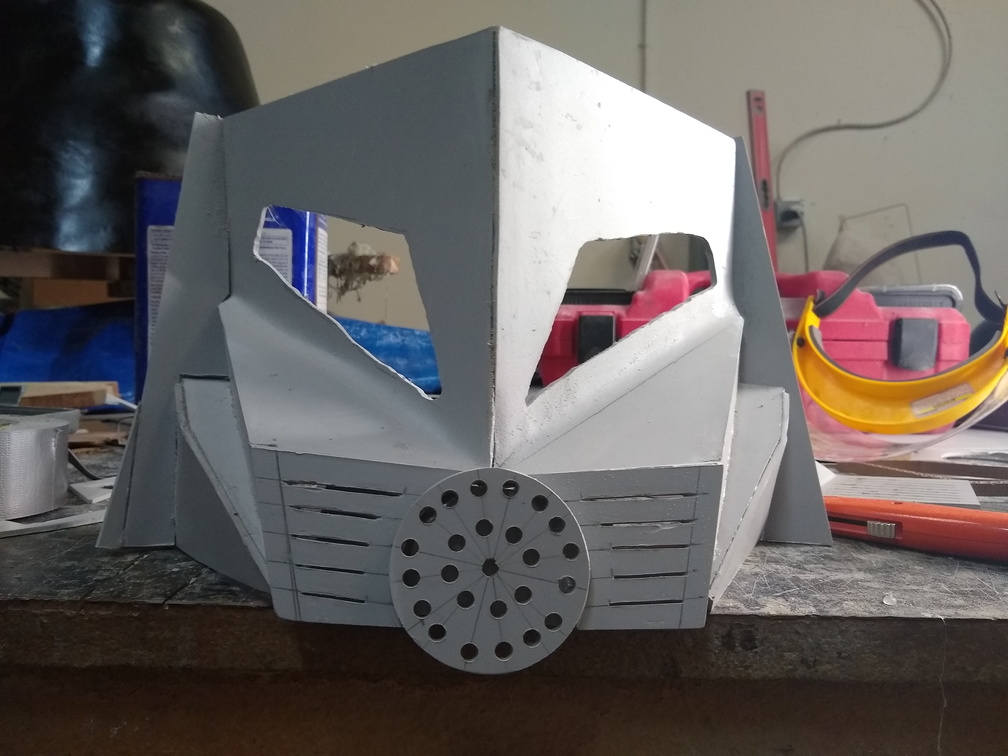
Honestly, still not looking too great, but at 0500 when I still had a full day of work to deal with plus leaving for GenCon in 12-14 hours, I was out of options. I used regular floor tile foam to make the detail bits on the front, but what really stumped me were the lenses. I searched high and low for some tinted plastic sheet in Office Depot, Party Town, and even Meijer. Nothing. Ace wasn’t any help, nor was Home Depot. So I got some VHT Nite Shades spray and some clear plastic packing material from a kid toy and made my own. That actually worked out pretty well, but I wound up putting on too many coats — it got a little too dark and there was a little orange peel in the coating from being so thick that it made it pretty hard to see with the facemask down. But it looked okay from the outside.
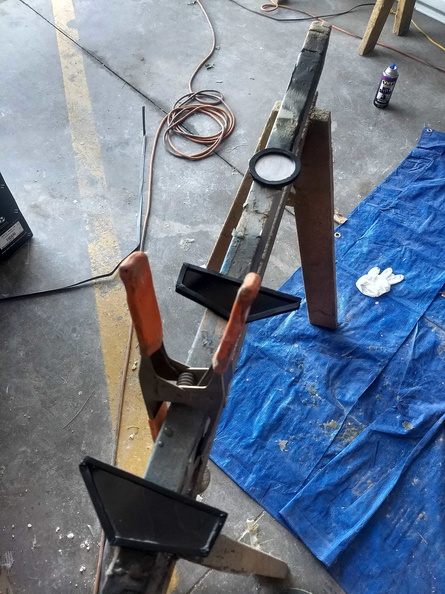
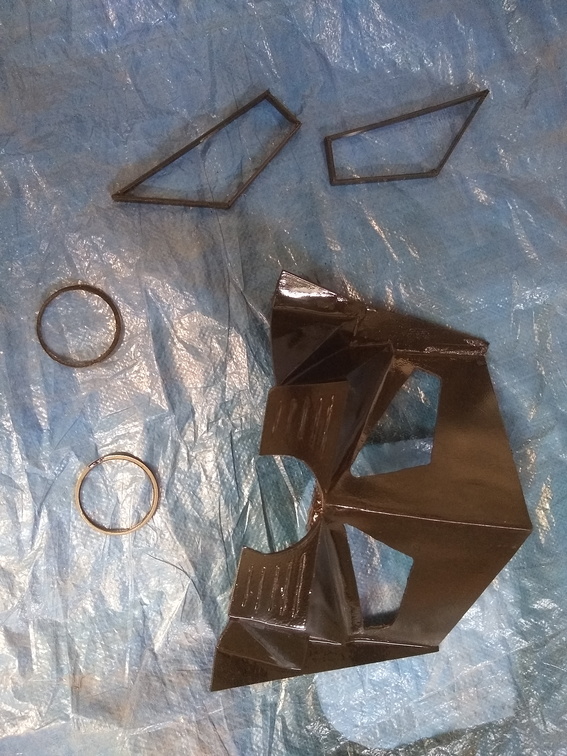
To make the lenses, I first made four frames from EVA foam and hot glue. I cut the lenses to size and sandwiched them between two frames for each side and then filled in the rough spots and gaps with body filler and gave it some PlastiDip coating.
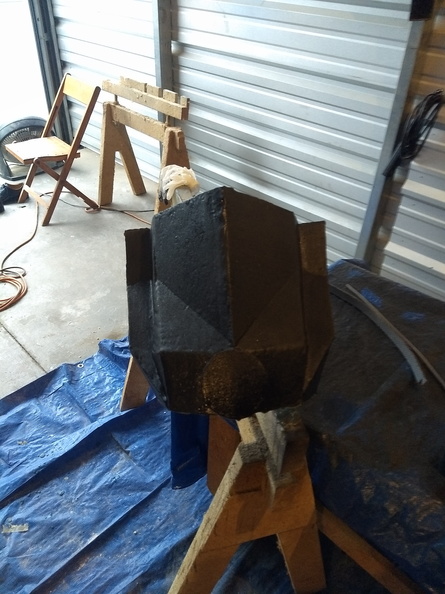
The rest of the facemask got PlastiDip and wound up not looking so great.
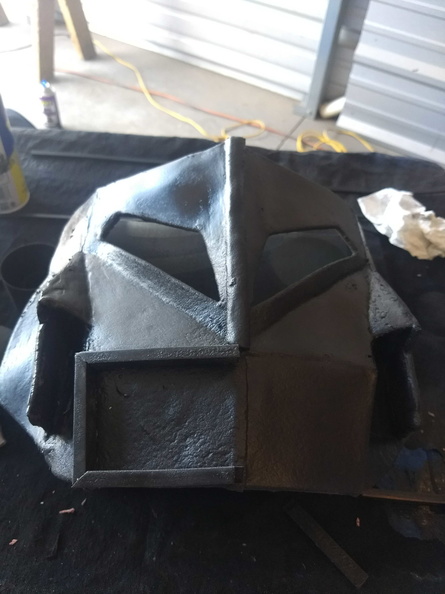
Between the Worbla not being very smooth and the PlastiDip having a rough finish, it looked pretty bad. I had tried coating the Worbla with wood glue and sanding, but frankly I just didn’t have enough time to put on enough coats of glue and do enough sanding. So, I sanded down some of the PlastiDip and applied body filler to smooth it out.
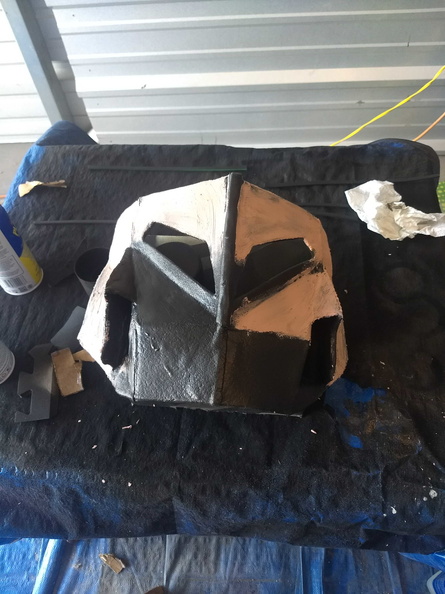
It started to look a little bit better, but not perfect.
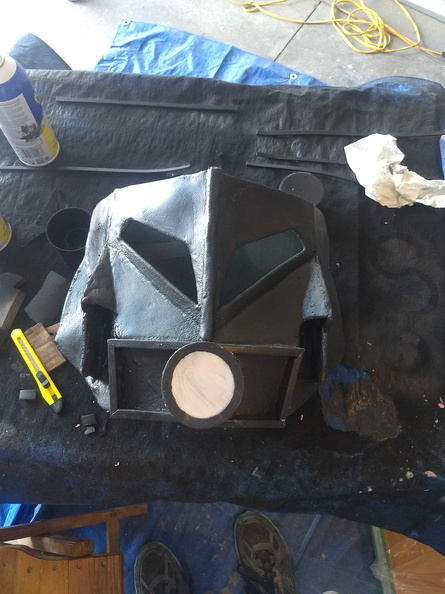
At this point, I had to go ahead and call it complete so we could get on the road.
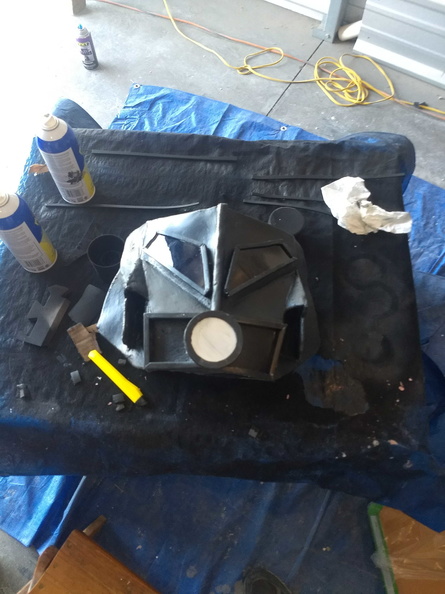
Did I mention that I had figured out how to hinge the facemask already? No? Well, that’s because that was still on my to-do list. Here we were, about an hour or two from loading up the RV and heading West and not only was the hinge not working, I had no idea what I was even going to use. I took a trip to Ace Hardware and picked up a couple different things that they had in stock and hoped for the best, and hit the road.
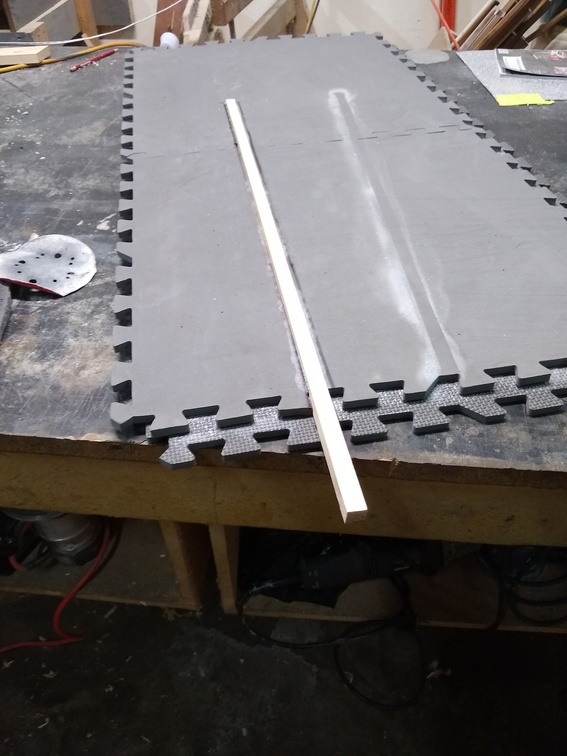
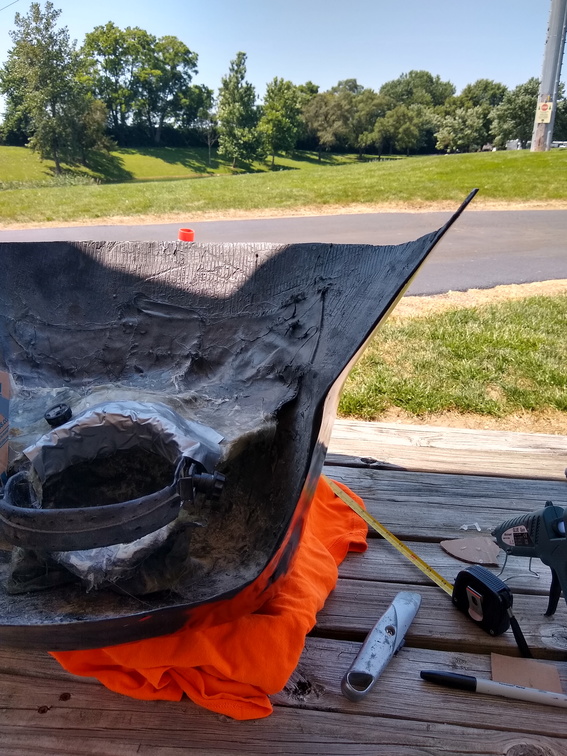
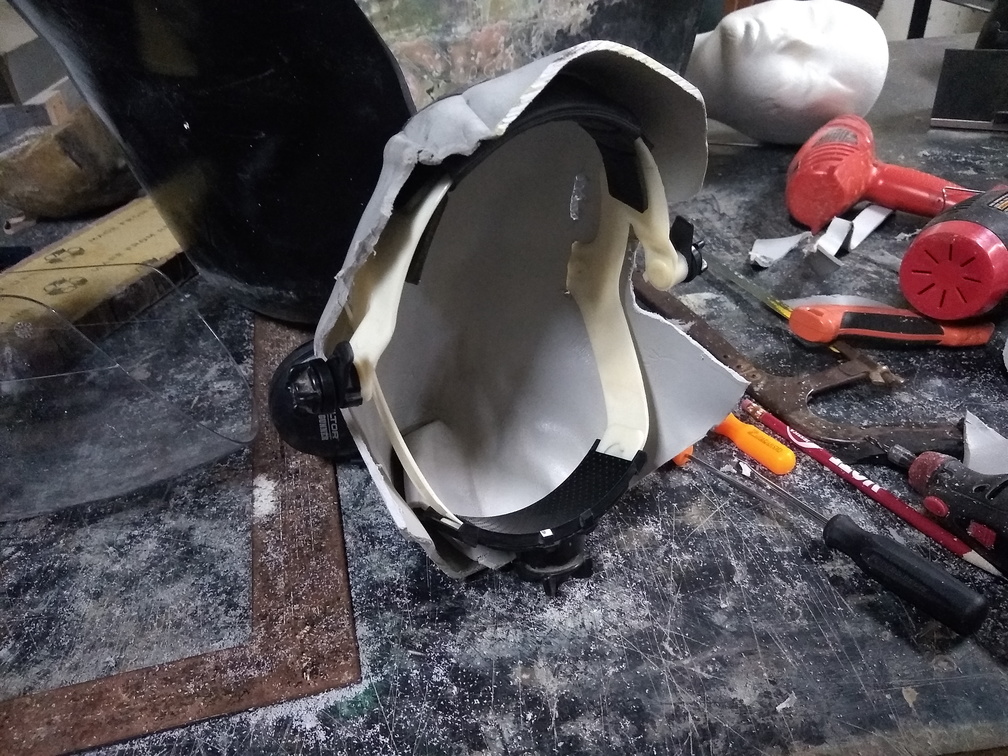
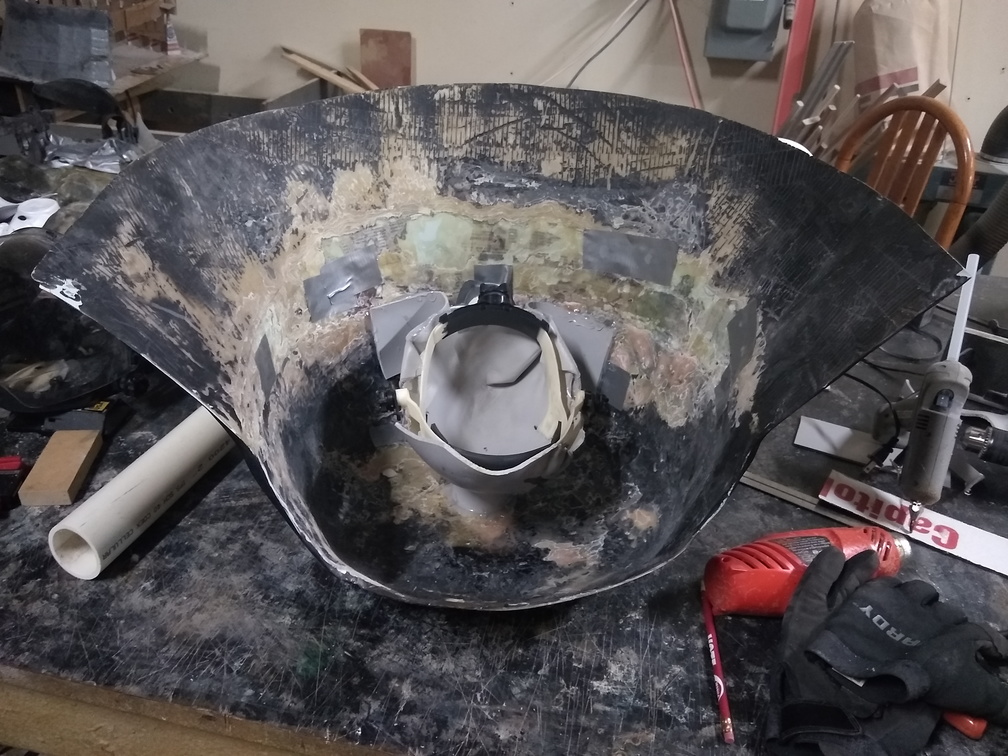
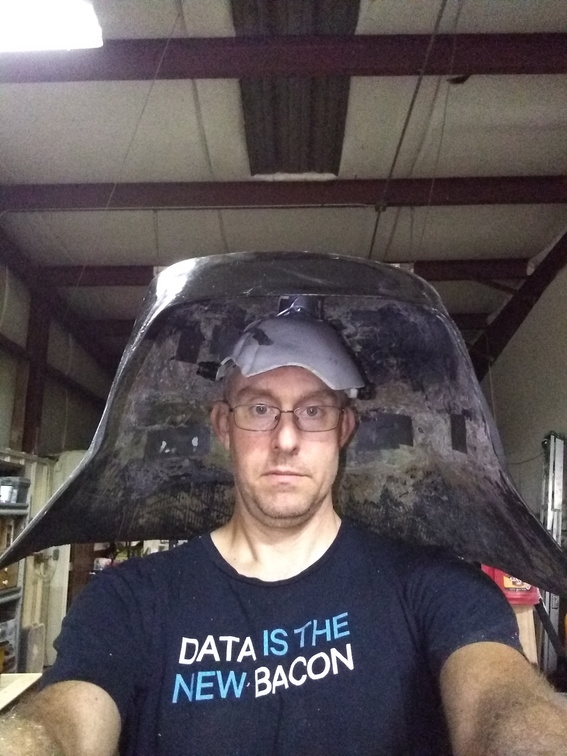
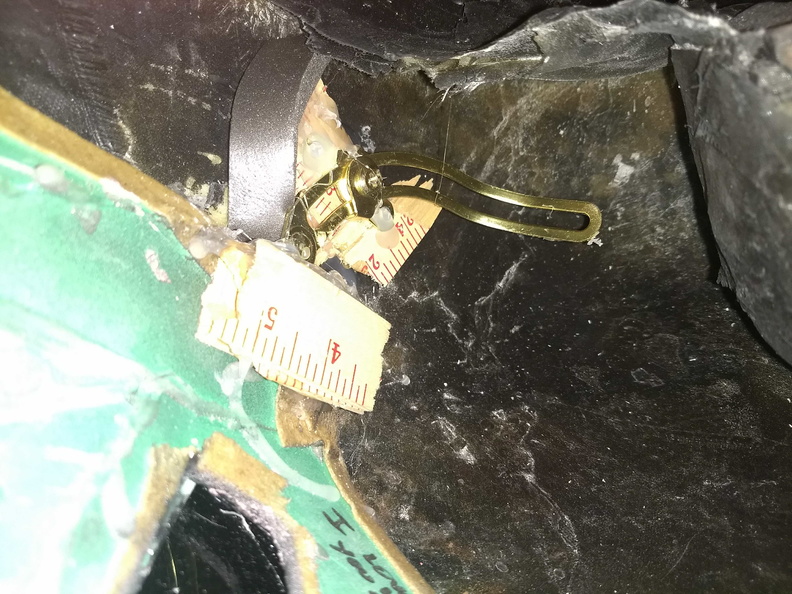
When we arrived at the campground, I grabbed a beer and started thinking this through. One of the things that I got at Ace were a couple lid supports. These were long, curved brackets with a hinge and a range of adjustability. It took most of the night and a lot of time in the morning, but those were absolutely the ticket I needed. In order to mount them in the right spot, I needed to build up the inside of the helmet a bit, so I found an old wooden yardstick that was on the RV when I bought it and I broke it up into little bits which I hot-glued together to make a mounting platform. The brackets needed some adjustments and some bending, but eventually, I had a a facemask that would hinge up and down.
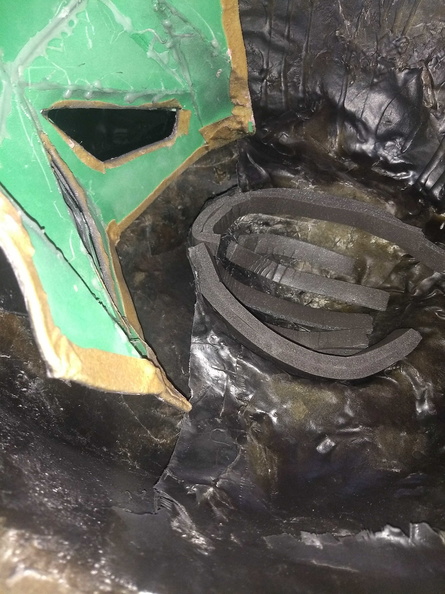
I also bought some weatherstripping from Ace that I used to cushion the inner hat for a less stabby wearing experience.
All said and done, we got in the car and headed to the convention center
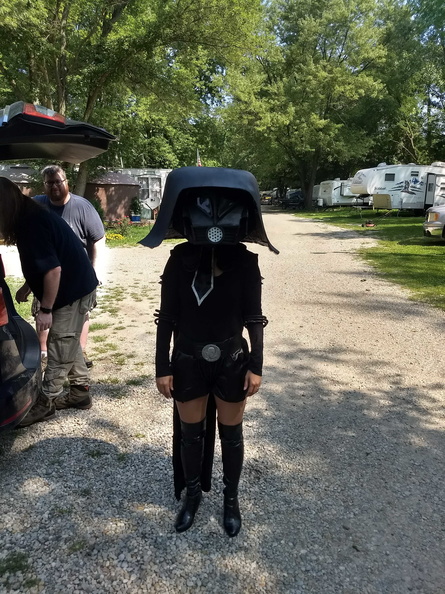
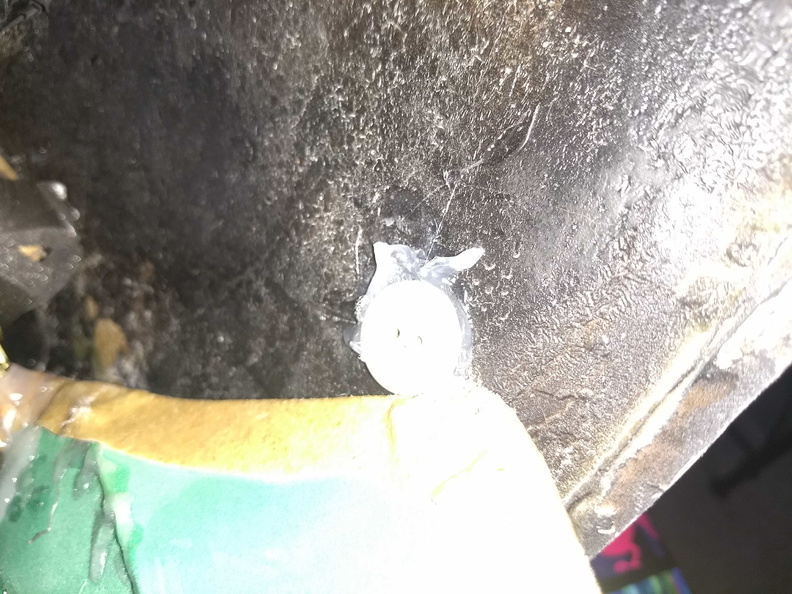
There was really only one problem that remained: The facemask didn’t want to stay in the upright position. I brought most of the tools with me and some supplies, so as we walked from the car to the convention center, I worked with the helmet to try to find a way to build a latch. By the time we were finished getting our badges, I knew how to solve the problem, but I needed something to make the latch out of, some sort of material. As I looked around, our friend handed me a button that was falling off of one of his shorts pockets anyway, and a little hot glue later, I had a latch:
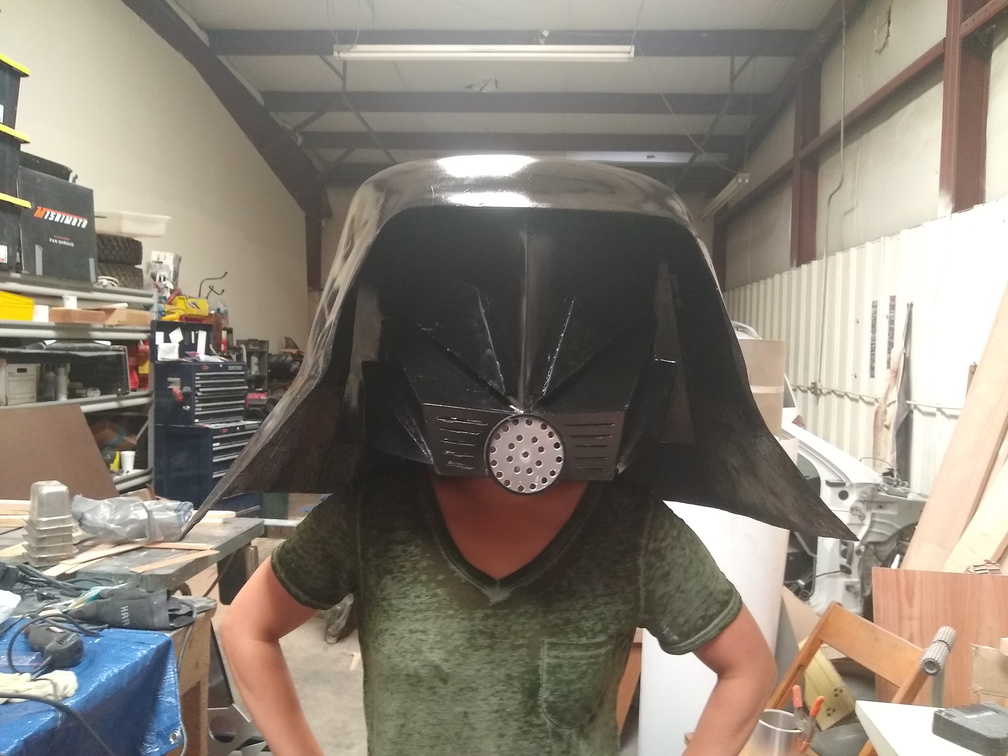
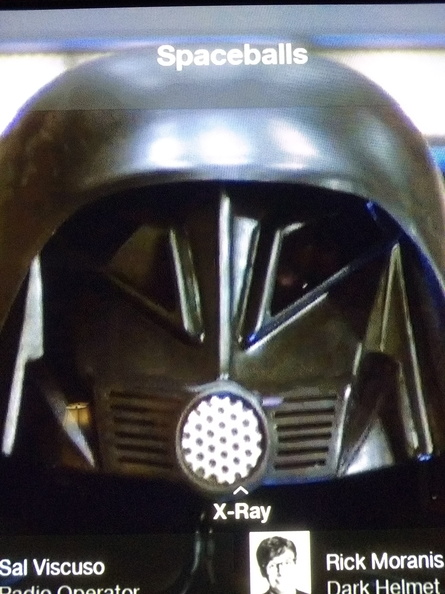
I’m still not completely happy with how it turned out. The mask is a little bit out of alignment and it’s still pretty rough. I also screwed up a bit on the detail work on the front, not having all the various surfaces and angles correct. This was, however, the single most popular costume that we’ve done. Through the whole convention center, there was a constant murmur that I could hear of people recognizing the helmet and pointing it out to each other. We took a ton of pictures, and got many compliments.
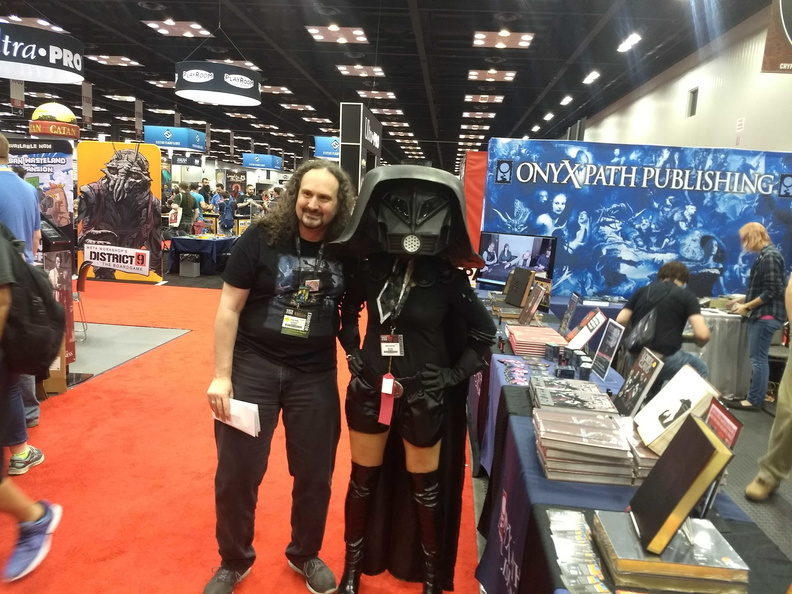
Before it goes out again, there are some improvements that need to be made:
Take out the yardstick supports and build fiberglass supports to replace them and make them more aligned.
Build a stop in the hinge to keep the mask from being lowered too much
Replace the lenses with a material that is easier to see through
Clean up the finish on the mask with some more sanding and a paint with a little more gloss
Chin strap to hold the helmet on along with a little more padding
Cover the inside with fabric to soften the appearance
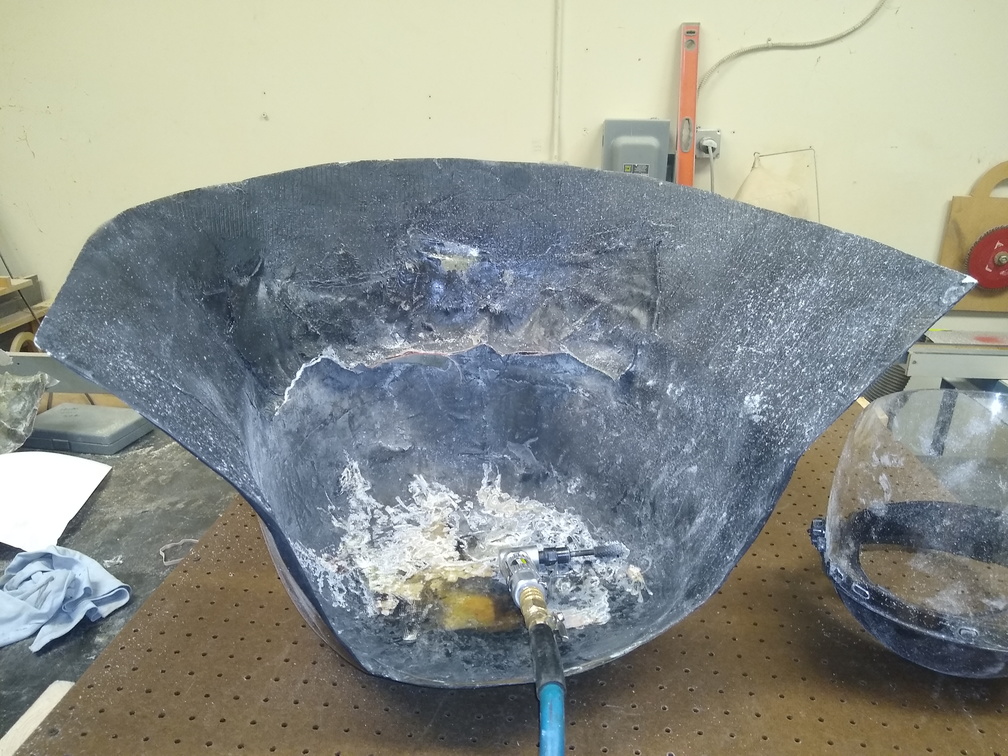
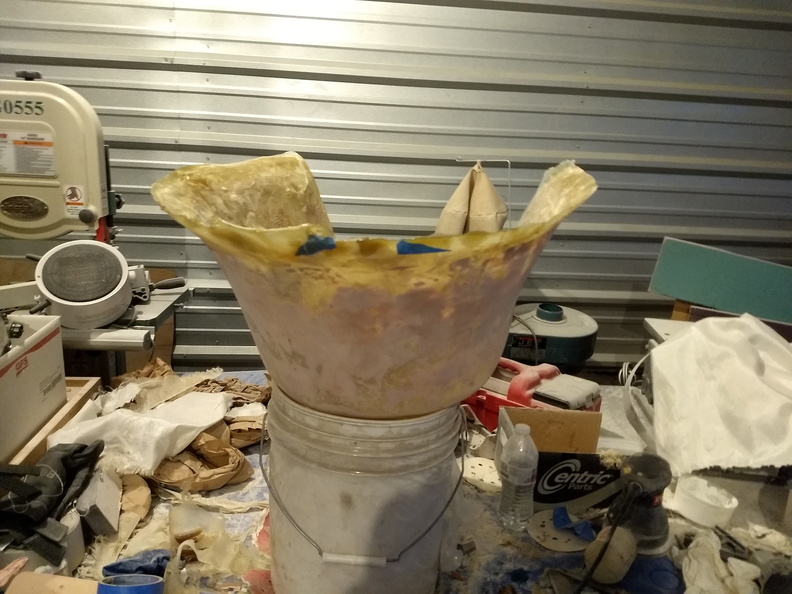
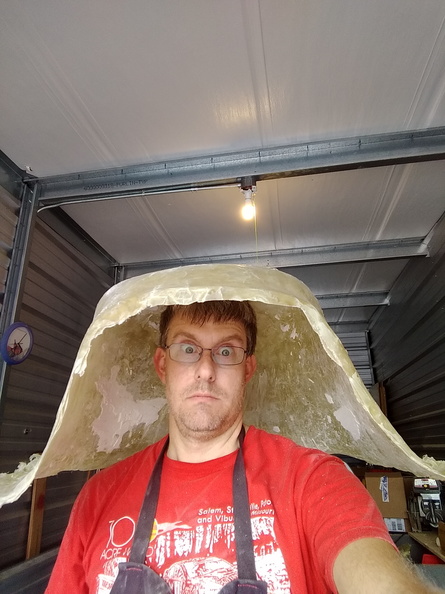
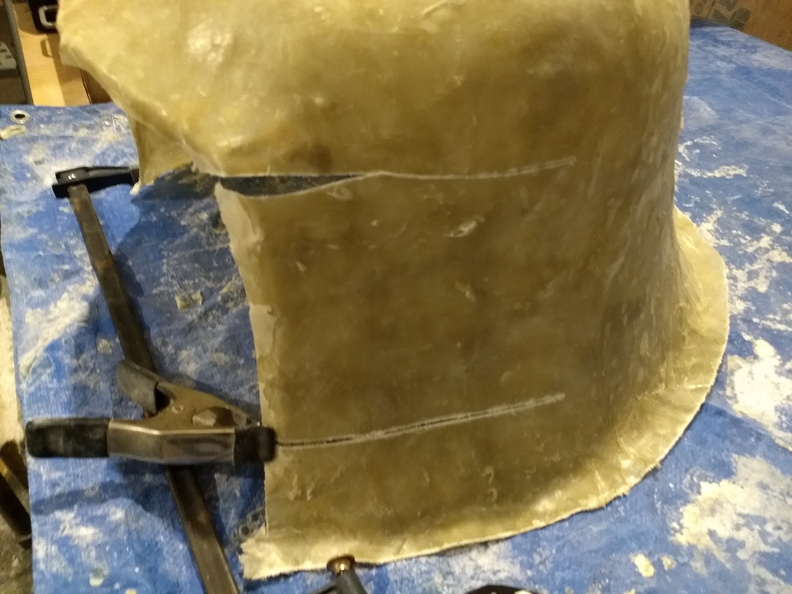
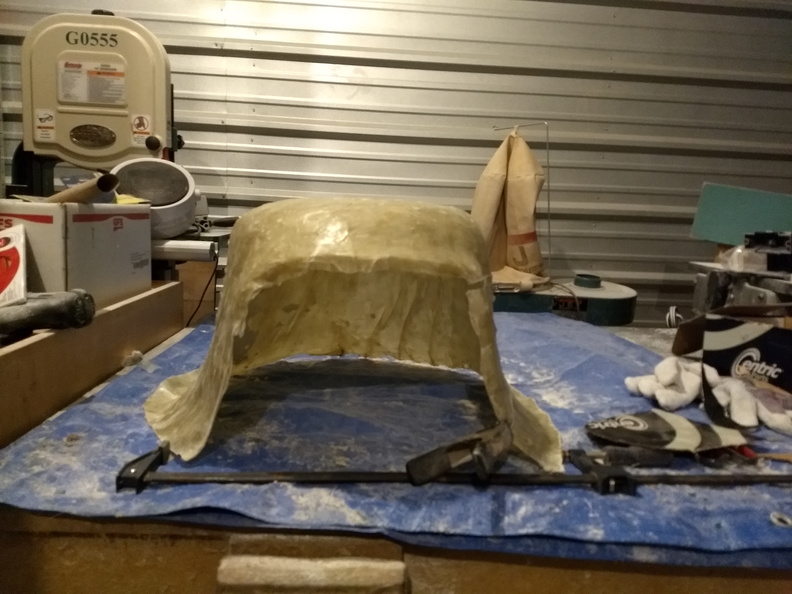
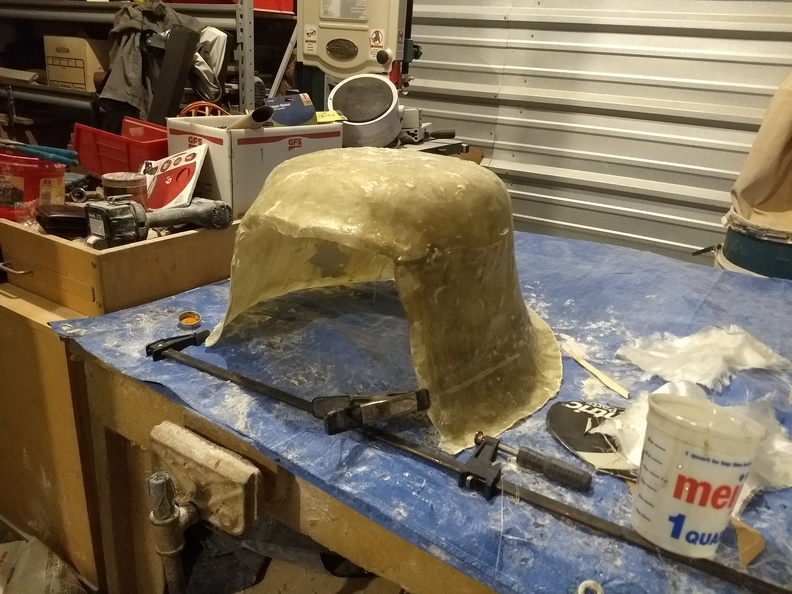
Long term, I’d like to cut the bottom of the shell off again and re-form it so that it matches the real thing a little better. I also want to re-do some of the lines on the facemask to make them match better as well. But, in the meantime, there are more projects to be done!
