1987 Honda Goldwing Interstate

Project log for the restro-ride of a 1987 Honda Goldwing Interstate

First Big Ride

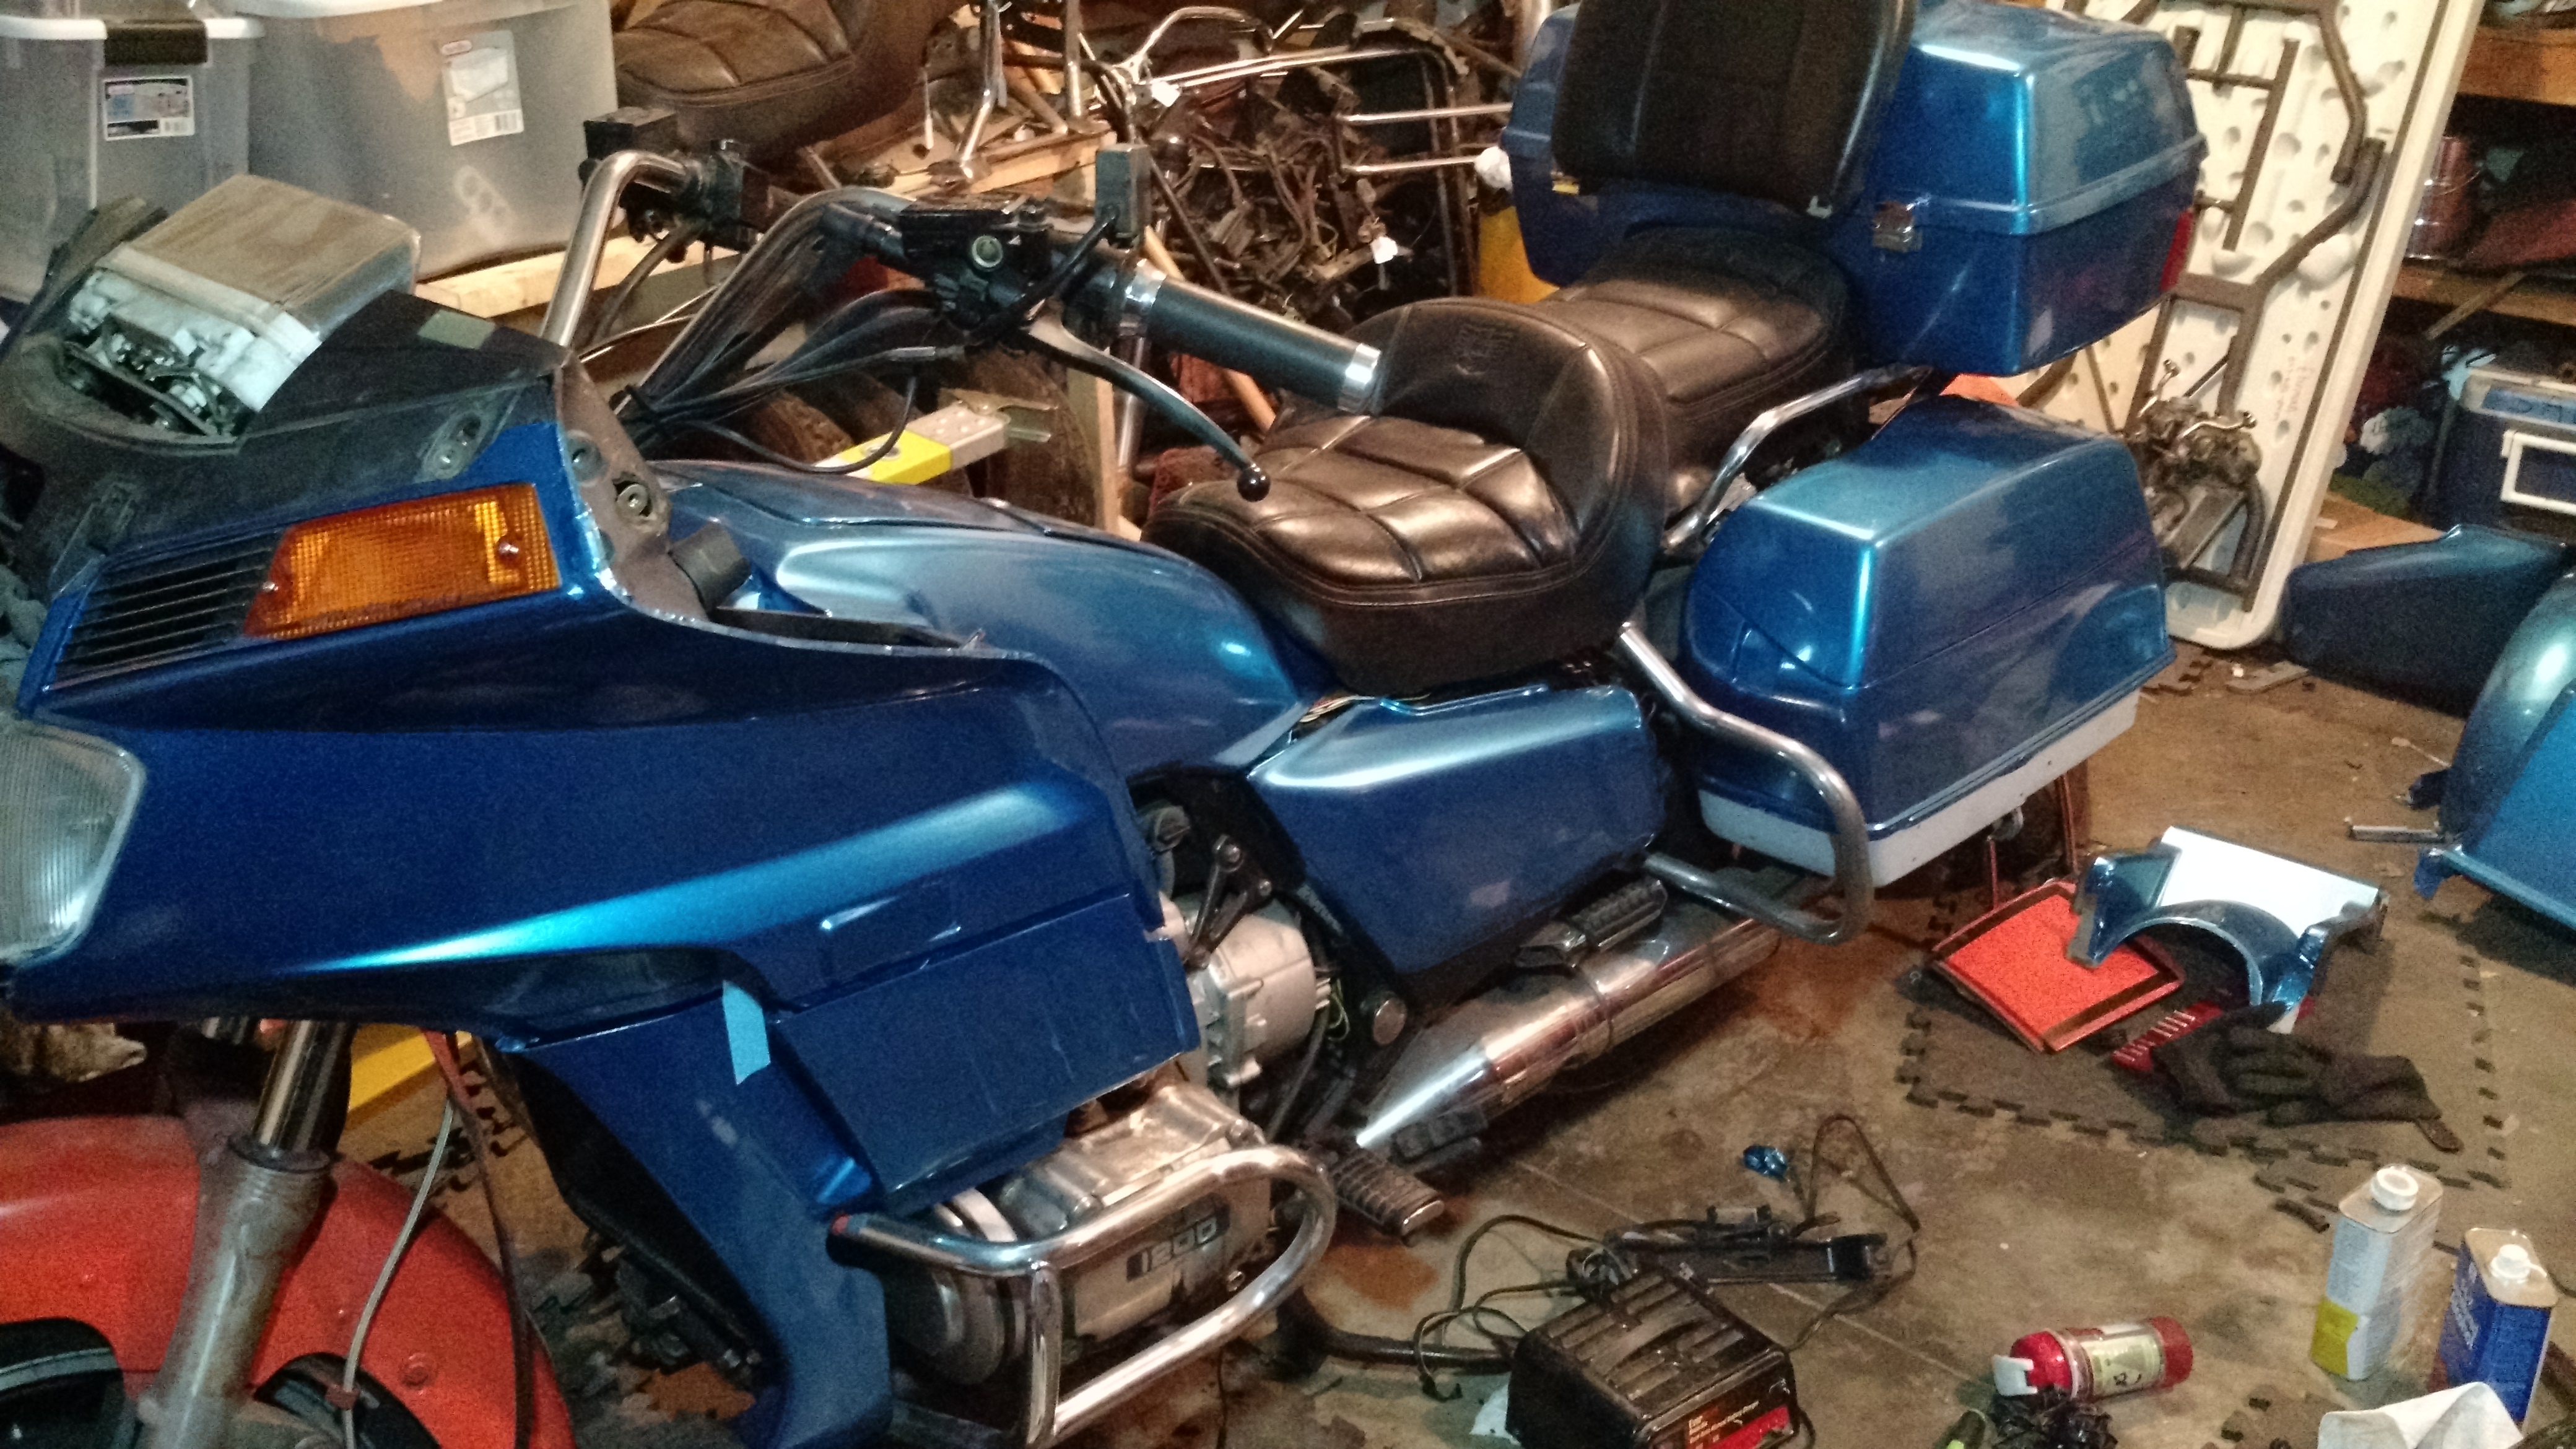
I had a little break in the rain last week and took the bike for a couple short rides.  The first was to the grocery store.  How cool to be able to load up a box of tide, a gallon of milk, a gallon of OJ, a dozen eggs, and a couple bags of produce!  The first real ride I took was early in the morning on July 4th down to Rabbit Hash and back.  It was around 7-8am, so nothing was open and I didn’t really stop, but I put about 50 miles on the bike and it performed very well.  On Monday, I rode the bike to work, over to Eastgate, and home and again, things were great.  All told, I’ve put about 150 miles on the bike so far.  If it weren’t for all the rain, it’d be much higher.

I have found a couple remaining issues:

  • The lockset has issues:  The key doesn’t want to turn in the ignition because it’s worn, a couple of the locks on the boxes don’t work, and I don’t know where the lock is for the gas cover.  To solve that, I spent about $50 to get a complete used lockset off eBay.
  • The front of the bike is really too soft.  I’m going to try to change the fork oil to see if that helps.
  • There was a small oil leak from the back of the stator.  Turns out that the nut holding the cover on wasn’t even finger-tight, so I solved that by applying a couple pounds of torque.
  • There was another small leak, this time of antifreeze, coming from the water pump cover.  I re-torqued the bolts and that seems to have stopped as well.
  • I’m missing one of the louvers from the right side of the lower fairing.  I got the other 5 vinyl wrapped and installed, but I cannot for the life of me find the last louver.  I only had one of those panels between the two bikes, so I don’t have any extras and I have no idea what I would have done with the one that I’m missing.  I’m keeping an eye on eBay for one.
  • I still need to vinyl wrap and install the fairing trim.
  • Still need to get a radio installed, but the gauge cluster trim doesn’t seem to be installing flush like it should and as a result the speaker covers aren’t installing securely.
  • The ignition cover bracket is missing (if I ever had it…) and so I can’t install the bit of plastic in the middle of the handlebars.
  • The left side valve/head cover has a minor oil leak.  If I use the center stand it doesn’t seem to be too bad.  I’ll get the gasket and the next time I change the oil, I’ll swap the gasket.  No rush on this one.
  • The mirrors are a bit loose.  They rattle around a bit on the road and the wind and vibration push them down on the interstate rendering them useless.
  • Still plenty of orange paint on the bike that needs to come off.
  • The left lower fairing inside piece is missing.
  • The emblems on the headlight trim, fairing, and side covers are all missing.  I have most of them so I either need to recondition them or get new ones.

In terms of improving the ride and not really repairing anything that’s “wrong” with it:

  • Windshield is a little short for me.  I think a taller windscreen with a vent in it would be a nice touch.
  • When cold weather comes, having some sort of wind deflector to add some protection for my hands and upper body would be nice.
  • The engine heat gets trapped behind the fairing, warming my lower body quite a bit.  A little too much on a hot day.  I think some sort of wind deflector on the lower part of the bike would be a nice touch to push air in for warm weather riding.
  • Need a radio.  Hate that giant hole in the dash!
  • Need to get the seat recovered.

Finally on the Road

I’ve finally been able to get the bike out and ride it a bit.  There are a few things left to do yet, but it’s rideable while I work on it now!

Last of the Orange

Last night I finally was able to do it:  The last remaining orange part on the bike was the front fender and I yanked it out, replacing it with the wrapped blue fender.  That was the very last orange bit on the bike (other than the atrocious overspray, of course) and it is finally gone.

Other things that needed work:  There was some sort of relay or something that was wired in to the rear trunk brake lighting that caused the bulb on the right side not to light.  I ripped that out and returned the wiring to stock and everything works.  The seat and the faux tank are bolted in securely, and I applied some more PVC cement to the left side cover mounting pegs.

The front wheel swapped fairly easily but I found some weirdness along the way.  The speedometer gear on the ’84 Aspencade wheel appears to be totally identical to the one of the ’87 Interstate.  I don’t know if going to the digital box was a later change or what, but I left the ’84 wheel as it was and mounted it up.  Getting it to mount, however, was a slight challenge as the brake rotors on the ’84 wheel were both vented discs which made them much thicker than the ones on the ’87.  The caliper brackets have grooves cut in them to clear the rotor, but the ’87 brackets needed some clearancing to fit the older rotors.  Fortunately, the ’84 caliper brackets were tucked away in the corner, still attached to the forks of the ’84, so I pulled them off and swapped out the brackets.  Worked like a champ.

The radiator is refilled with new coolant, and I’ve begun to re-assemble the front fairing.  I need to swap the locks on the faux tank and the fairing compartment — but I’m not sure if the lock from the ’84 fairing compartment is still functional.  I may just wind up having two keys on the ring.  We shall see.  It certainly isn’t a priority.

Next up, I need to get the oil changed and swap out that seal.  After that, it’s just getting the other mirror on and playing with the fairing.  I am short one of the windscreen bolts so I need to source a new one, and then I can put the front together.  Still left to color change, though, are the fairing edge trim bits and the little vent covers for the lower fairings.  I don’t need either of those to be able to move the title and register the bike, though!  I’m fairly confident that I will be getting a license plate for the bike in the early part of next week.

Baby Steps

Since I needed to get the front end re-built on the Rallycross Neon in order to be ready to run in WOR PE#4, I had to temporarily pause work on the motorcycle, so there hasn’t been as much progress as I would have liked.

I got out the PVC/ABS cement and put the replacement mounting pegs onto the left side cover.  One of them needs a little more just to make sure, but overall that seems to be working well.

The ground wire for the front left turn signal was pulled off, so I soldered that back together as well, so I think that everything is good electrically on the front half of the bike.  I need to double-check the brake lights, though, to ensure that they are functional.

One More Step

I got the new boots and bushings installed on the rear shocks and got them put back on the bike.  I filled them with a synthetic ATF (because it’s what I had on the shelf) after installing them on the bike by sitting backwards where the seat goes and pushing down then pouring in fluid as I lifted off the bike.  I’m not 100% sure that I wound up getting the same amount in both sides (there was some spillage), but it should be close.  I aired them up to about 45psi and they seem to be holding and not leaking.

I also got the old brake fluid drained out and filled it with new synthetic DOT4 fluid.  Pedal and lever both feel pretty solid, but I can always bleed it later if I need to.  While I was back there, I drained out final drive and re-filled it with fresh gear oil.  It was hard to tell exactly how much drained out, but it didn’t seem to drain very much out.

With the shocks installed, I got the sidebag mounting bracket re-installed and started put the left bag on.  Before I put the right bag on, I have to put the latch hardware on, but once that is done the back half of the bike will be ready to go.

I got the wiring re-wrapped and tucked in place, so now I need to get the oil drained, replace the shifter bushing, fill the oil and the coolant, swap the speedo gear, swap the fender and front tire, fix the front left turn signal, put the front faring back together, and get all the bodywork bolted back down.  Getting real close now!

Back for more parts

I took apart the rear shocks from both the ’84 and the ’87. Kinda different on the inside, so I went with the ’87 shocks because that matches my parts diagram better. The bushings were no good and the boots were completely destroyed, so I’ve got those on order again. It took a little doing to disassemble: After getting the boot off, there is a little snap ring/c-clip in a groove and it’s the type without the little holes for the snap ring pliers. After messing around with it for what seemed to be forever, I discovered via the internet that you can tap the bottom washer up into the body of the shock a bit which gives you the space needed to lever out the wire. Once that was done it wasa simple matter of popping them open with air and then draining the fluid and replacing the oil seal. I found that for some reason I could not get the oil seal to drive in to the shock with that metal bottom washer in place. Taking that out and pressing it in with a section of black iron pipe and a hammer worked perfectly, though. Go figure.

While I wait on those parts, I’ll go ahead and continue on to see what I find. Scary fact: One of the reasons that the bike was rattling and clattering so much over bumps was that the right shock wasn’t actually bolted to the bike on its top mount. The nut that is supposed to hold that and the frame for the luggage was missing and everything was just kind of banging around. Isn’t that great?

Ignition Fixed

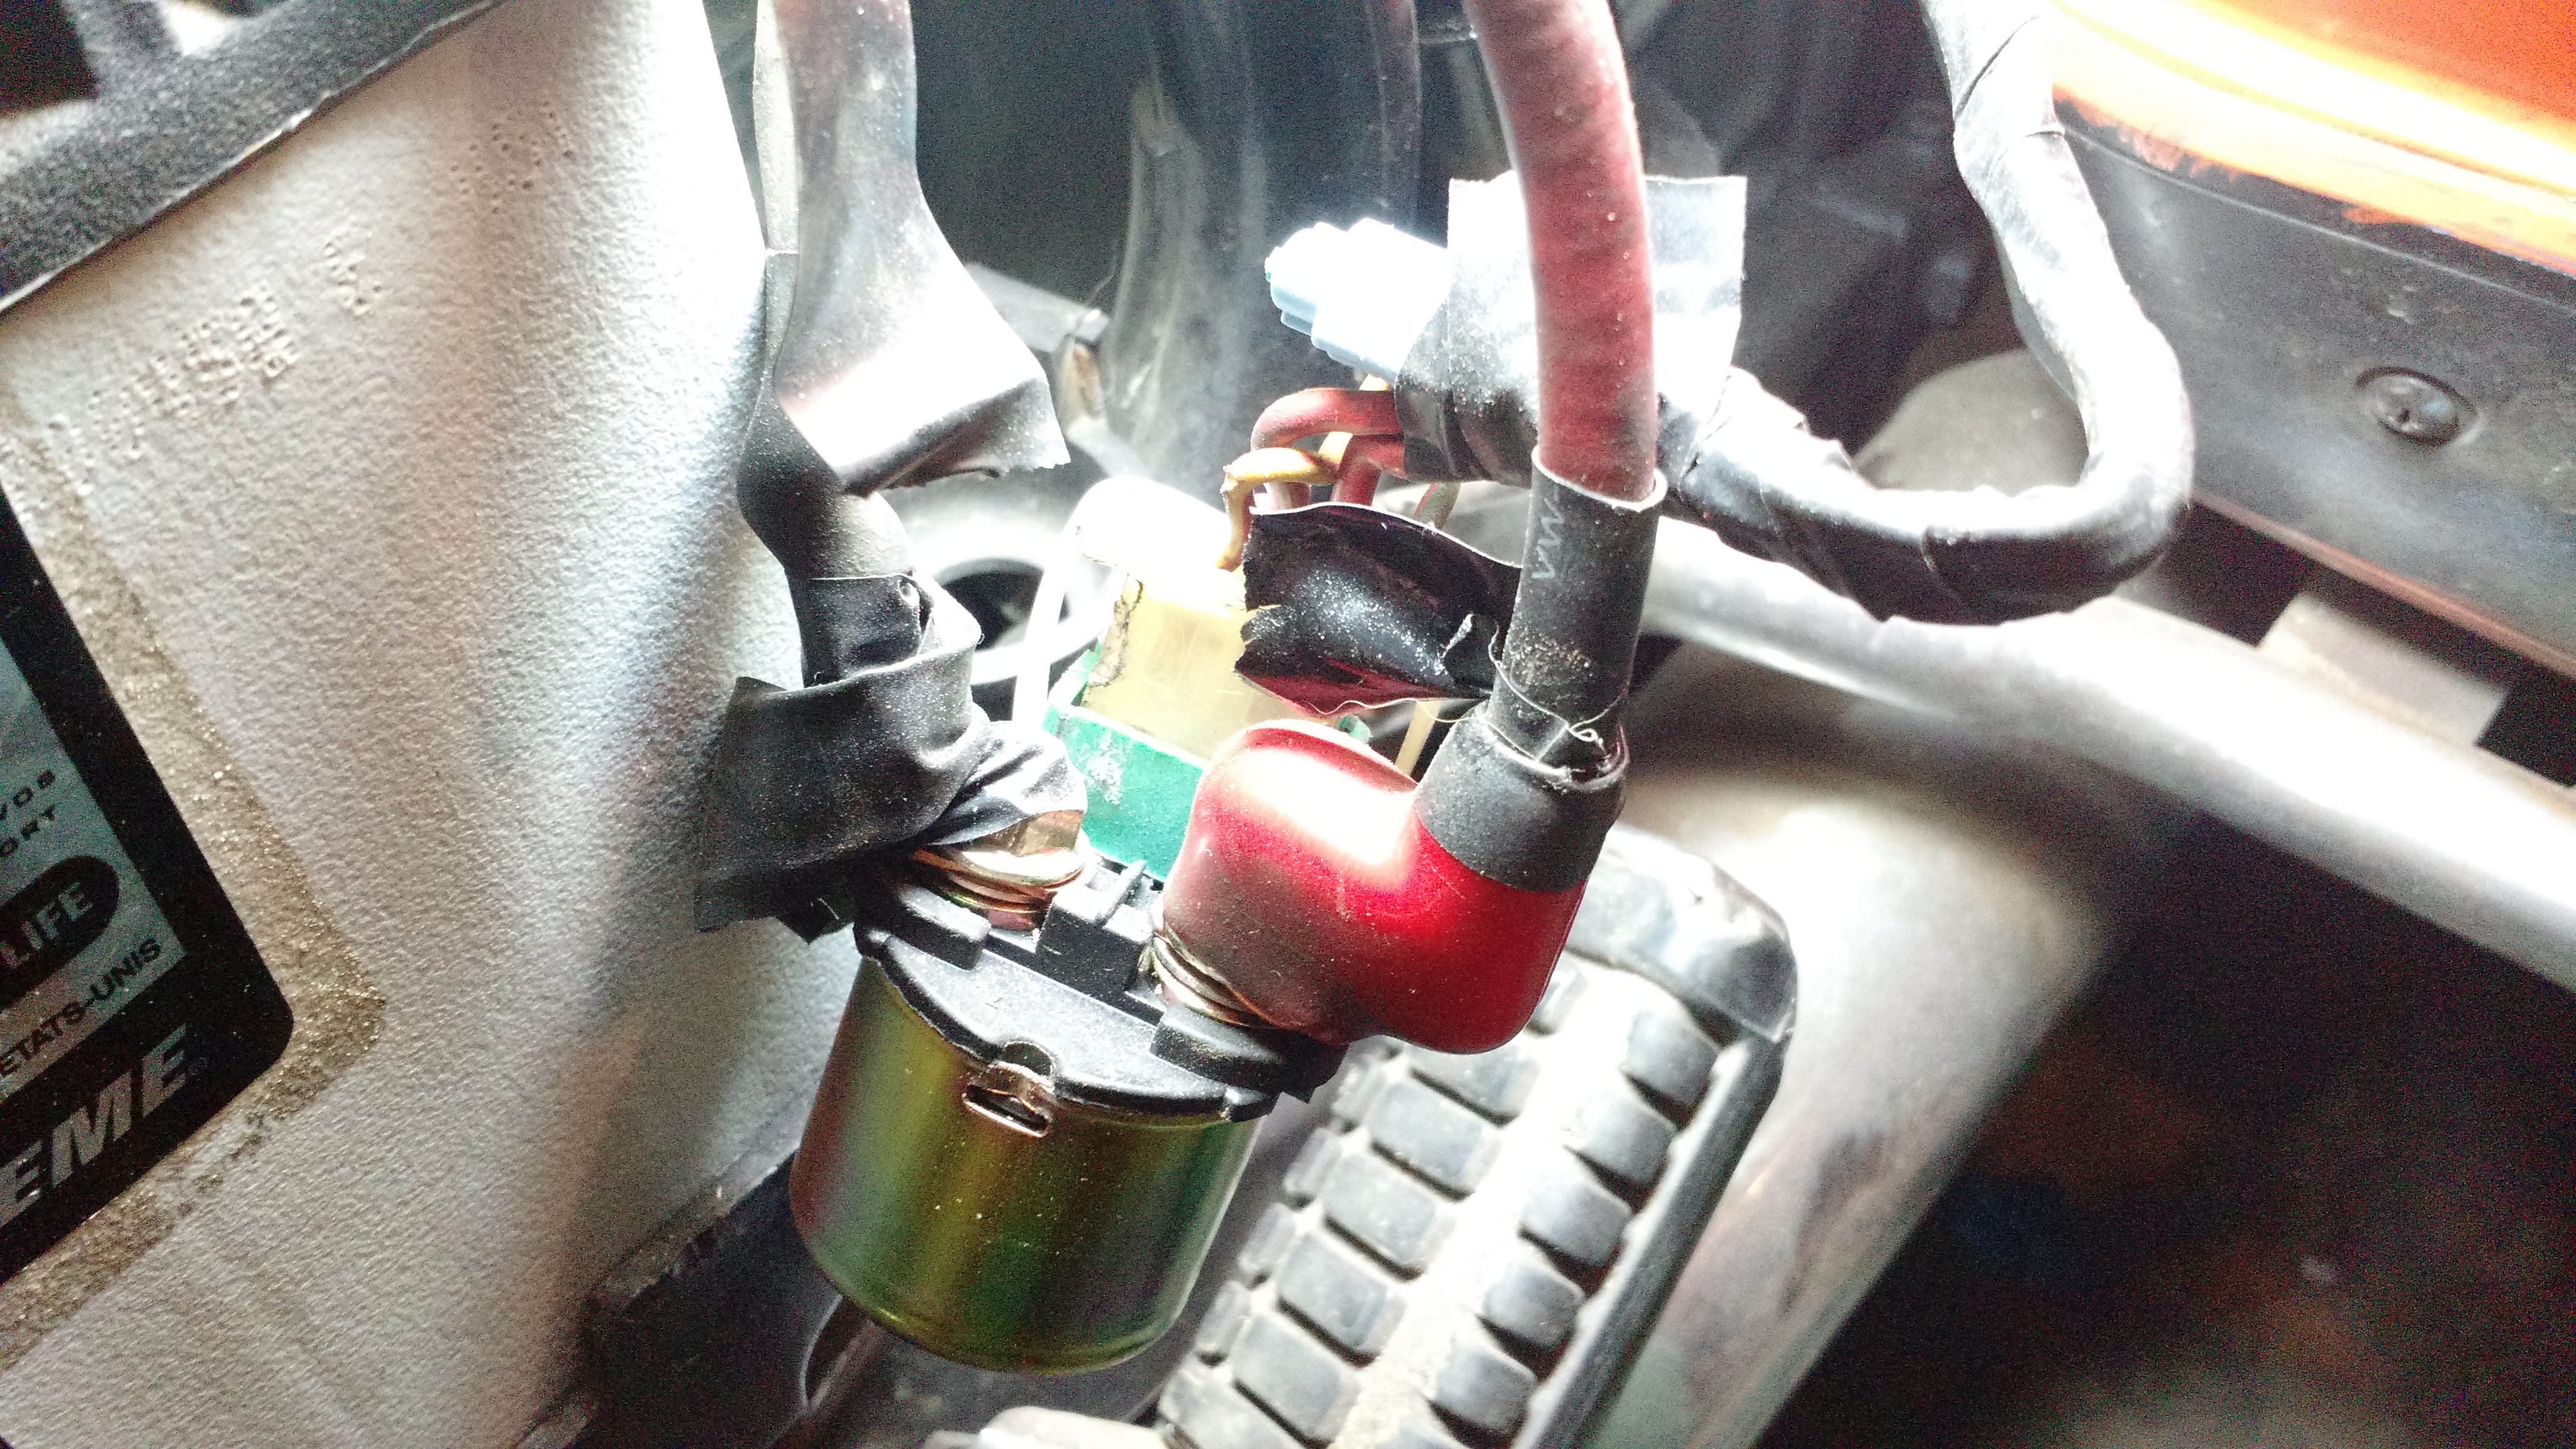
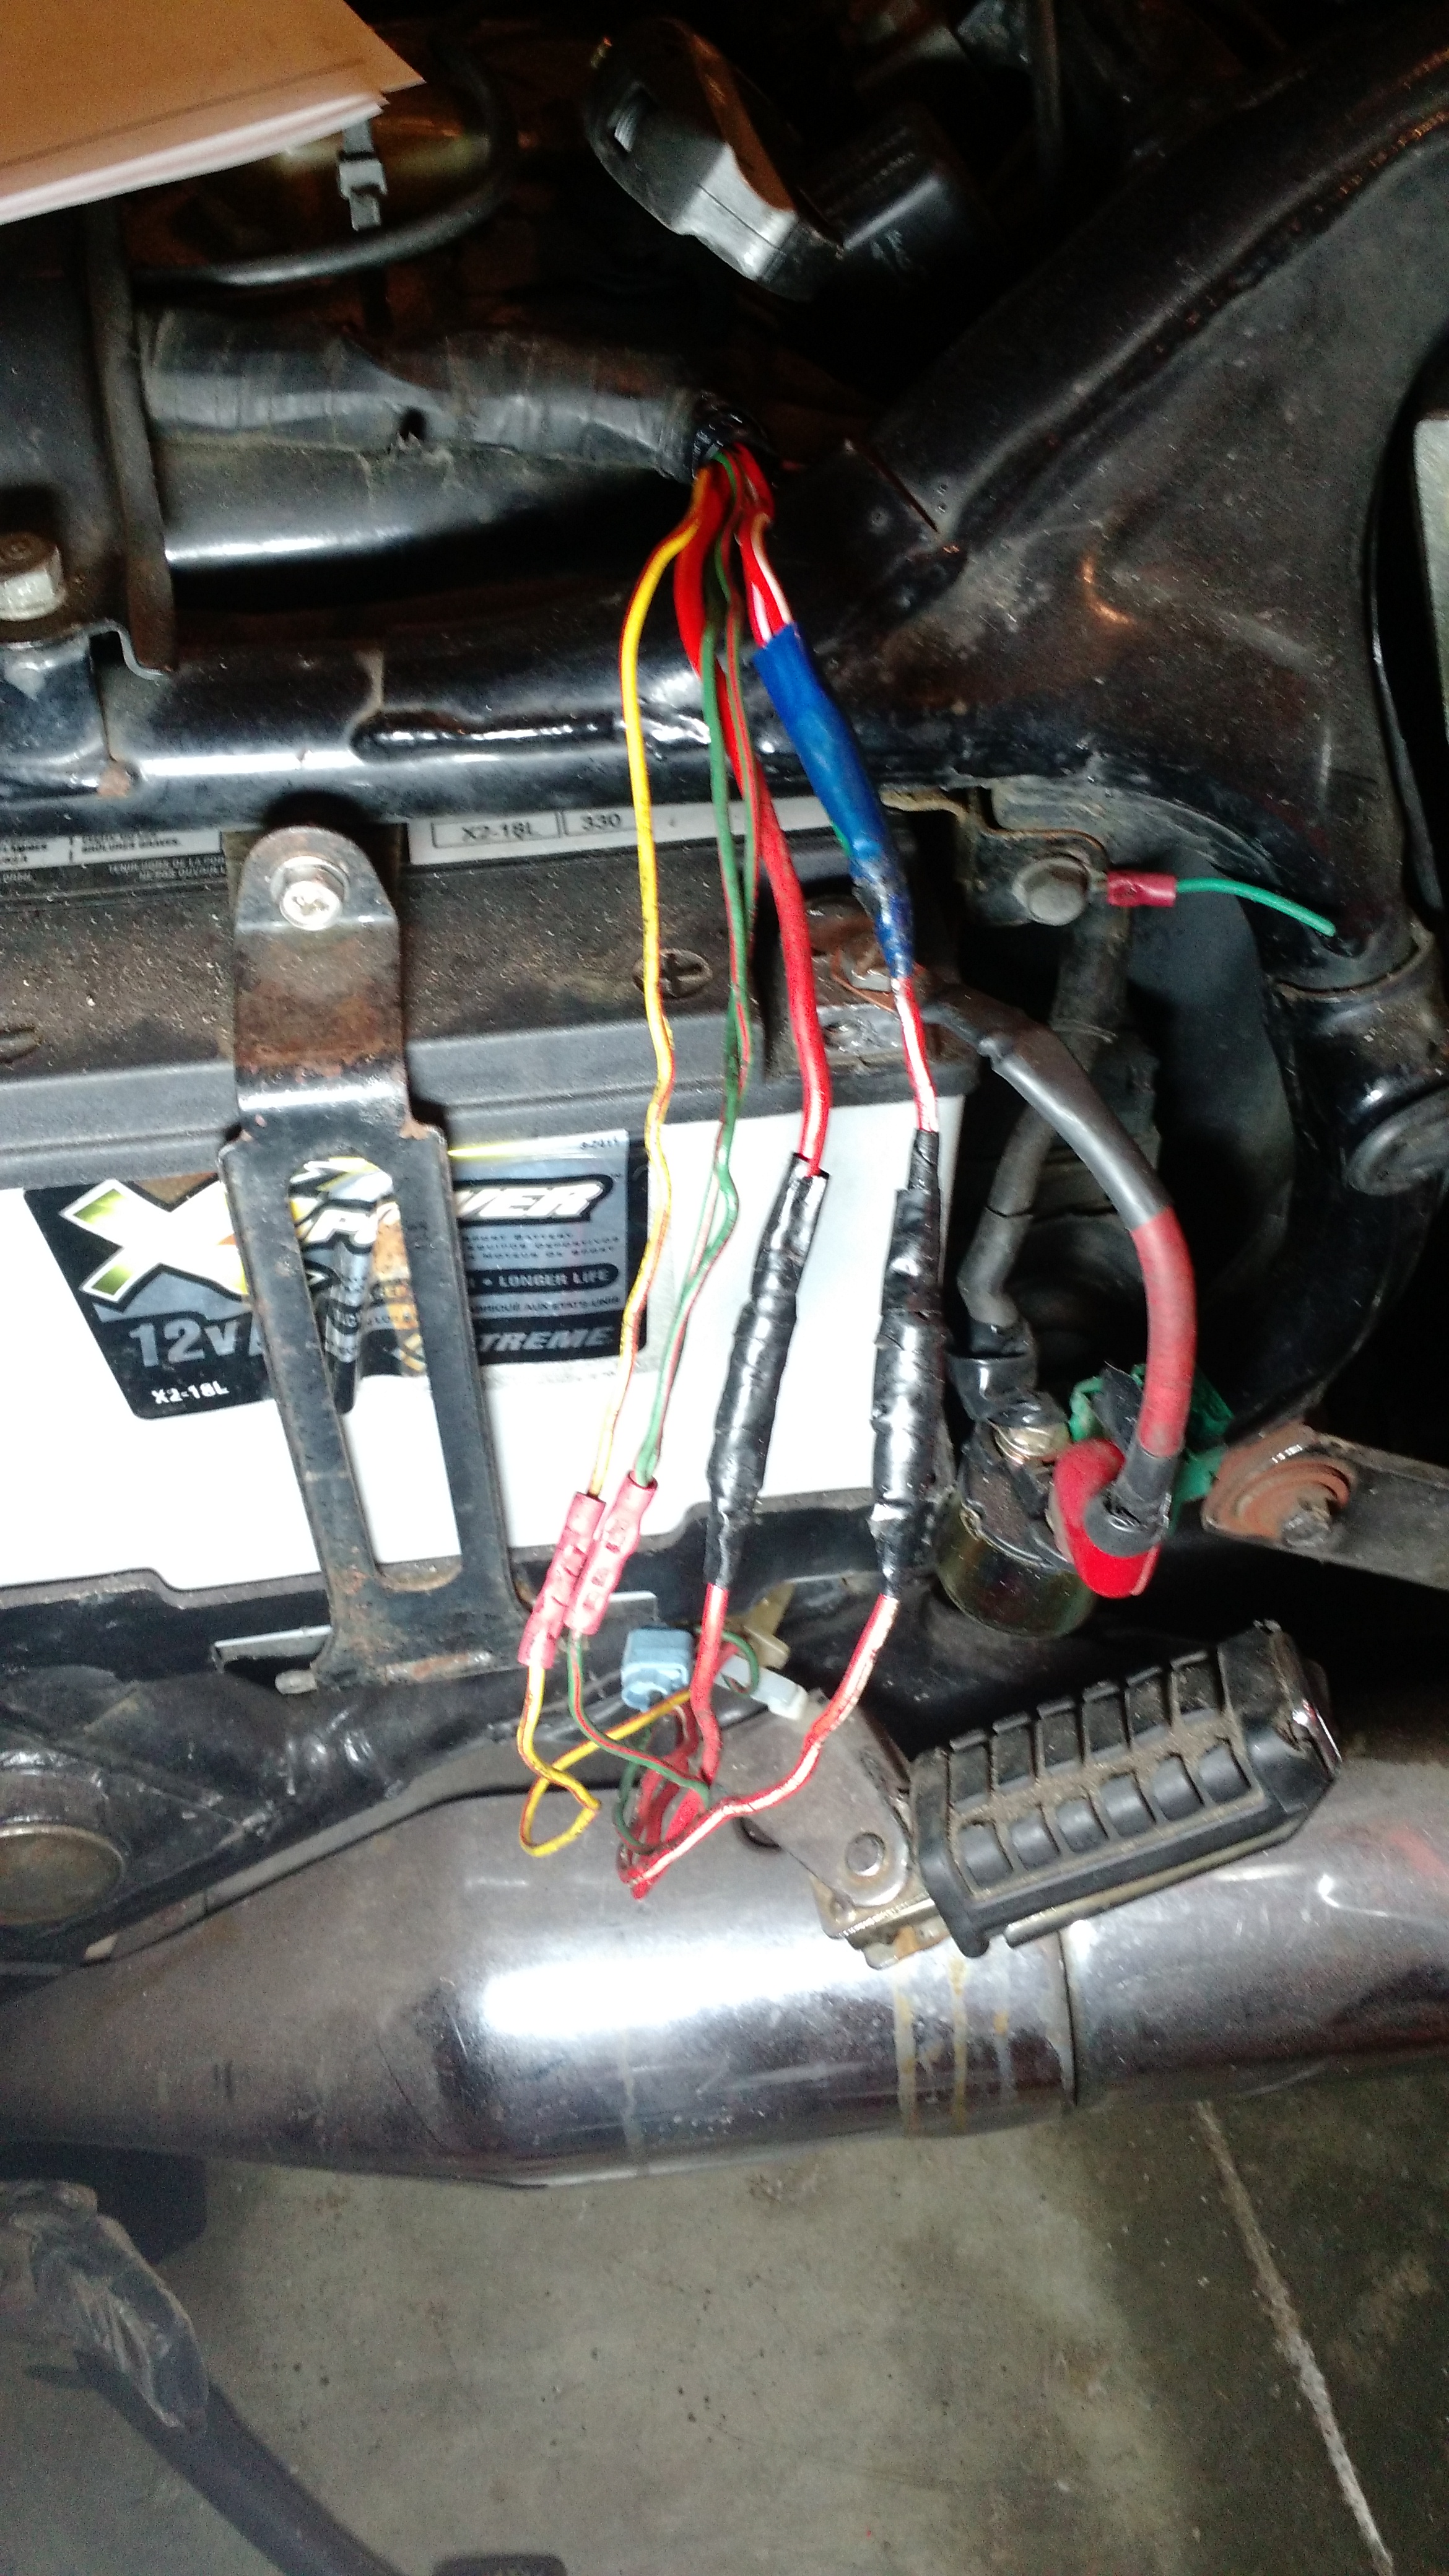
I took apart the wire tape to see if I could find the source of the starter relay problem.  It was pretty messy, but not really wrong:

image

image

After doing some testing, I discovered that the problem was in one of the connectors up near the handlebars.  Apparently one of the wires was a bit loose and squeezing it together seems to have it fixed.  For now, at least.

I went ahead and got the top box put together and bolted on.  I decided to give it a mock up as I wait for parts to arrive tomorrow:

image

Coming Along Nicely

Everything is coming along nicely.  The bodywork is wrapped in blue, the timing belt is changed, and I’m just waiting on the last few parts from BikeBandit.com to seal up all the various leaks.

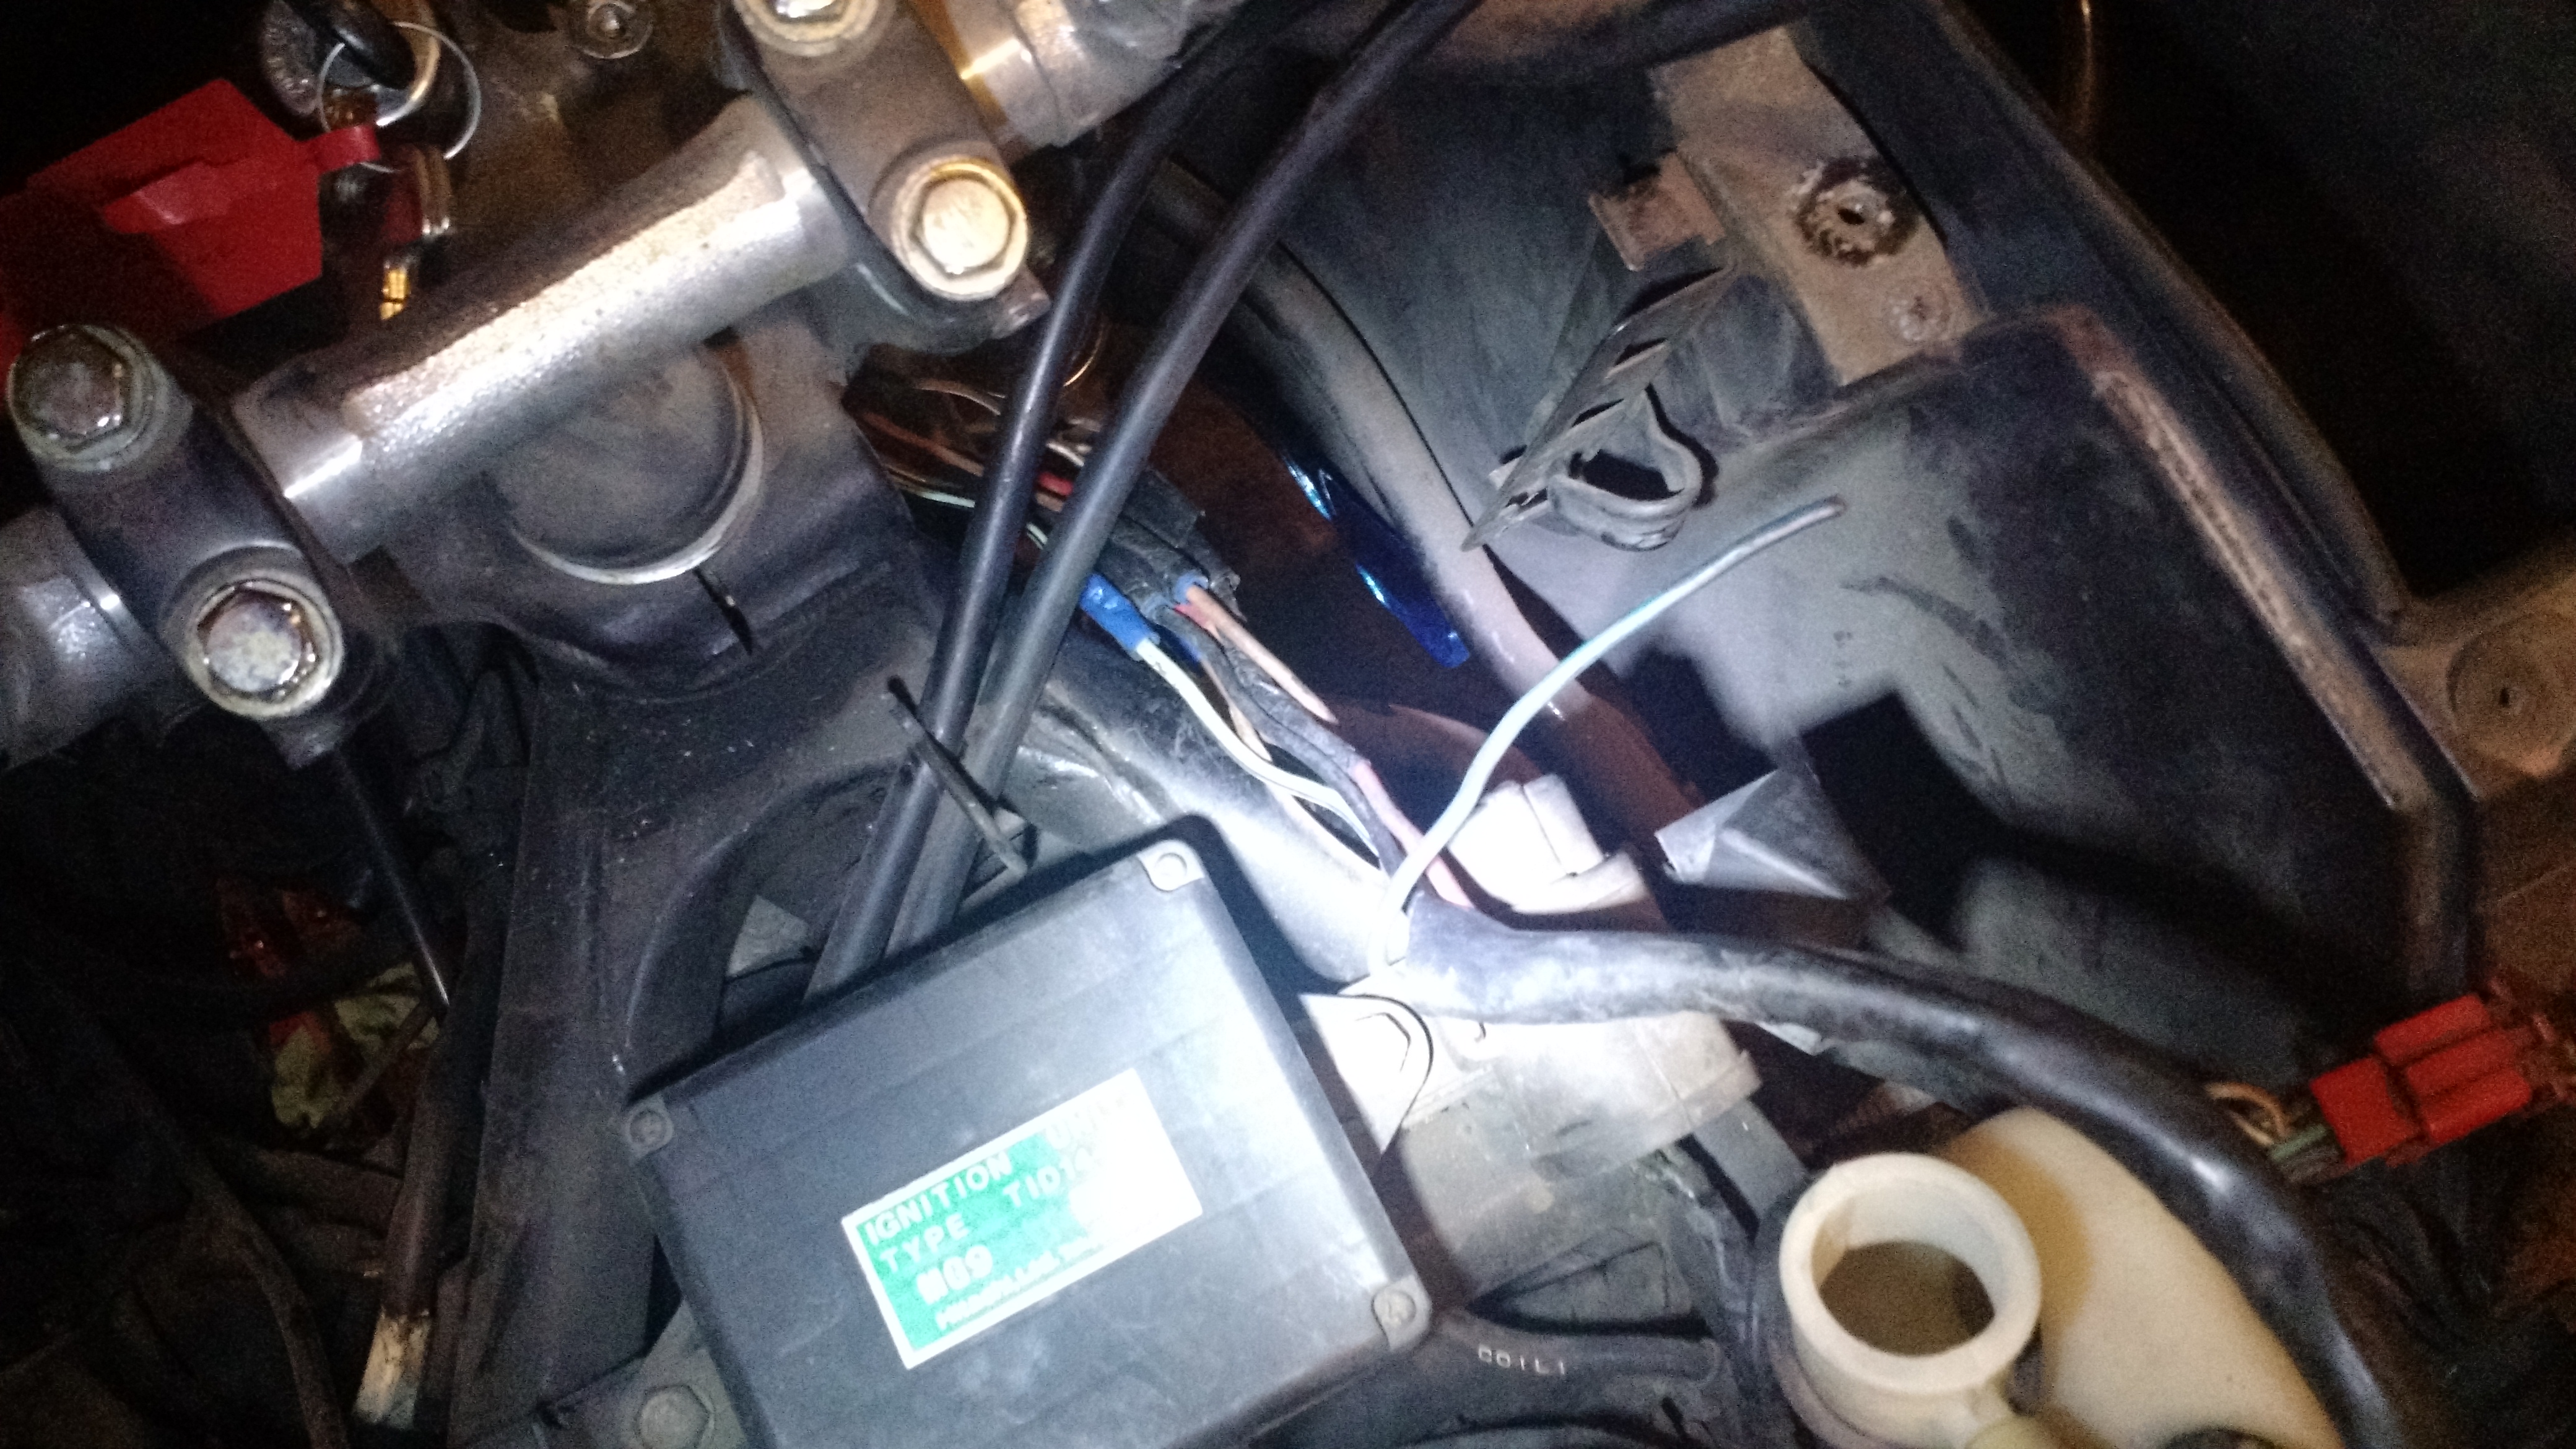
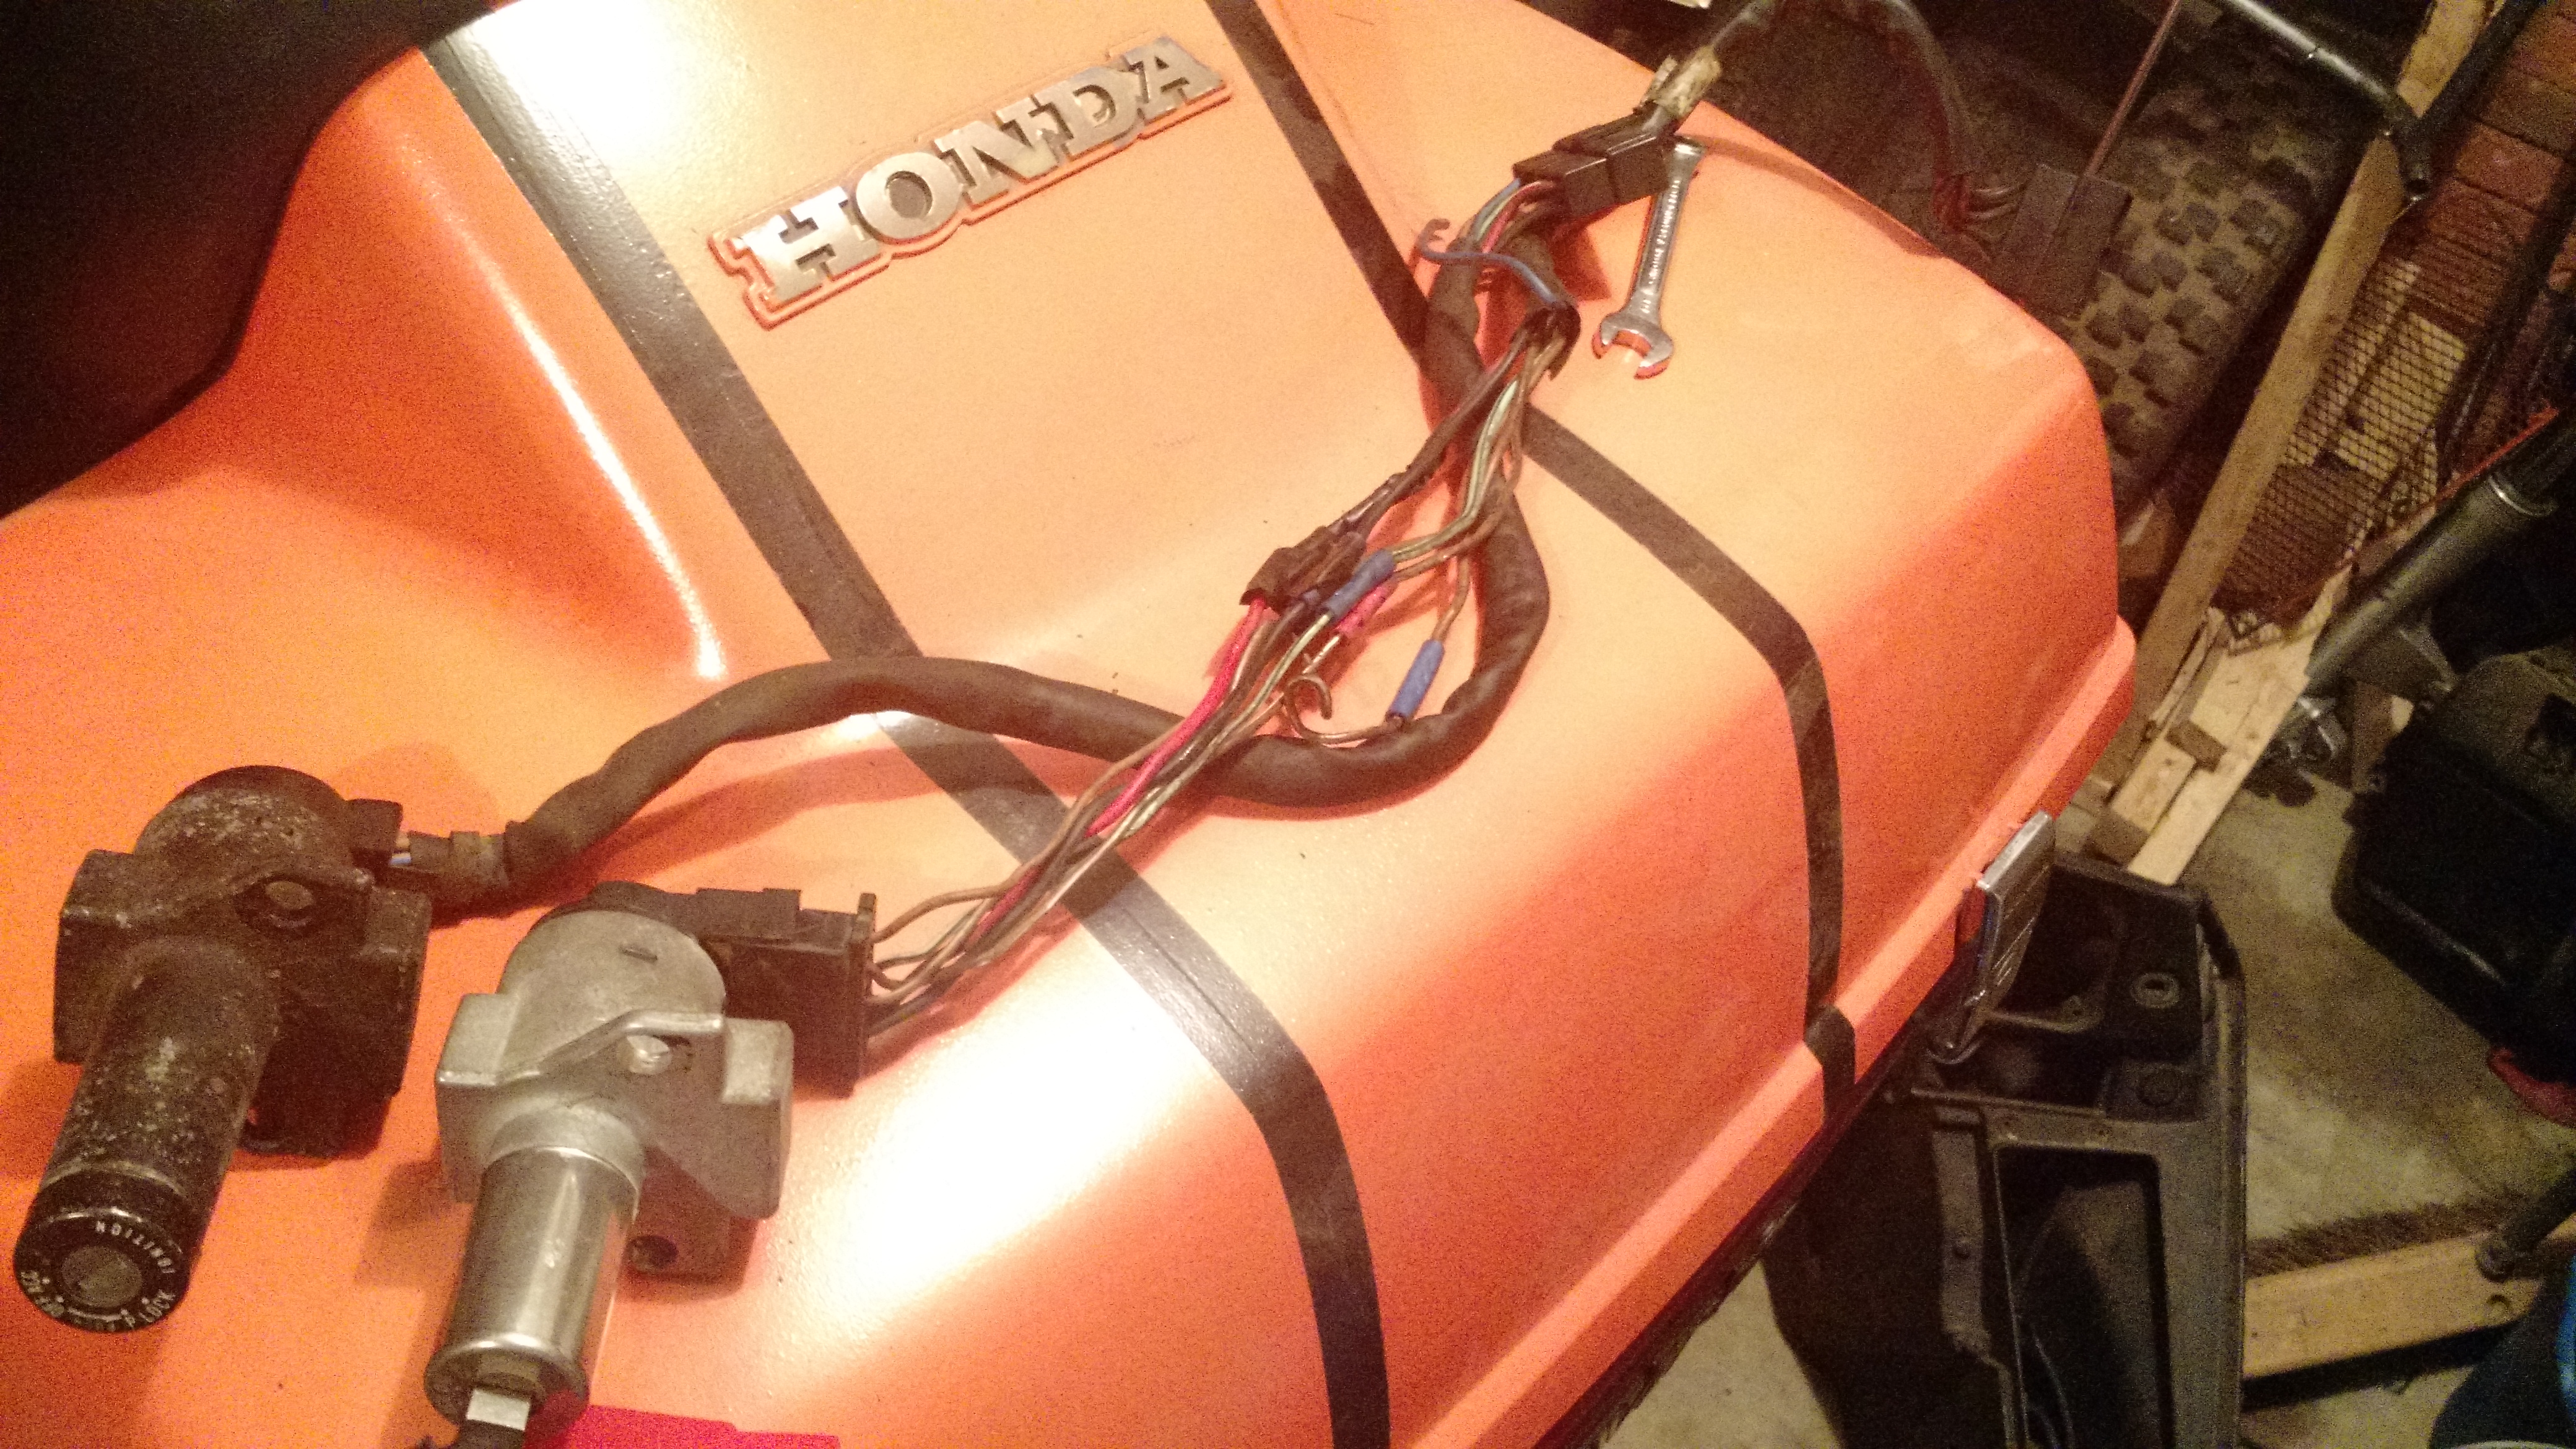
One of the “while I wait” projects was to get the cooling fan working.  I bought a universal thermostatic switch from Advance and was working on getting it hooked up when I discovered that there is no power at all to the cooling fan.  According to the wiring diagram, the cooling fan is supposed to have +12V whenever the ignition is in the “run” position and the thermostatic switch in the water pump housing is supposed to ground the fan when things get too hot.  Tracing things back, though, I discovered that there was no power at the fuse box, so I dug in to the wiring harness a bit.  What I found was that the original GL1200 ignition switch was replaced with switch from some other Honda motorcycle.  While the GL1200 switch has 7 wires, this one only had 6 so good old Cleetus did what any redneck would do and just didn’t hook up the last wire.  That last wire just happened to be the blue-orange for the cooling fan. 

image

I pulled this mess out and replaced it with the ignition switch from the ’84 Aspencade which eliminated all the electrical tape and crimp connectors:

image

(The black switch is the GL1200 while the silver one is from some unknown other Honda motorcycle)

With the new switch in place, I buttoned up the radiator and went to give the bike a test start.  Nothing.  The lights go out as though it is going to start, but nothing from the starter.  I seem to recall that when I installed the replacement solenoid the wiring was wrong but when I wired it the right way it wouldn’t start.  I suspect that there are some other shenanigans going on with the wiring harness and it might all stem from trying to make the wrong ignition switch work.  My next step is to pull out the wiring diagram and start looking at the starting circuit.

In good news, though, I did find that the tires from the ’84 have 2012 and 2011 date codes and aren’t dry-rotted or worn so I’m going to just use those for now any maybe look to new tires for next year.

Next steps (in no particular order):

– Rebuild rear air shocks
– Rebuild front forks
– Change oil
– Change front brake pads
– Change rear brake pads
– Change front brake fluid
– Change rear brake fluid
– Change coolant
– Install new tires/wheels
– Swap speedometer sensor
– Swap luggage
– Swap fender
– Bolt up bodywork
– Glue on new side panel mounting nubs
– Assemble front fairing and windshield
– Get orange and blue paint off engine guards
– Bolt left engine guard to the frame
– Replace left front turn signal assembly
– Install hardware on luggage

Once those things are done, it’ll be time to get it registered and tagged.  Then I can worry about getting a radio installed while I’m riding it.  I also think there will be a number of rattles and such that I’ll need to run down plus I need to make sure the cooling fan really does work.

Paint sucks.

I was lamenting the primer/sand/primer/sand/primer/sand/base/sand/base/sand/base/sand/clear/sand/clear/sand/polish process to a co-worker and he asked me why I was bothering to paint it.  “Just wrap it”, he said.  My immediate thought was that I could’t vinyl wrap it because…  er..  well…  uhm..  heeeeyyyyy…  why can’t I vinyl wrap it!?

I ordered a 5’x2′ sheet of 3M 1080 in Gloss Blue Metallic, got some knifeless tape, and then went to Meijer for a can of denatured alcohol, some silicon kitchen spatulas to use as squeegees, a bottle of propane, some good scissors, and got to work.

I decided to start off easy, so I tried the gas door.  I had already sanded and primered it, but my first lesson was that any little imperfection in or on the surface will be VERY obvious in the vinyl.  The gas door had a couple tiny little particles of paint on it that caused some really ugly bumps all over the surface, so I pulled the vinyl off, and used a razor blade to smooth the surface of the door.  Once it was smooth, I pulled out a new bit of vinyl and with a little stretching, squeegee-ing, and some heat from the torch, I got this:

I am very impressed with how nice it winds up looking!  It has a deepness and uniformity to the color which would have been very difficult for me to achieve with paint.  It also doesn’t want to chip very easily, but it does seem to be easy to scratch — the vinyl wound up having a couple scratches in it as it came off the roll.

My next attempt was the lid for one of the side bags.  I tried doing it as one piece, all the way around, and I just can’t get the vinyl to shrink enough around the corners.  On one side, I managed to burn a hole through and on the other, it just won’t un-wrinkle.  I’m going to peel back some of that vinyl and use the knifeless tape to put a seam in to finish that one without wasting the vinyl that’s already on (or at least most of it) and then I’ll do the other side making sure that I put the seam on the side that faces towards the frame.  Future parts will need to be done similarly to avoid that mess.

I’m not entirely sure how much of this stuff I’ll wind up needing, but I ordered another roll 30’x5′ today as well as a 1’x5′ roll of carbon fiber pattern vinyl for some of smaller trim bits.  I’m thinking that maybe the insides of the forward-facing vents for the lower front covers and for the bottom sections of the left and right side panels.  It goes on so easily, though, that I may make liberal use of it to help improve the overall look of the bike.  Right now I’m thinking that I might be able to find a vinyl that would work well on the inside of the front fairing (the dashboard?) to make it look like it isn’t 30 years old.

So far, so good!  Looks like I’ll be able to ride this thing soon, if I can keep this up.

Shooting Primer and Base Coat

I’ve got my PVC-and-sheeting paint booth set up in the garage and have started getting things colorized finally.  I’ve already gone through three tall cans of primer and there’s plenty left to do, so that activity got delayed for a while.  In the meantime, I decided to go ahead and try shooting some color onto the sides of the faux tank.  The close-up pictures make it look really turquoise, but it’s a much darker blue than that.  It needs a couple more coats before I’m ready to consider it ready for wet sanding and then I’ll hit it with clear, but so far, I’m pretty happy with how it’s turning out.  Not bad for some rattlecans.