The Last Days
This will be the final update of the build thread before I leave for Gainesville. As of right now, the car is strapped down on the trailer and things are packed up and ready to go. It’s been a heck of a week so far though!
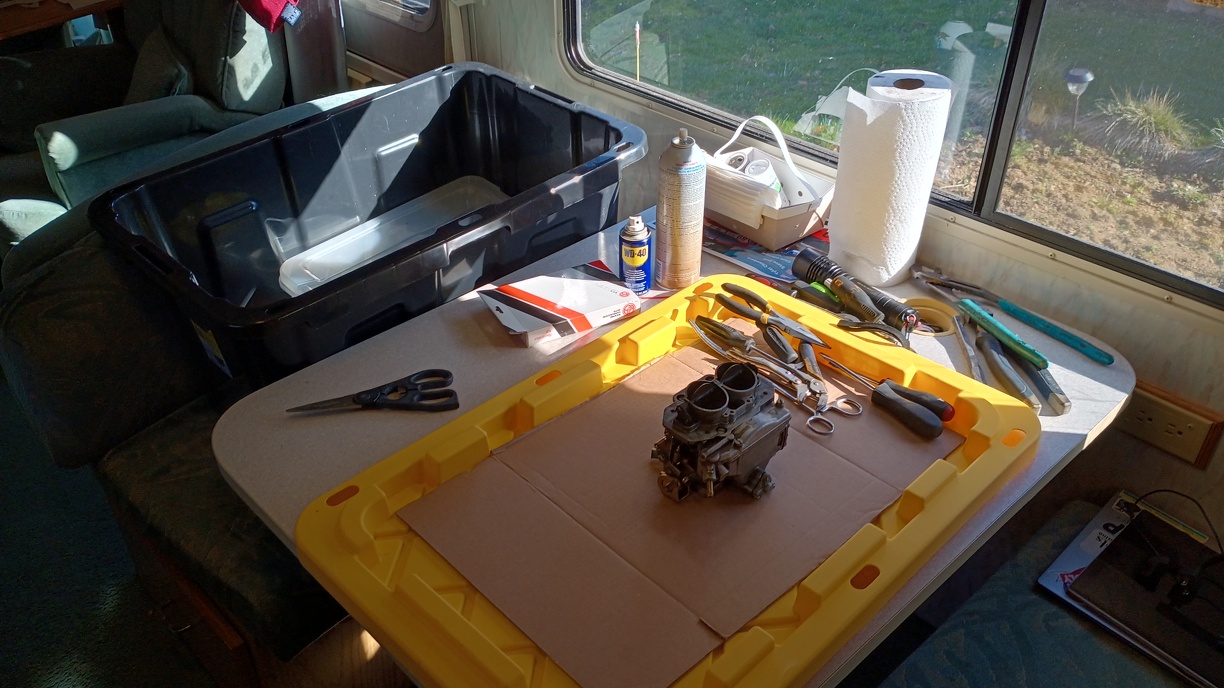
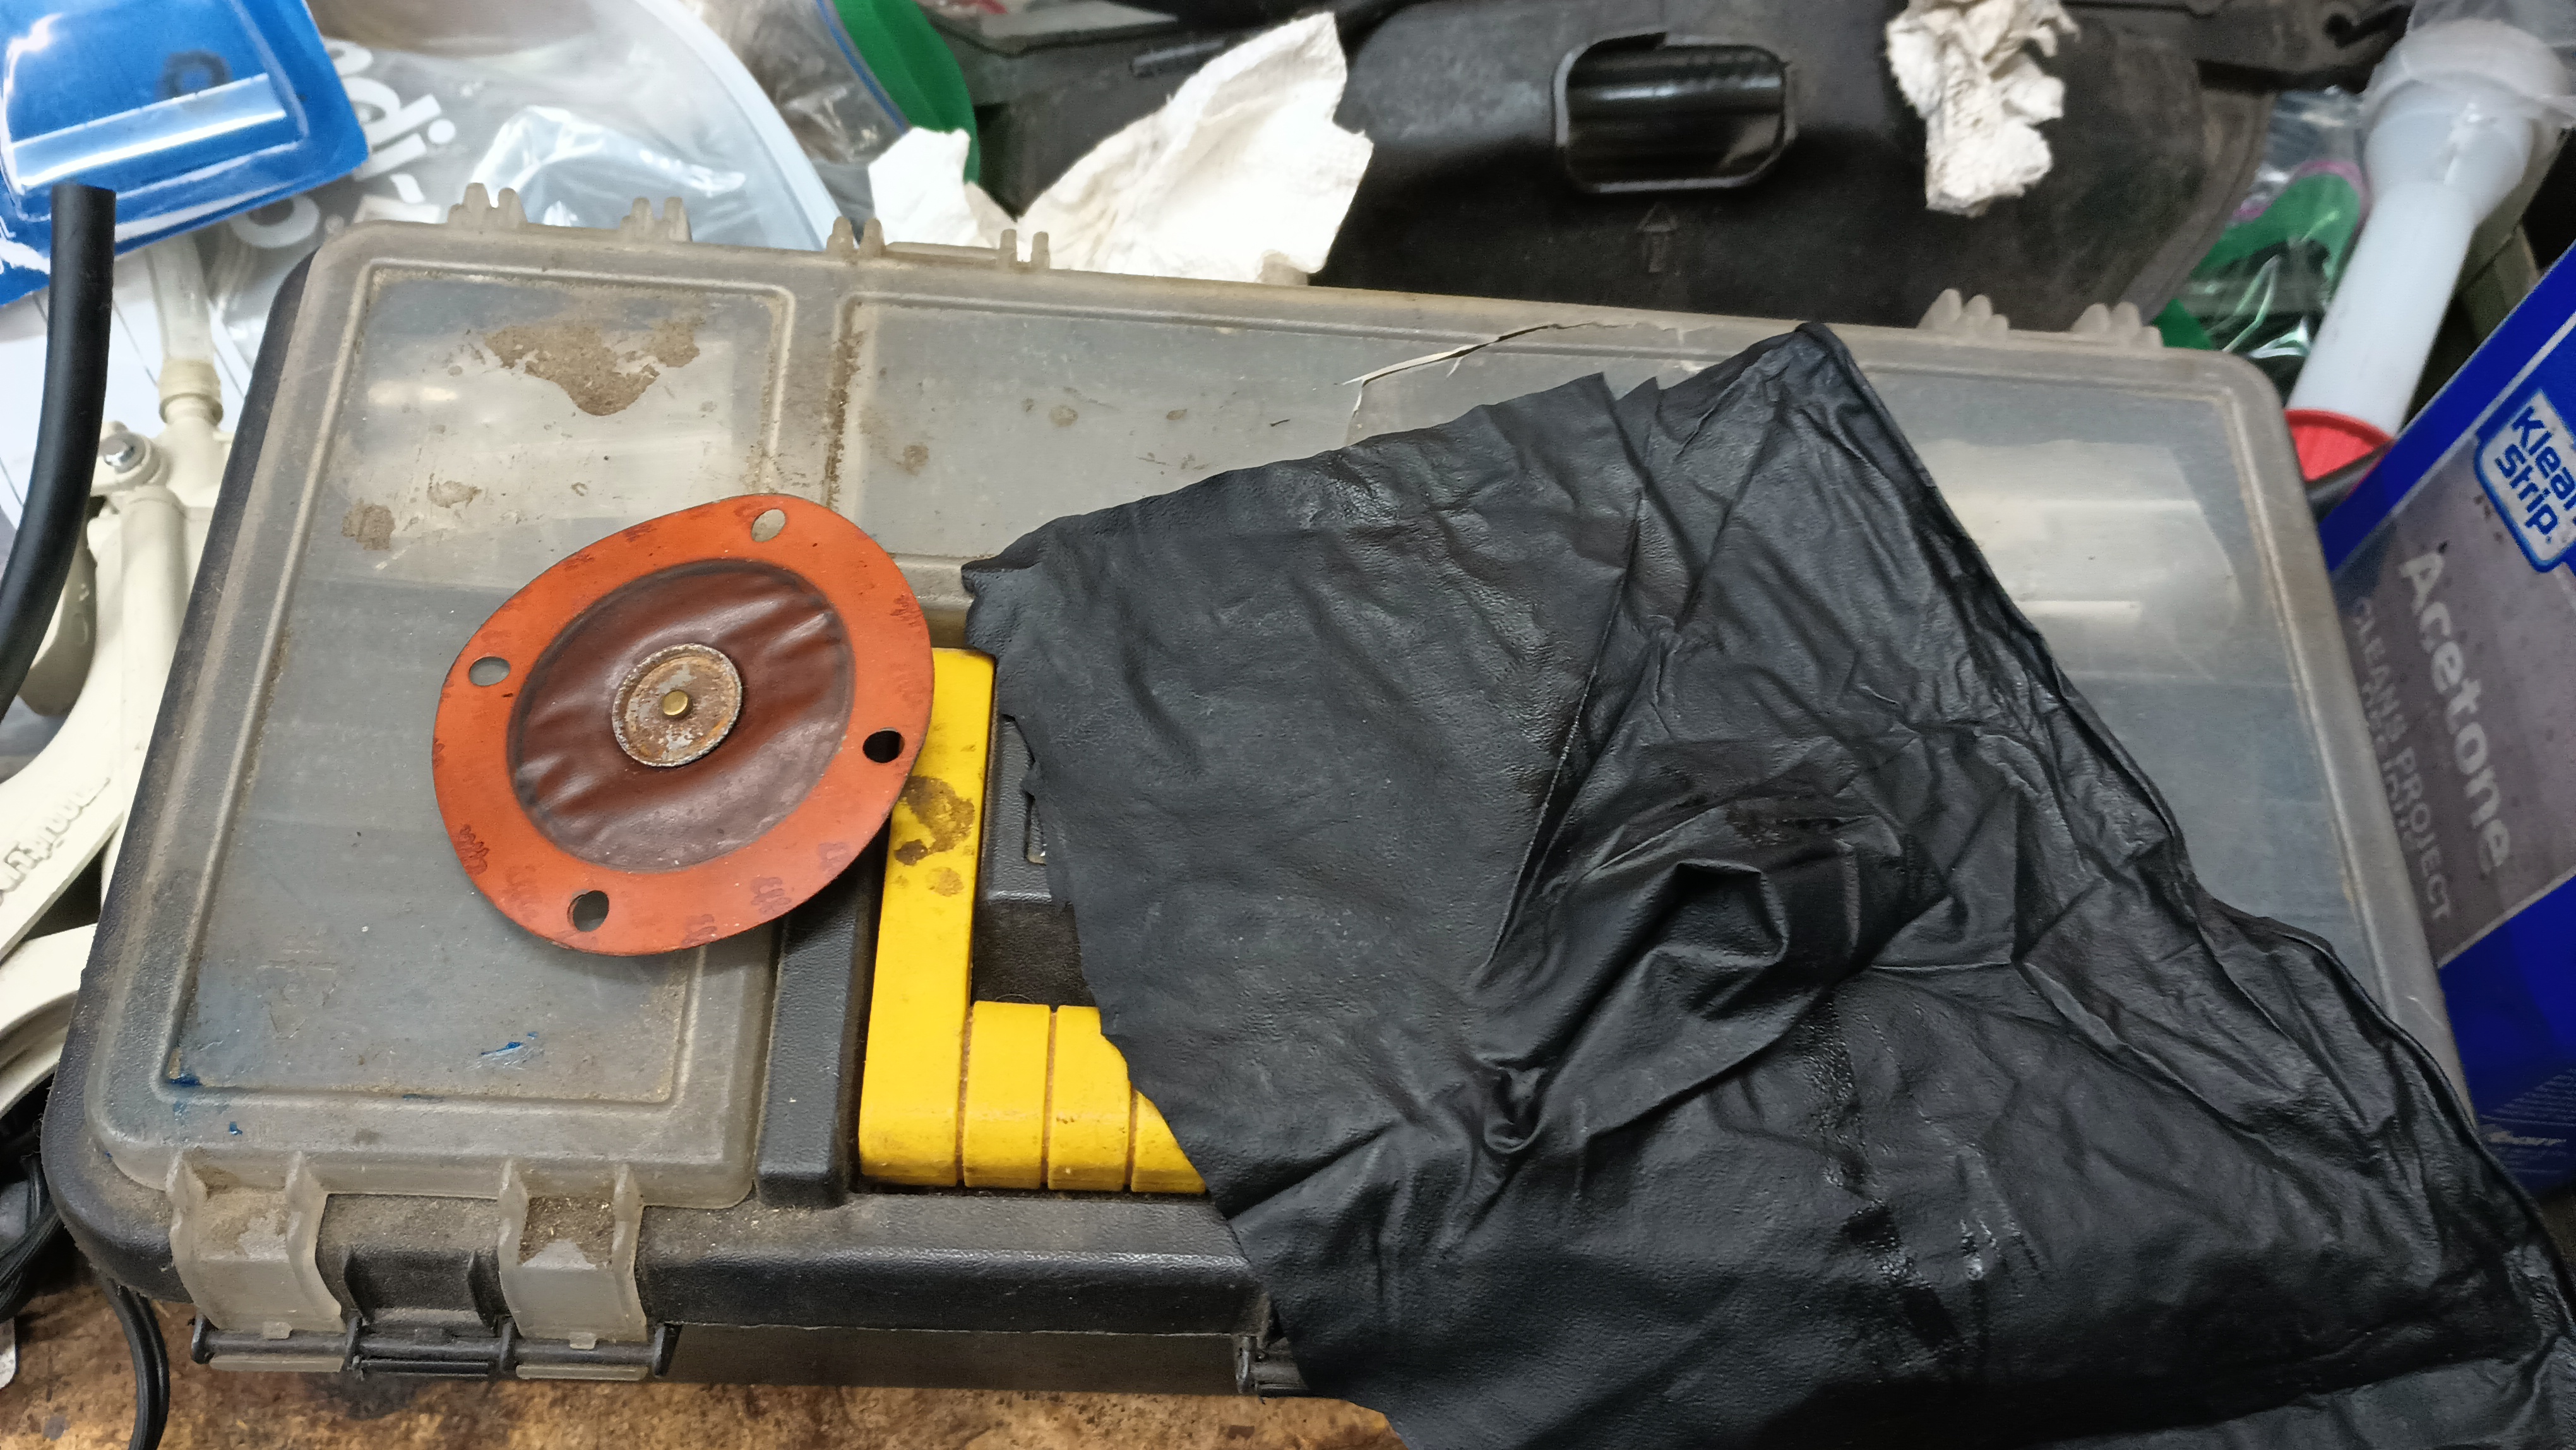
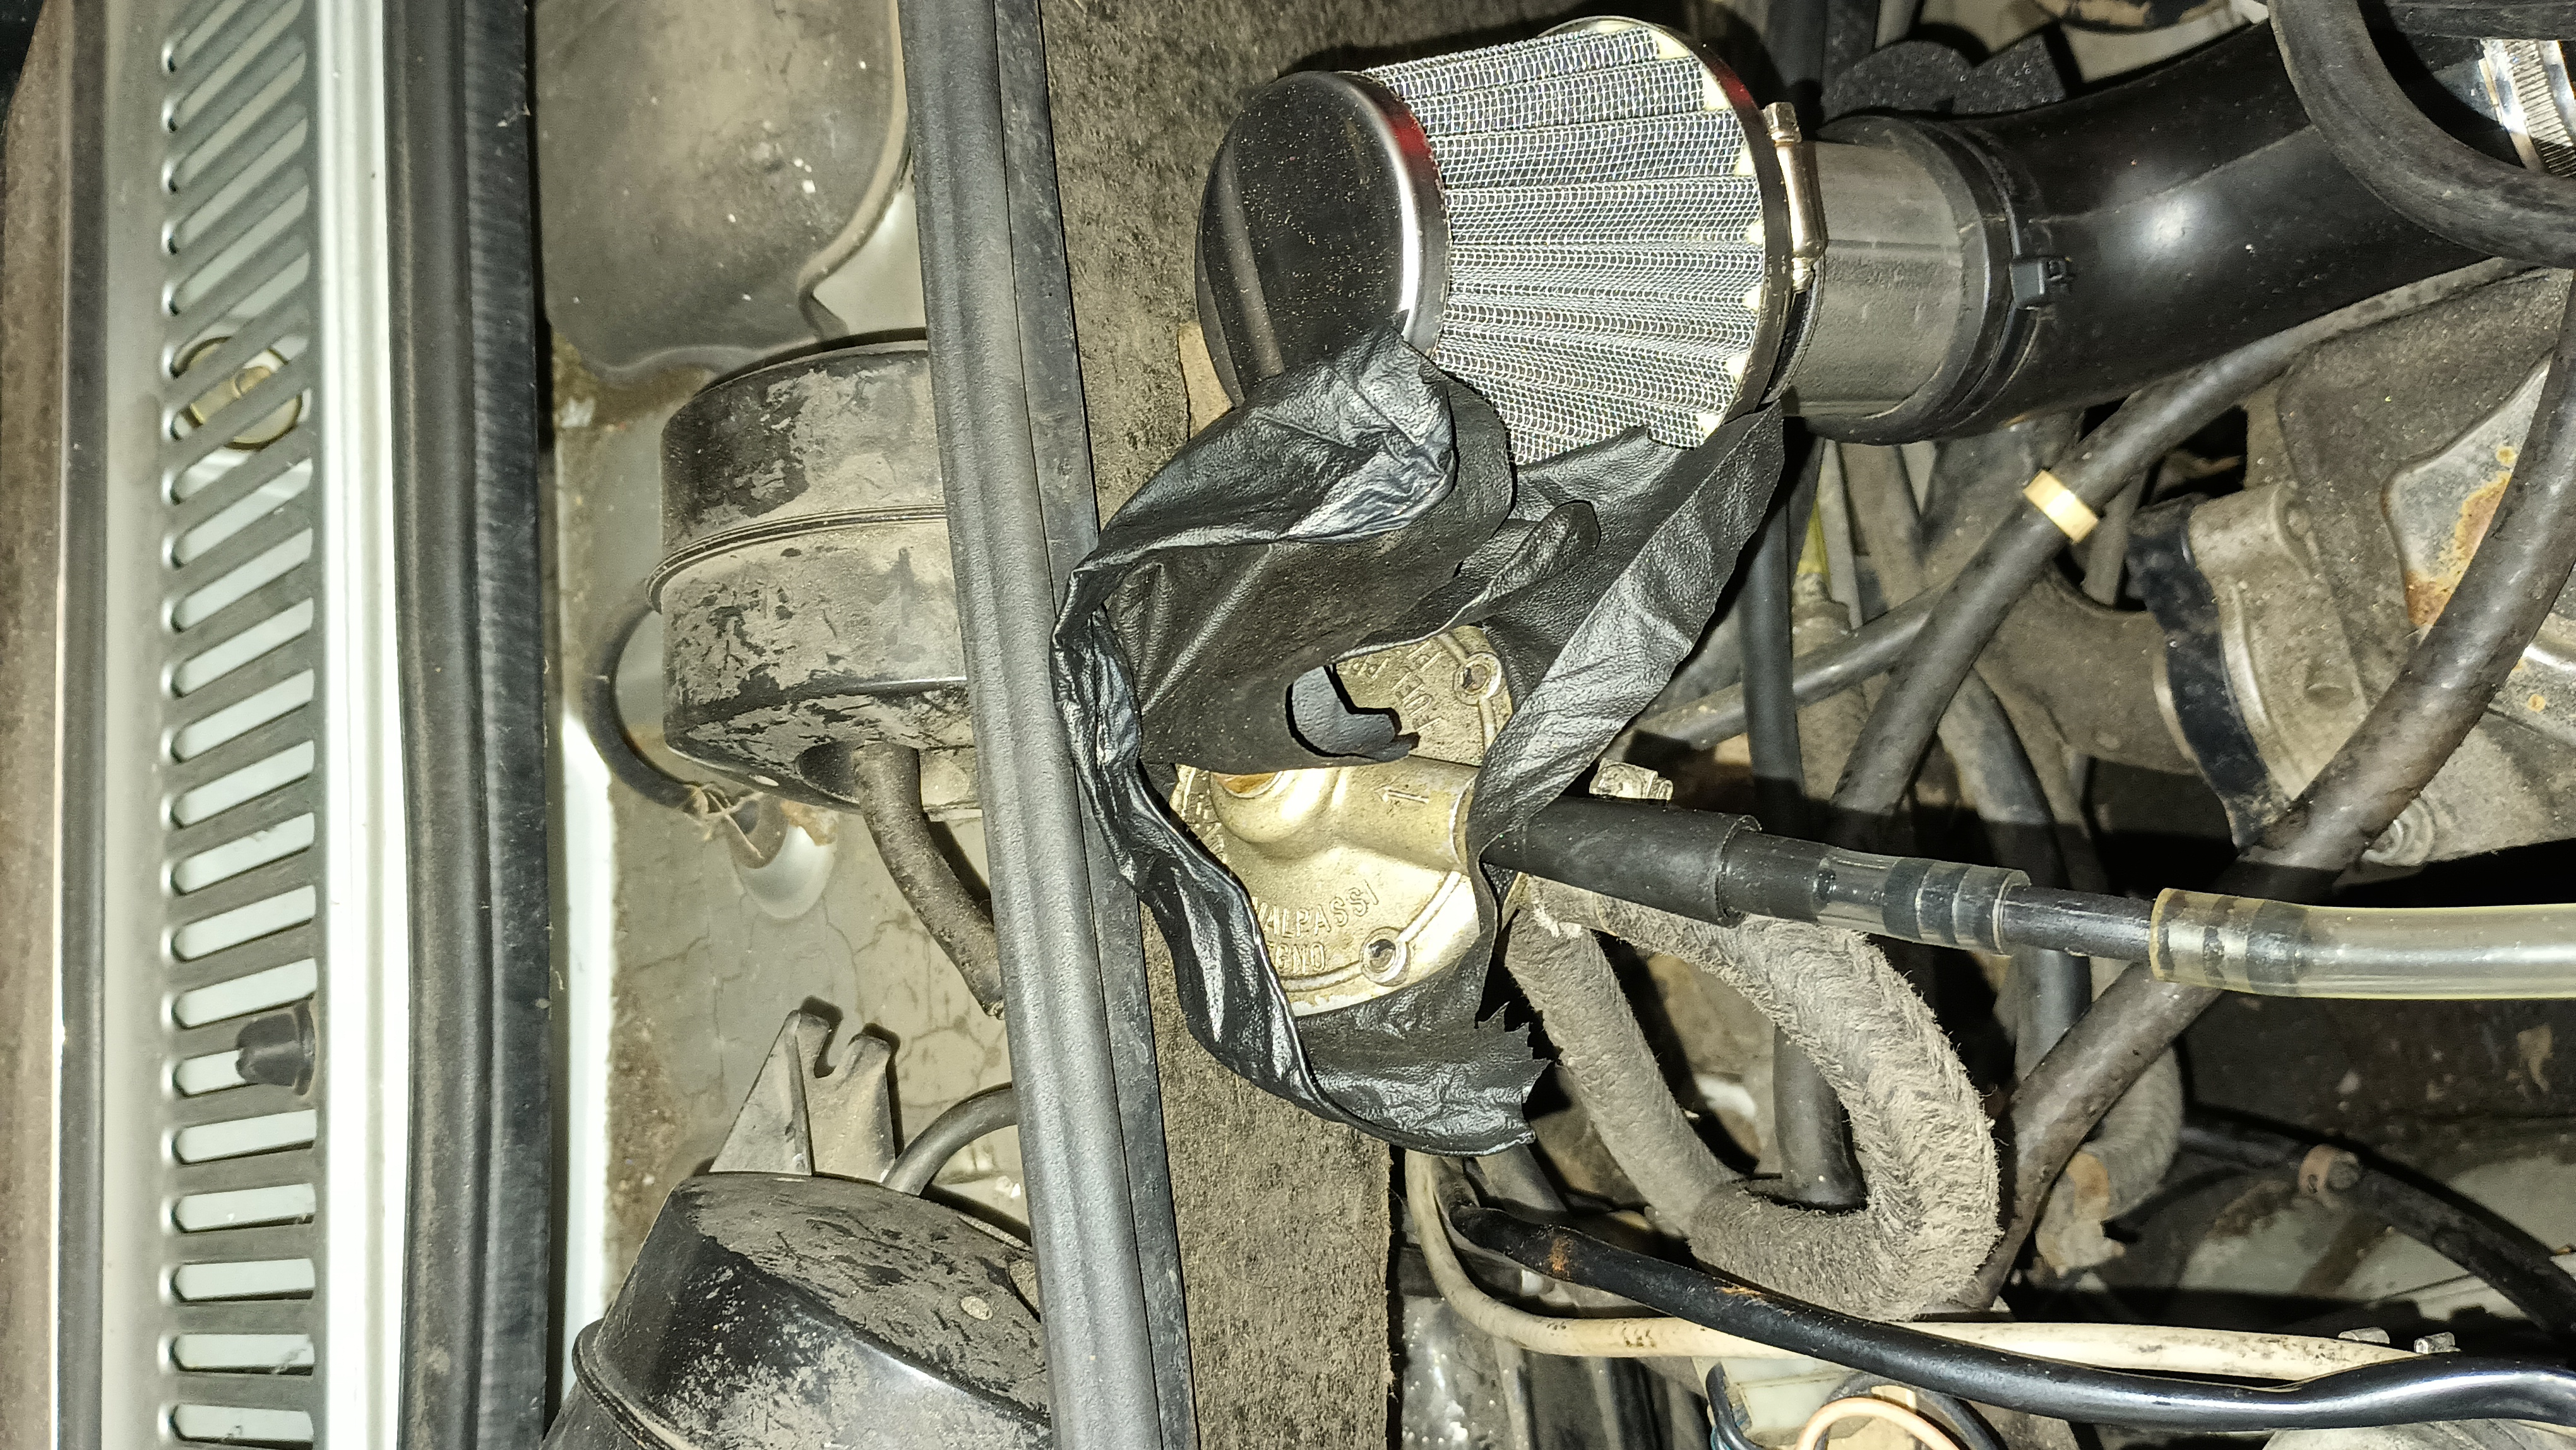
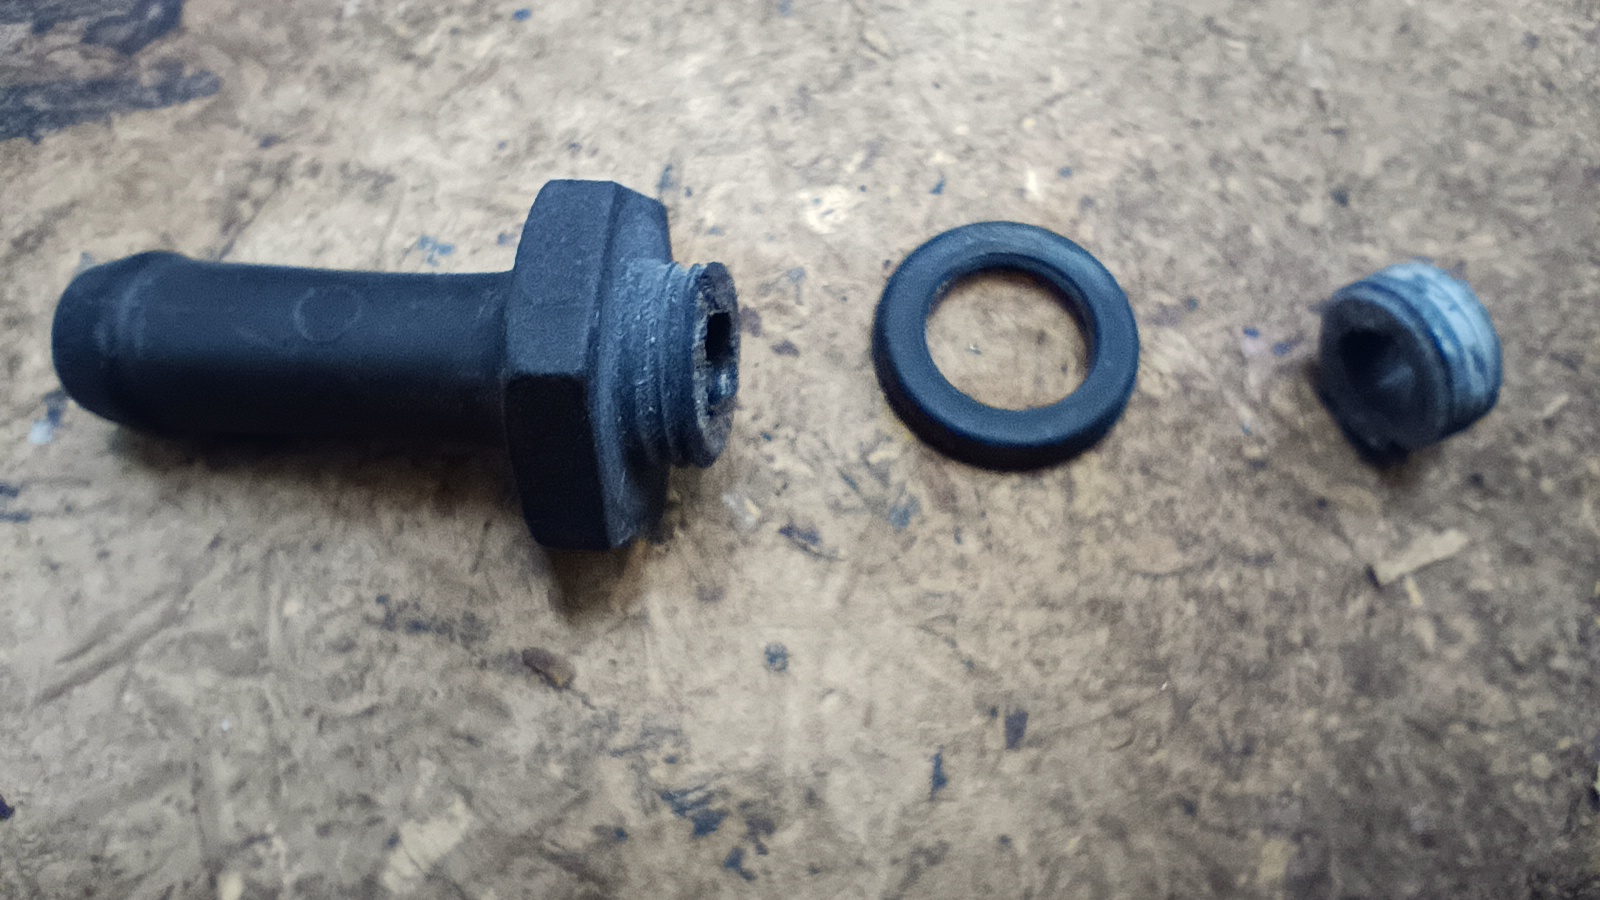
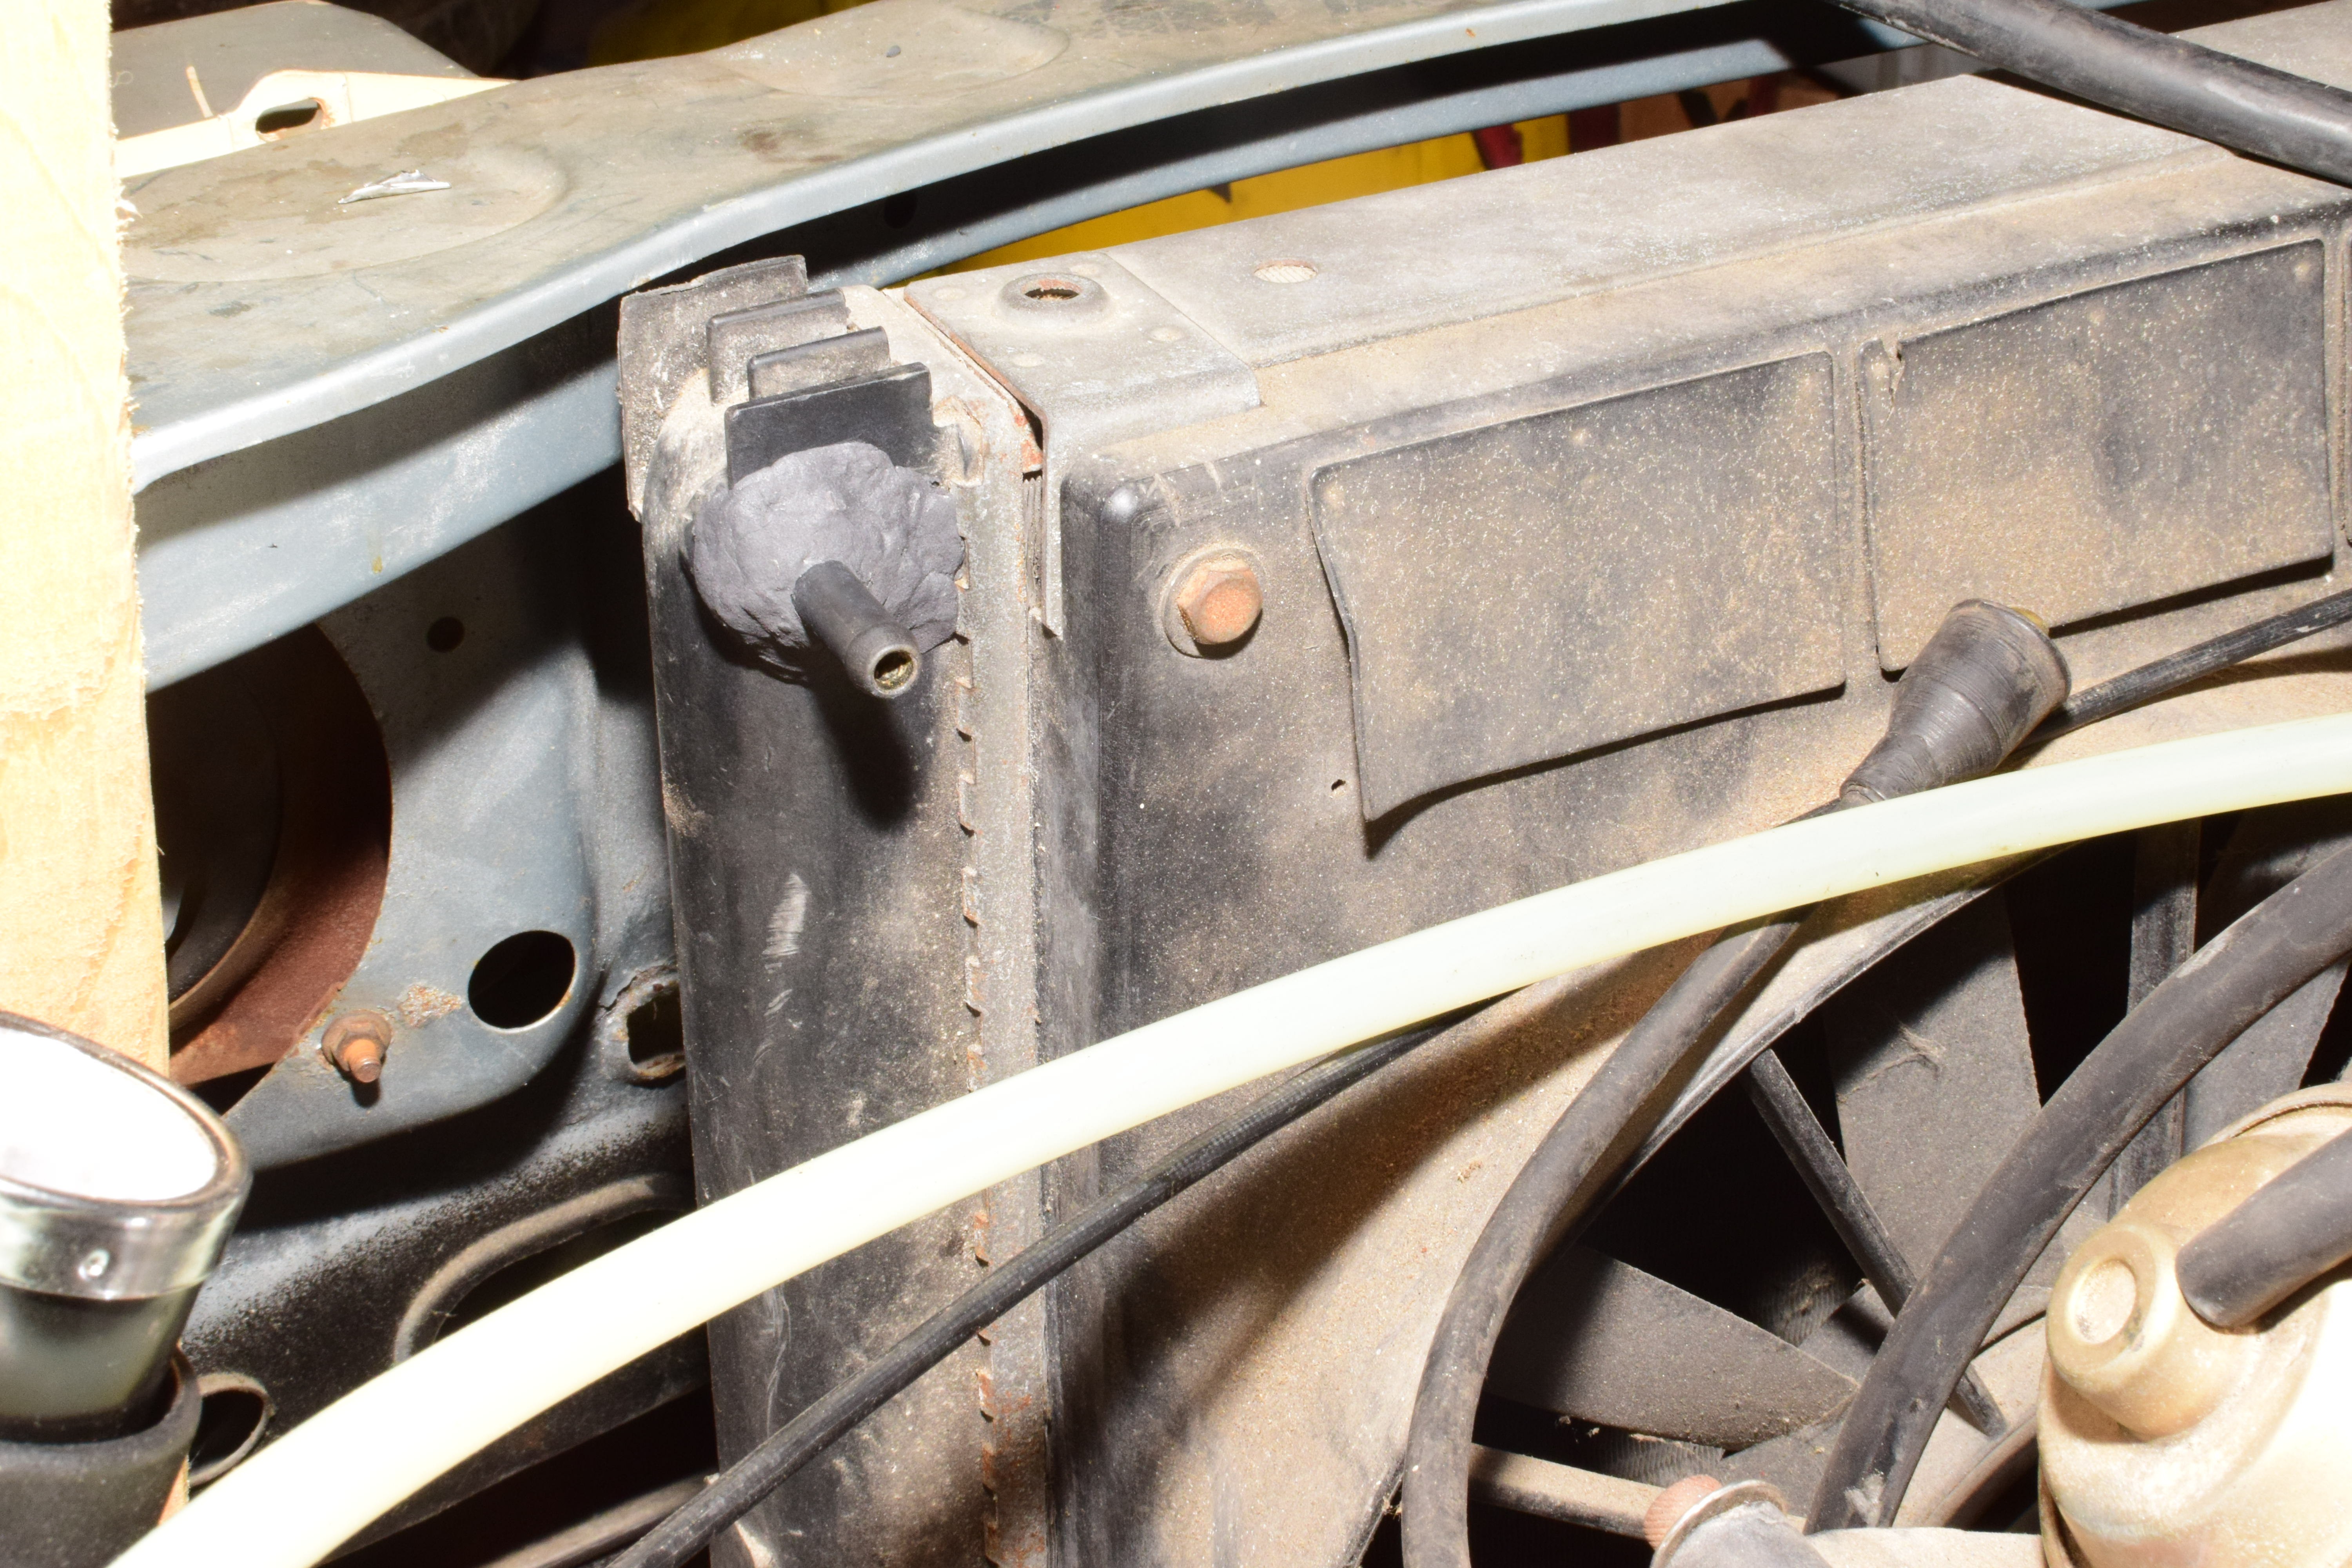
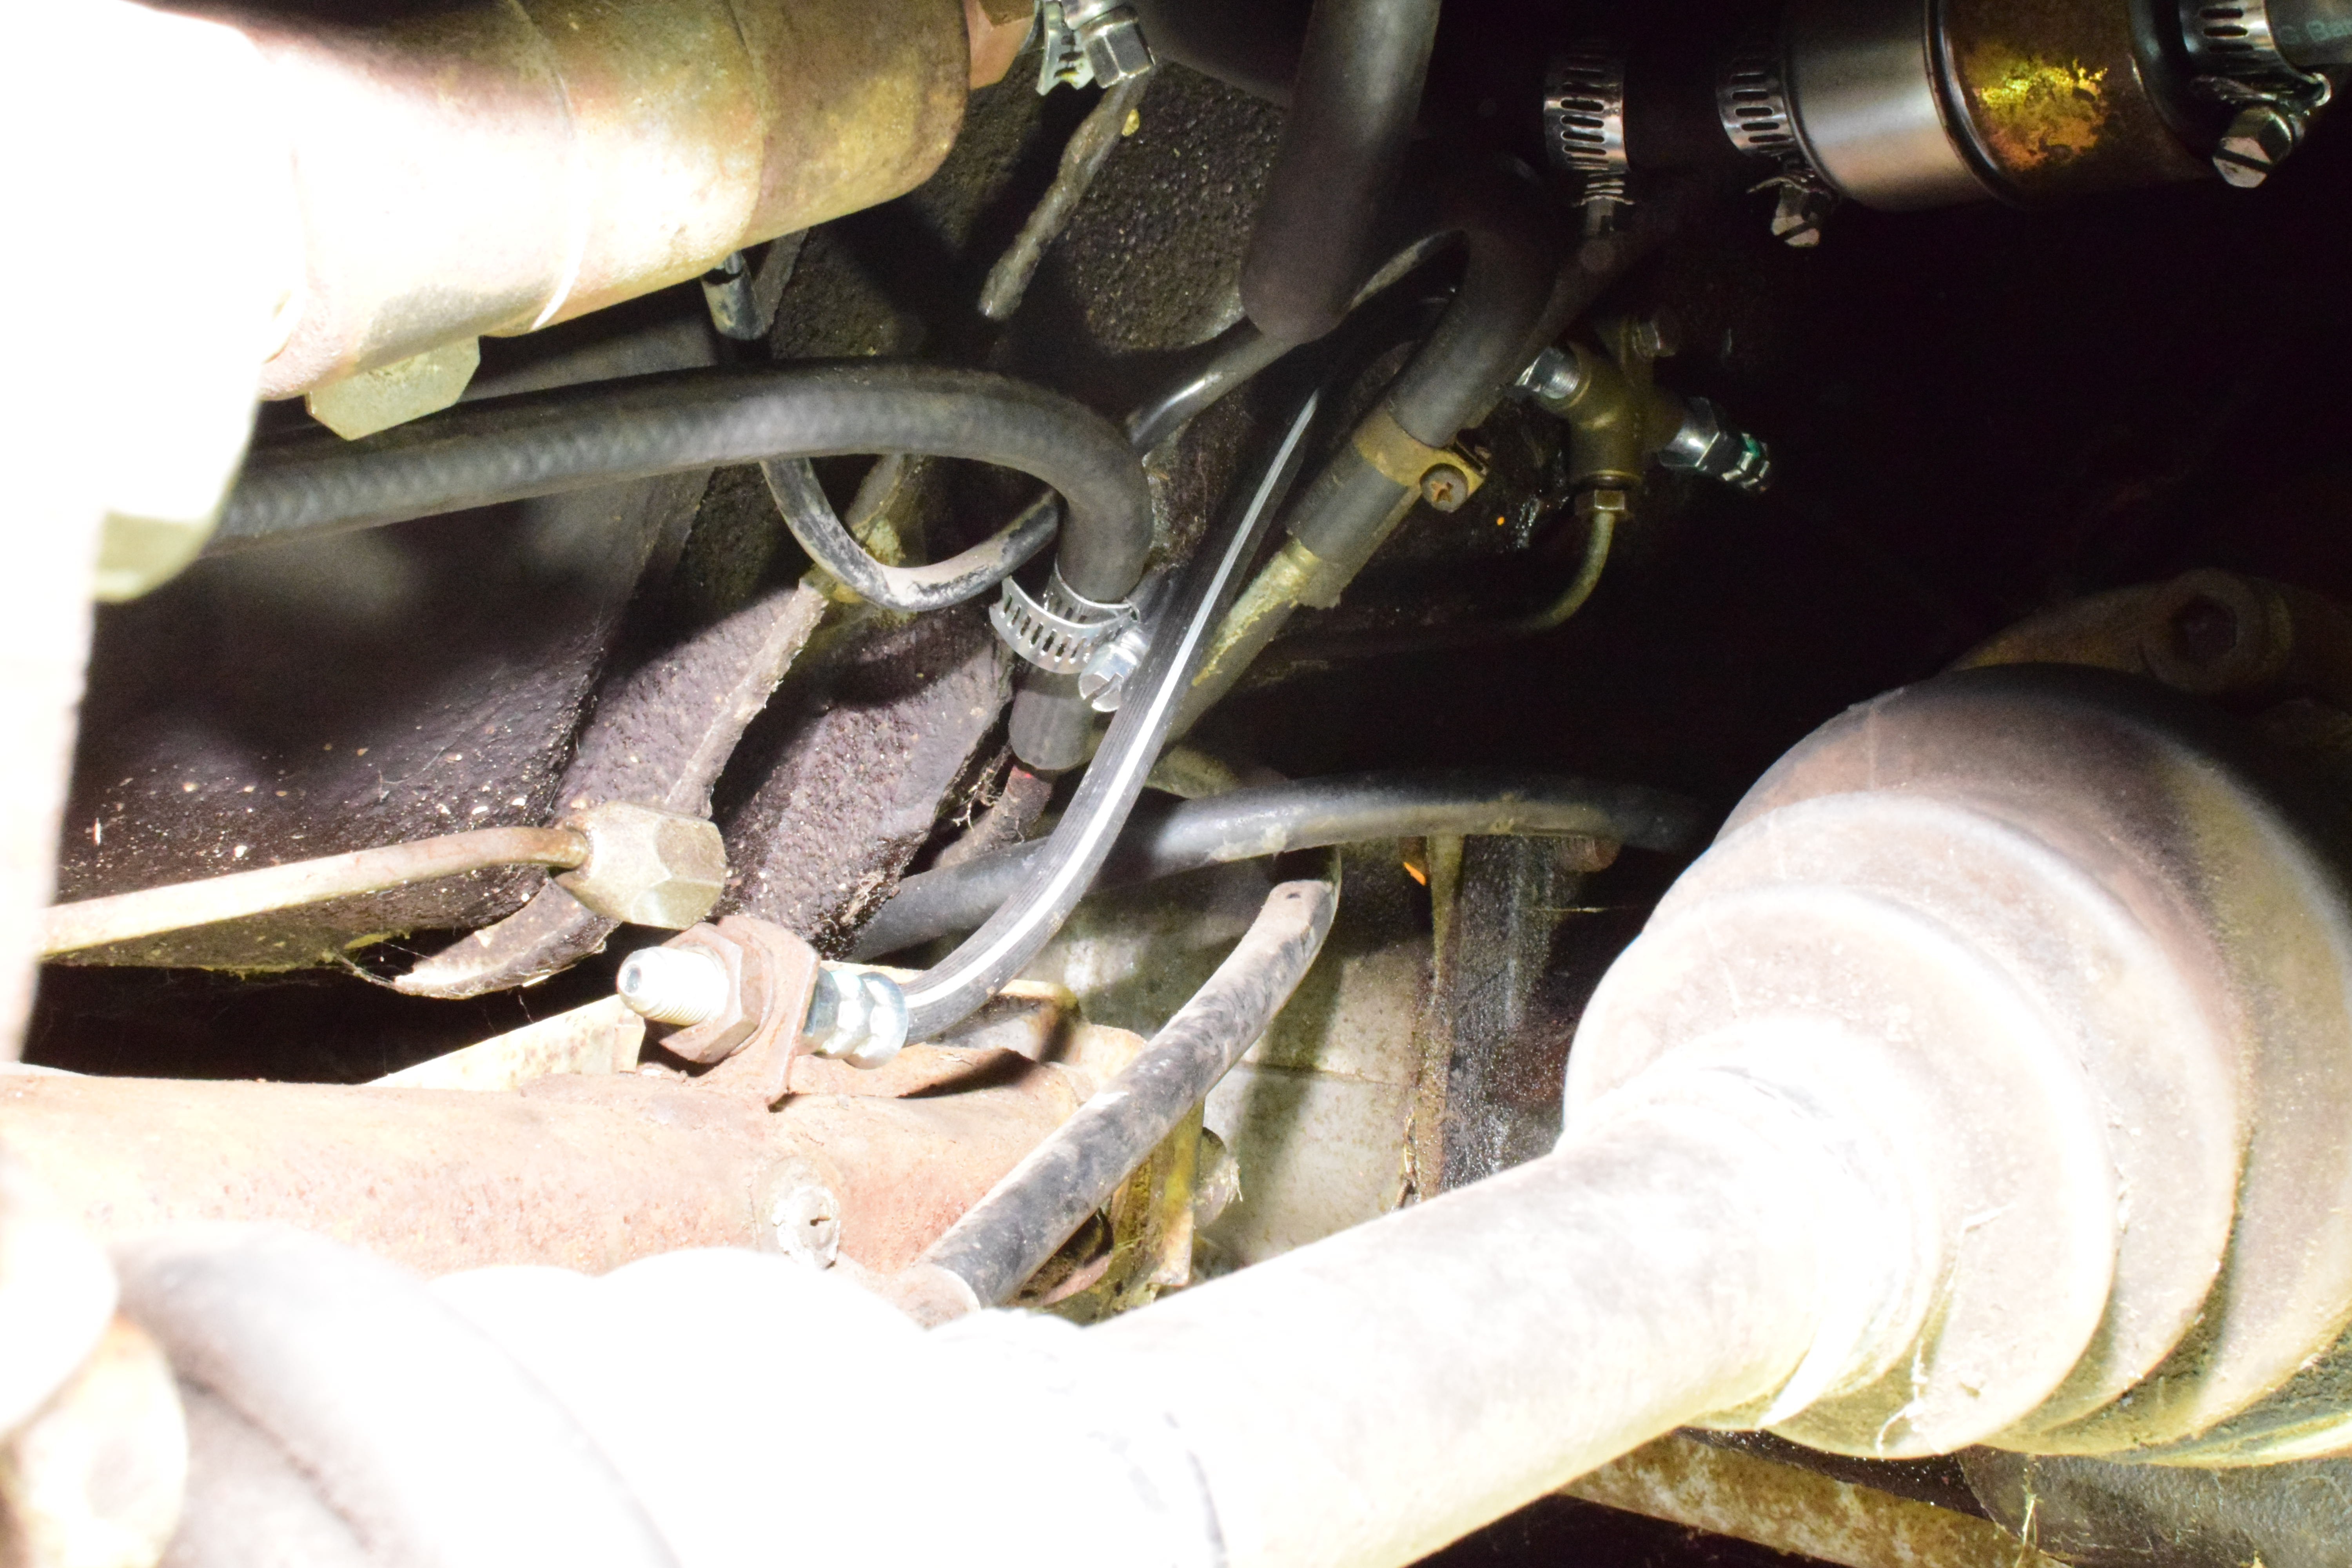
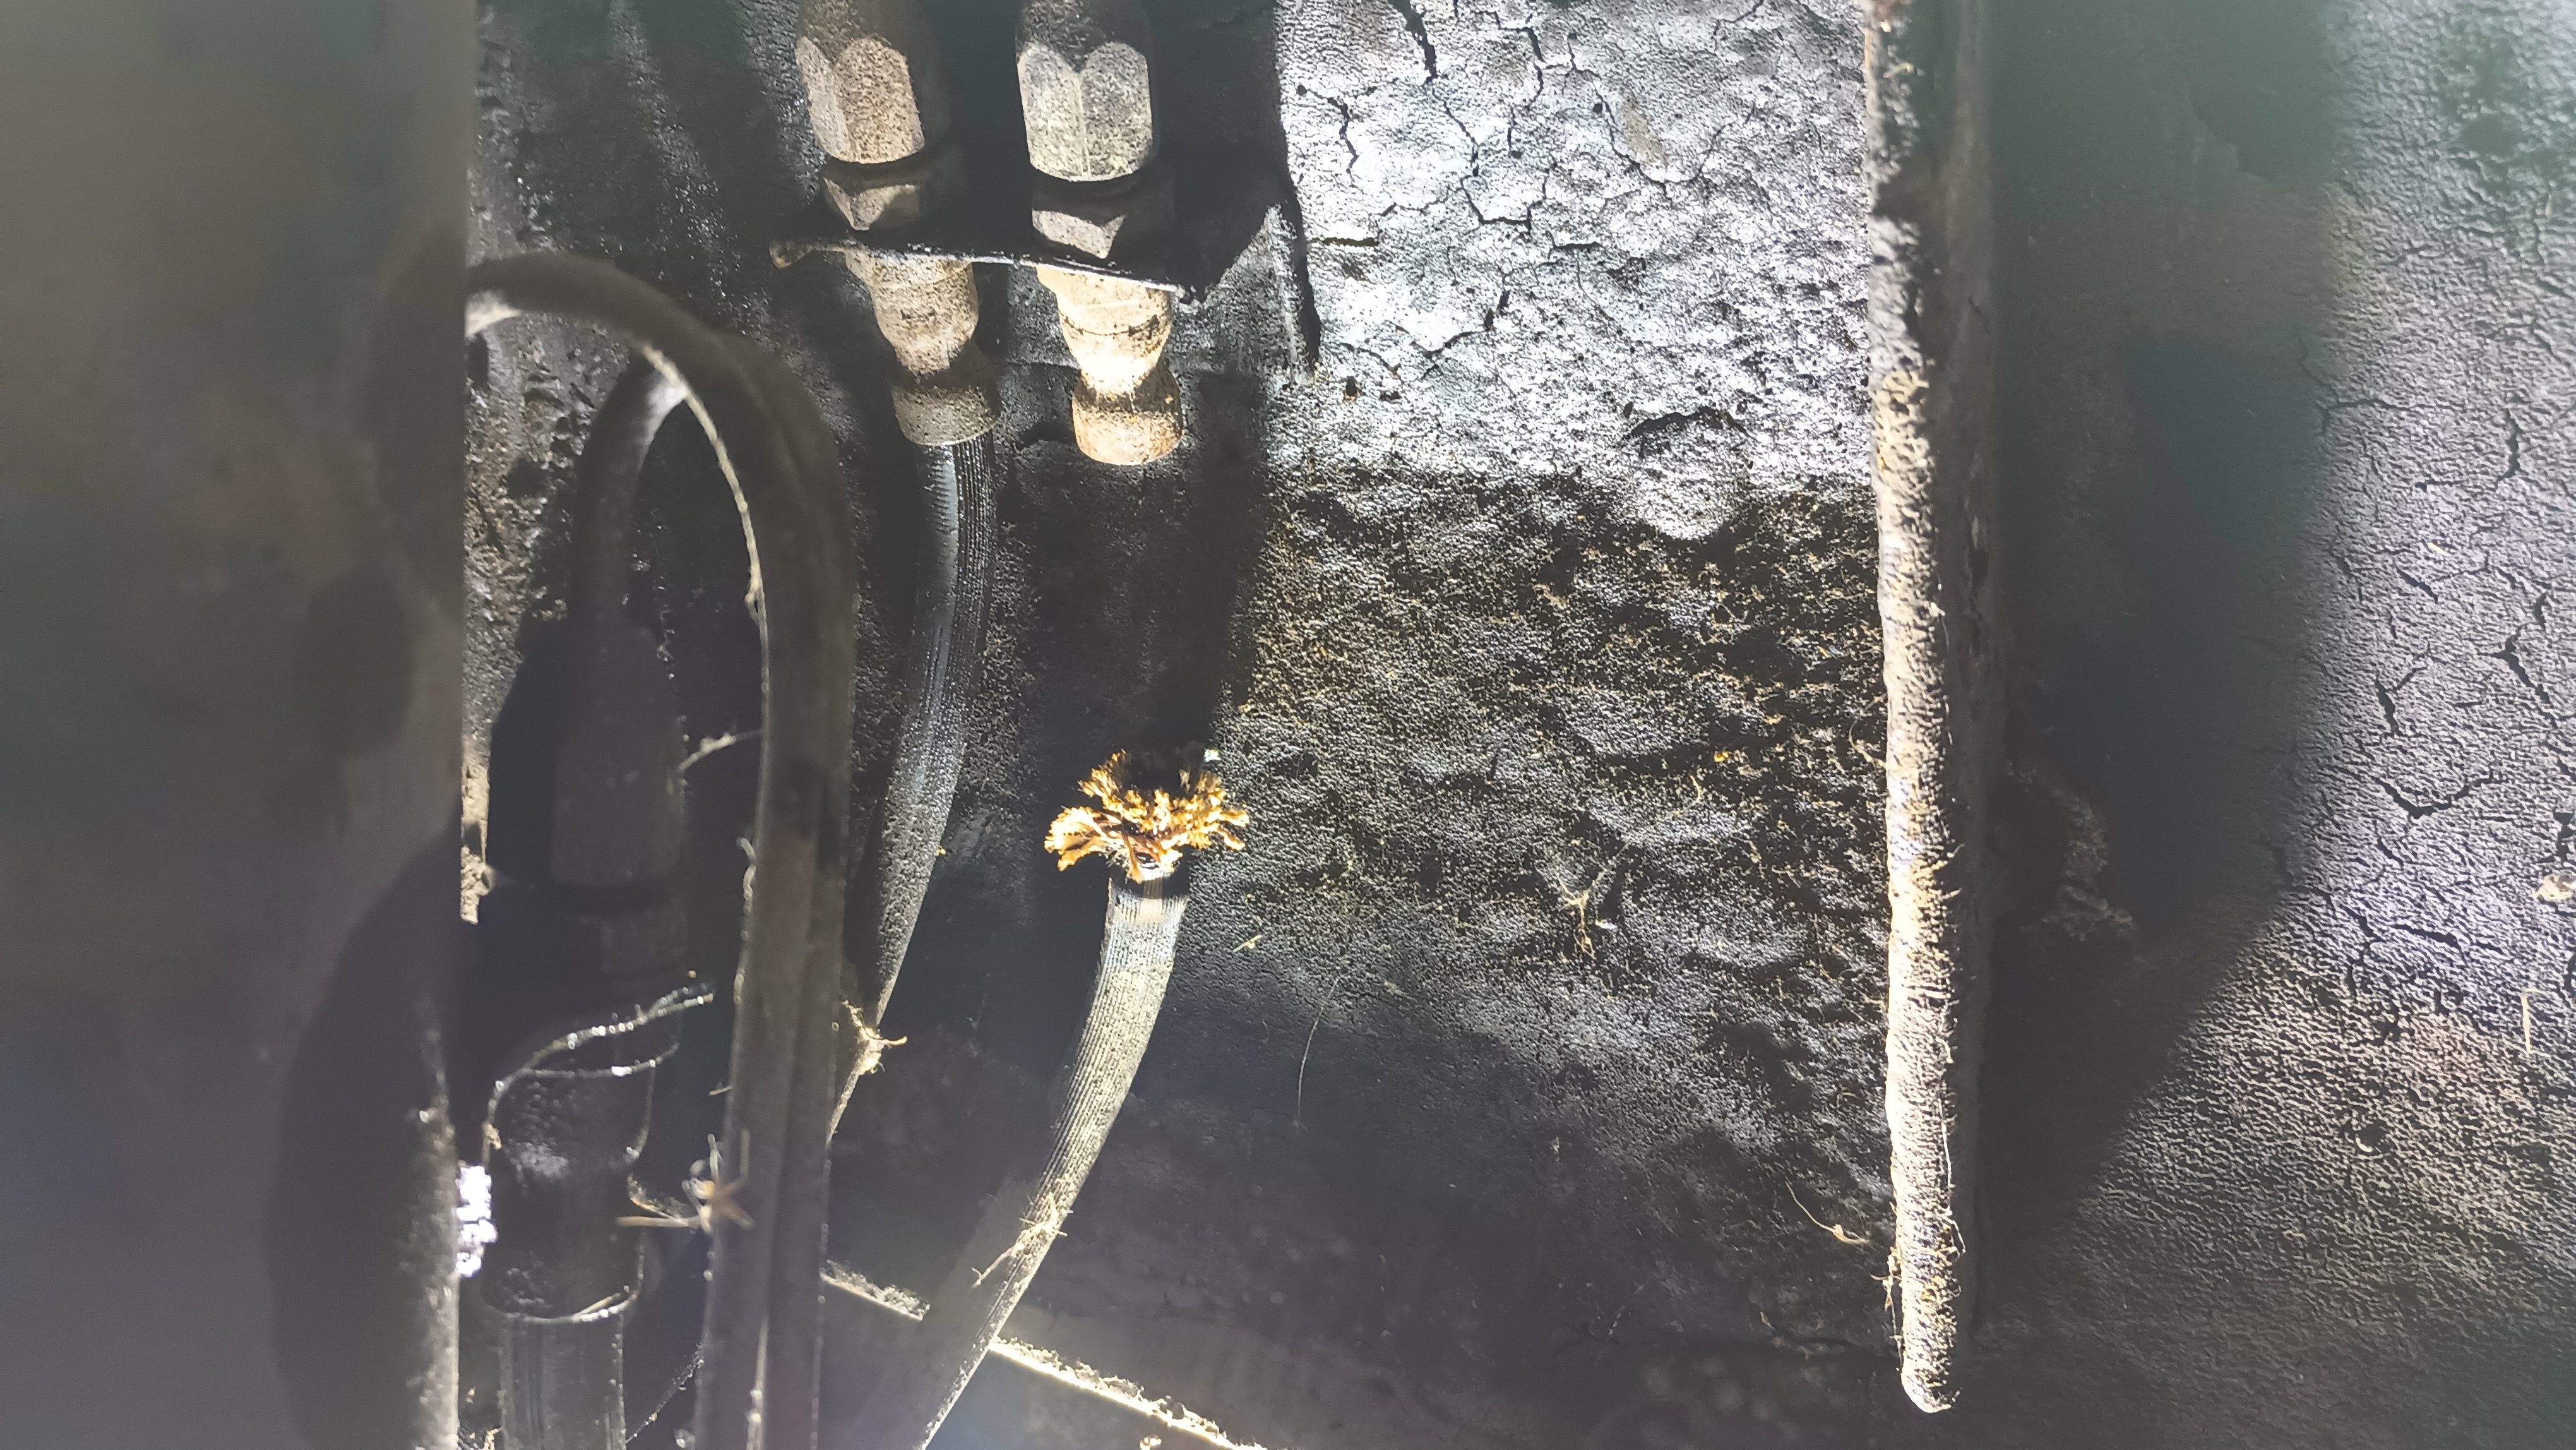
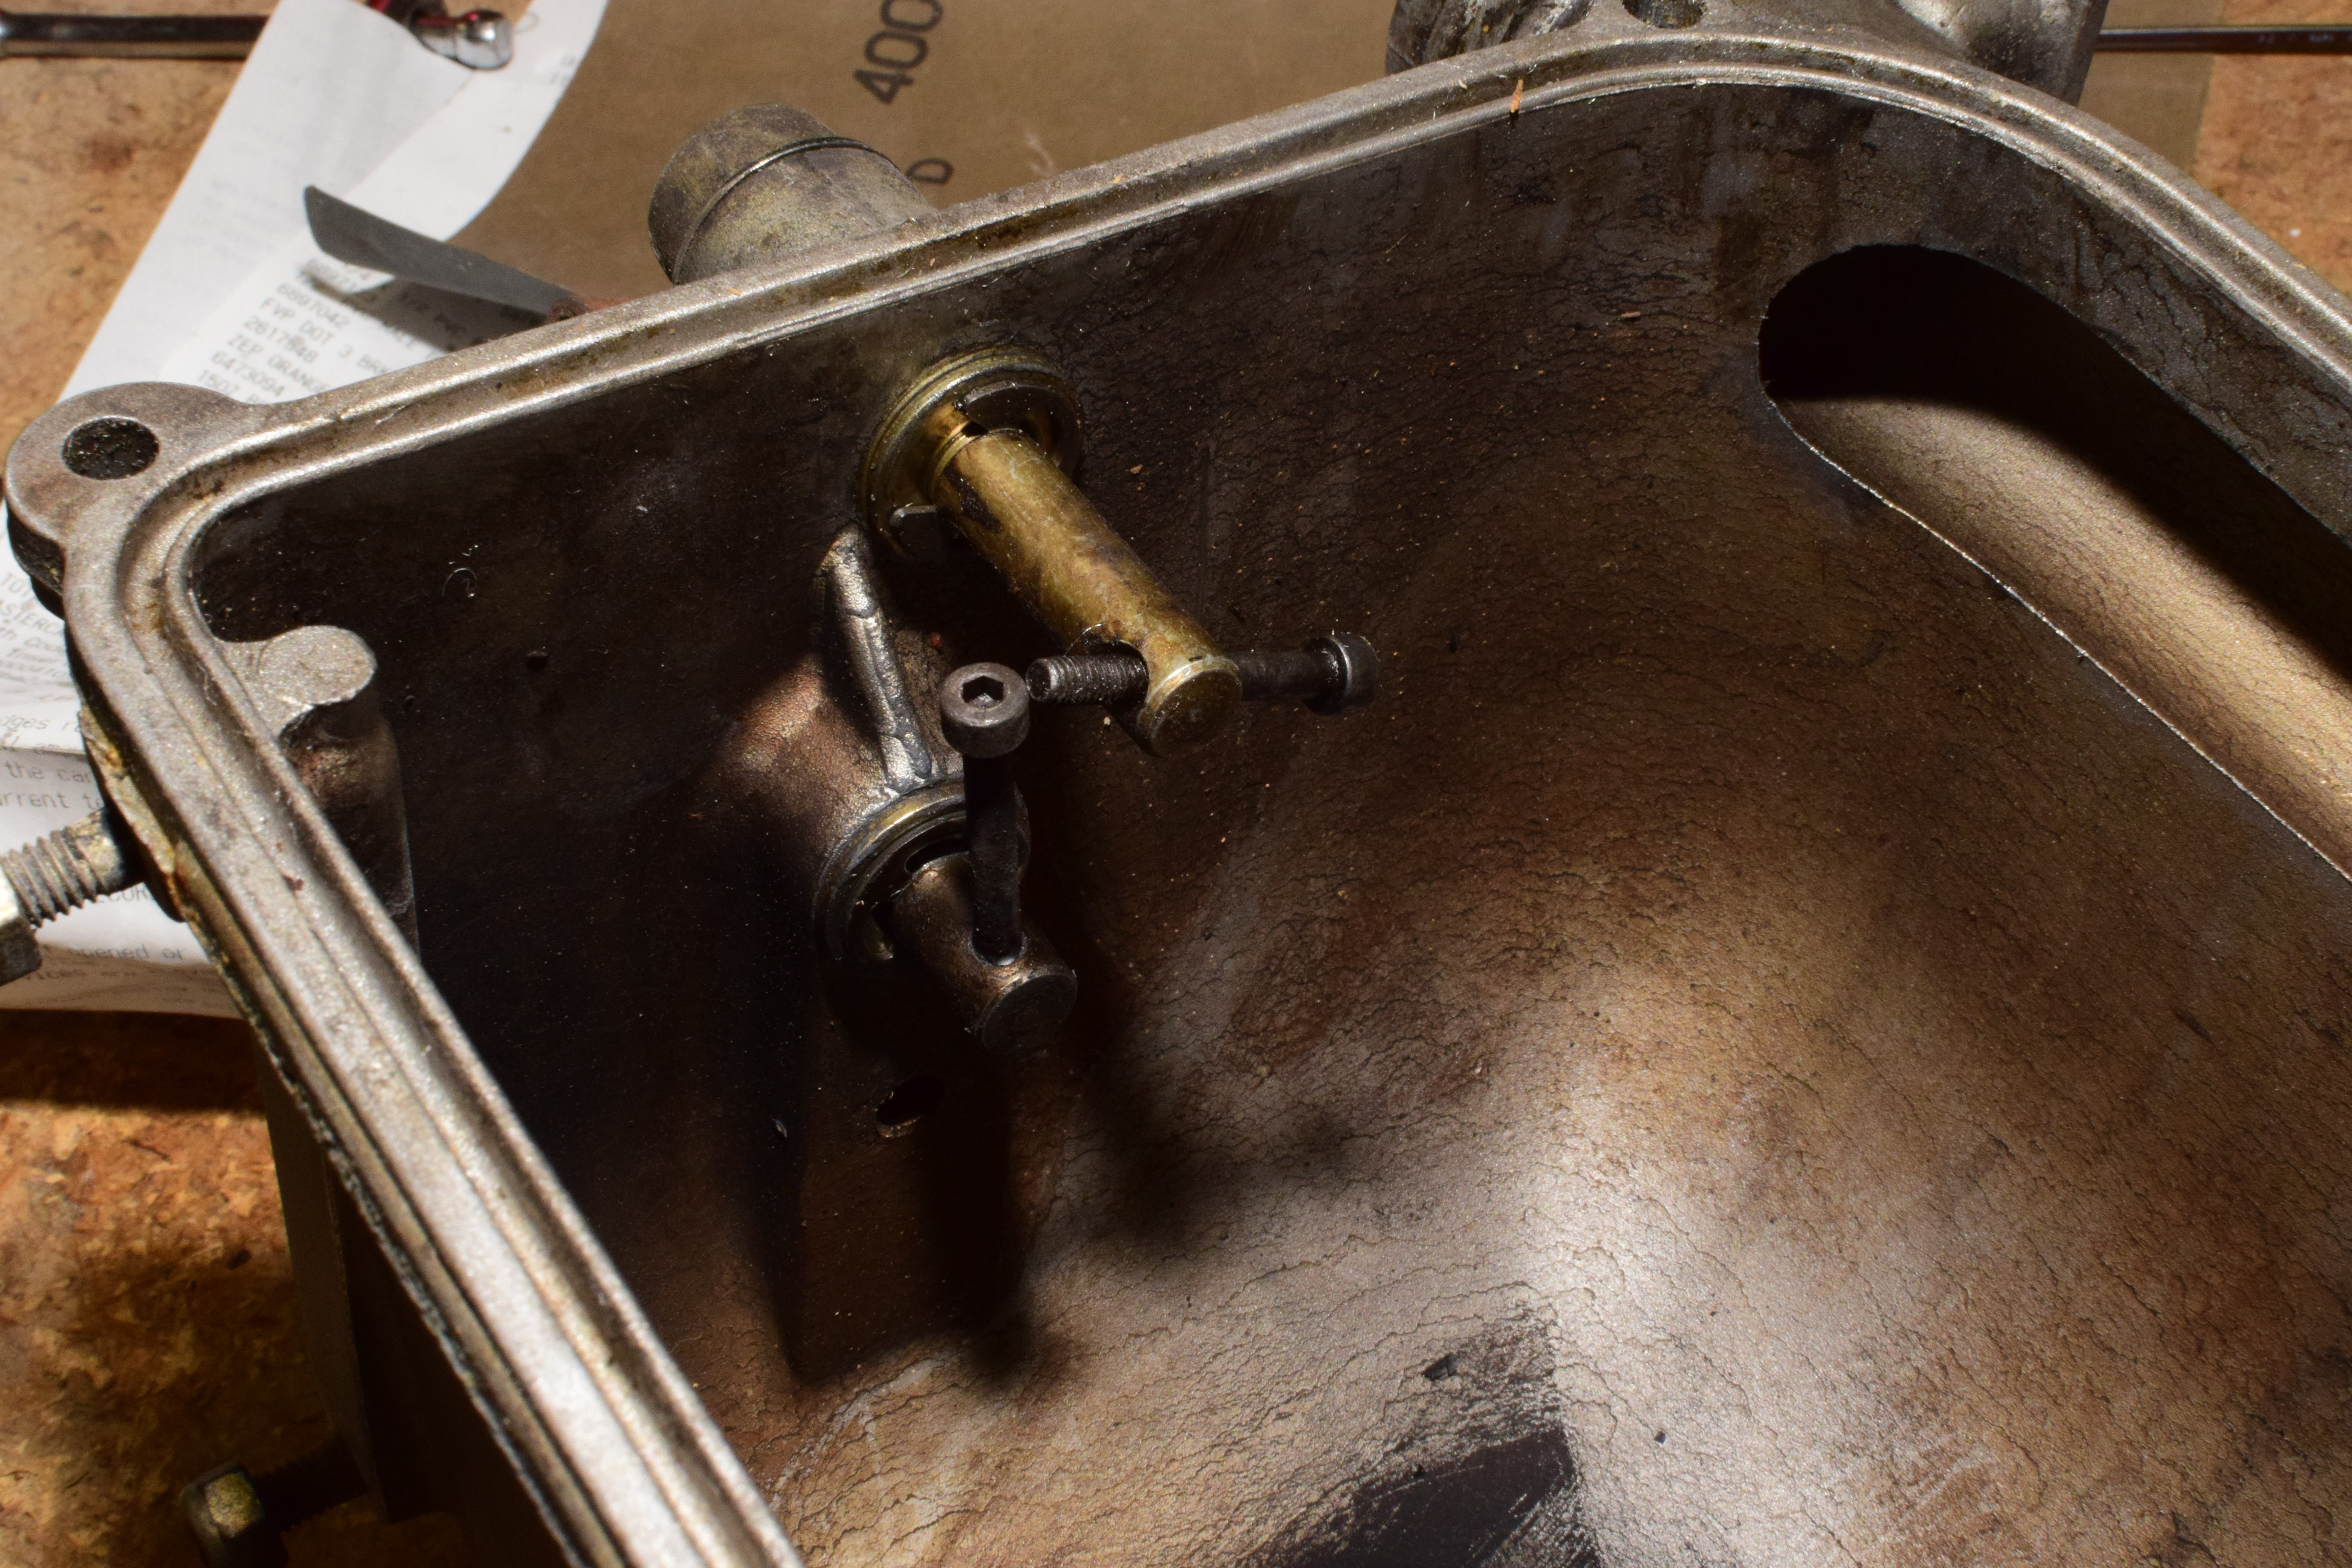
After getting back from the in-laws, I got the carb re-installed, but fuel was spraying everywhere. As it turns out the fuel line that goes into the carb was all torn up.
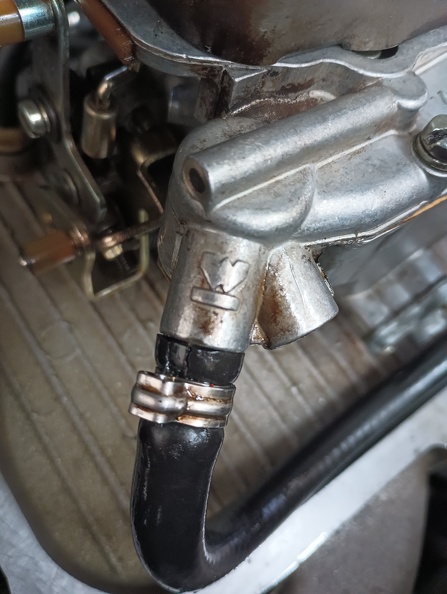
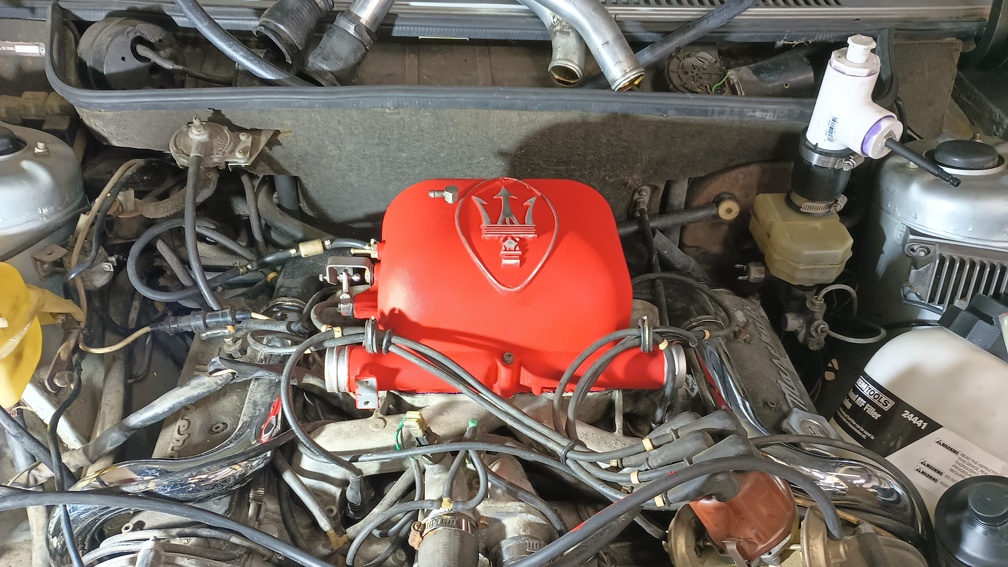
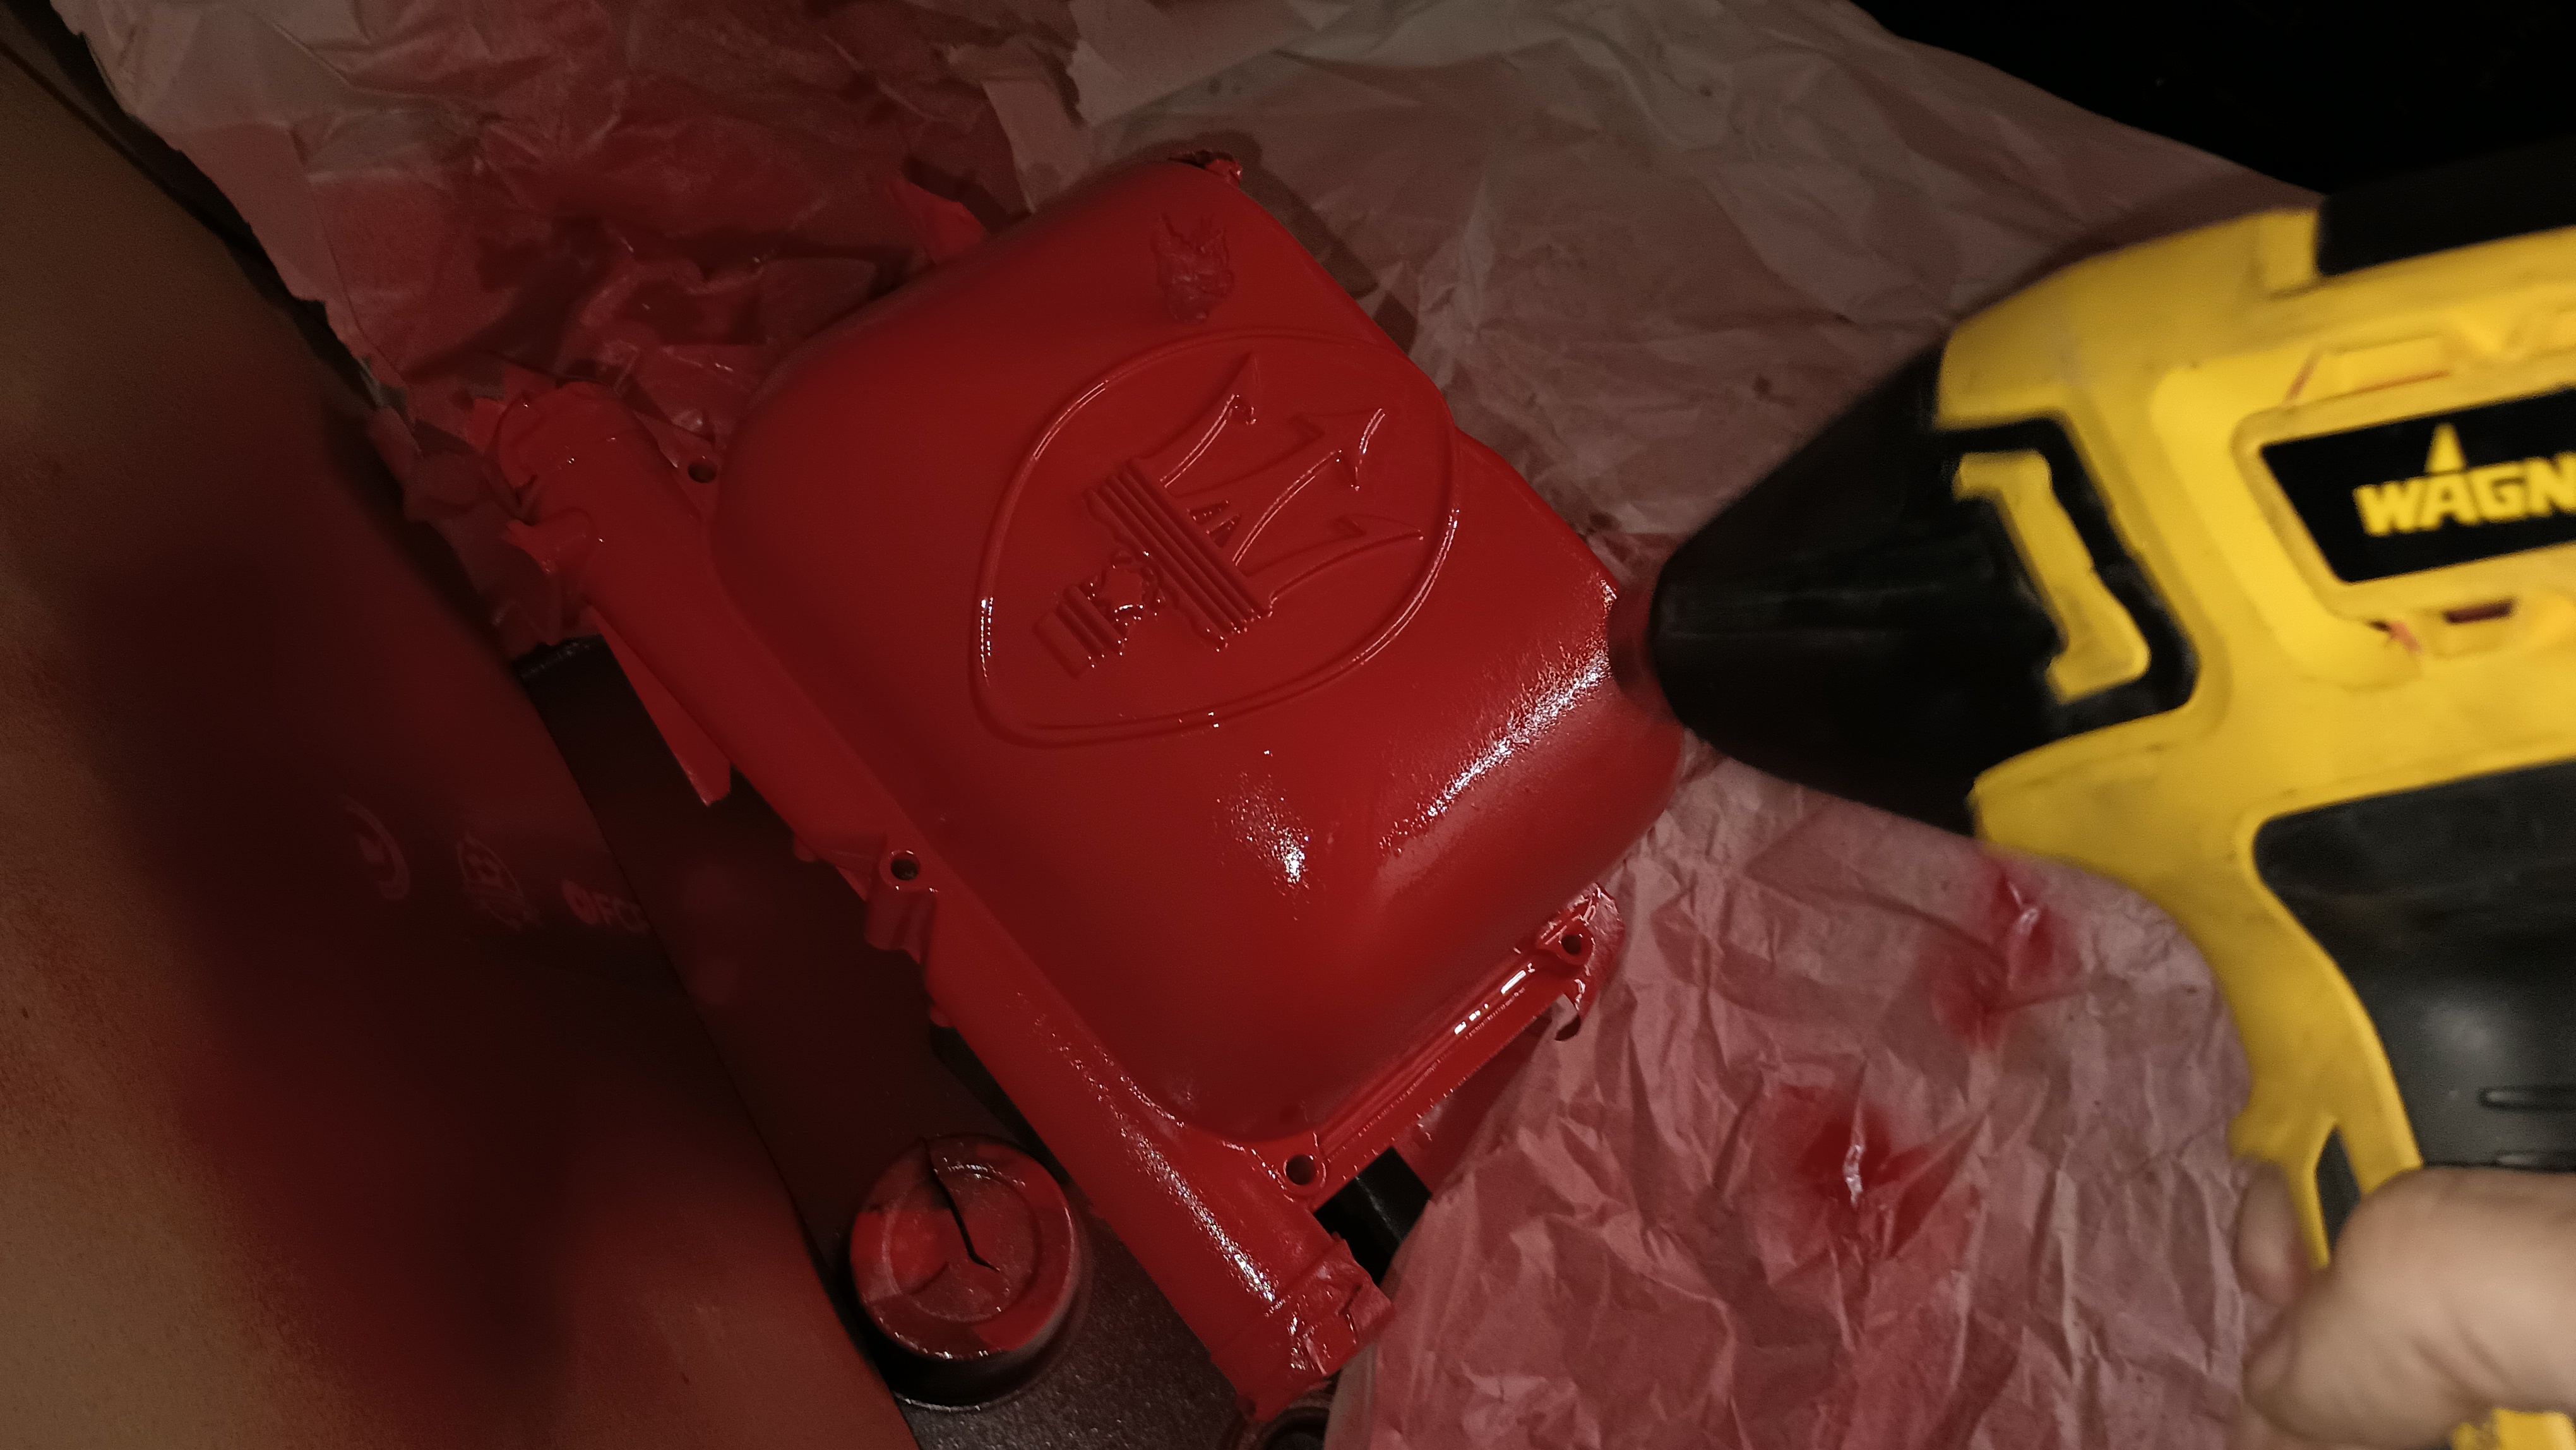
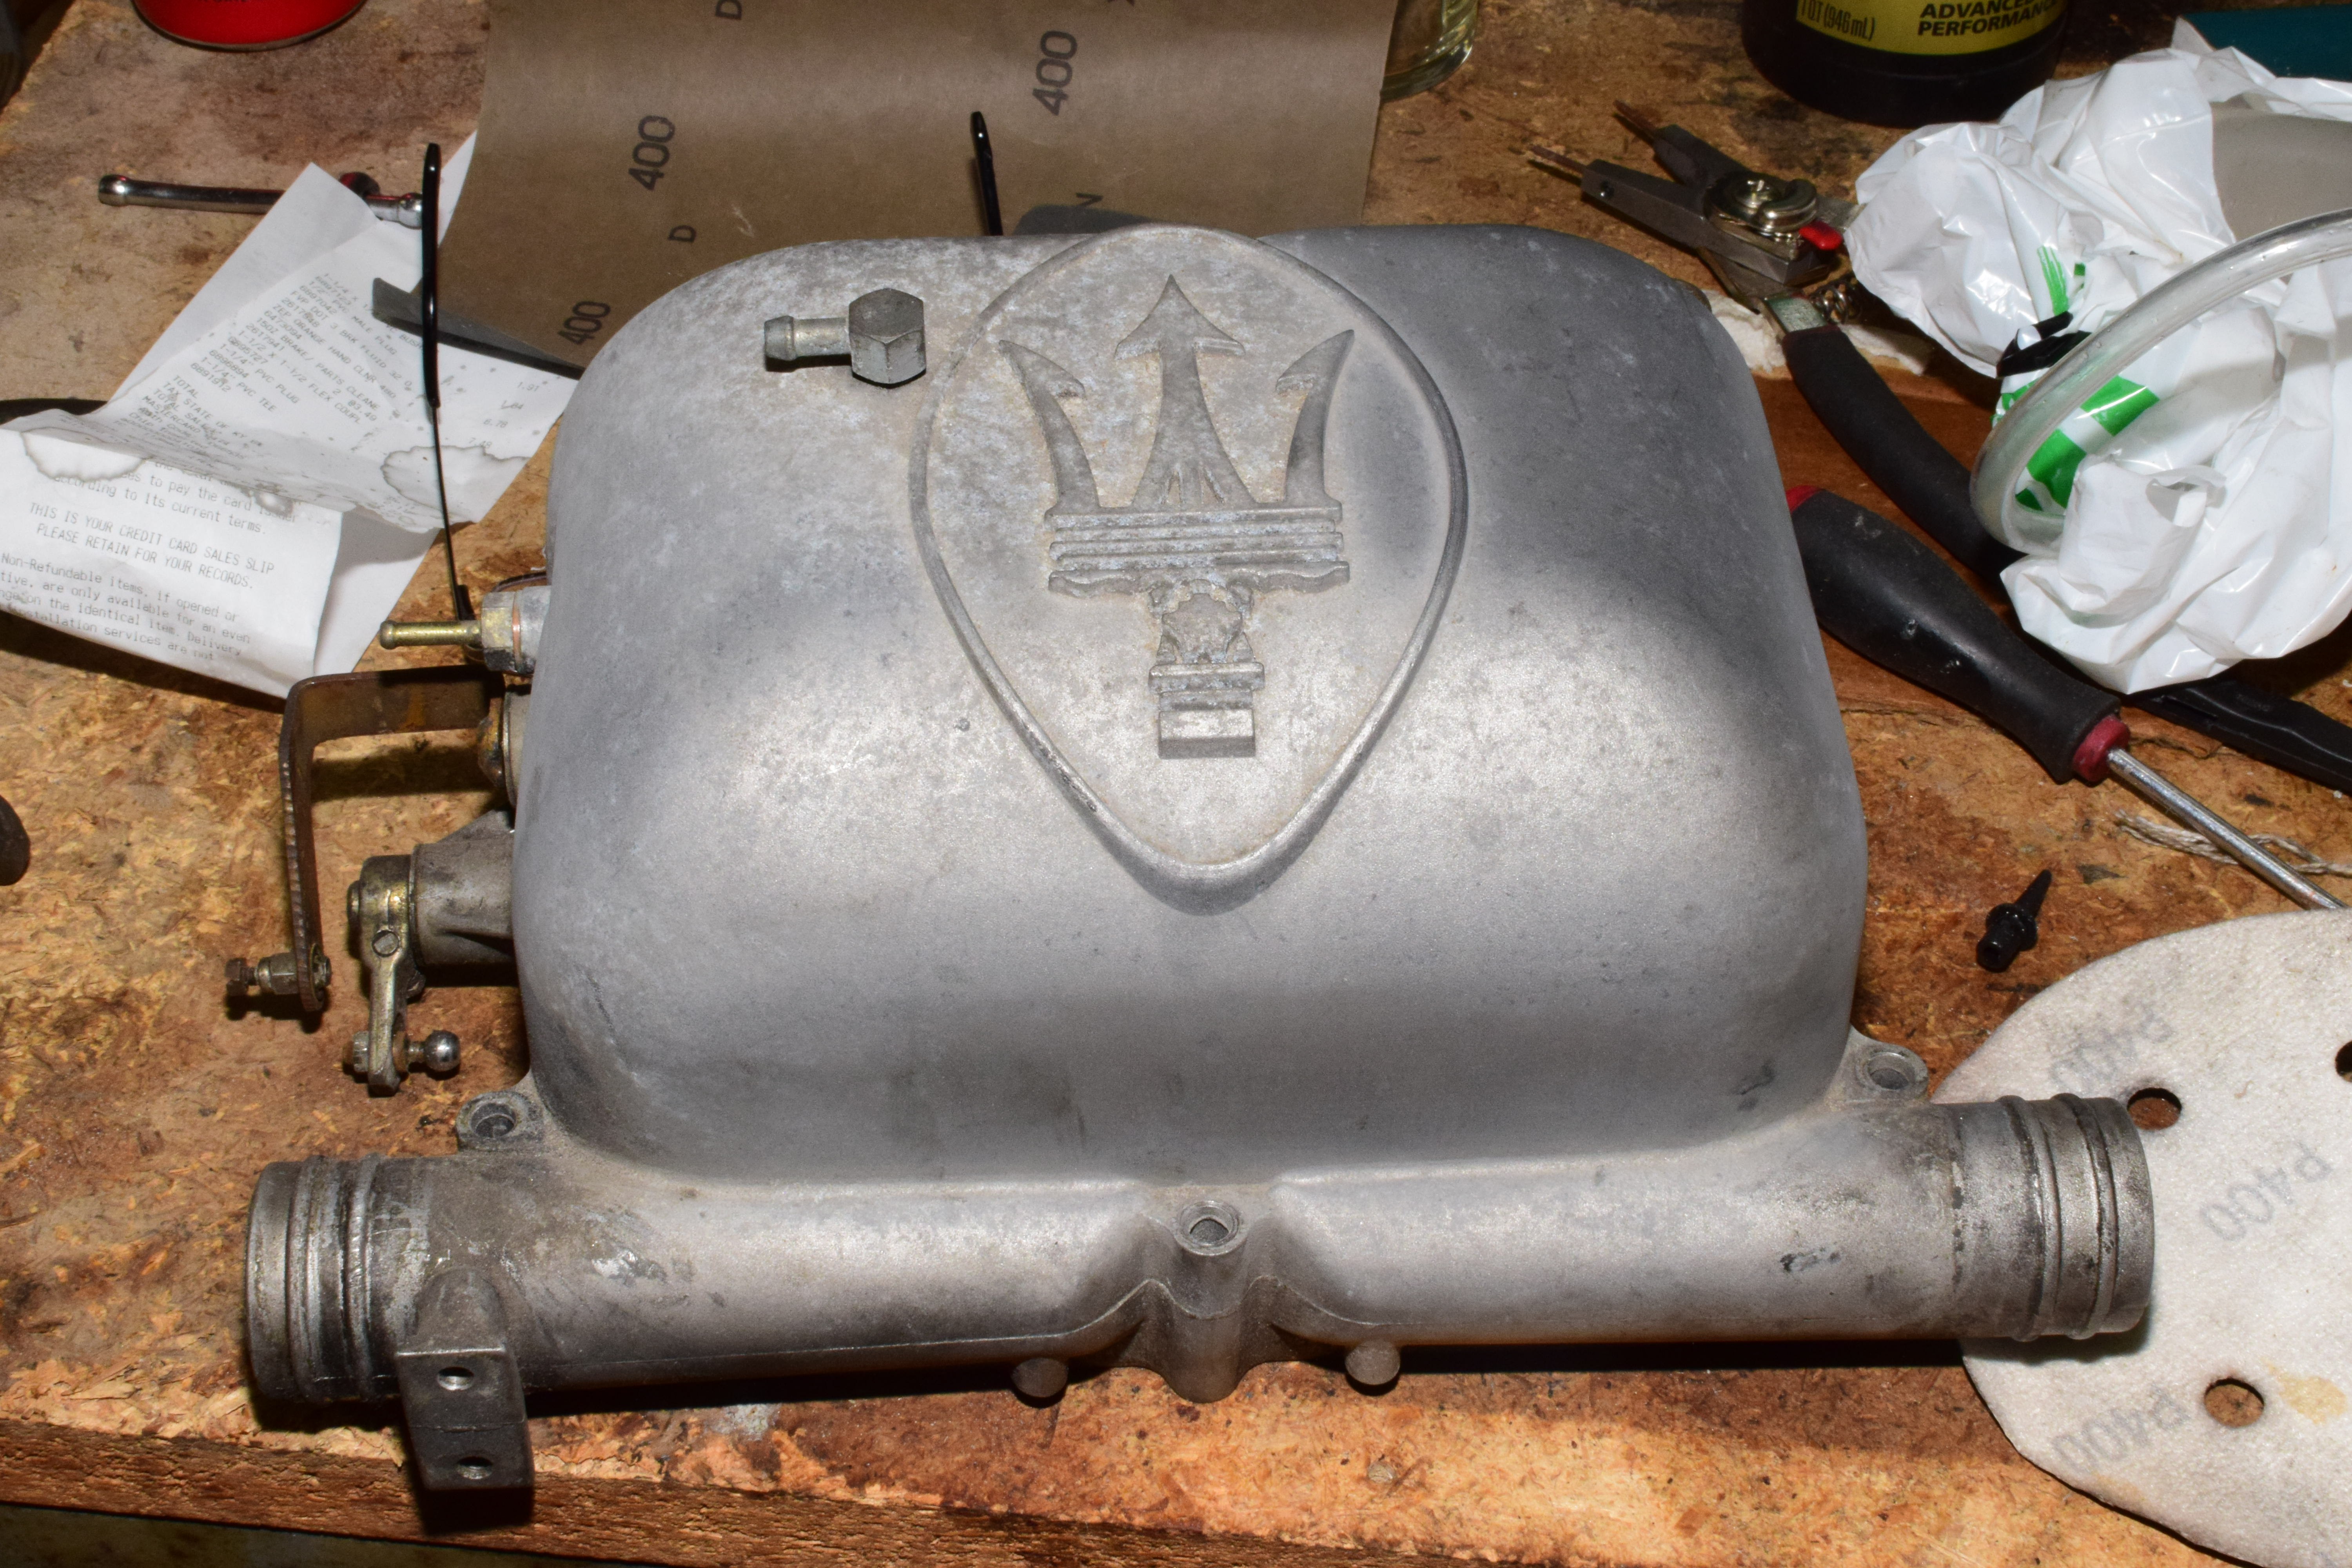
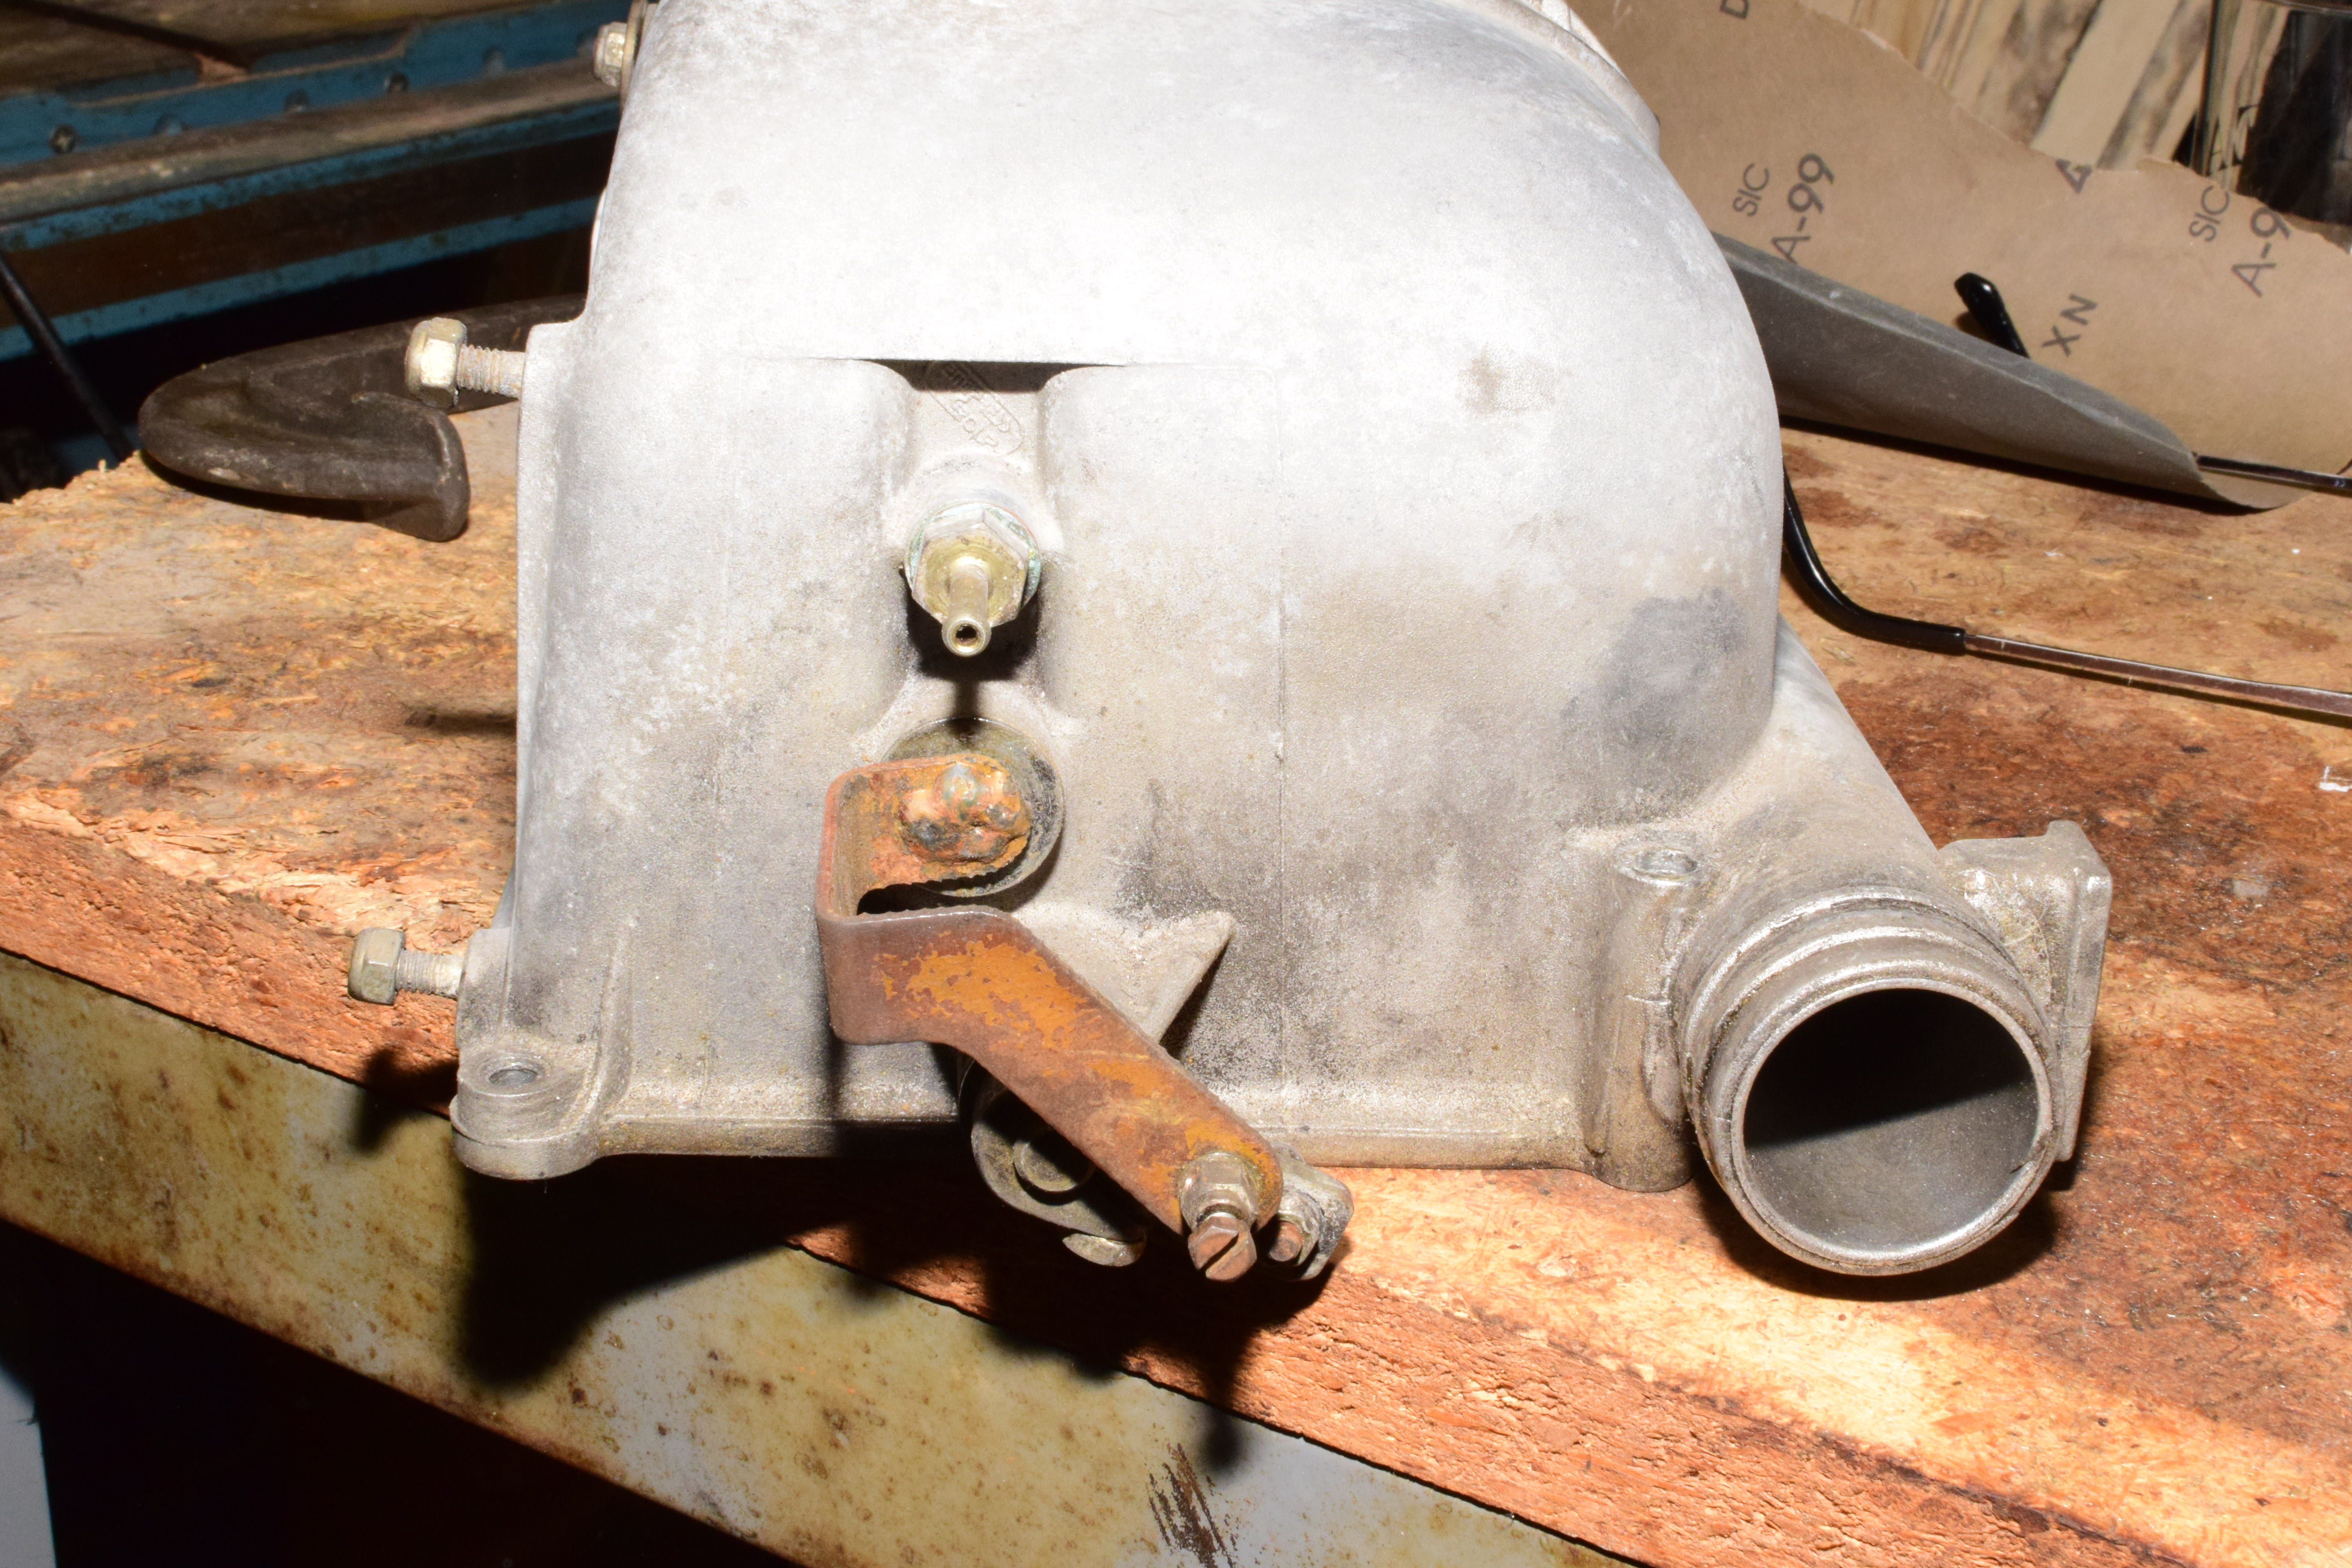
A new bit of fuel hose was procured – I needed about 17 inches’ worth – and then I used some blue Permatex to put the carb hat back on after cleaning up the mating surfaces.

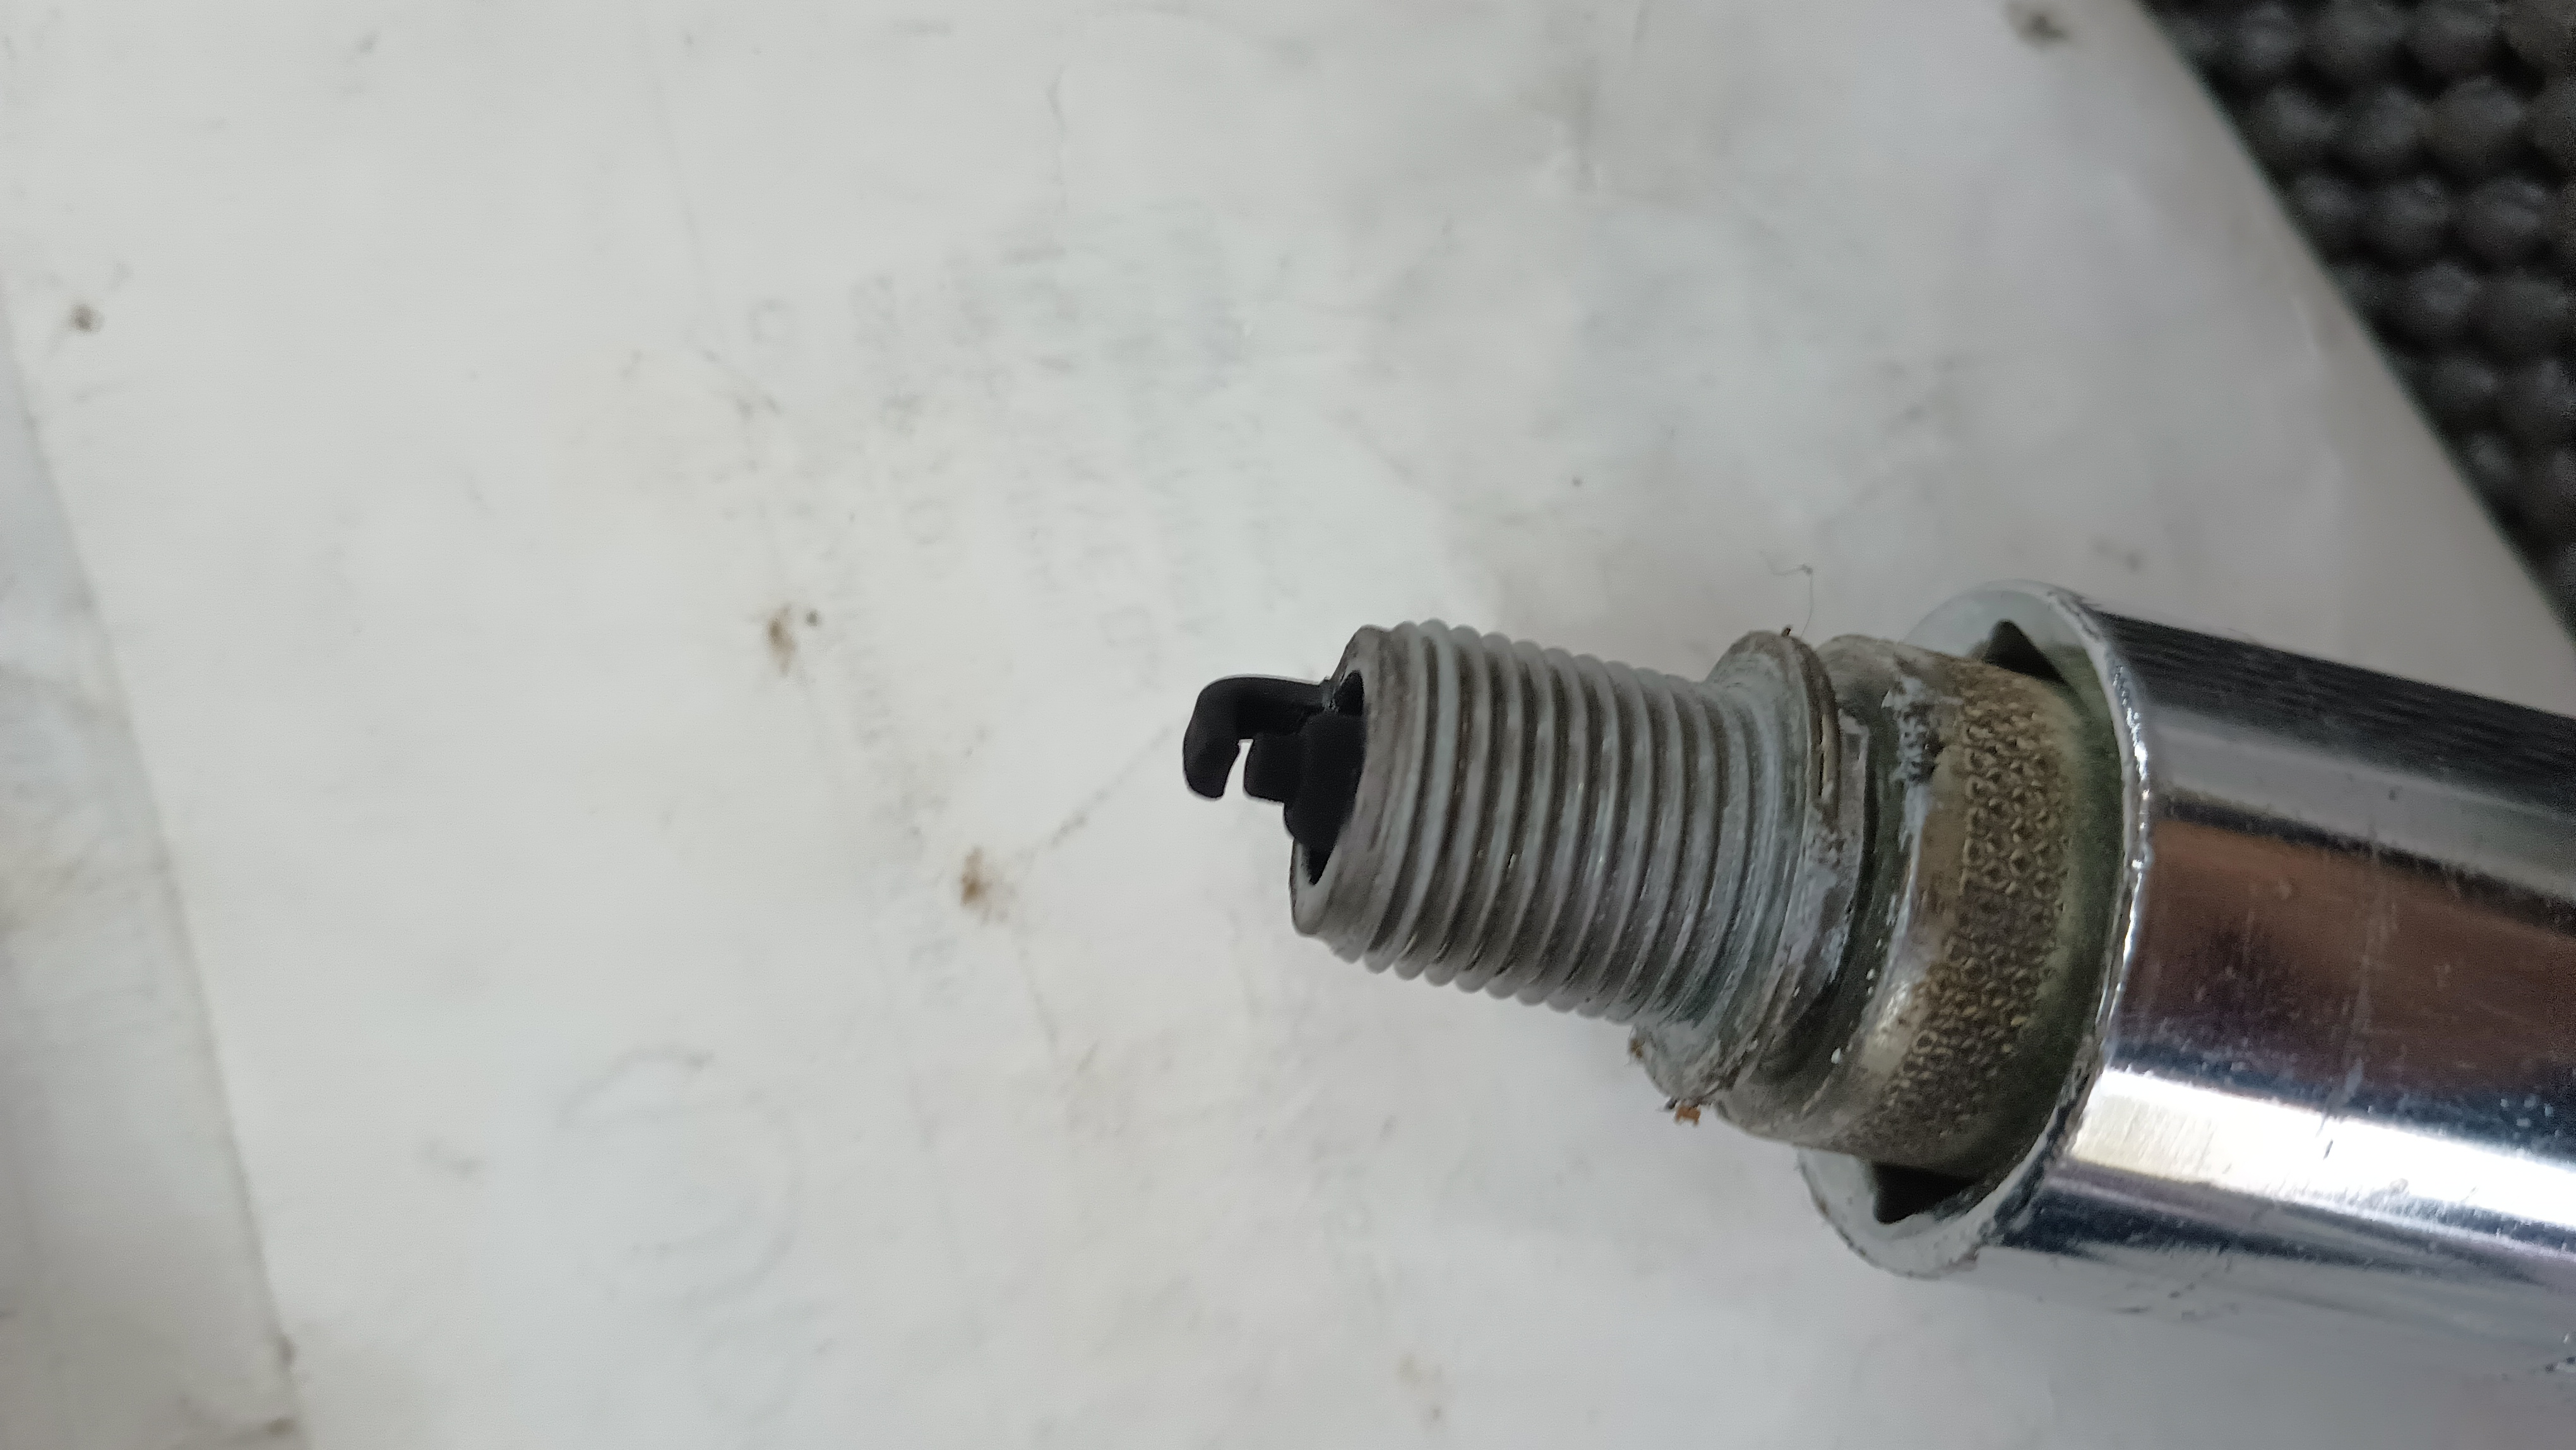
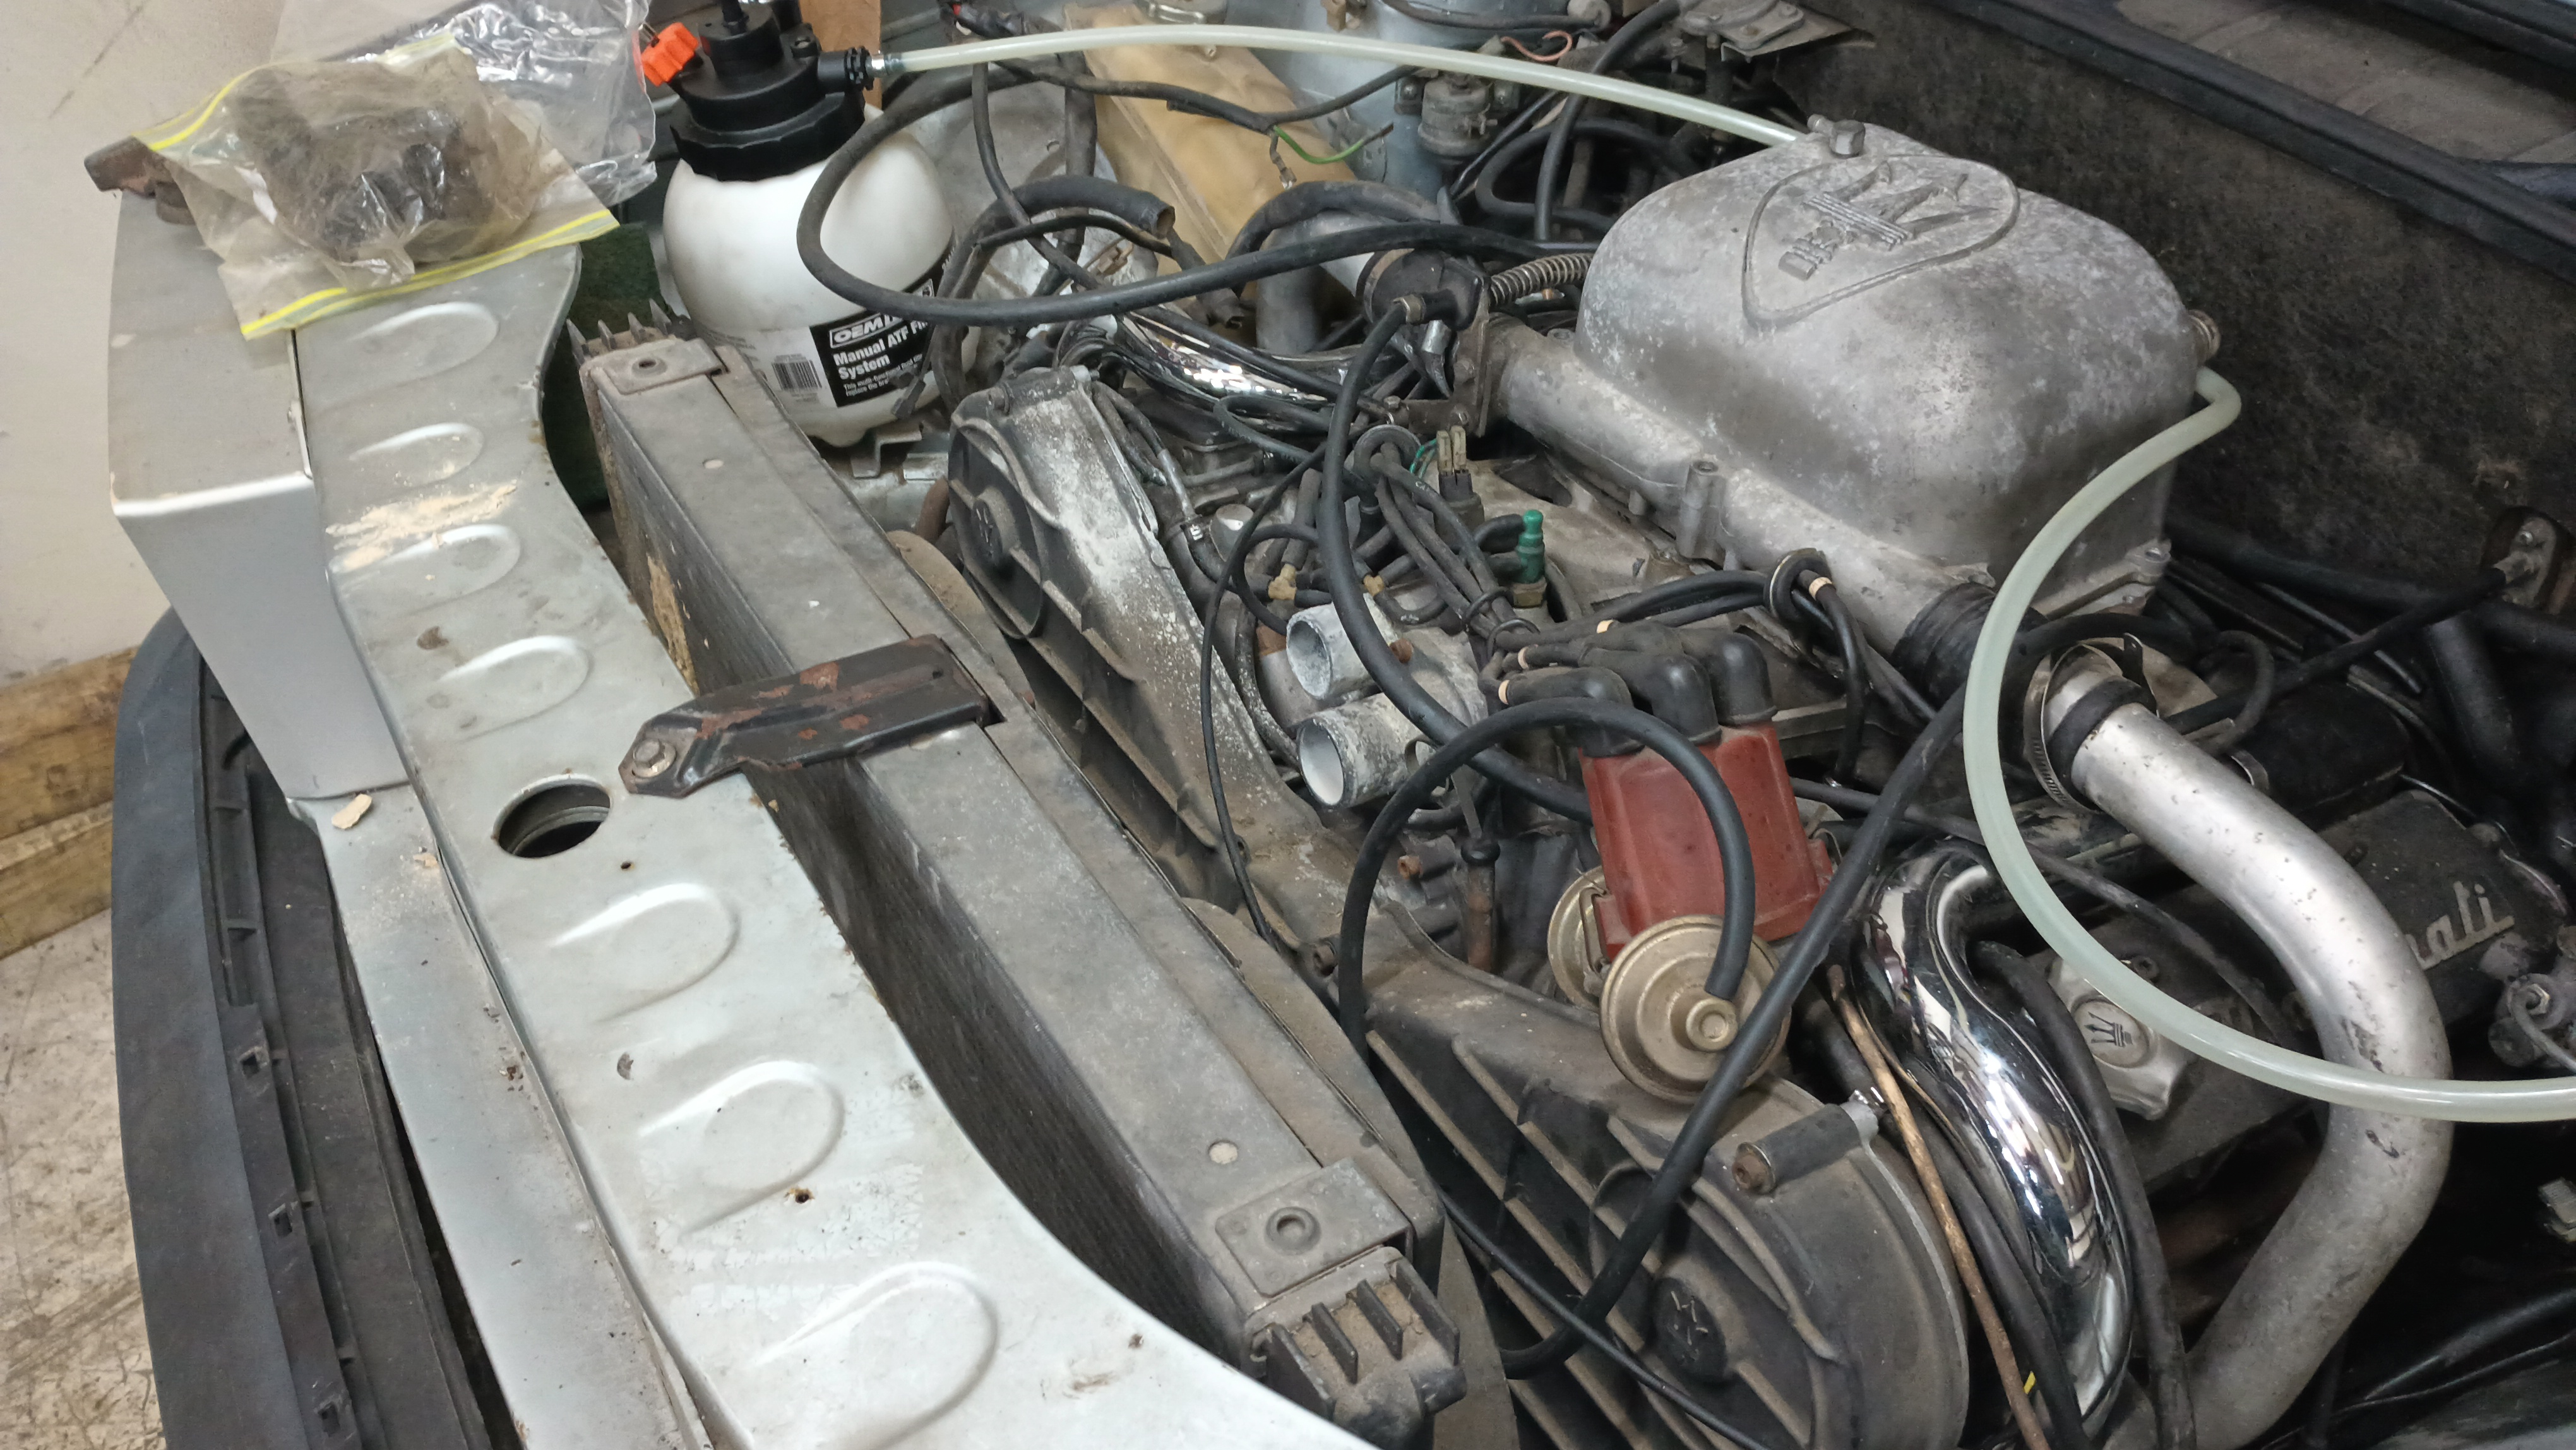
I cleaned up the plugs, replaced the plug wires, and it started up and ran well. Except I was getting some steam from the radiator as well as getting fairly heavy “stuff” in the exhaust. This time, though, the exhaust was clean when it first started and it didn’t smell of fuel. But as the car warmed up, the “stuff” increased in volume. Trouble.
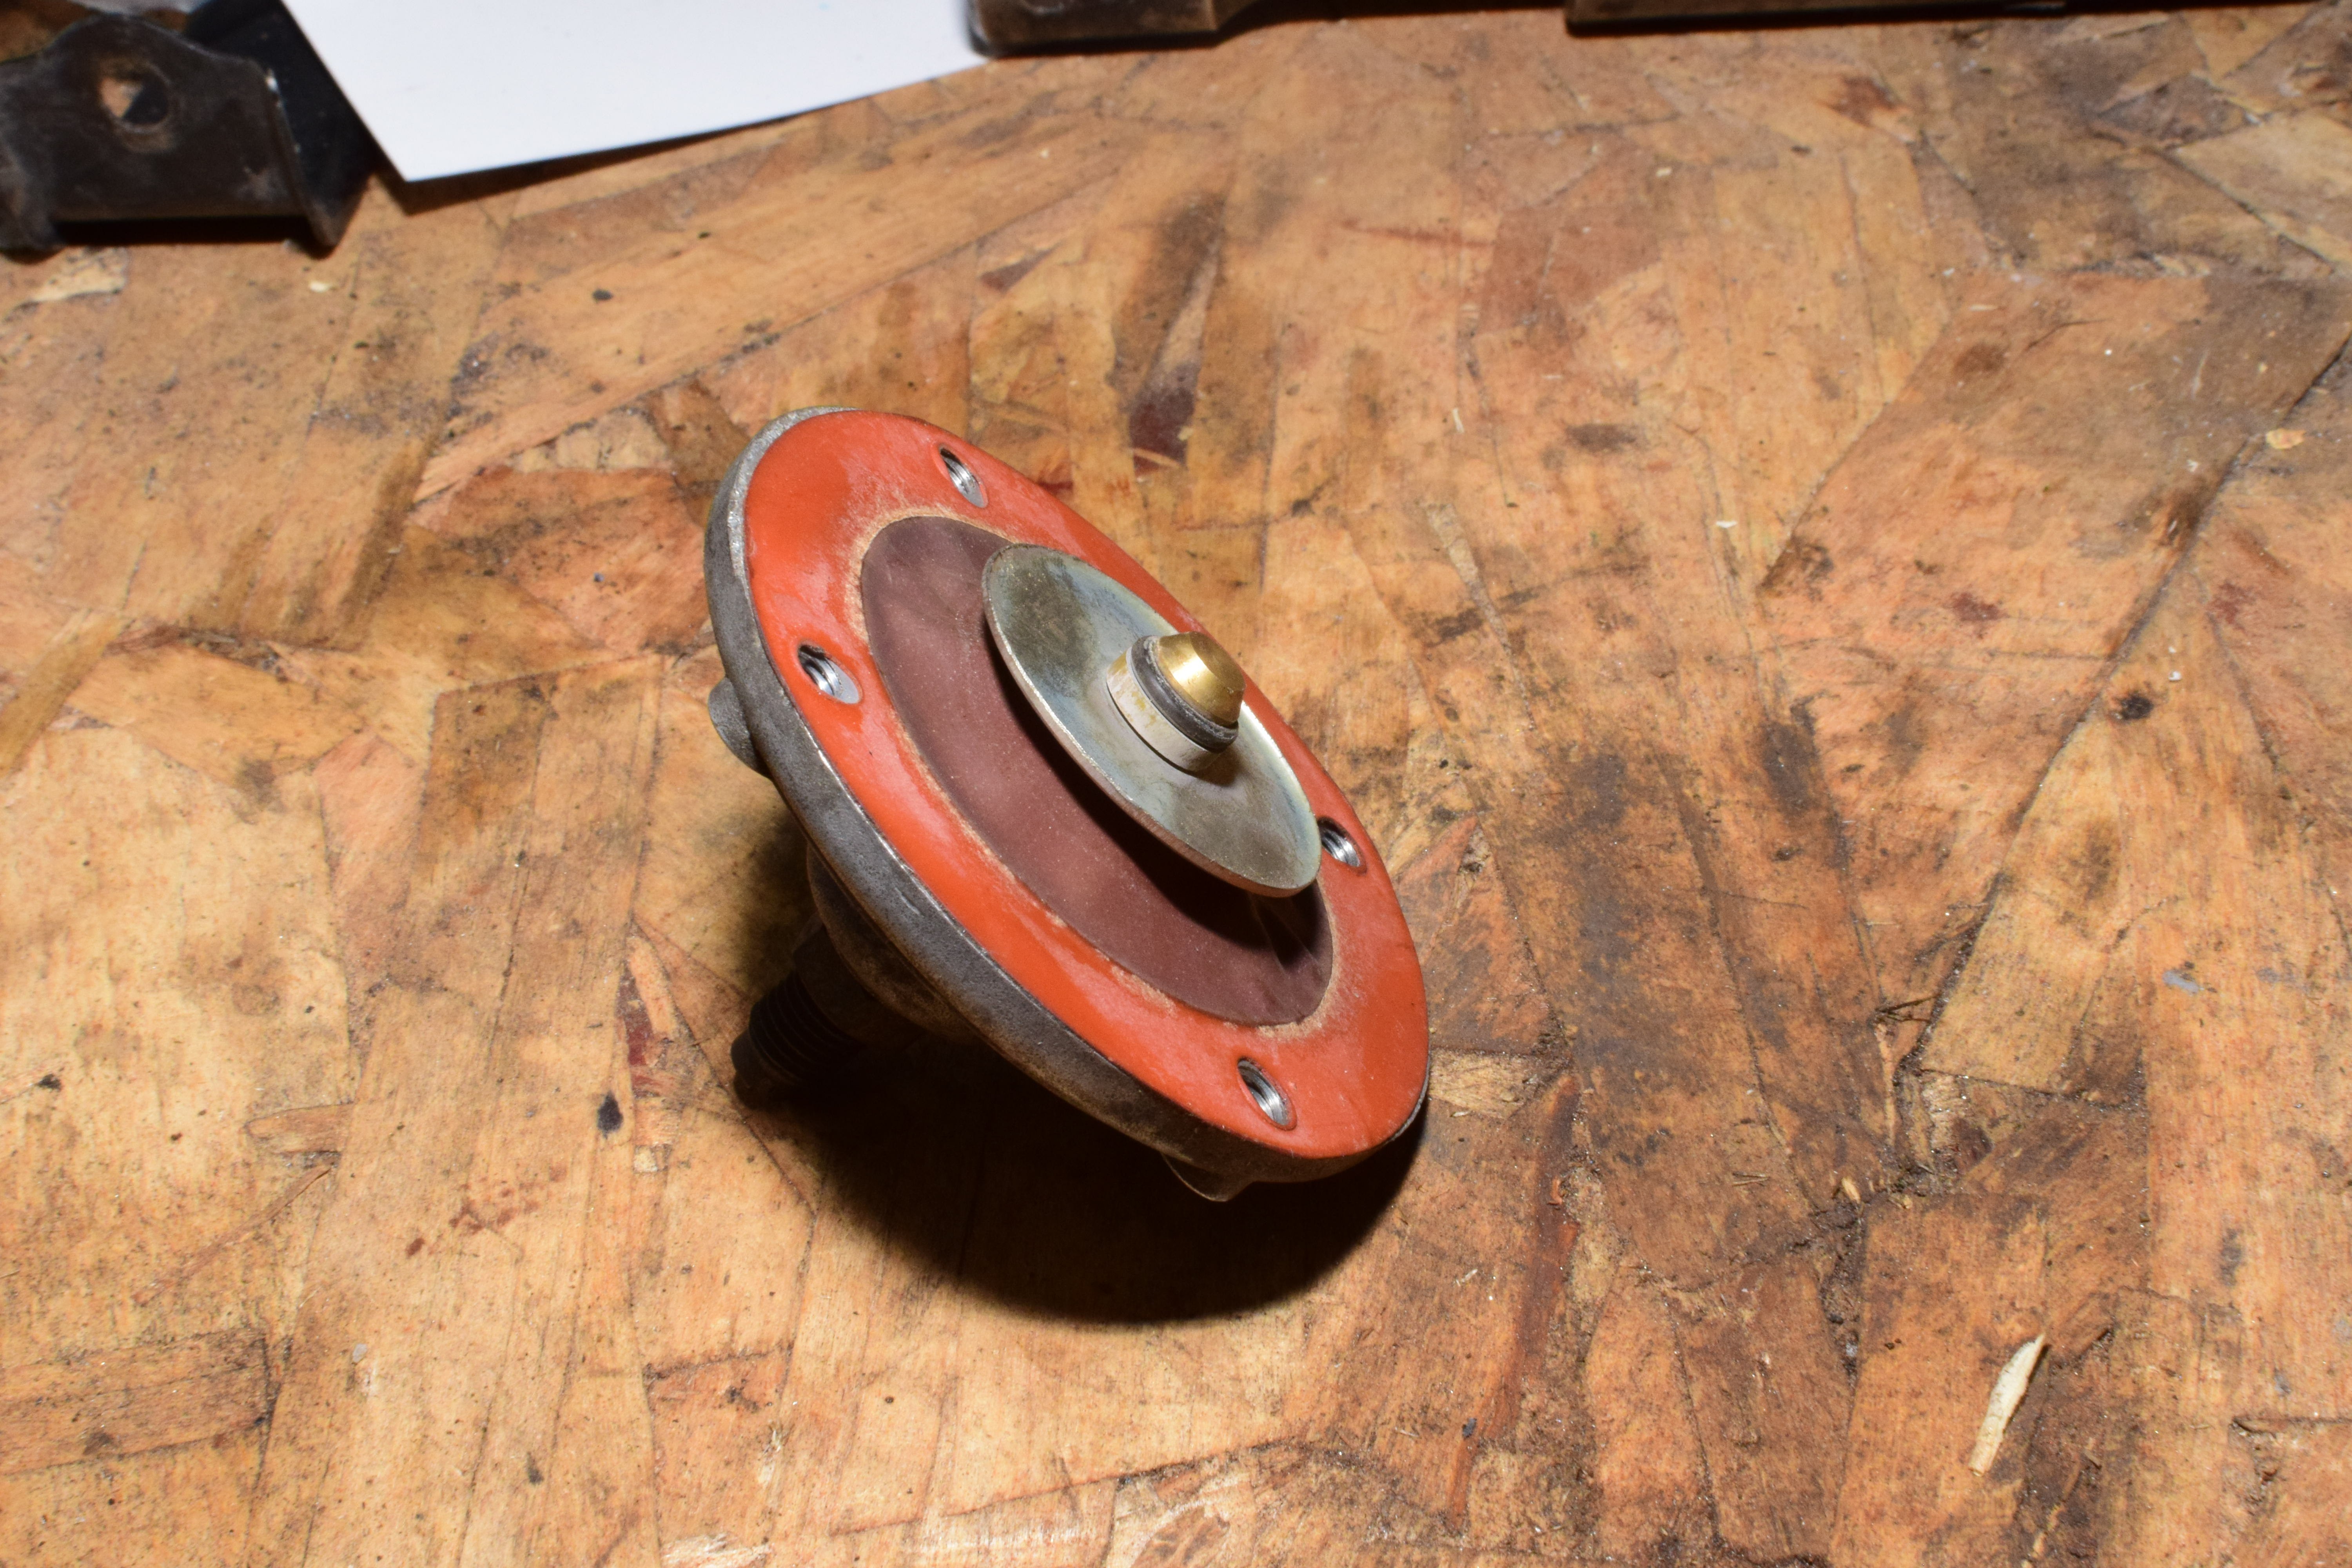
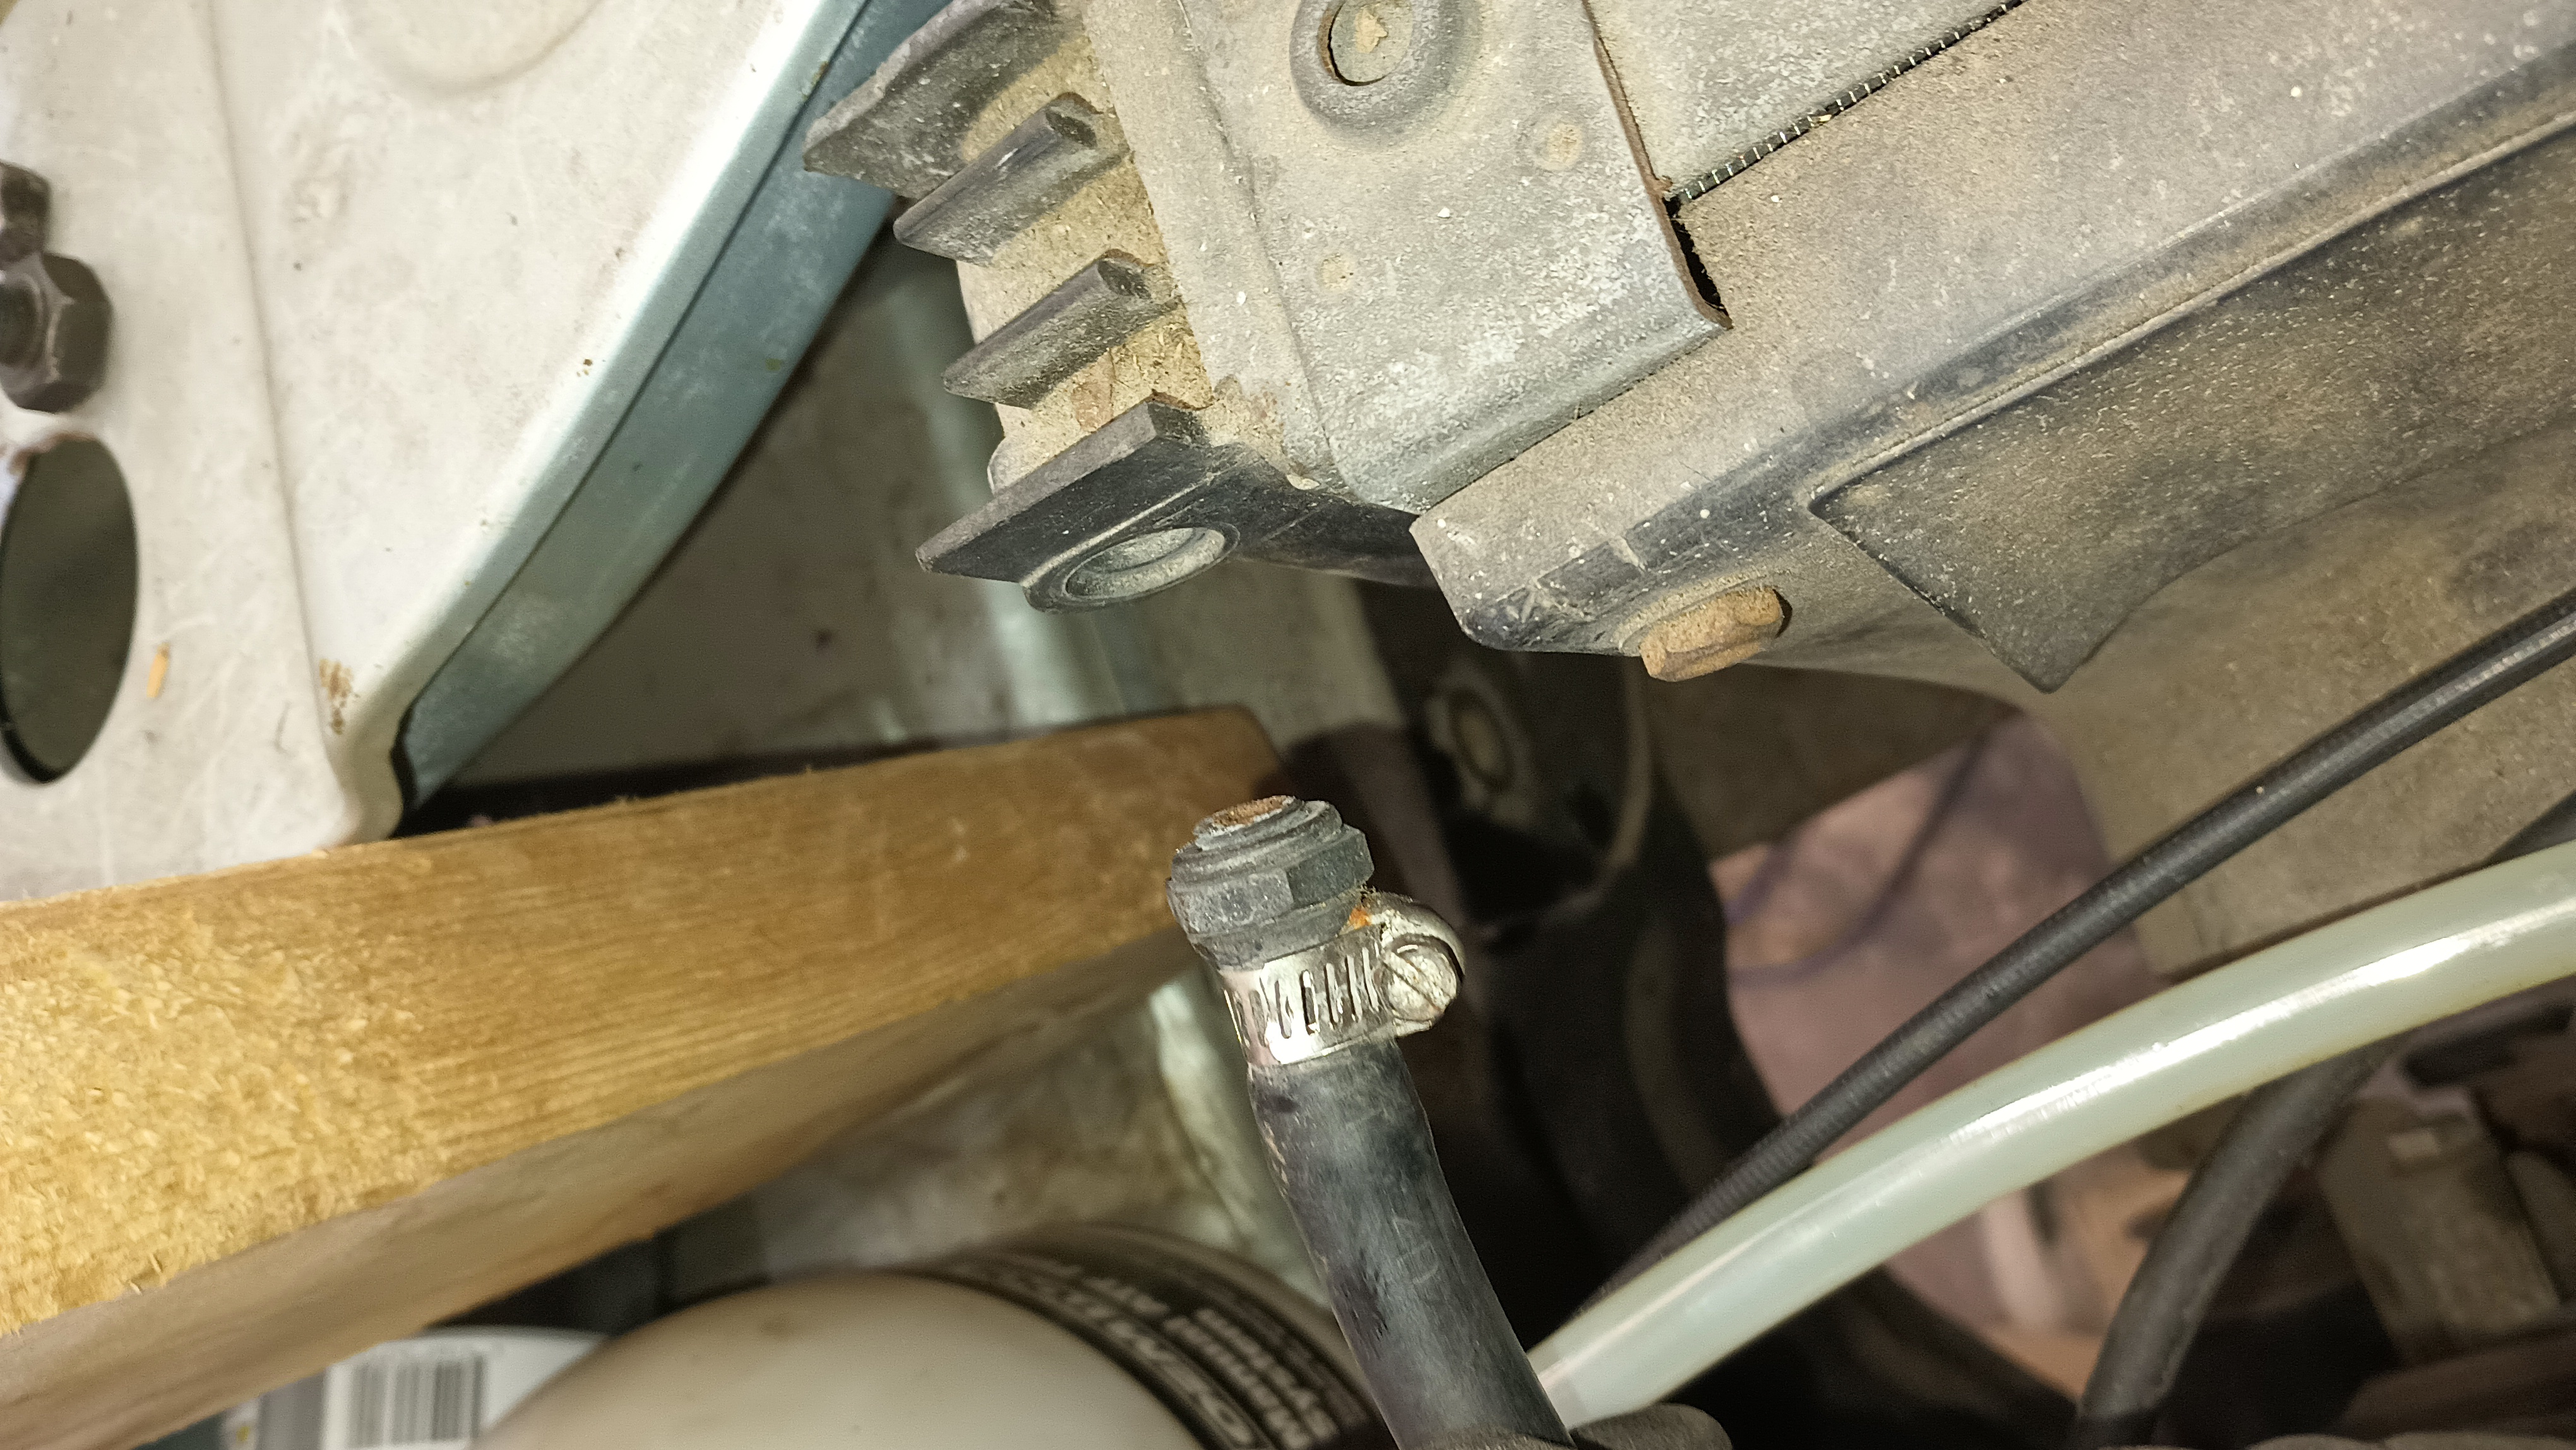
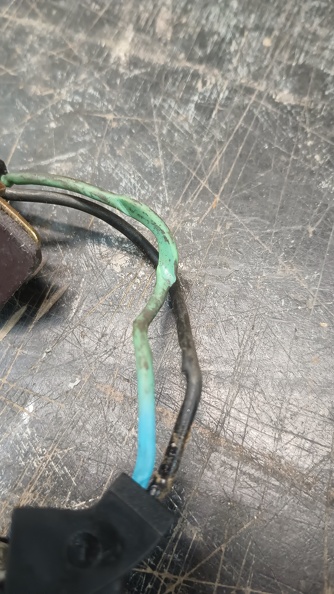
Fearing that there might be a busted headgasket, I put in a can of Blue Devil headgasket repair and followed the instructions. I was supposed to let it idle for 50 minutes, which we did. Everything was going fine until about minute 47 when the car sputtered and then died and wouldn’t restart. Checking the plug wires with the inductive timing light, we confirmed that there was no spark. With severe weather heading our way, we closed up the shop and went home. Later in the evening I came back out and started to take a look. When I pulled the distributor cap off, I discovered that there was a wire that was crimped between the cap and the body of the distributor. Now when I took the distributor off to do the advance repairs, I noted that wire was pinched and thought I had fixed it. But I did not, in fact, fix it.

After cleaning that up, wrapping it in tape, and carefully routing the wire to its proper channel, the car fired up immediately!
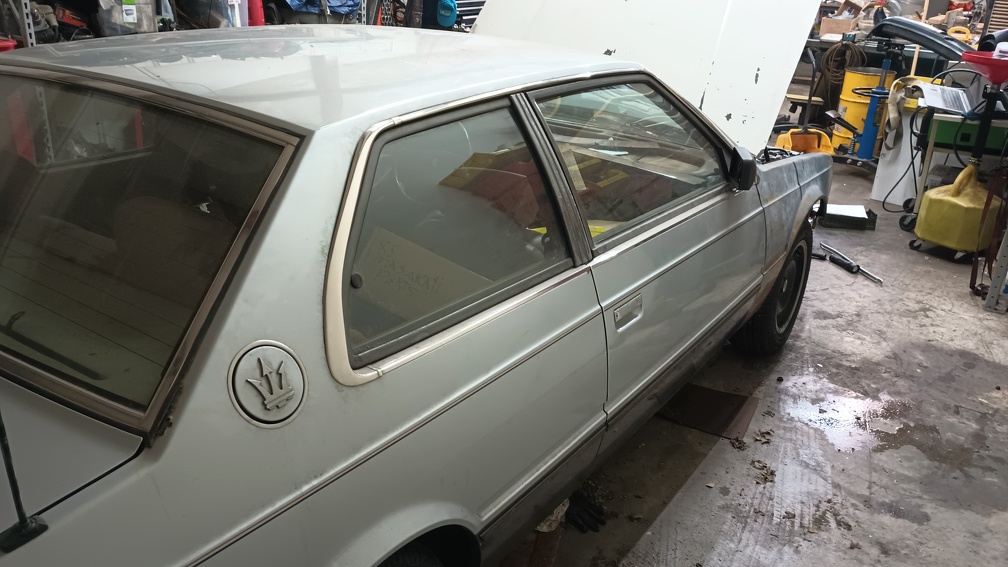
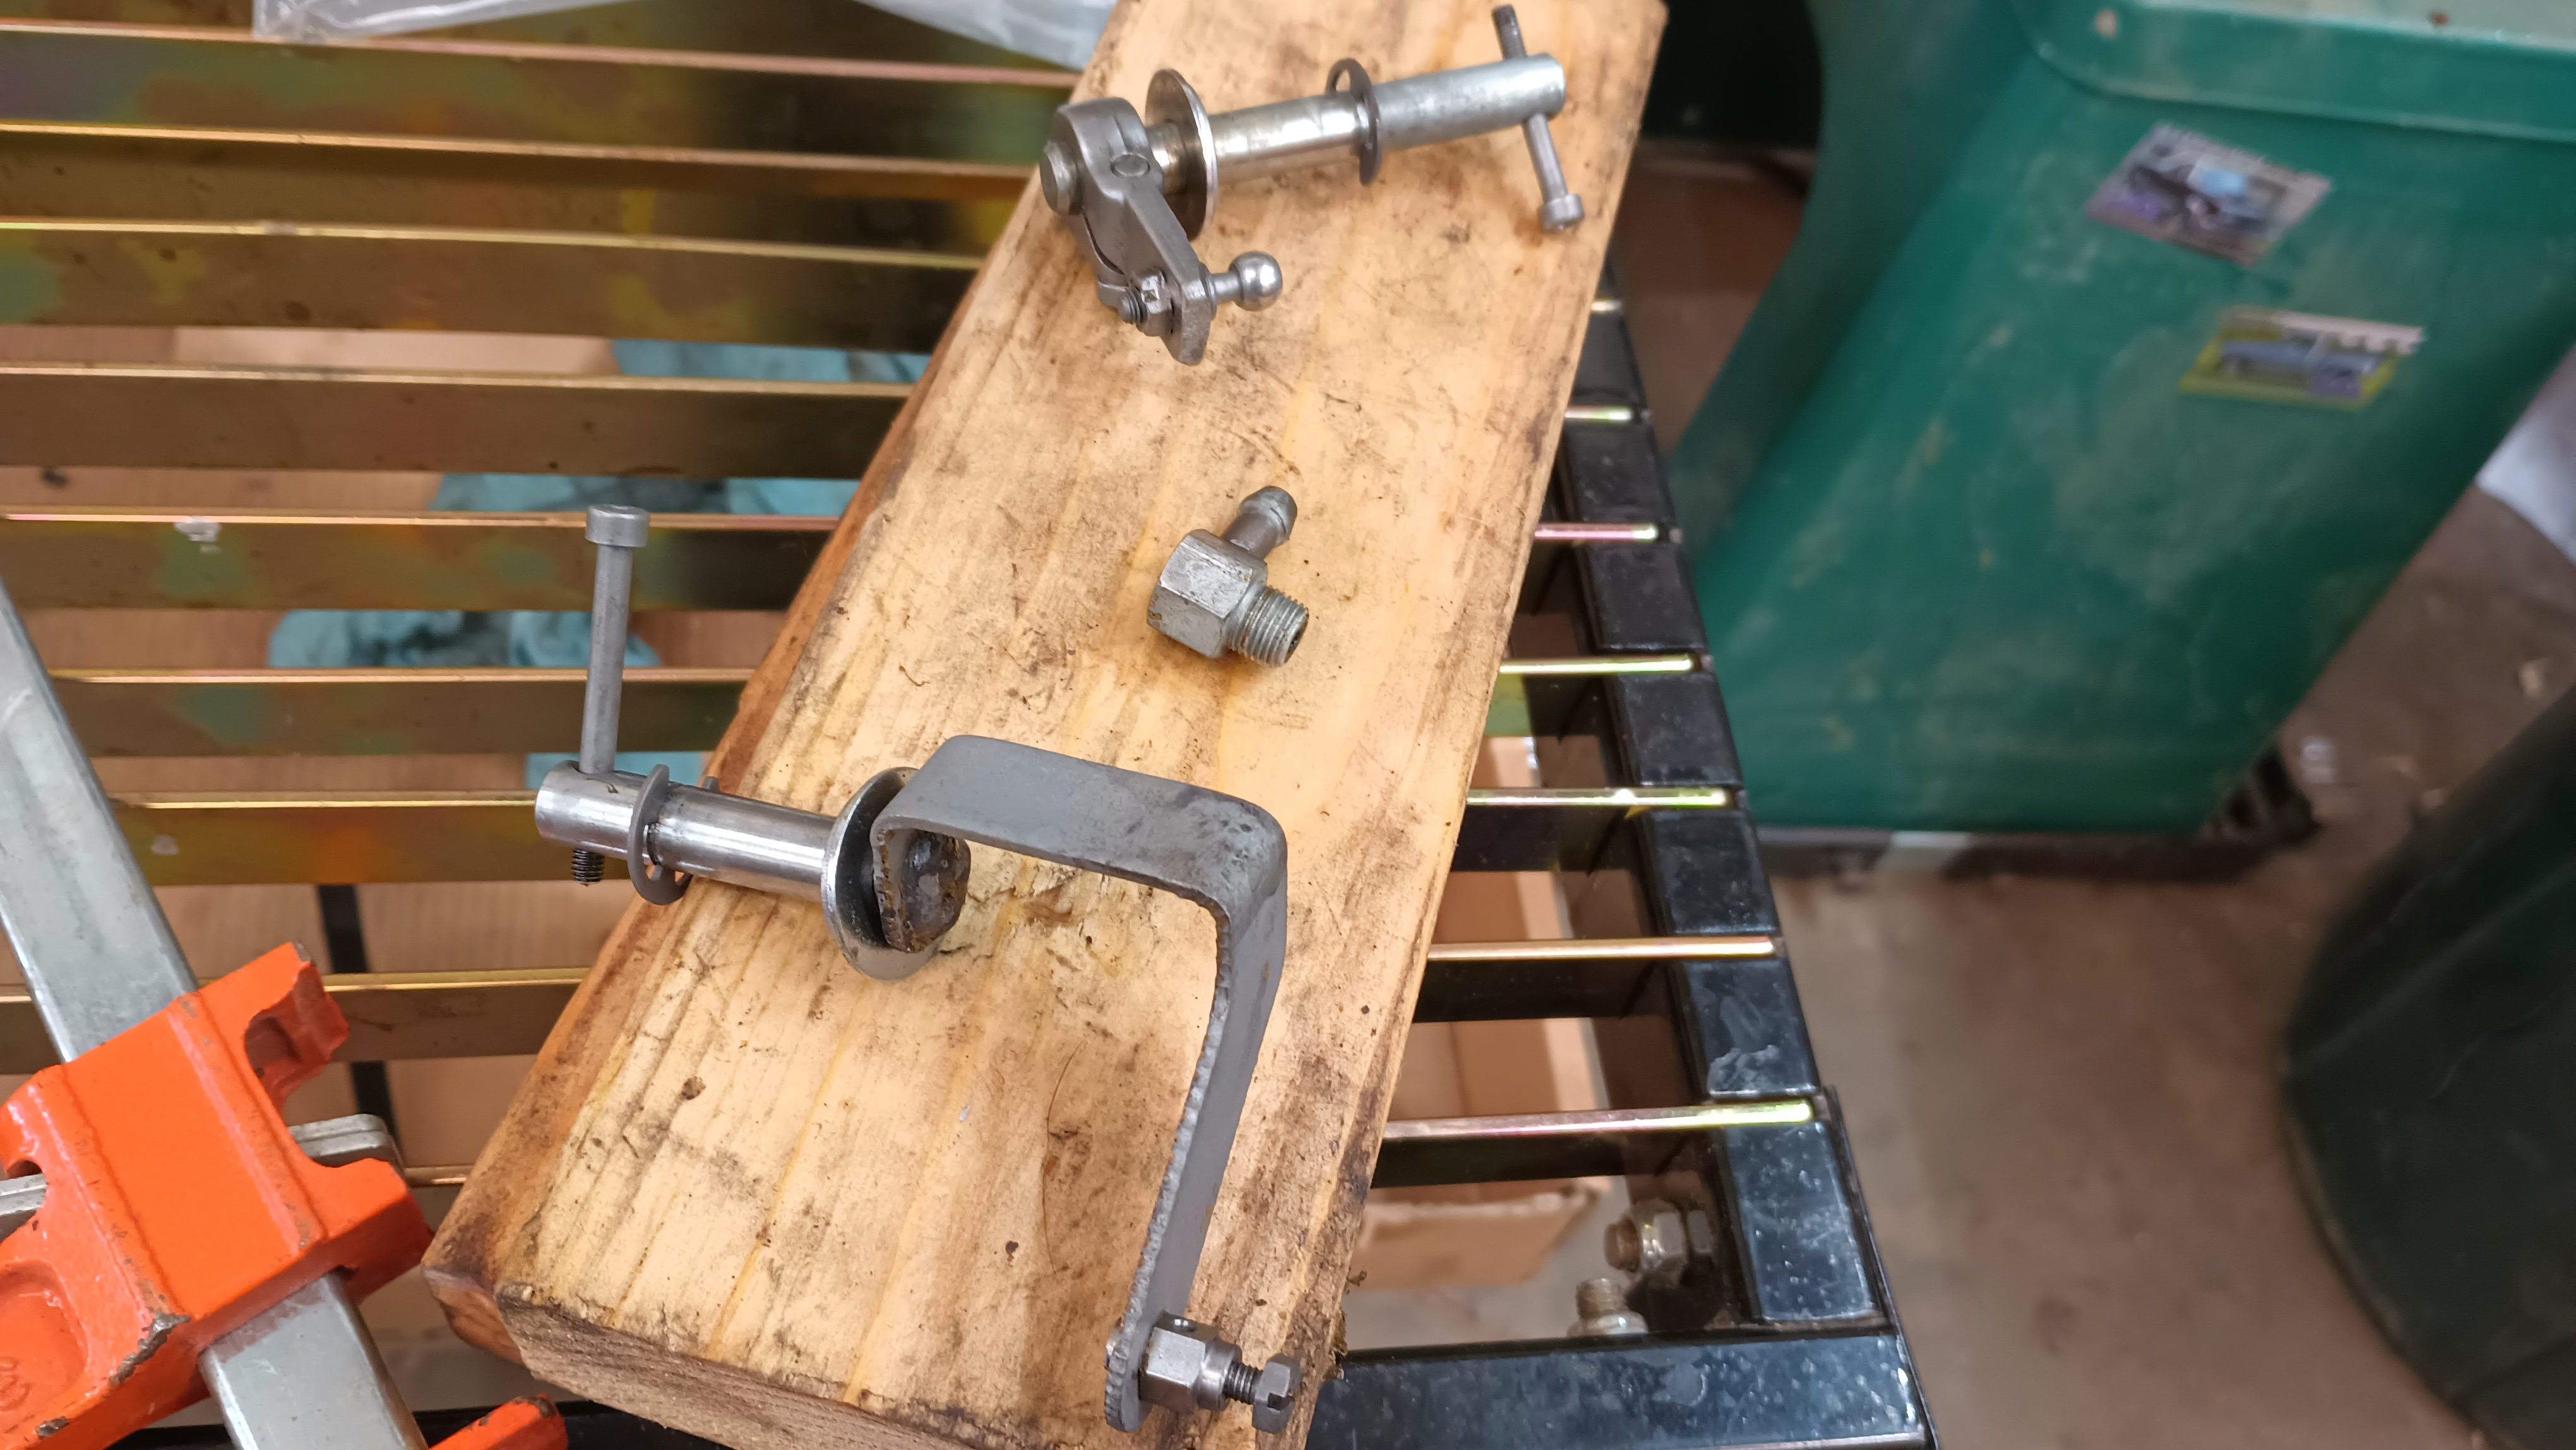
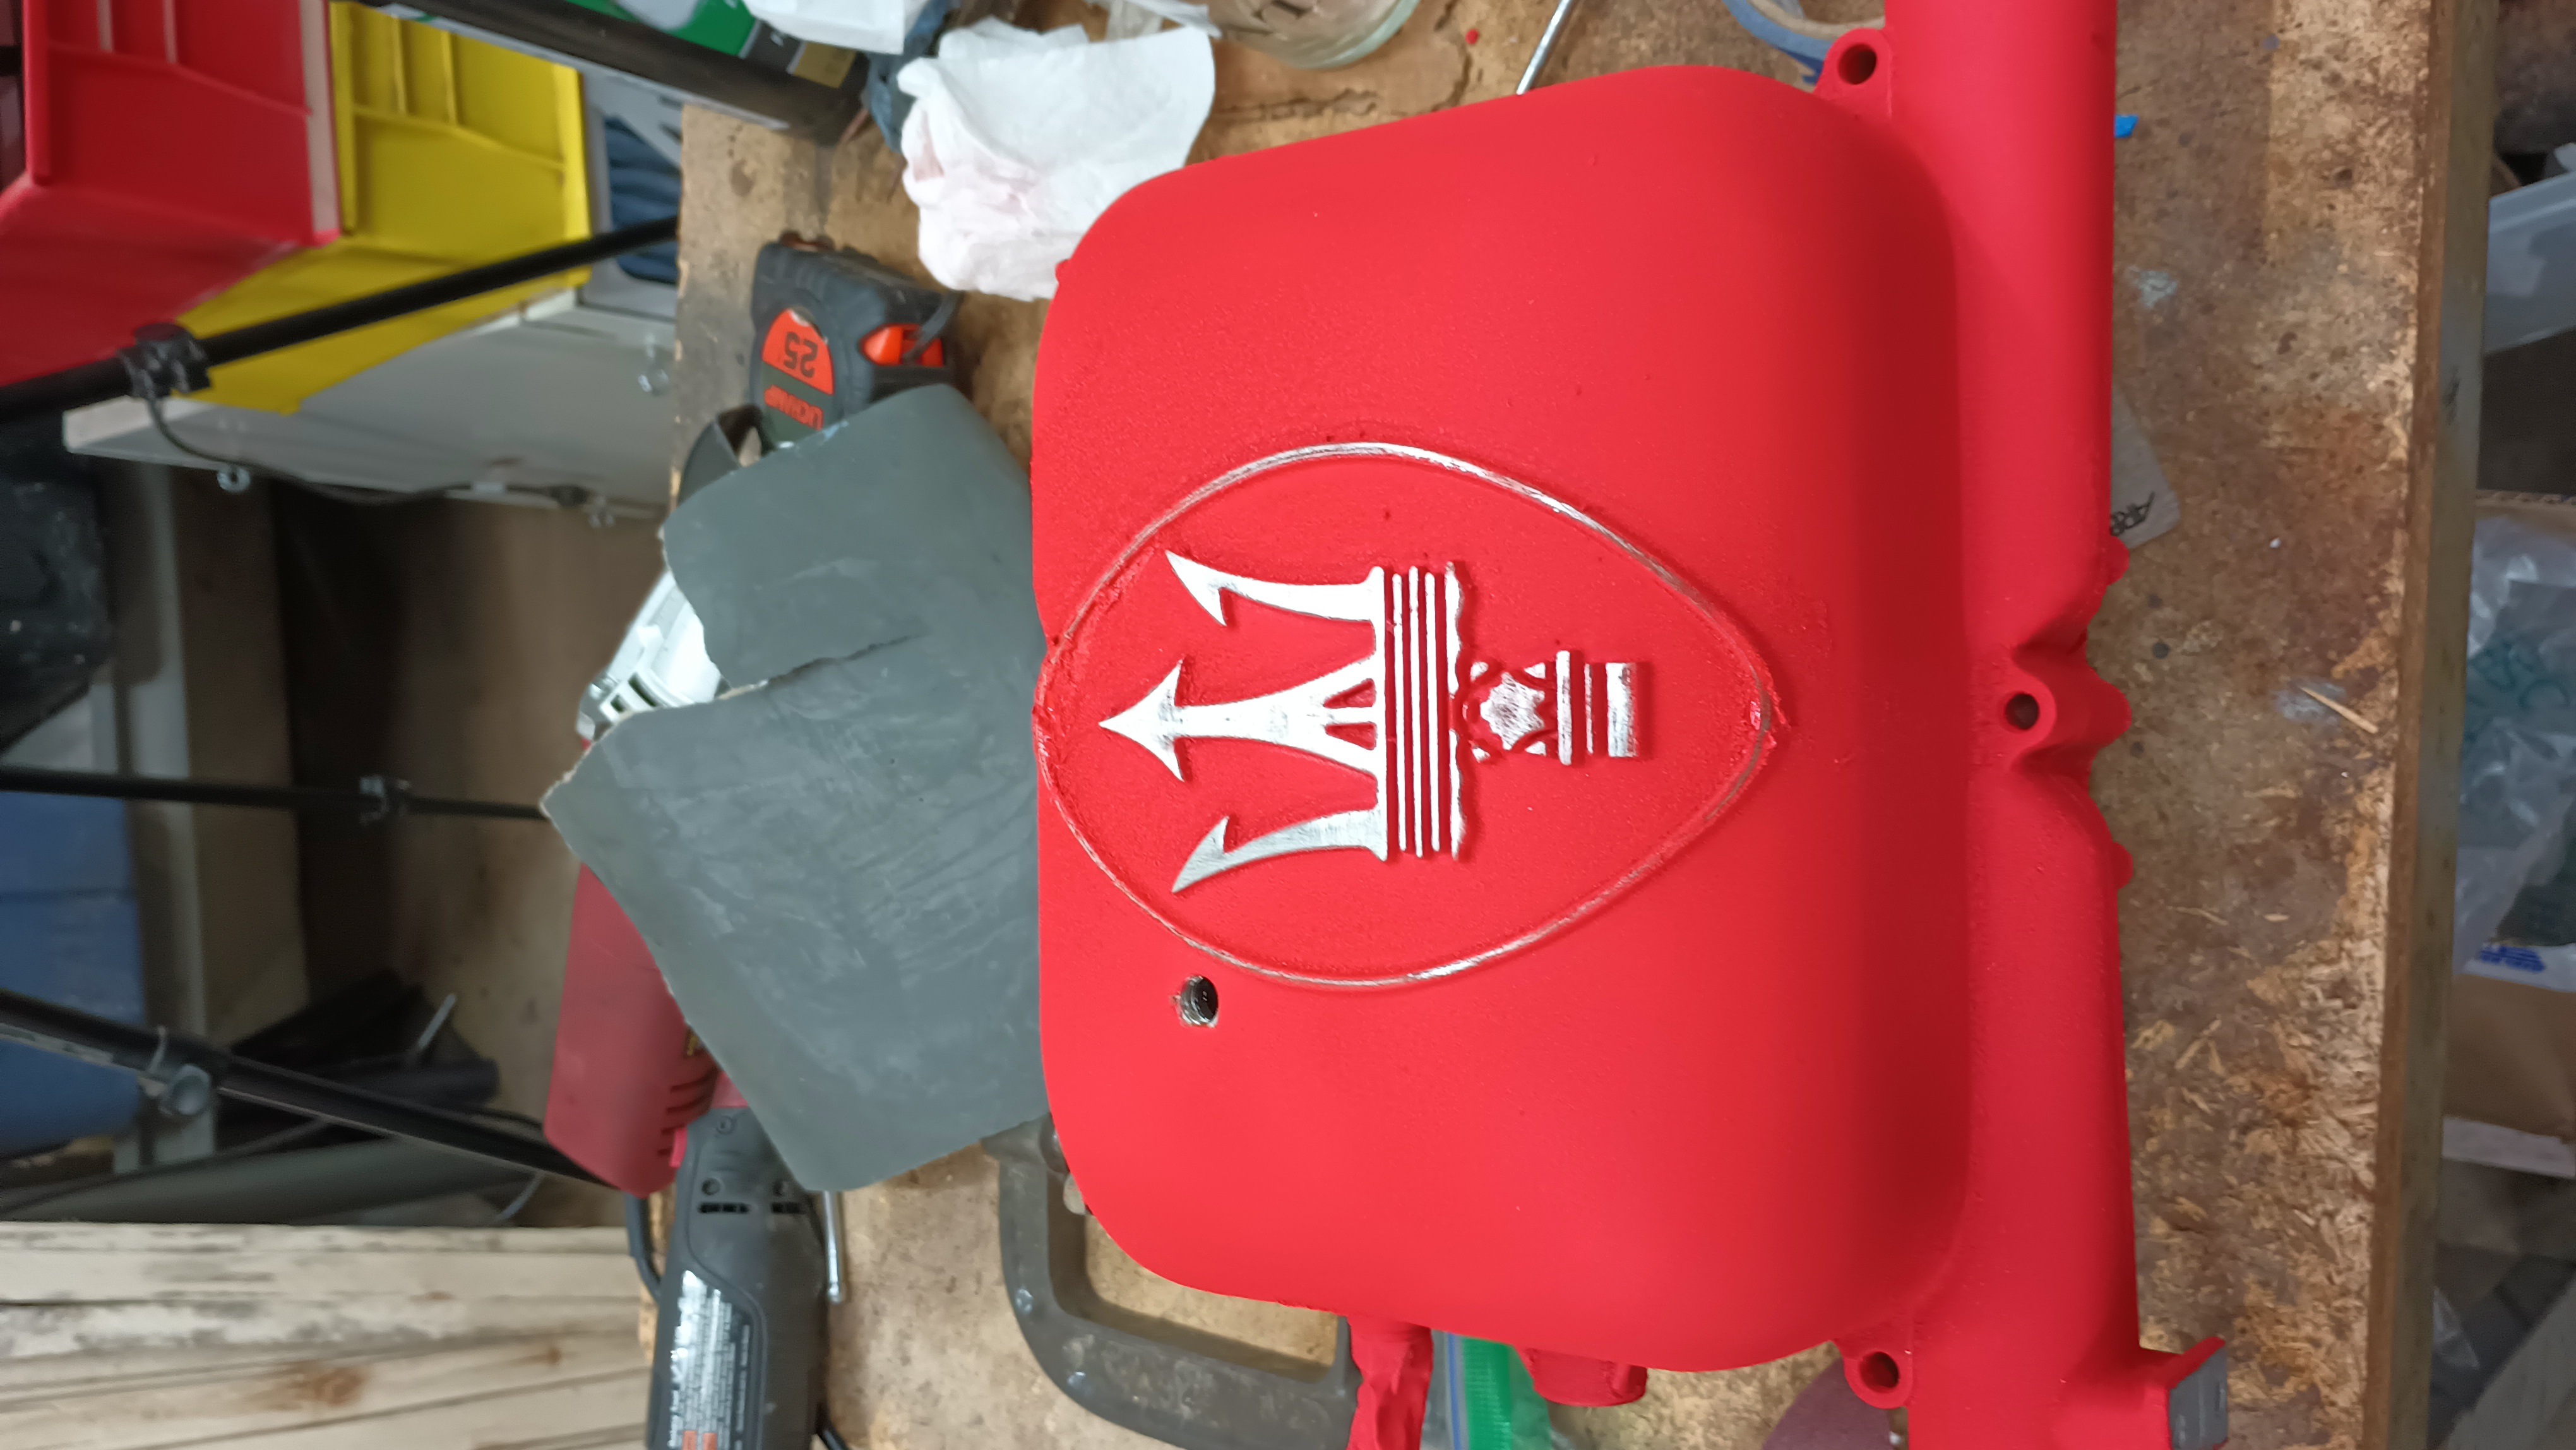
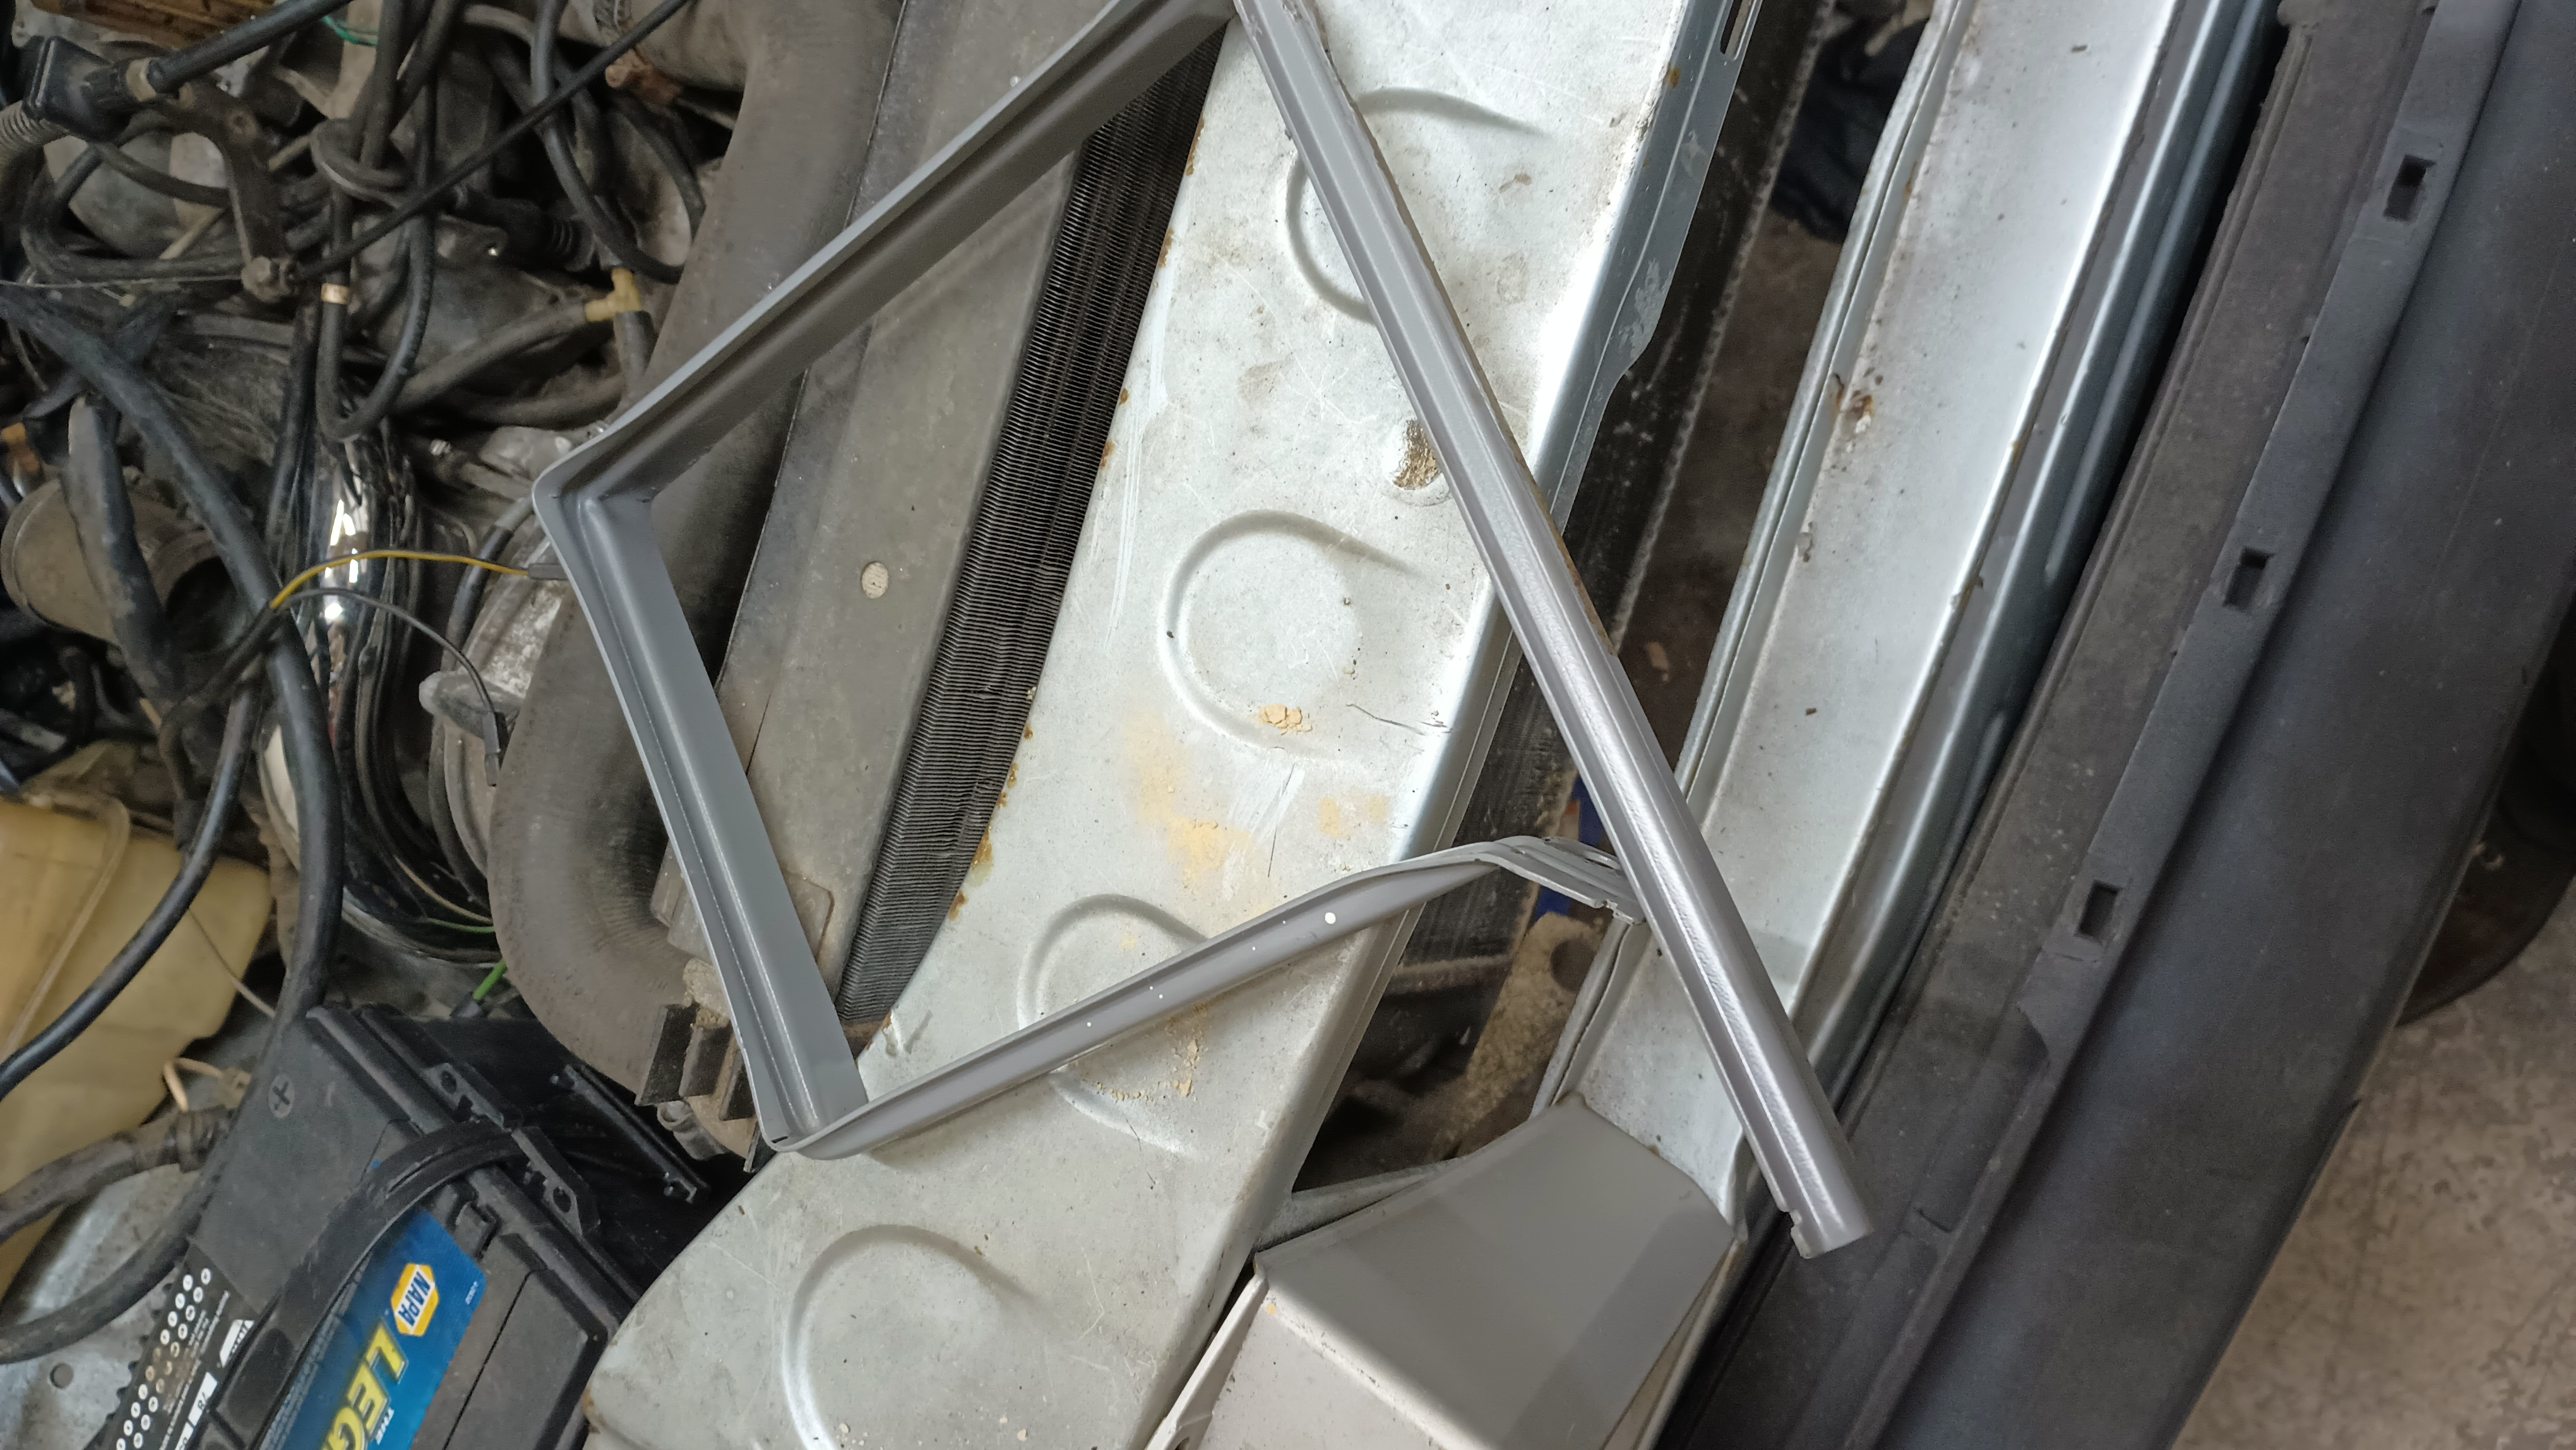
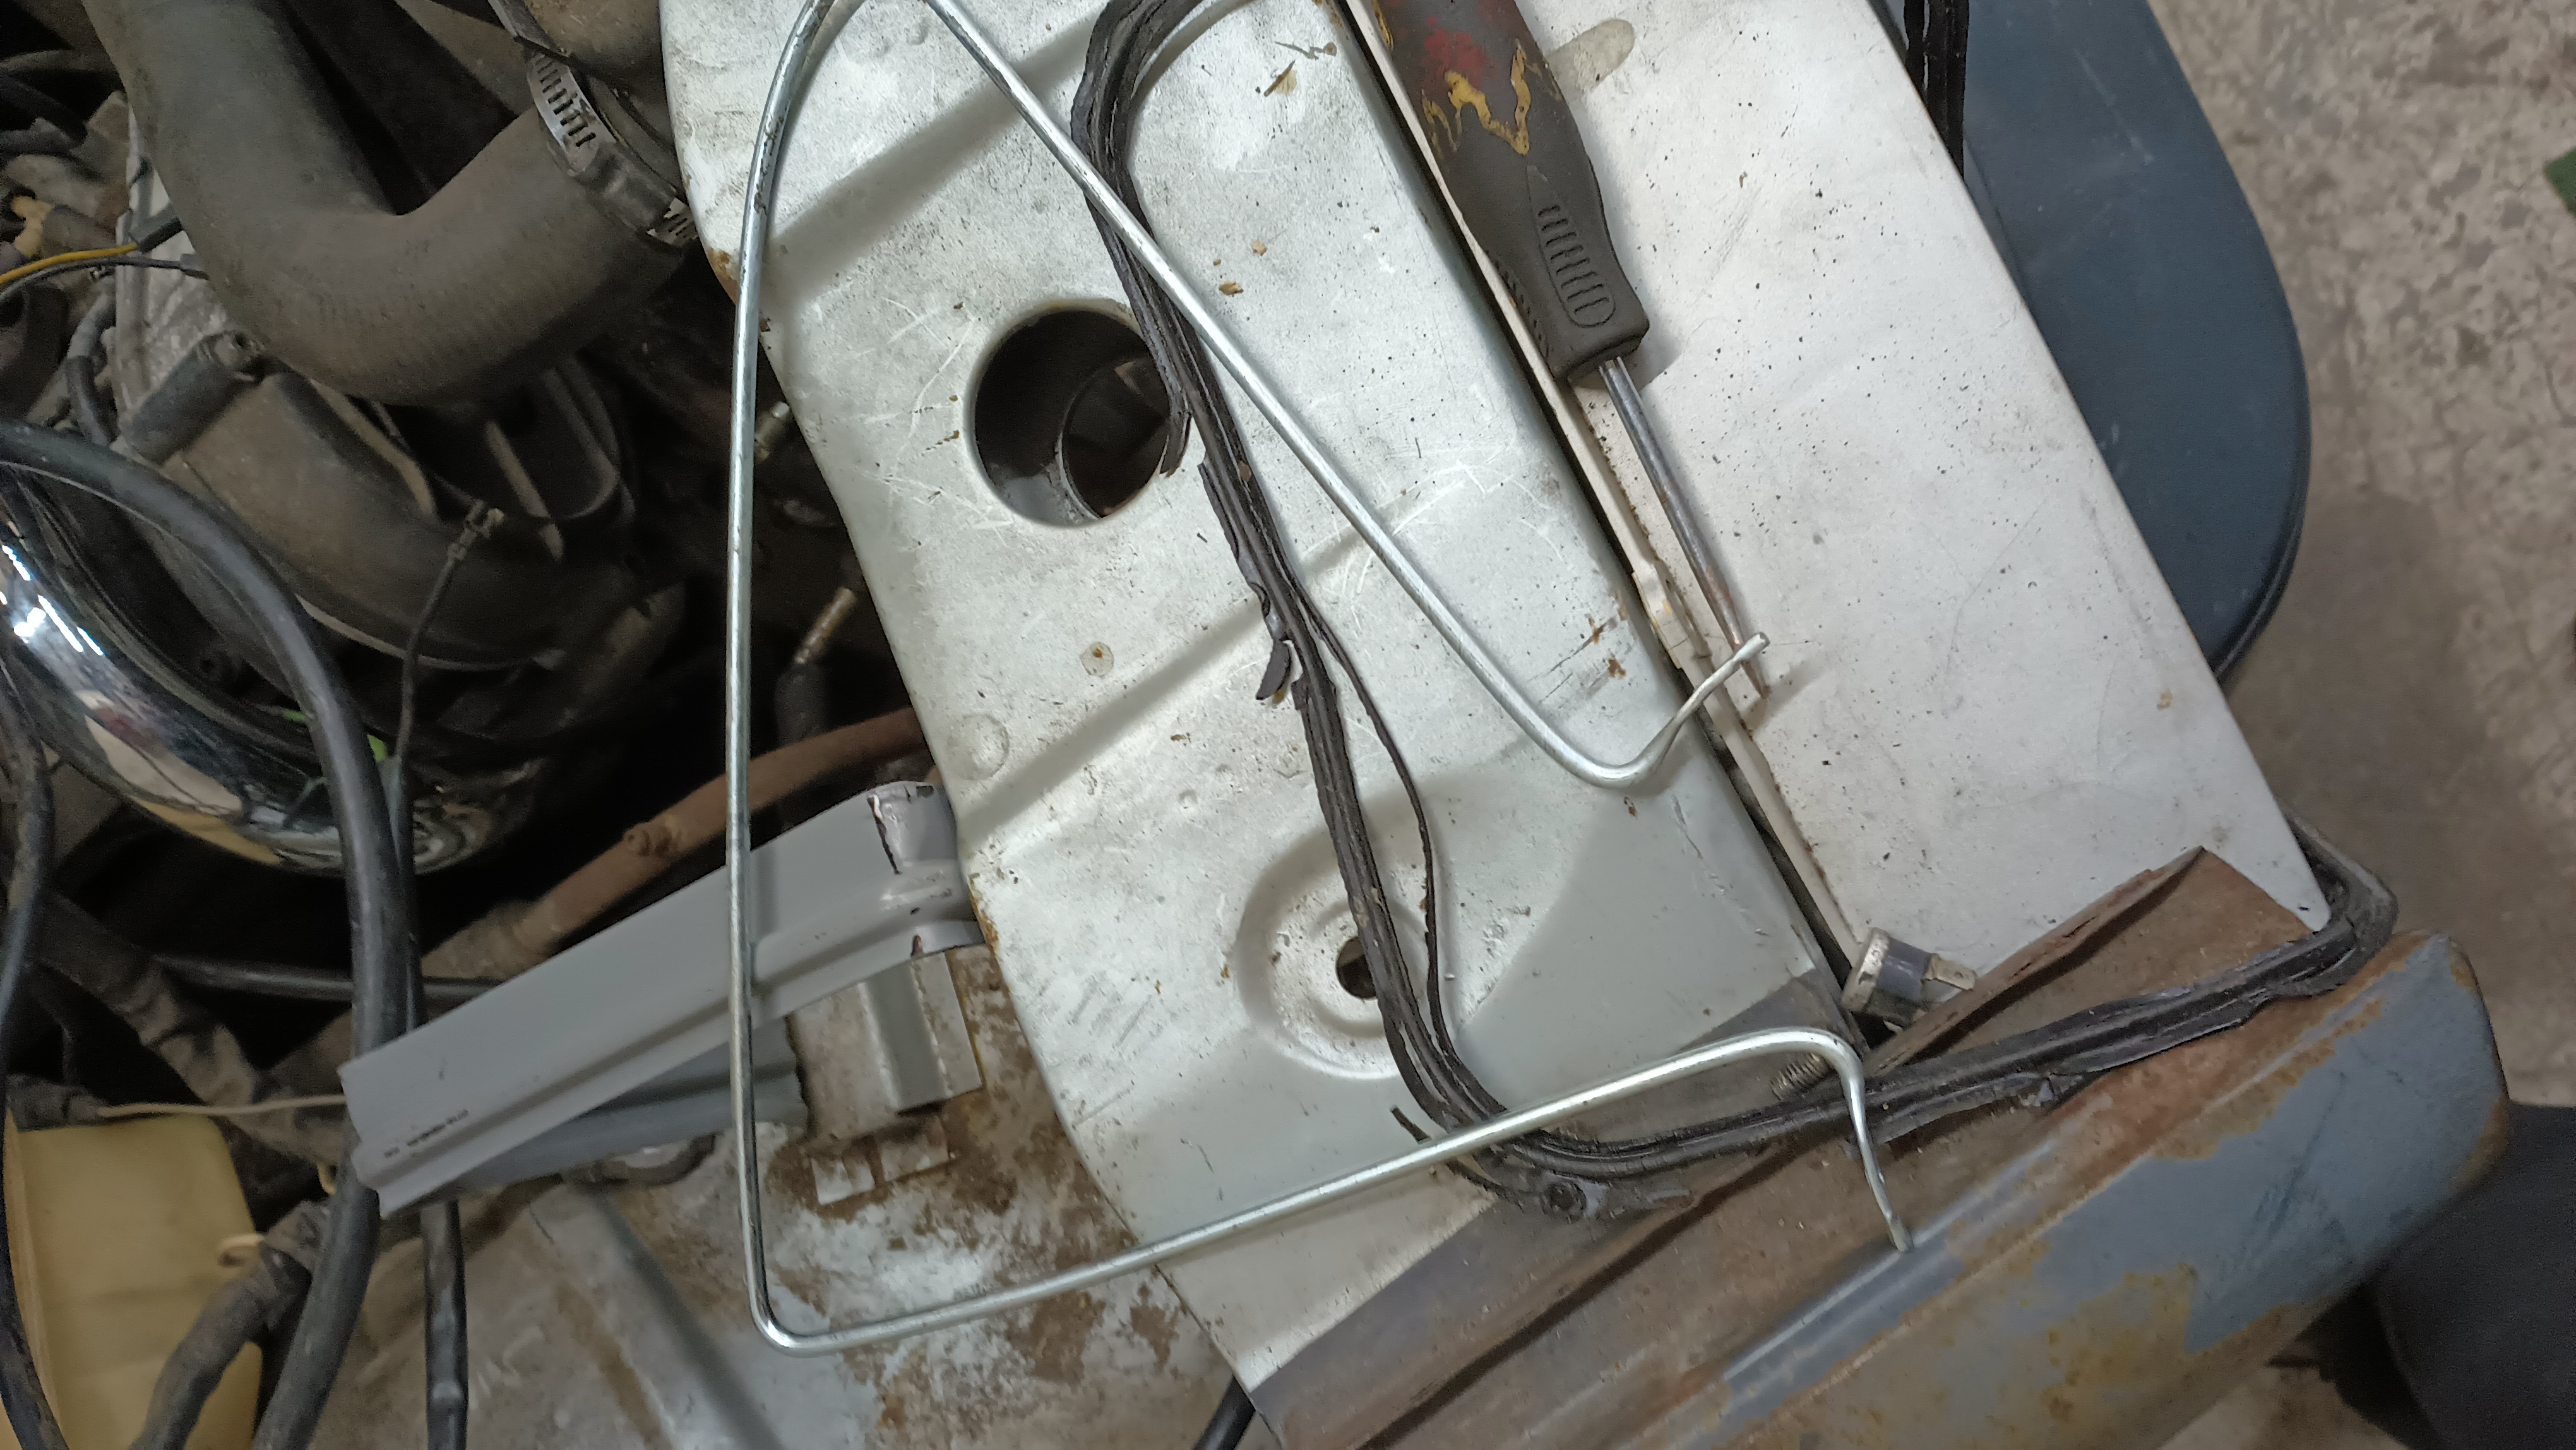
Next, I needed to clean up some of the appearance items.


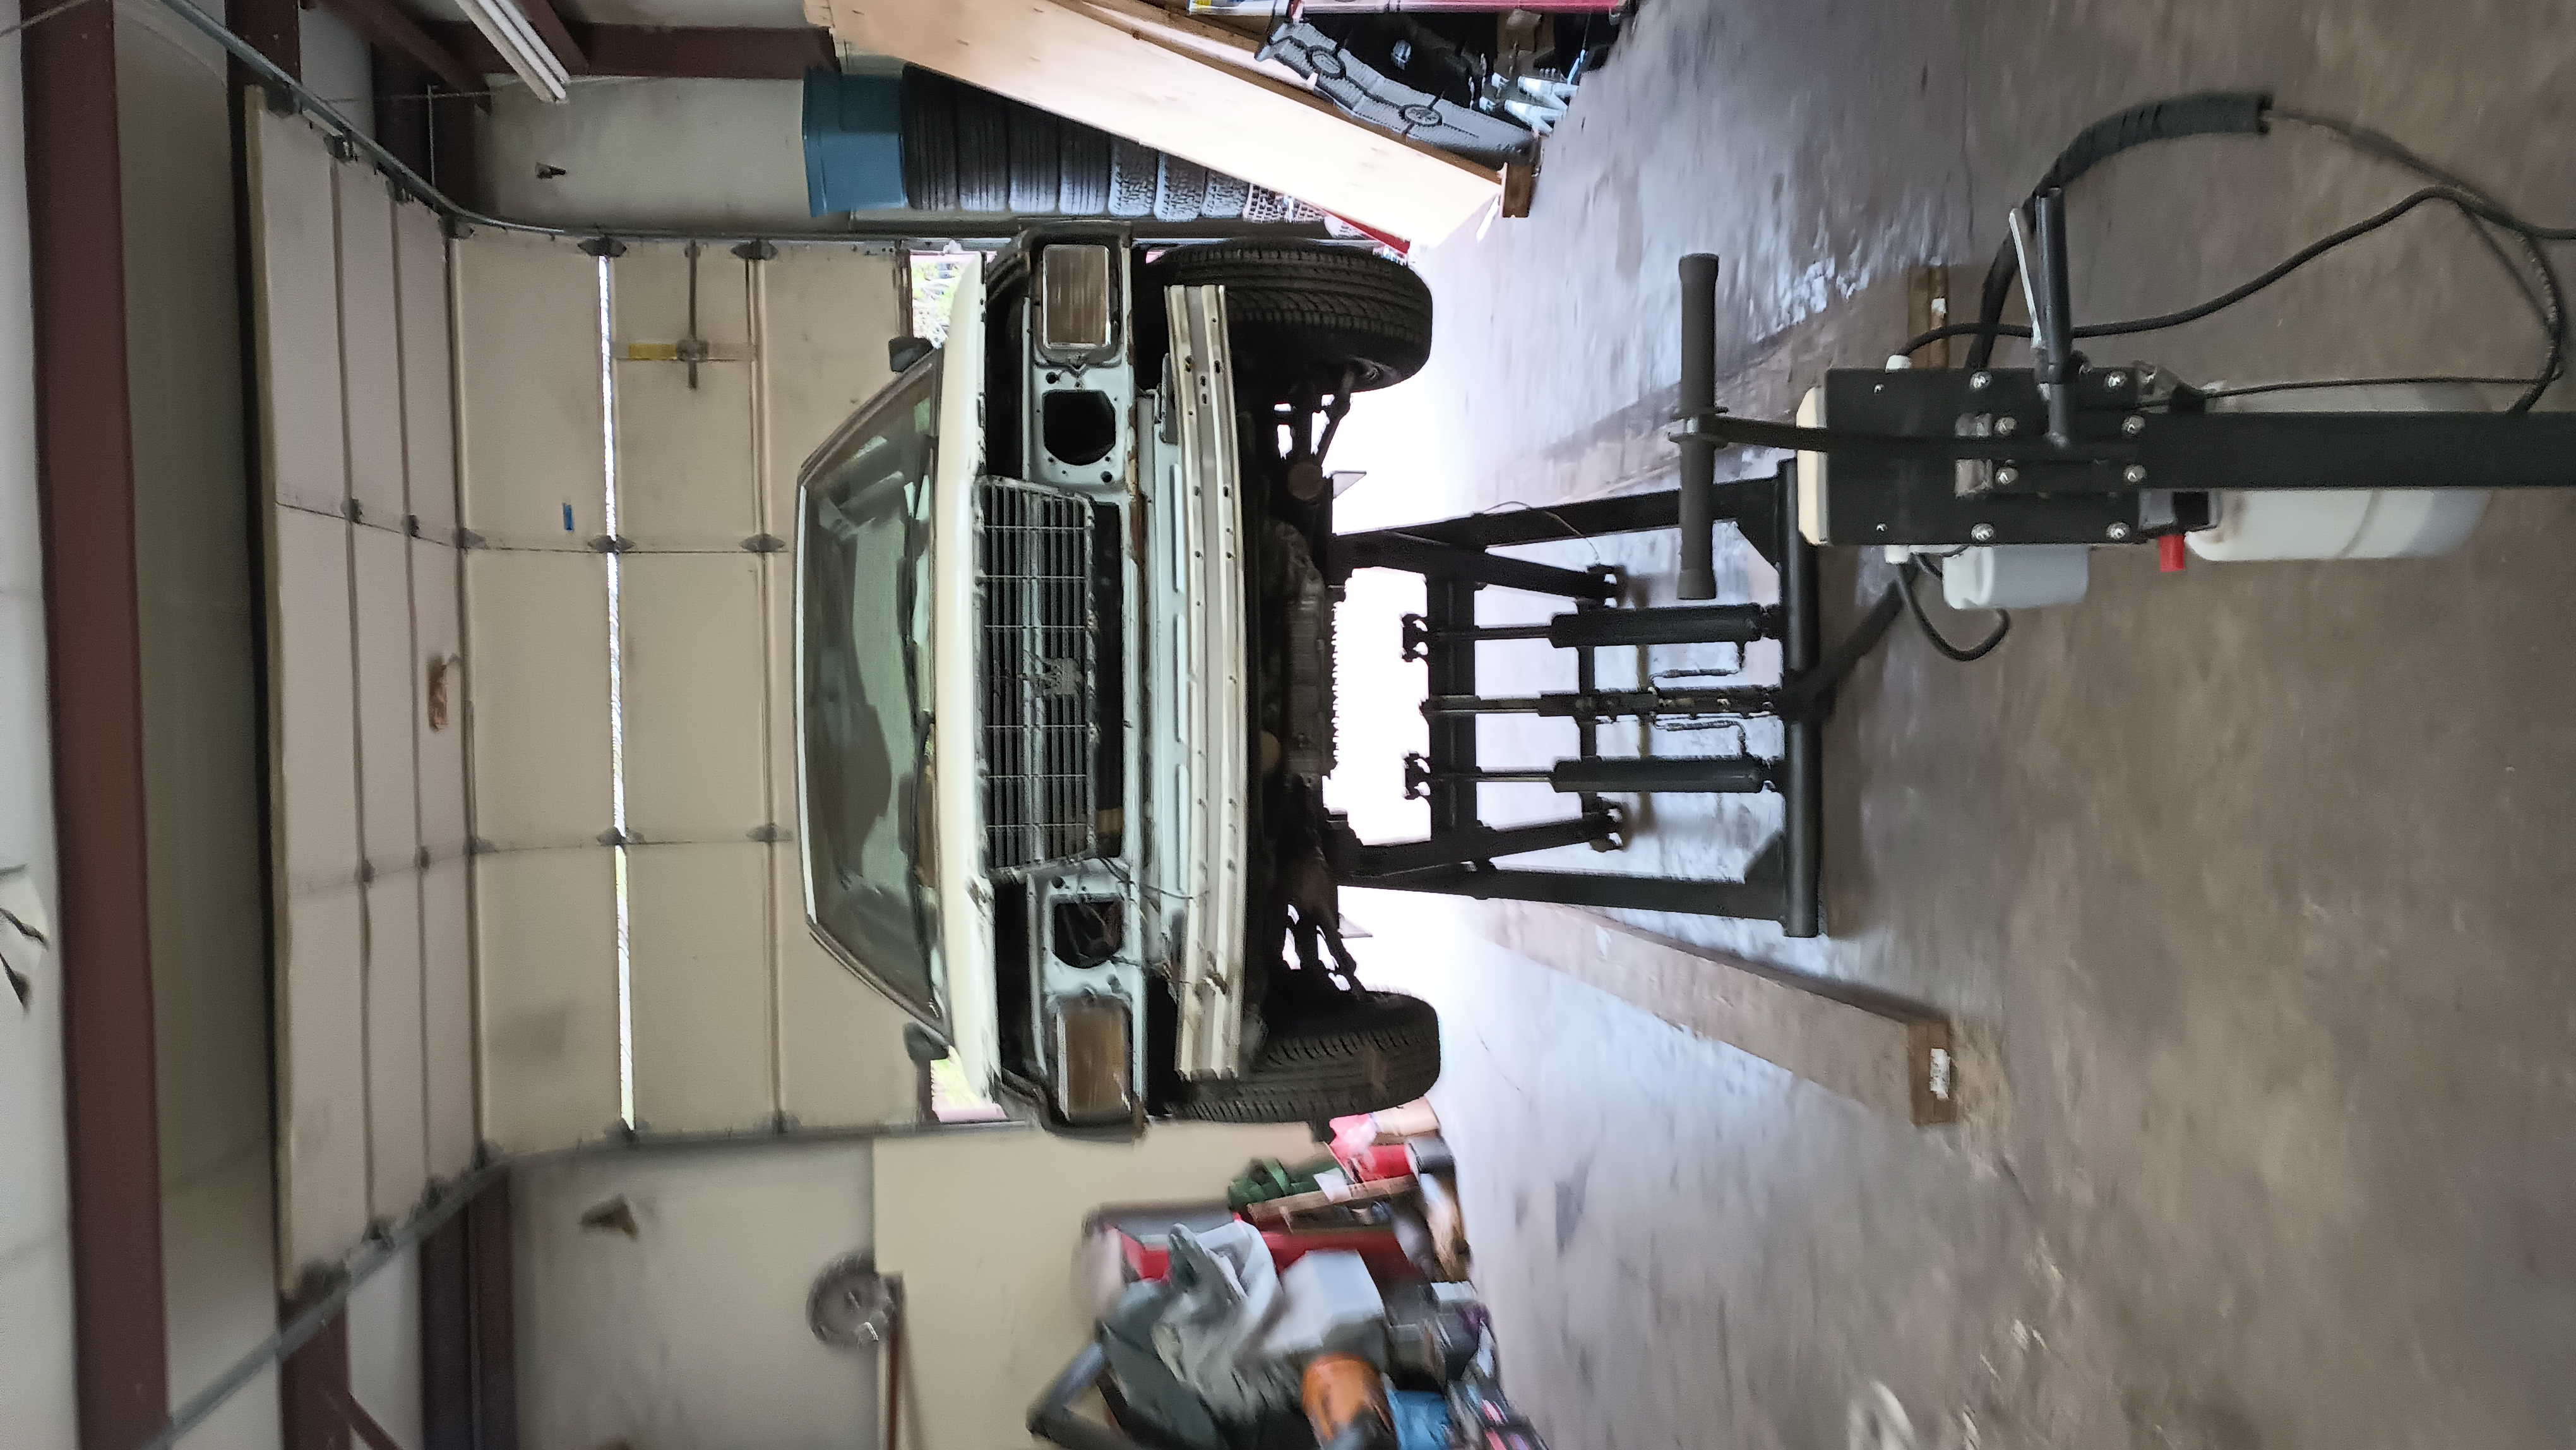
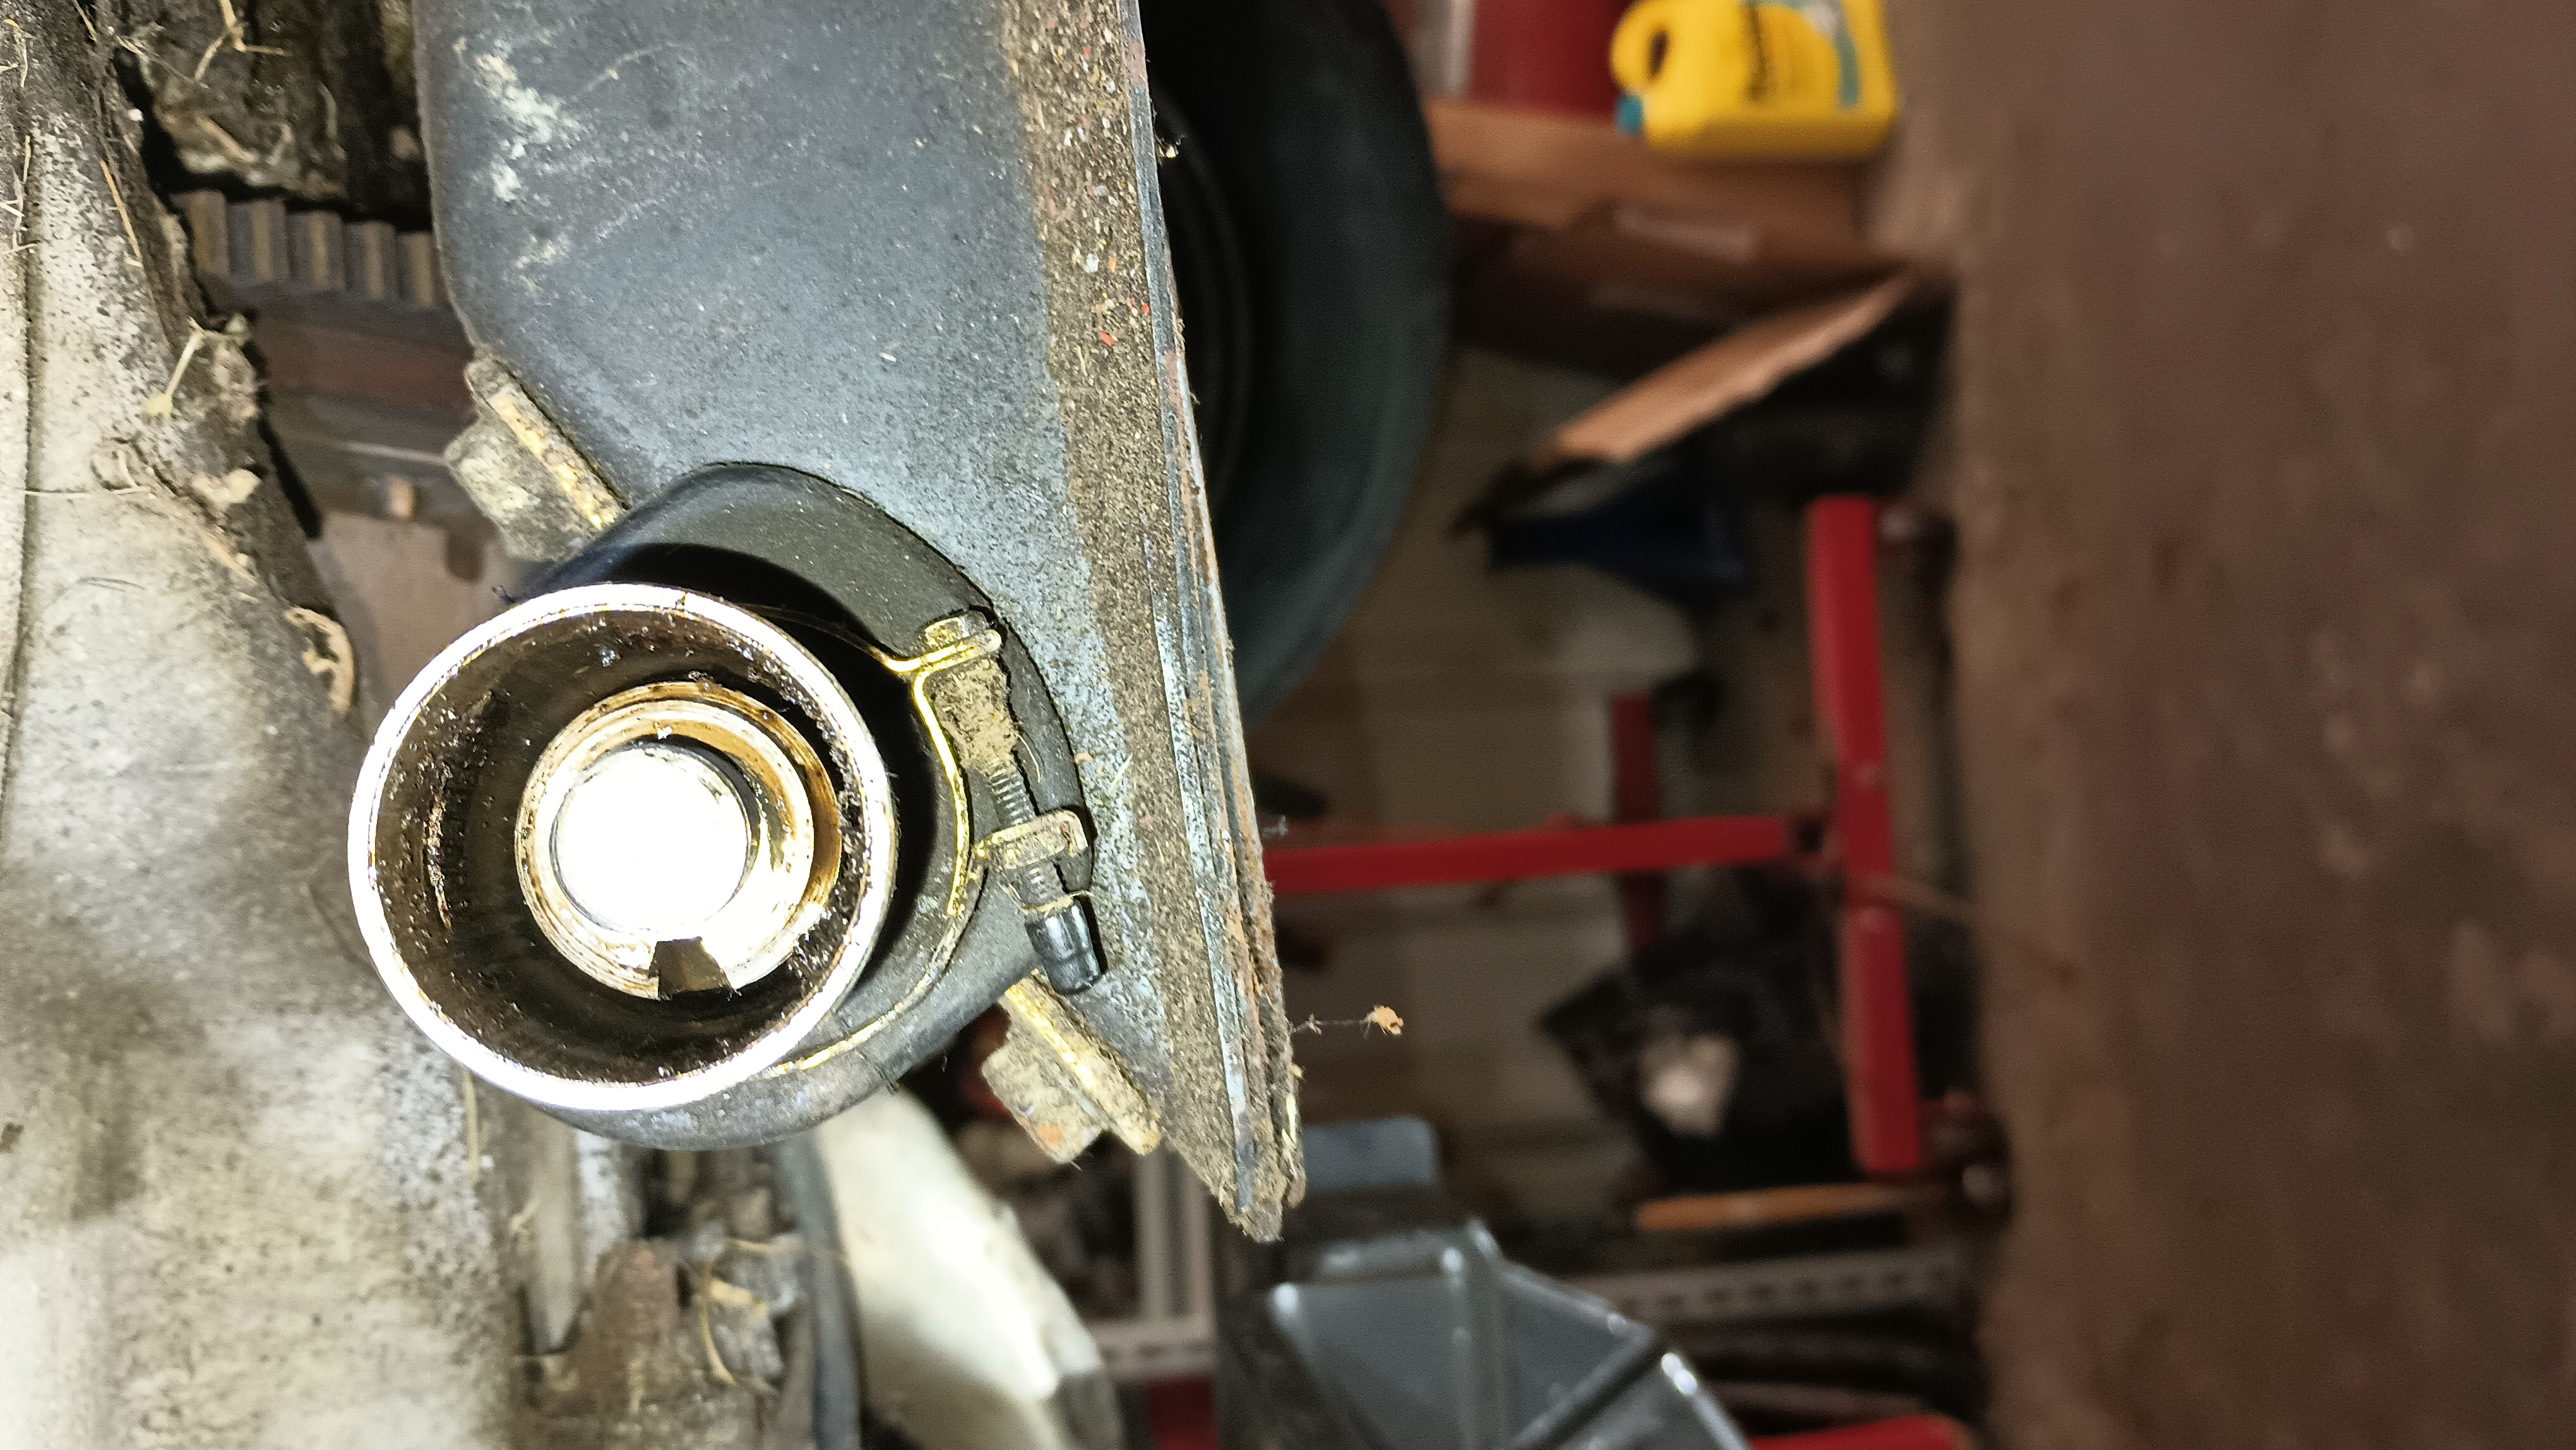
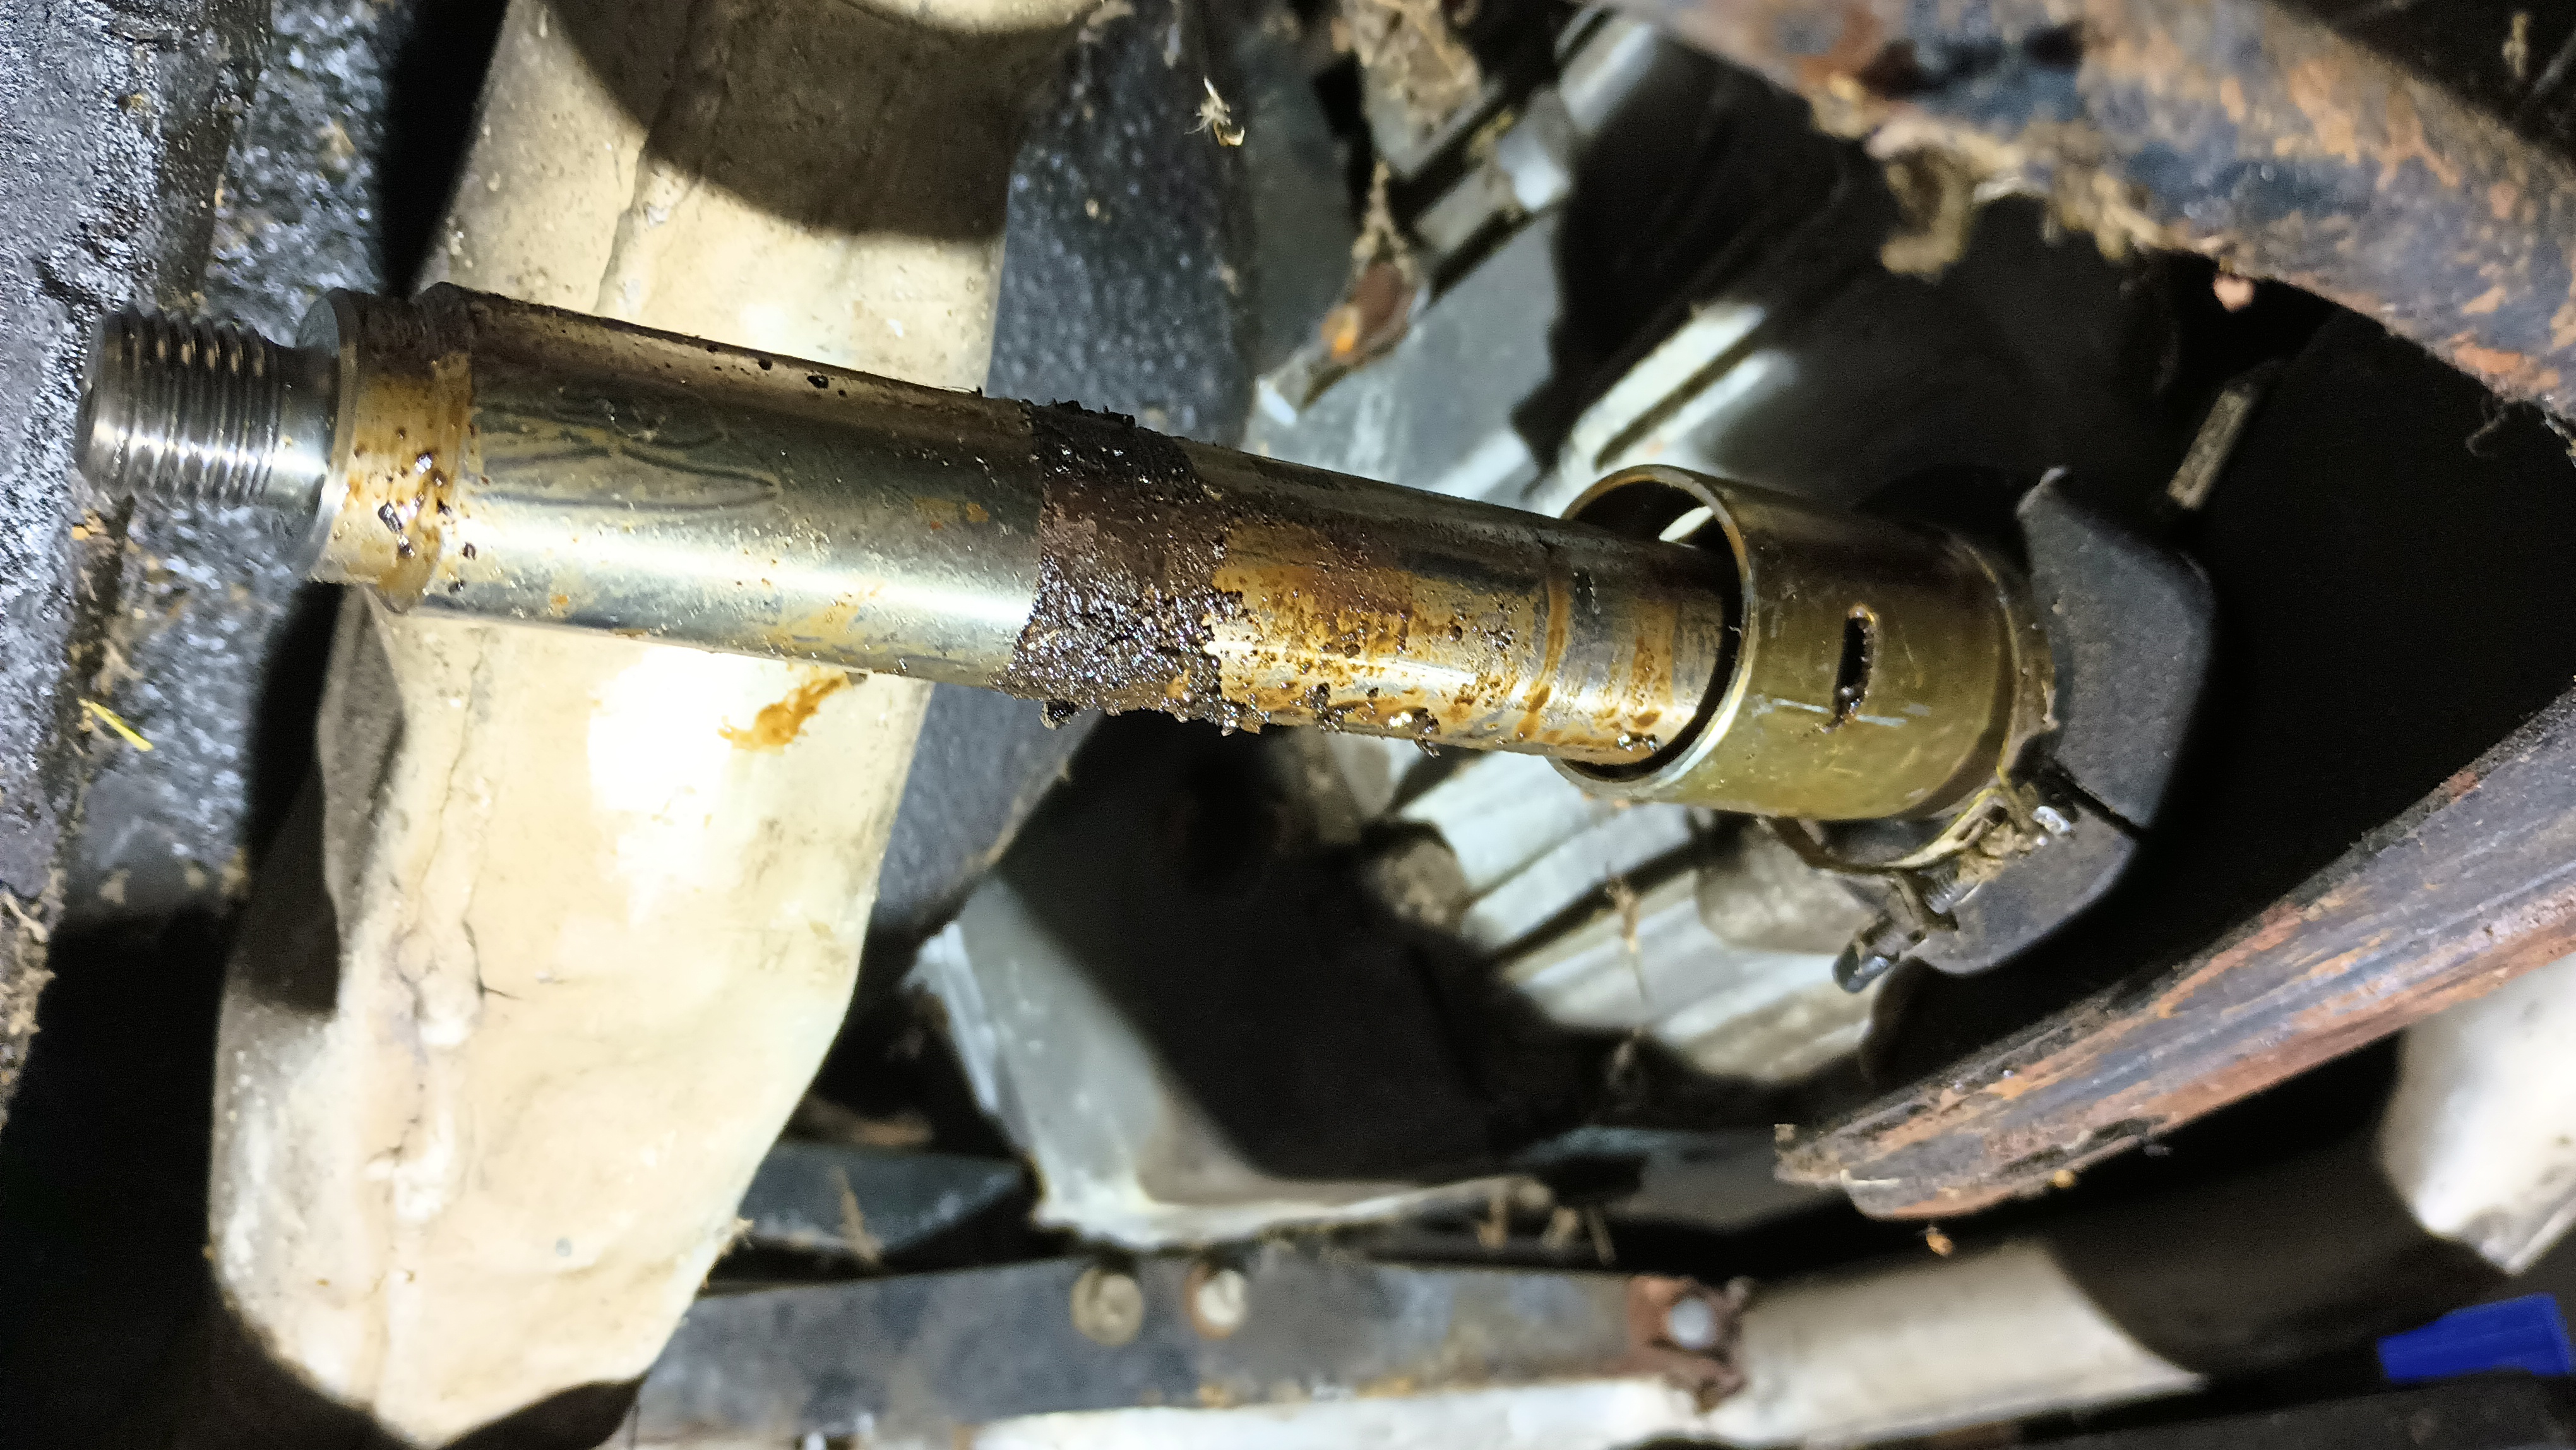
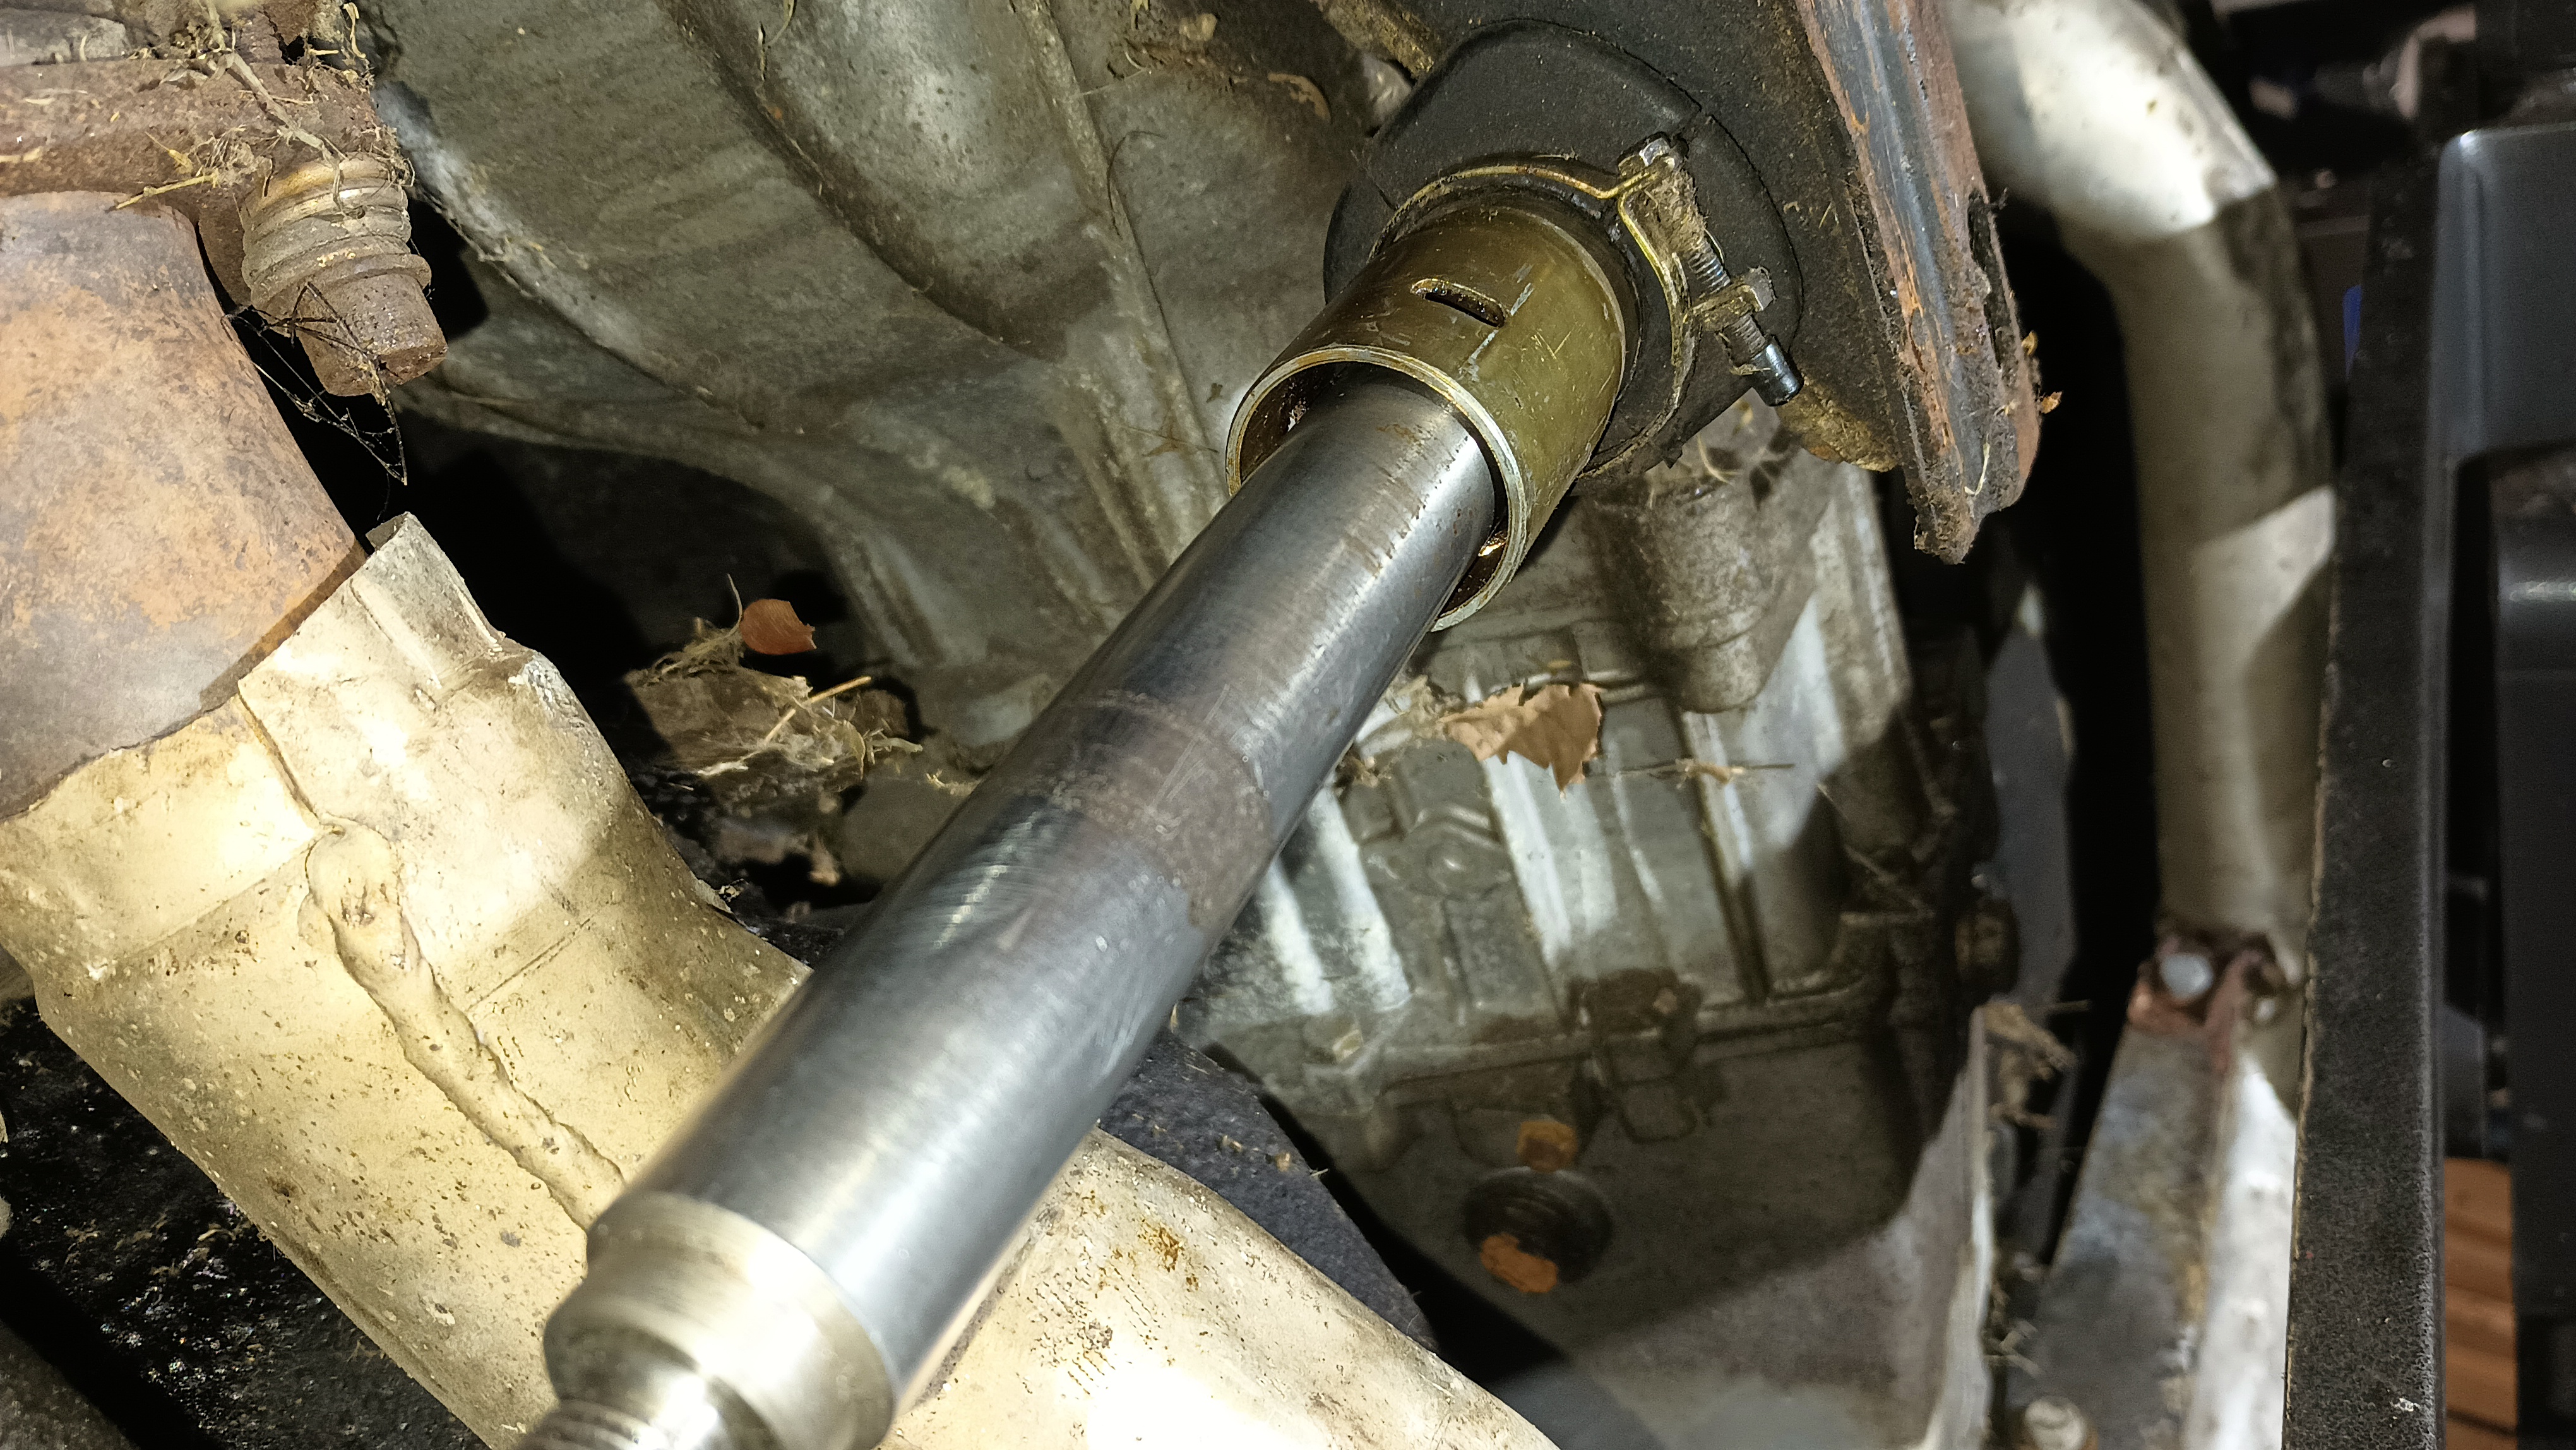
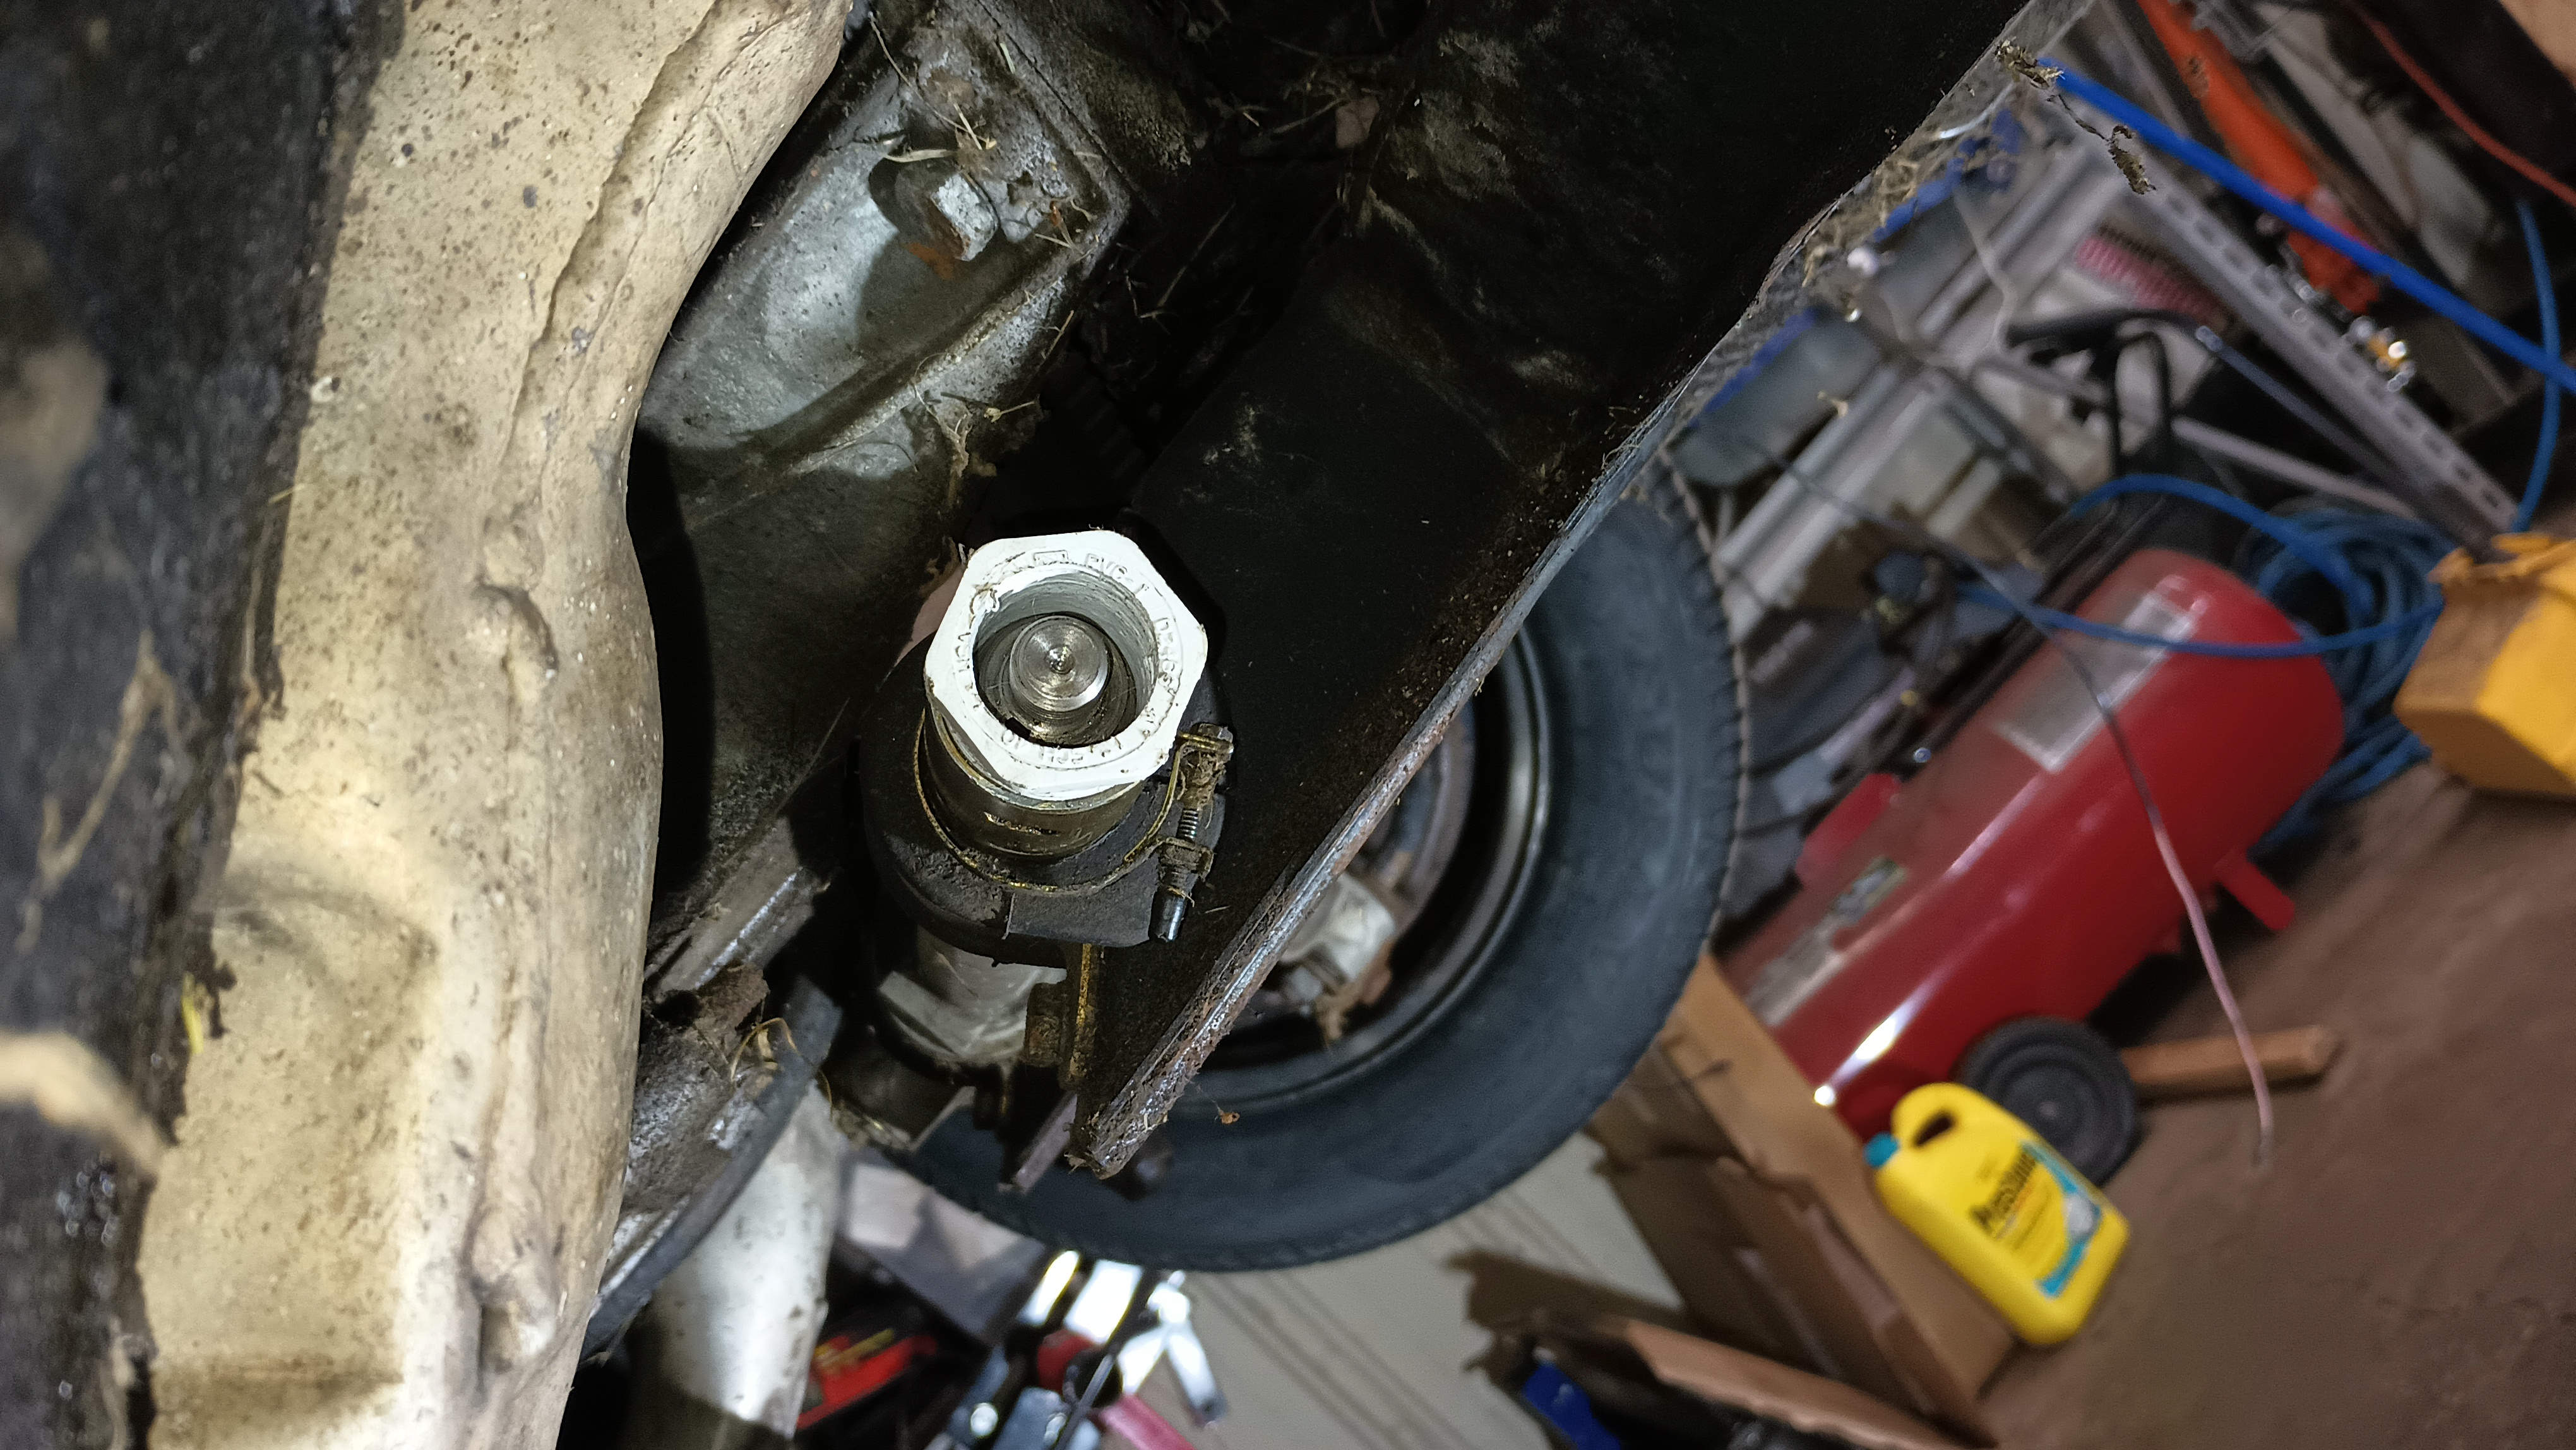
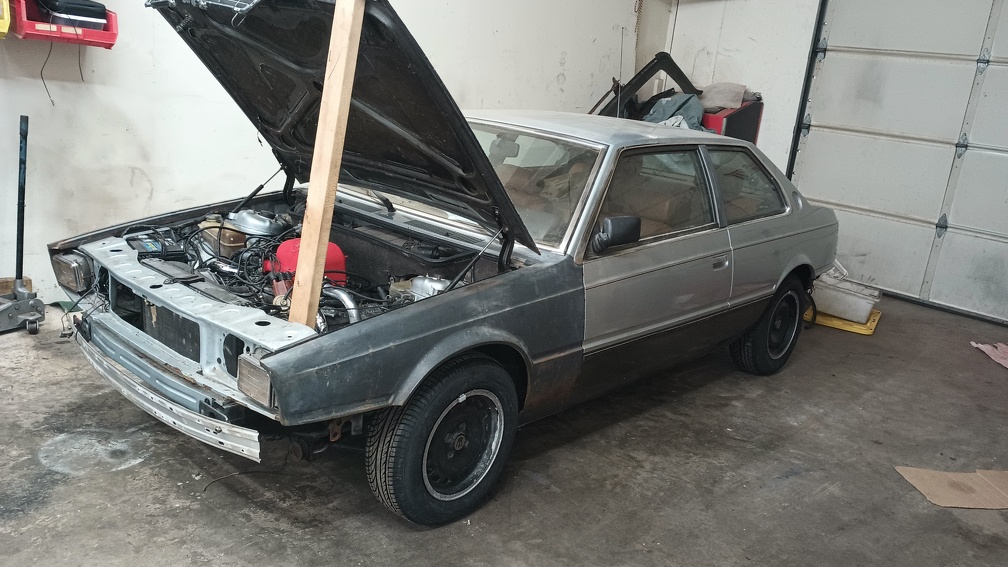
The headlights were installed, things got cleaned up a little, a matte white vinyl wrap was applied, the oil was changed, and a couple zipties were added to hold the tie rod boot in place.
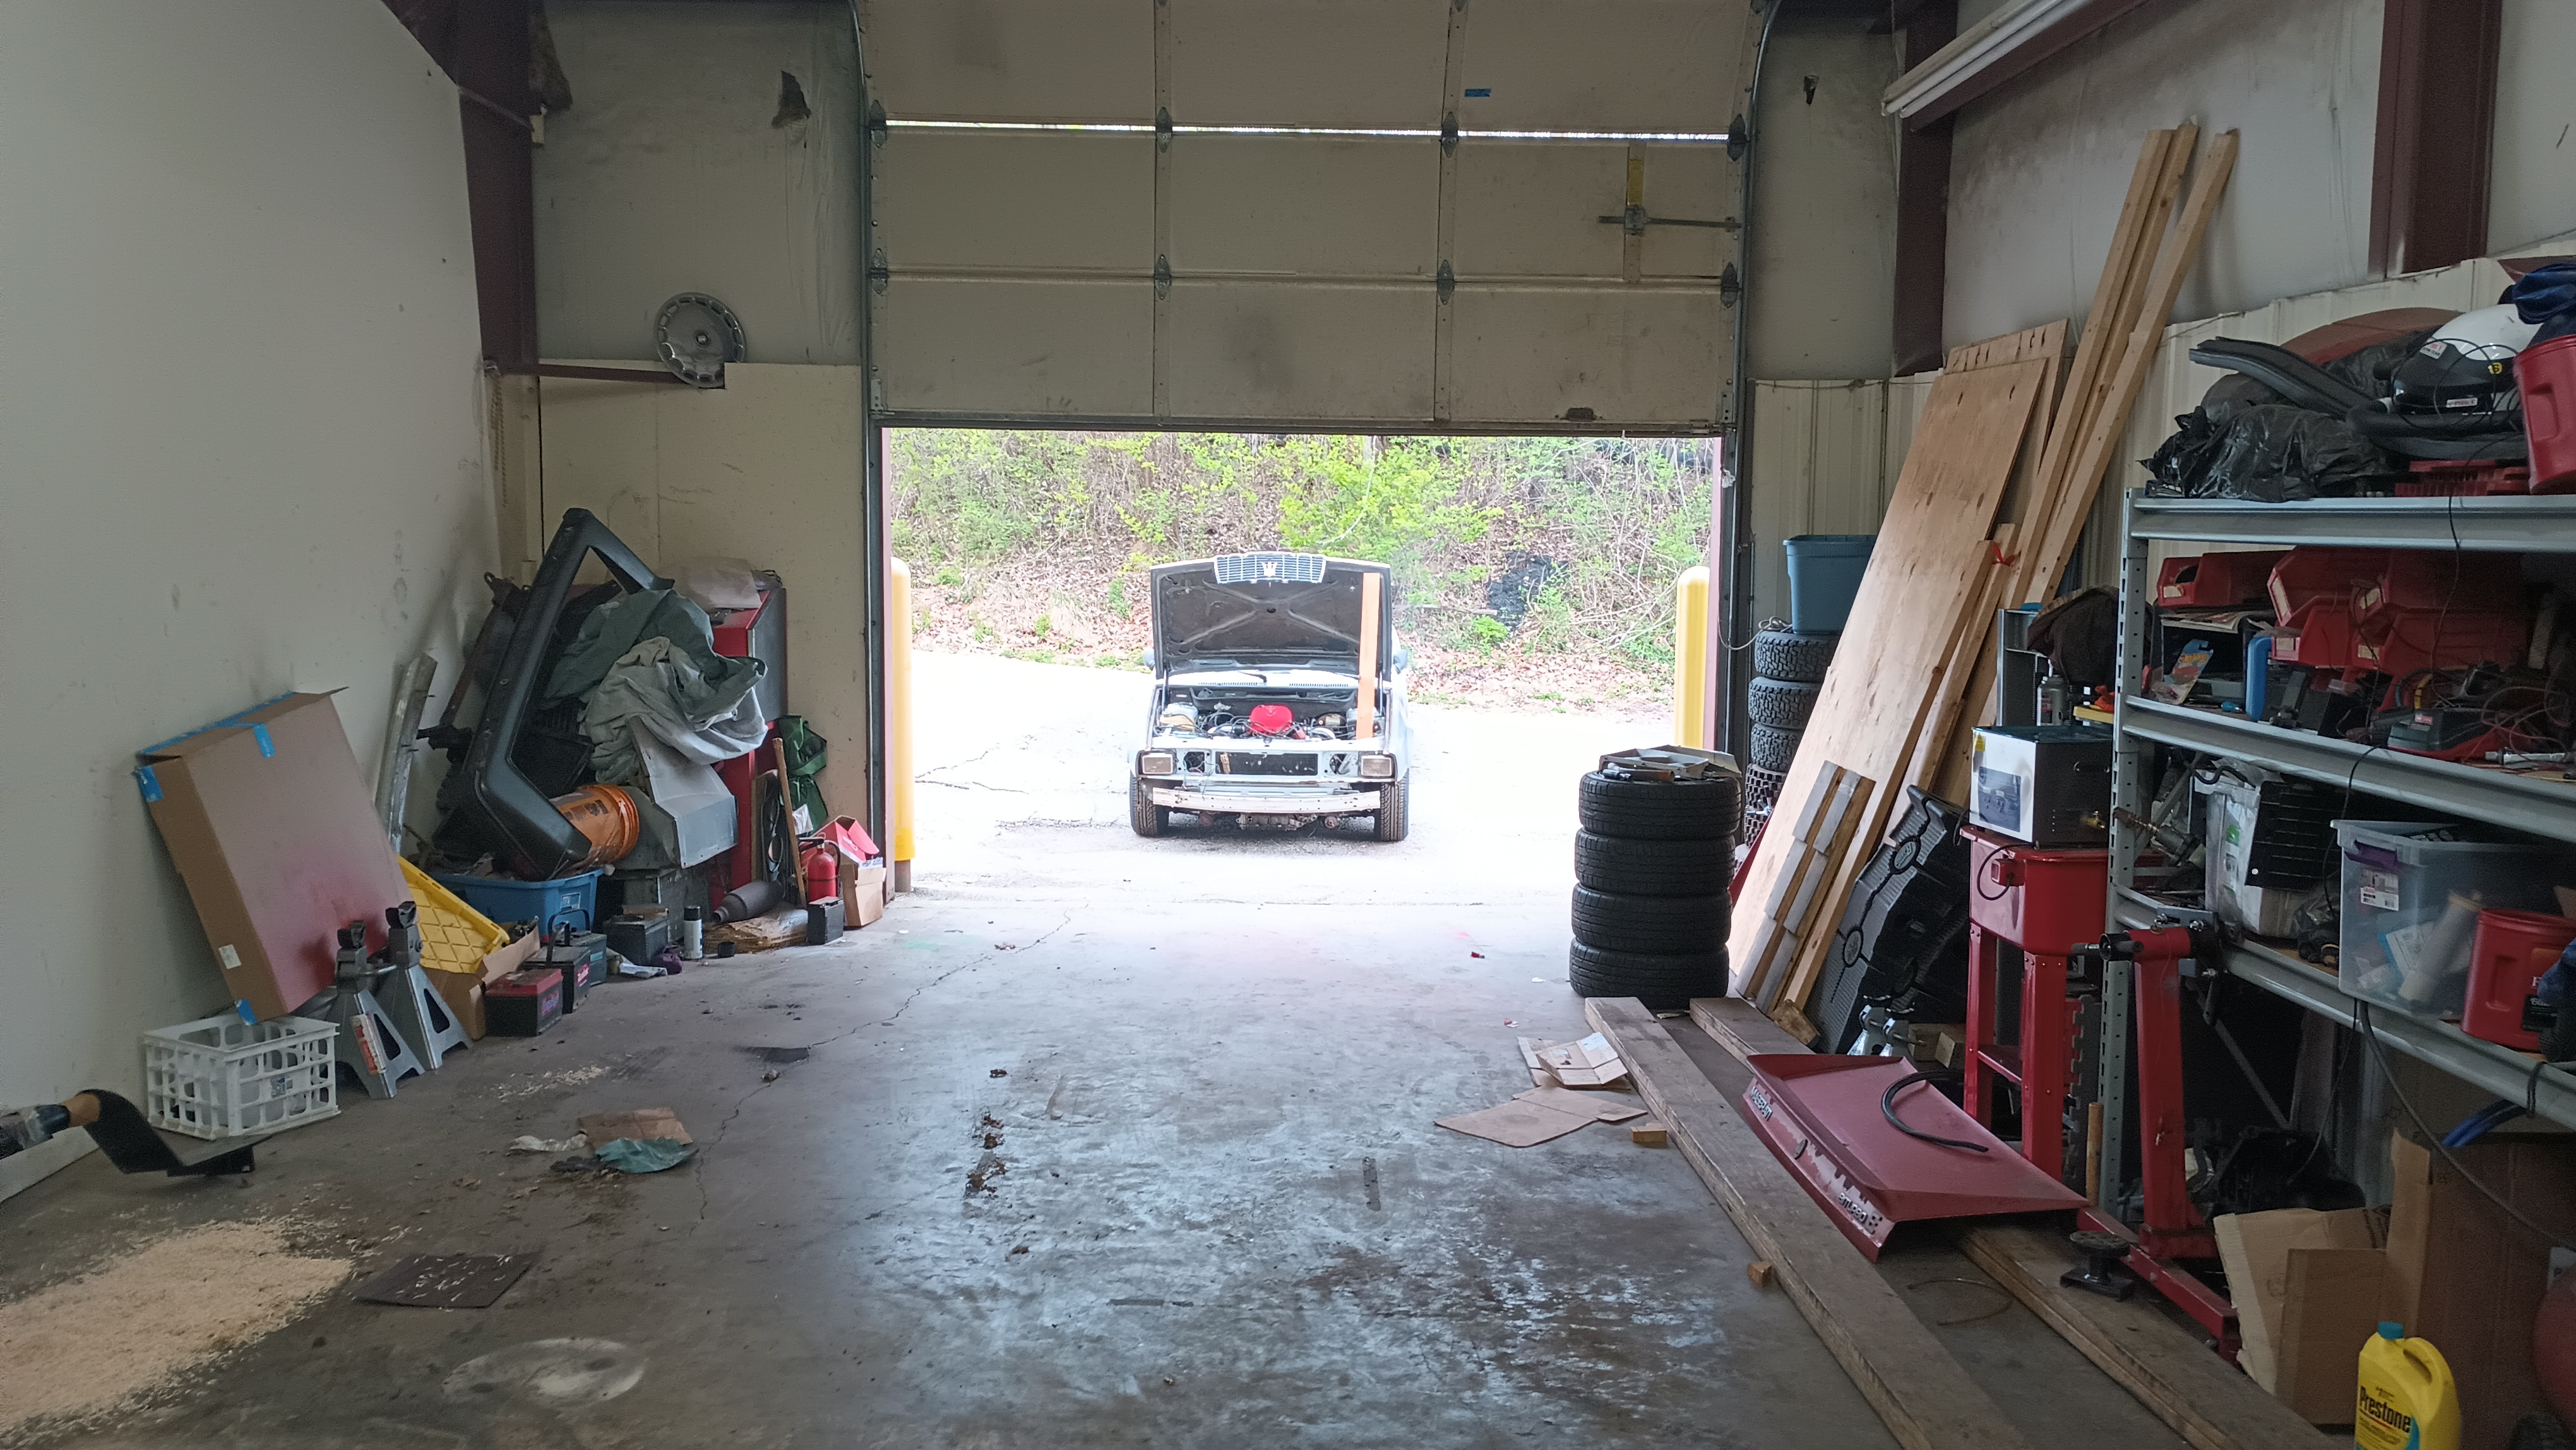
Now the car is loaded up and we’re soon on our way to Gainesville!