Everything seemed to be going pretty well until we got back to Bitzer’s on a regular basis and then it was motor mount shredding time. The mounts seem to be really solid and seem to work really well except on the surface there – and I attribute that to how extra-rough the land is. The lesson that I’m learning is that what works well on the street just isn’t enough for getting in the dirt!
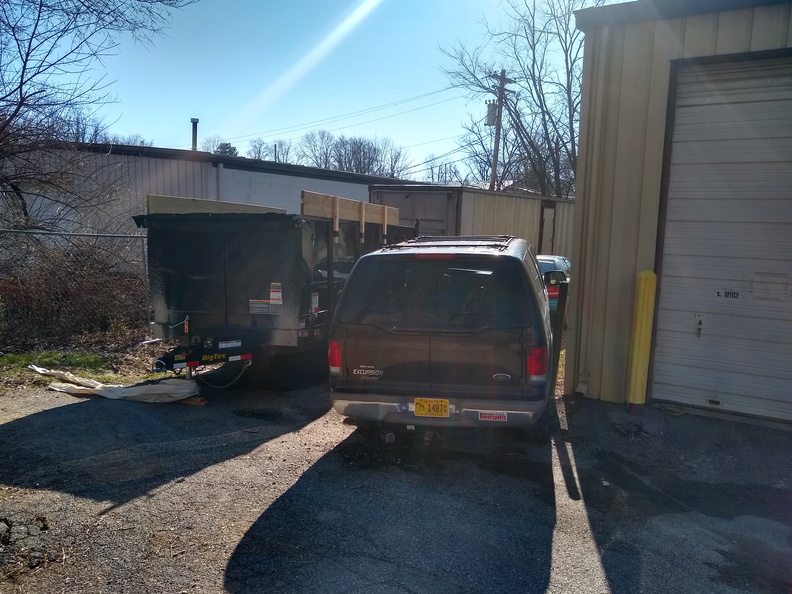
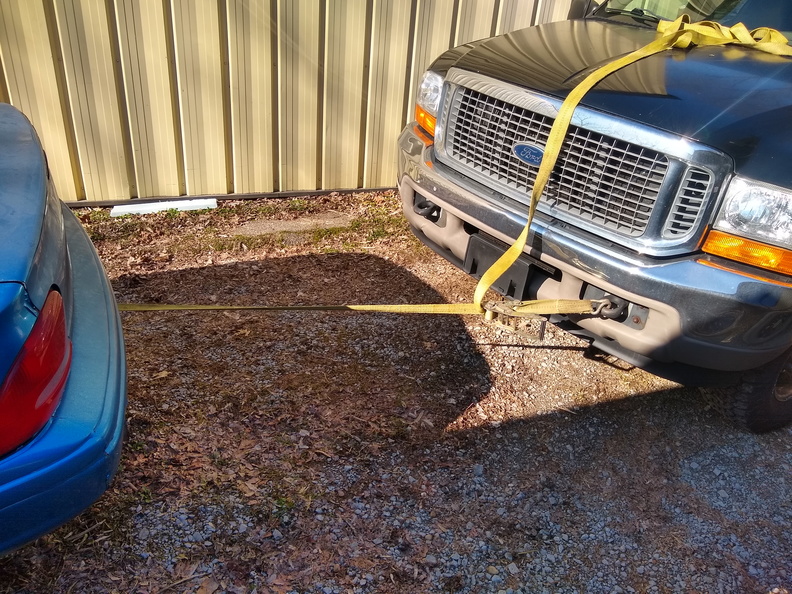
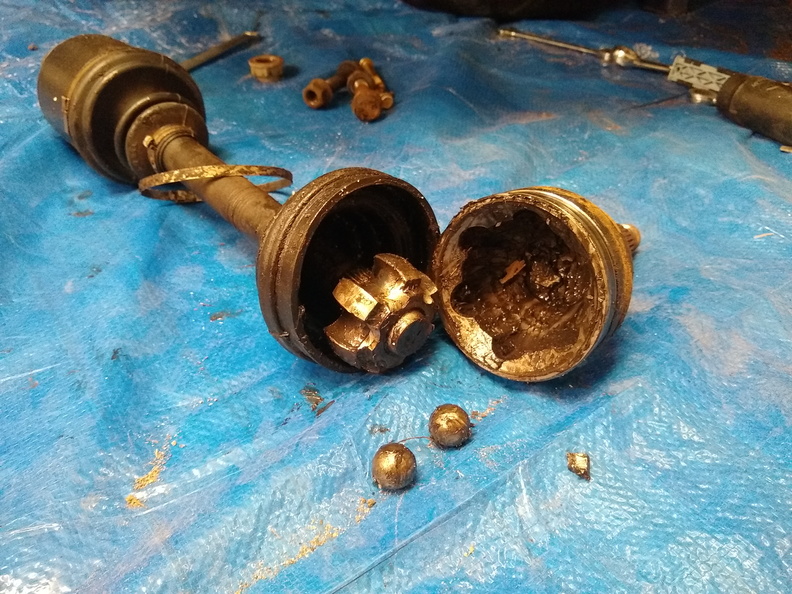
At the last event of the 2019 season, I broke the motor mounts twice and also busted the CV joint. Despite having all winter to pull the car in and get it taken care of, I waited until March. As usual. Step one was getting this thing into the garage in the first place. I had it over on the side of the building so I had to use the truck to pull it out and then line it up as high up on the hill as I could to get it over the hump into the garage.
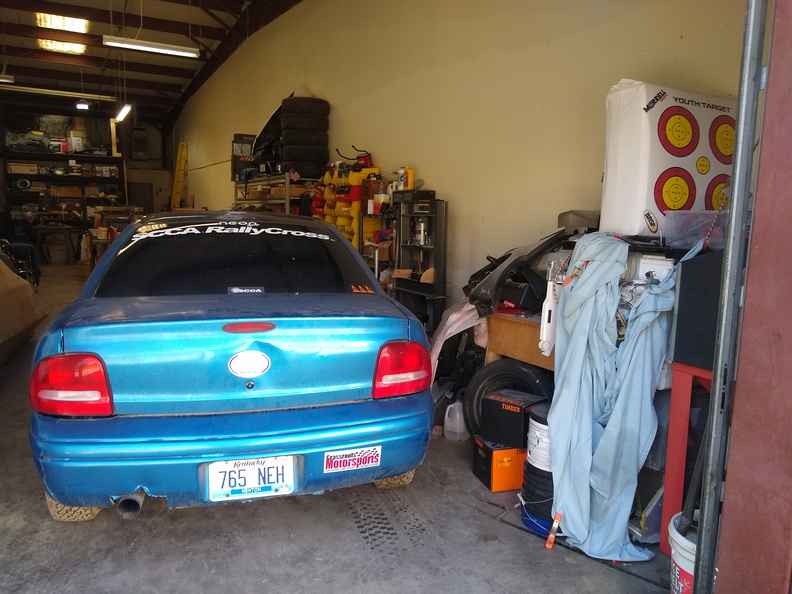
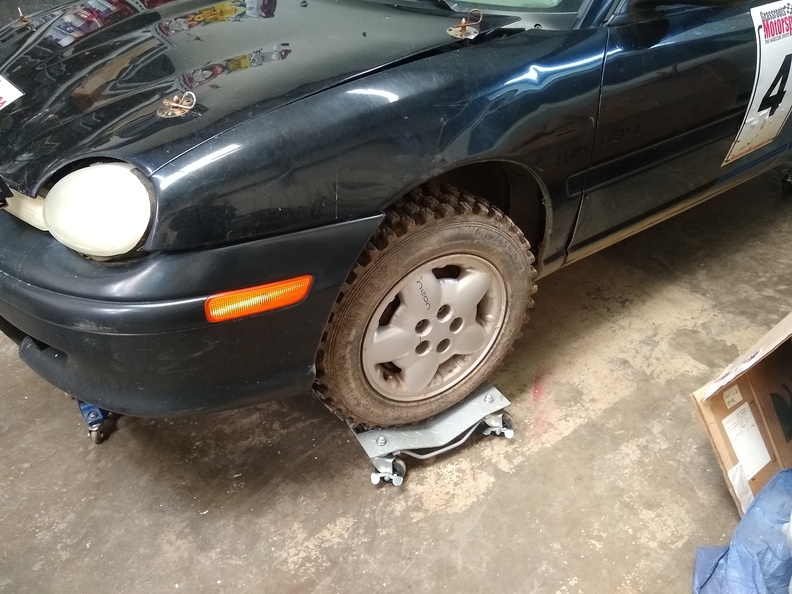
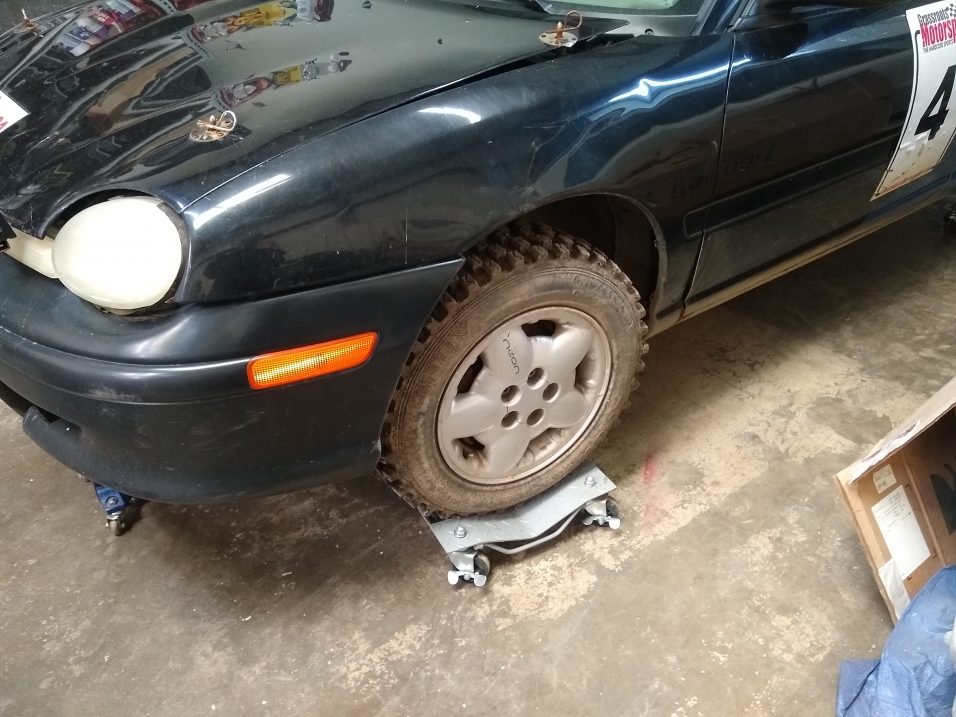
With the car in the garage and up on the casters, I finally started to take a look. My original list at the end of the season for winter work was:
- Send axle to be repaired by A1CVTECH
- Figure out and build a front(ish) motor mount
- Change oil
- Maybe put the interior back in
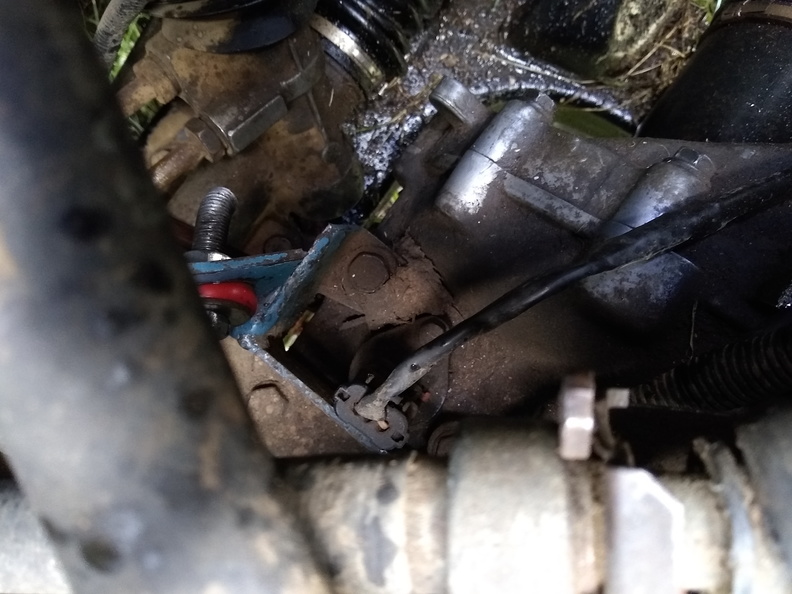
Now that I was finally taking a good look at things, I found that not everything was as I expected. First of all, when the bobble strut went, it took the whole bracket with it:
I also discovered that the left wheel bearing was loose again. Not sure if that was a result of a bad bearing, the abuse of the field, whatever killed the CV joint, or a shoddy installation job. Or some combination.
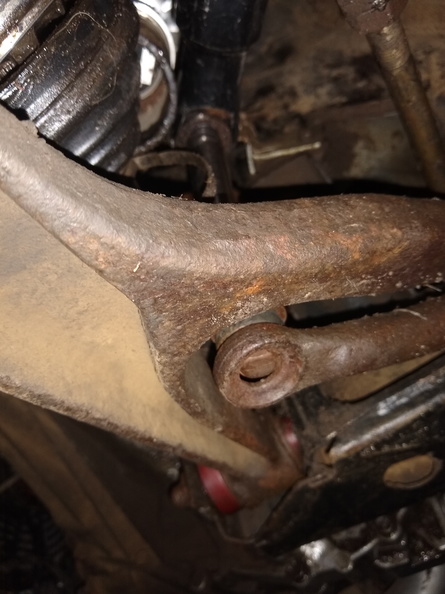
As part of removing the axle, it helps to disconnect the sway bar from the control arm. I ran in to a problem with the endlink:
This left me with a new and more expansive list:
- Send axle to be repaired by A1CVTECH
- Figure out and build a front(ish) motor mount
- Change oil
- Maybe put the interior back in
- Replace the left wheel bearing
- Replace the front sway bar end links
- Fabricate a new bobble strut
- Repair the bobble strut bracket
The motor mount conundrum is a little bit more complicated than just building a front motor mount. The engine needs some sort of additional bracing to prevent it from tipping forward. The two side mounts do a fine job of giving the engine a pivot point. The bobble strut provides stability in the rear of the engine. And the torque strut on the lower right side gives some stability. The engine still has plenty of ability to rock forward, though. The torque strut is pretty solid, but if the front of the engine wants to move down, it’s exerting all of that as shear force on a single bolt. I *think* that it’s a single-shear force and if that bolt was a grade 10.9 12mm bolt it would support about 3 tons of force before shearing. That means that in order to shear the bolt, the full weight of the motor would need to come forward onto that mount at about 6 inches per second. Which seems very possible.
That’s all probably very nit-pick-able and really loose, but I am not a structural engineer nor do I remember all that much from high school physics. But I suspect I’m on the right path.
So…. In order to prevent that from breaking, it would be much better to have some sort of support that the engine would come straight down on instead of relying on the shear strength of a single bolt. To that end, I am considering various possible solutions:
Run a section of box steel or angle iron from the core straight back to the K-member. Use some sort of body-mount style bushing to connect to the engine from the bottom.
Build a strut with rod end links and poly bushings to go up from the center of the core support to the bottom-front of the engine near where the starter is
Work around the structural collar to build some sort of plate that bolts to the engine and then to the regular 1gn Neon front mount position on the core support
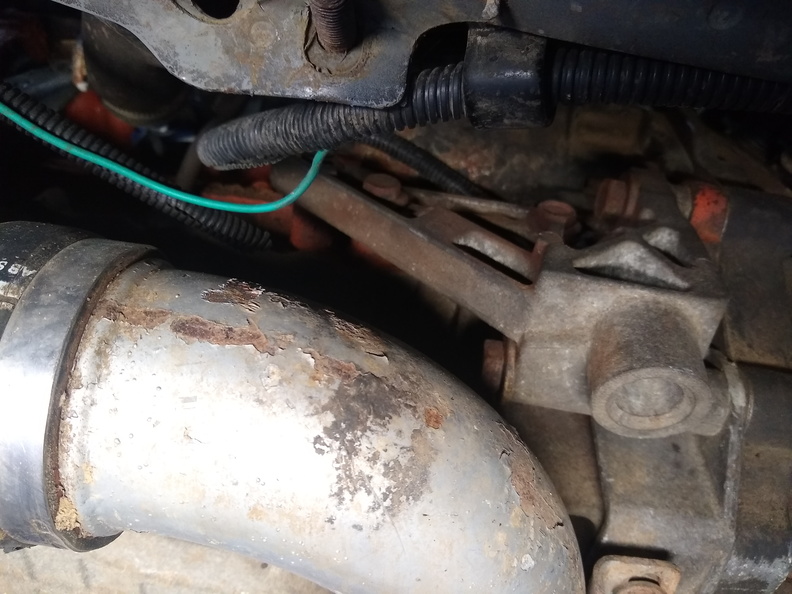
I’m not sure which, if any of those, will be the winning decision, but I have started to photograph and measure the underside to try to get a better idea of how to go about it. I think that this bracket can be removed from the engine and either adapted or copied to provide a location to bolt on a front motor mount connection:
Moving on to other things, the axle is out and ready to be shipped back to Canada
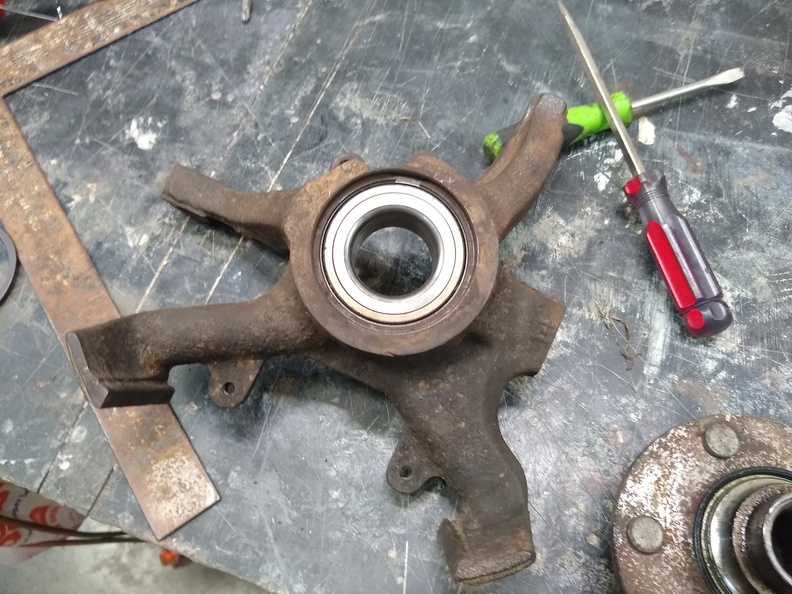
I also have the old wheel bearing pressed out and the new one pressed in
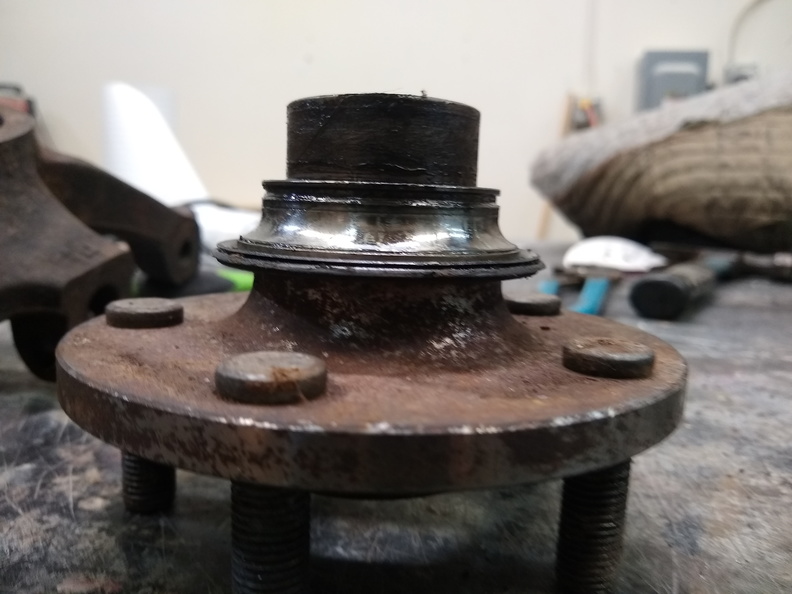
The hub still has the inner race from the old bearing attached. I need to get my puller out to the shop so I can remove it and press it into the new bearing to complete the hub and knuckle assembly.
Rock Auto is shipping me a new set of Energy Suspension end links for the sway bar as well as a new Timken wheel bearing so that I’ve got a spare on hand and ready to go. I’ve also ordered up a full set of brandy-new lug nuts since the cheap ones I have are hard to work with the aluminum wheels.
