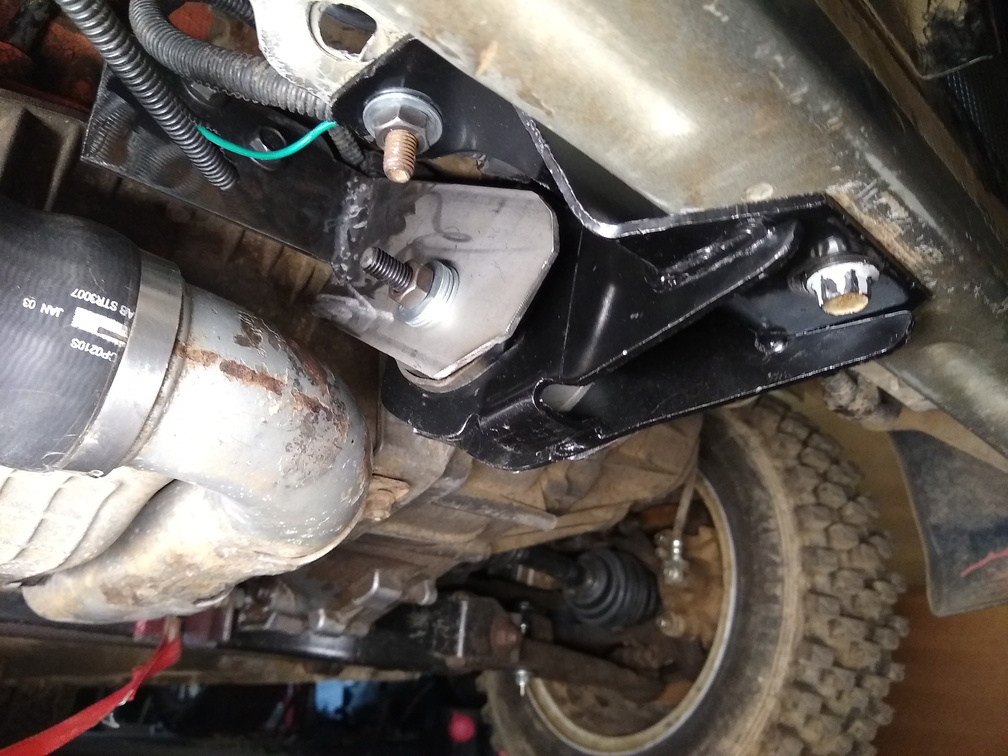
For the first time since the 2.4 has gone in to the car, there is now a front motor mount!
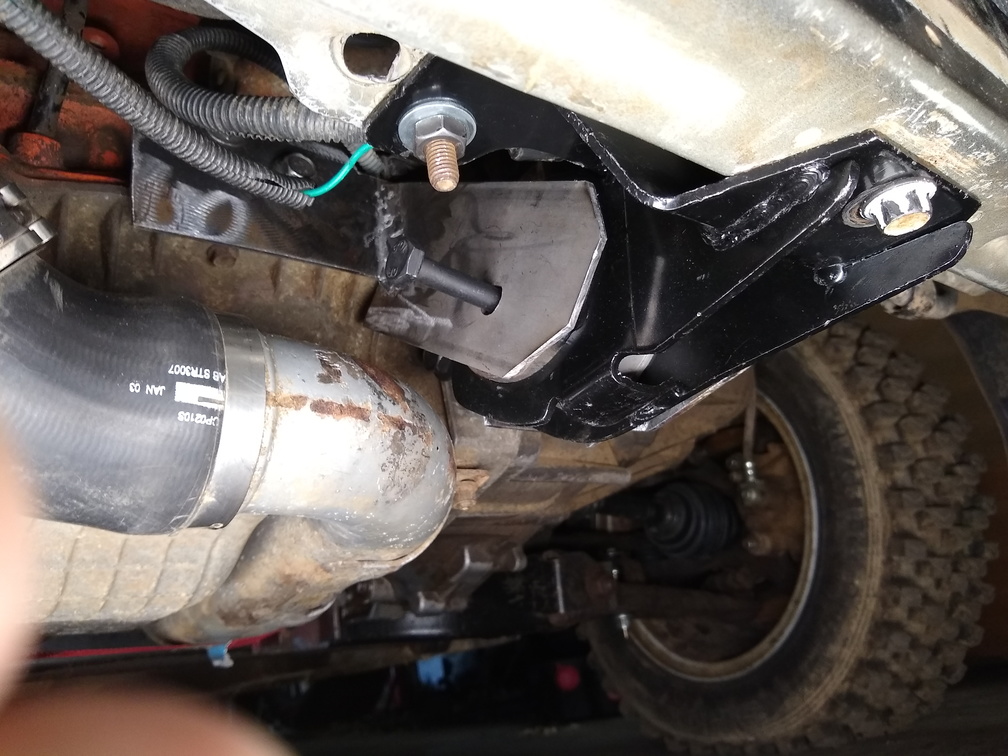
The bracket seems pretty sturdy as it sits right now and any additional bracing that I put in place is going to make bolt access really difficult, so for now I’m going to try it as it is.
Before I got to that point, though, I had to drill the bolt hole for the other side of the bracket. Which meant that the whole operation needed to be bolted back on to the car and the motor needed to be located so that the bolt hole position could be marked.
Then the whole thing had to be removed again and the hole drilled.
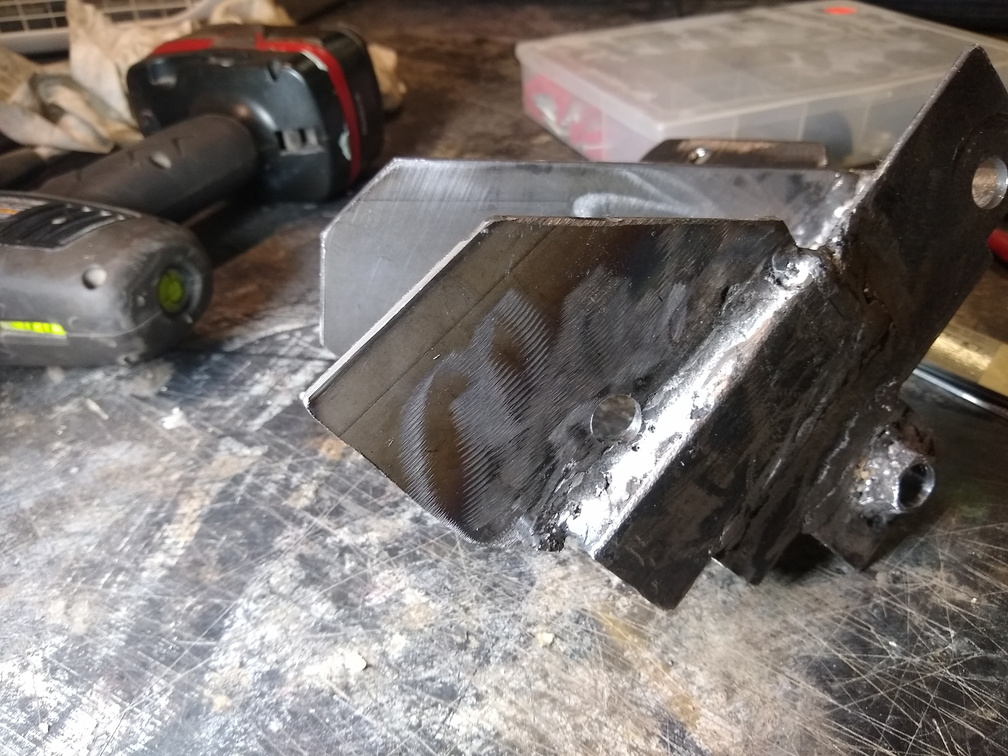
The edge of the bracket was also trimmed up a little bit and I rounded off all the sharp corners. Then I had to bolt the whole thing up again to make sure that everything was correct and to see how to add additional bracing. That was the point where I decided that any bracing I add is just going to make it very difficult to install and remove the bracket, so for now we’re going to try it without.
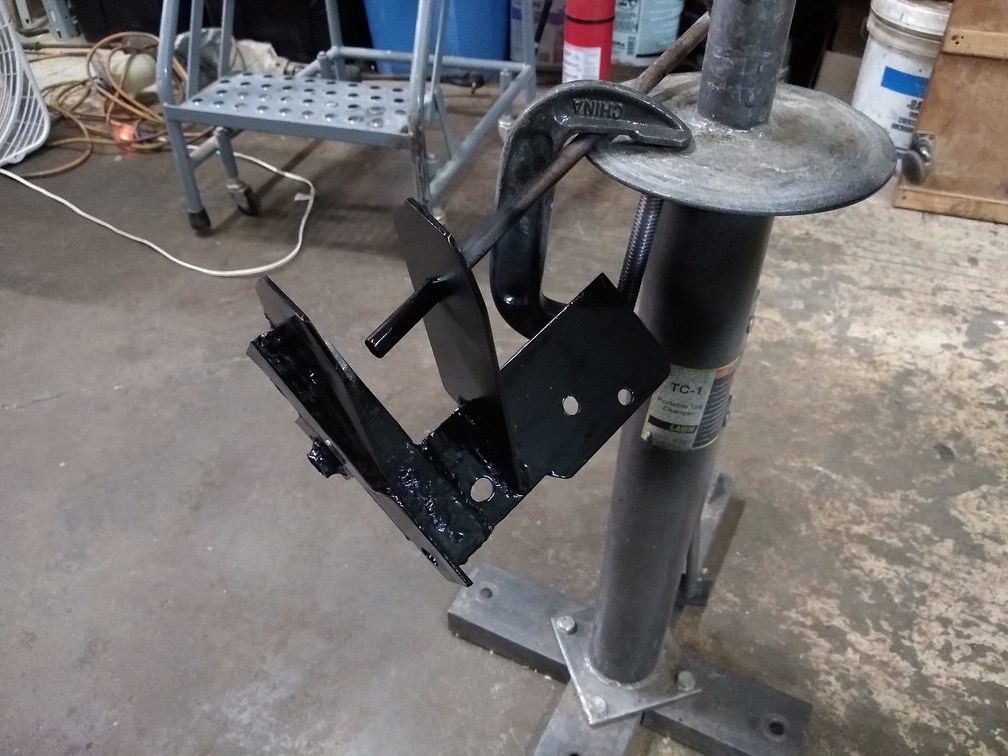
The final step – before bolting it onto the car for what is hopefully the last time – is to put a little bit of paint on it.
Then this bracket needs to go back on, the bobble strut relocation bracket and the bobble strut need to be re-installed, and then the right-side torque strut needs to be re-attached. Ideally, I will also replace the through-bolt for the front mount with a slightly shorter bolt – the 110mm one that is there now is long enough that the threads end before the bracket begins so I have a wad of washers in there at the moment.
Another thing that needs to be done before I can do some street testing is the front left camber is way off and needs to be corrected, plus the strut body is very loose and needs to be tightened up. Then it should be good to have the street tires installed, the coolant topped off, and then hit the road.