This is the third time that I’ve worked with clutch hydraulics and going into this project, I was only batting .500. In the last update, the master was bled and the next step was to bleed the system on the car once it was installed.
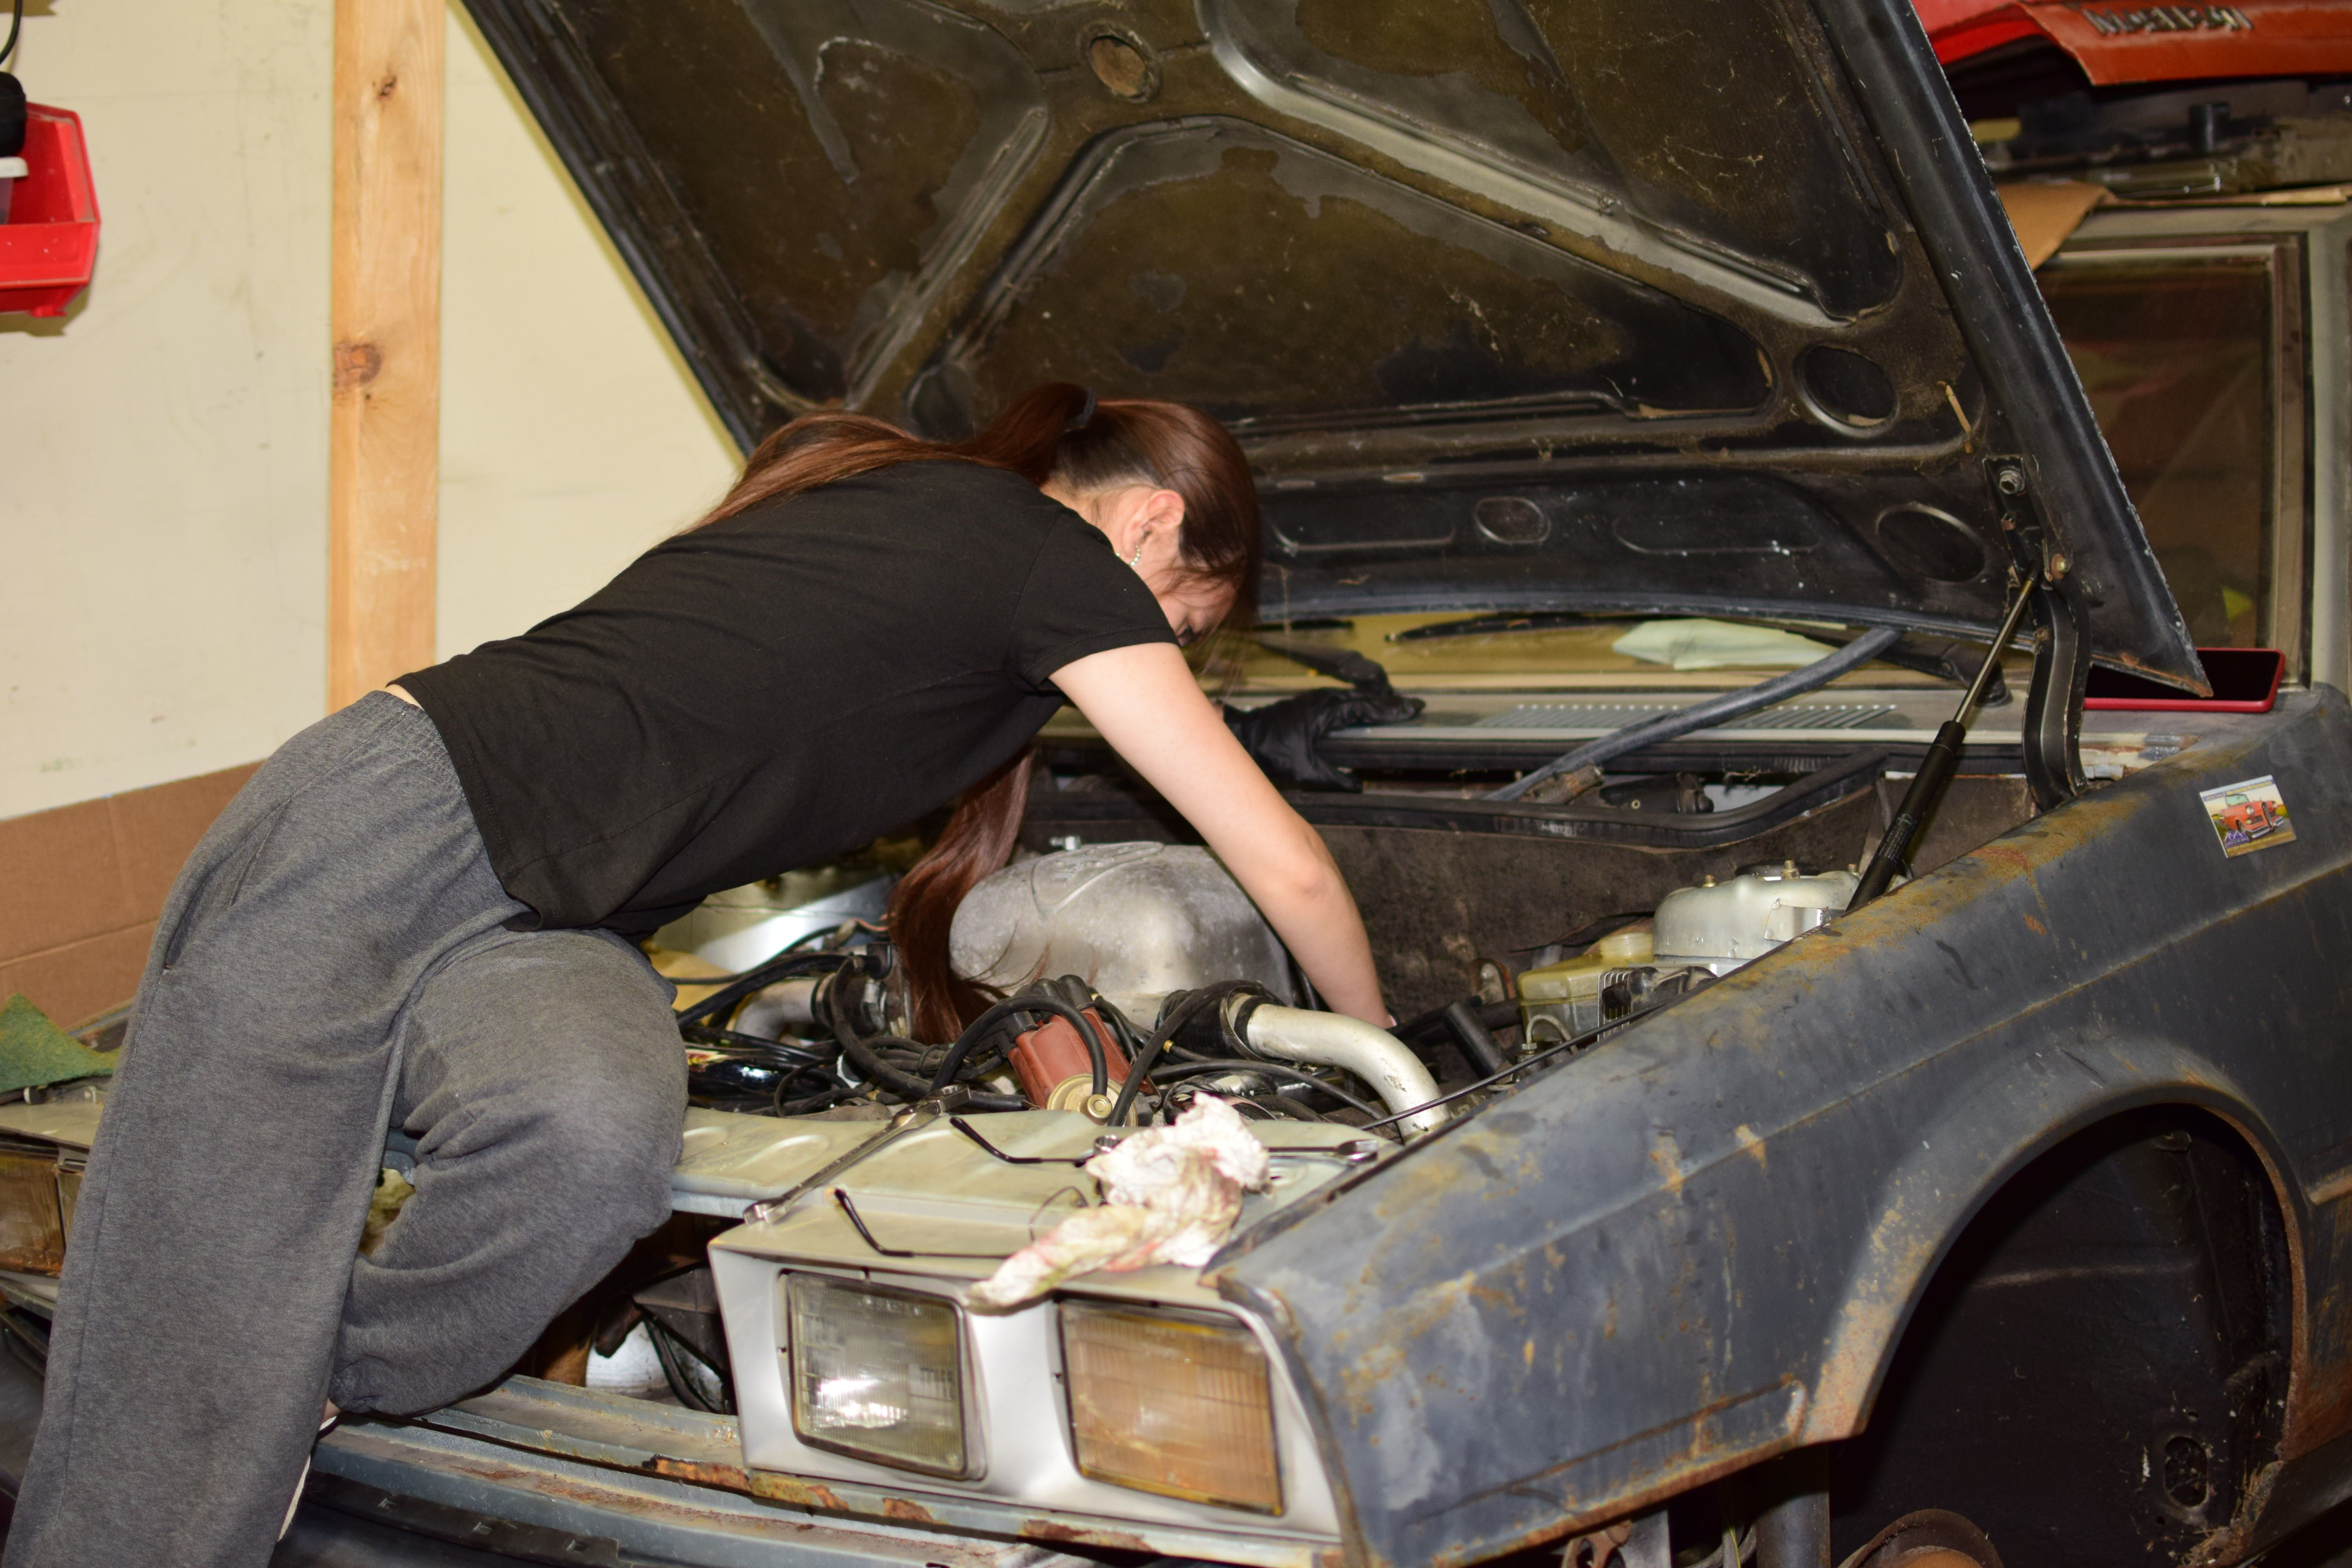
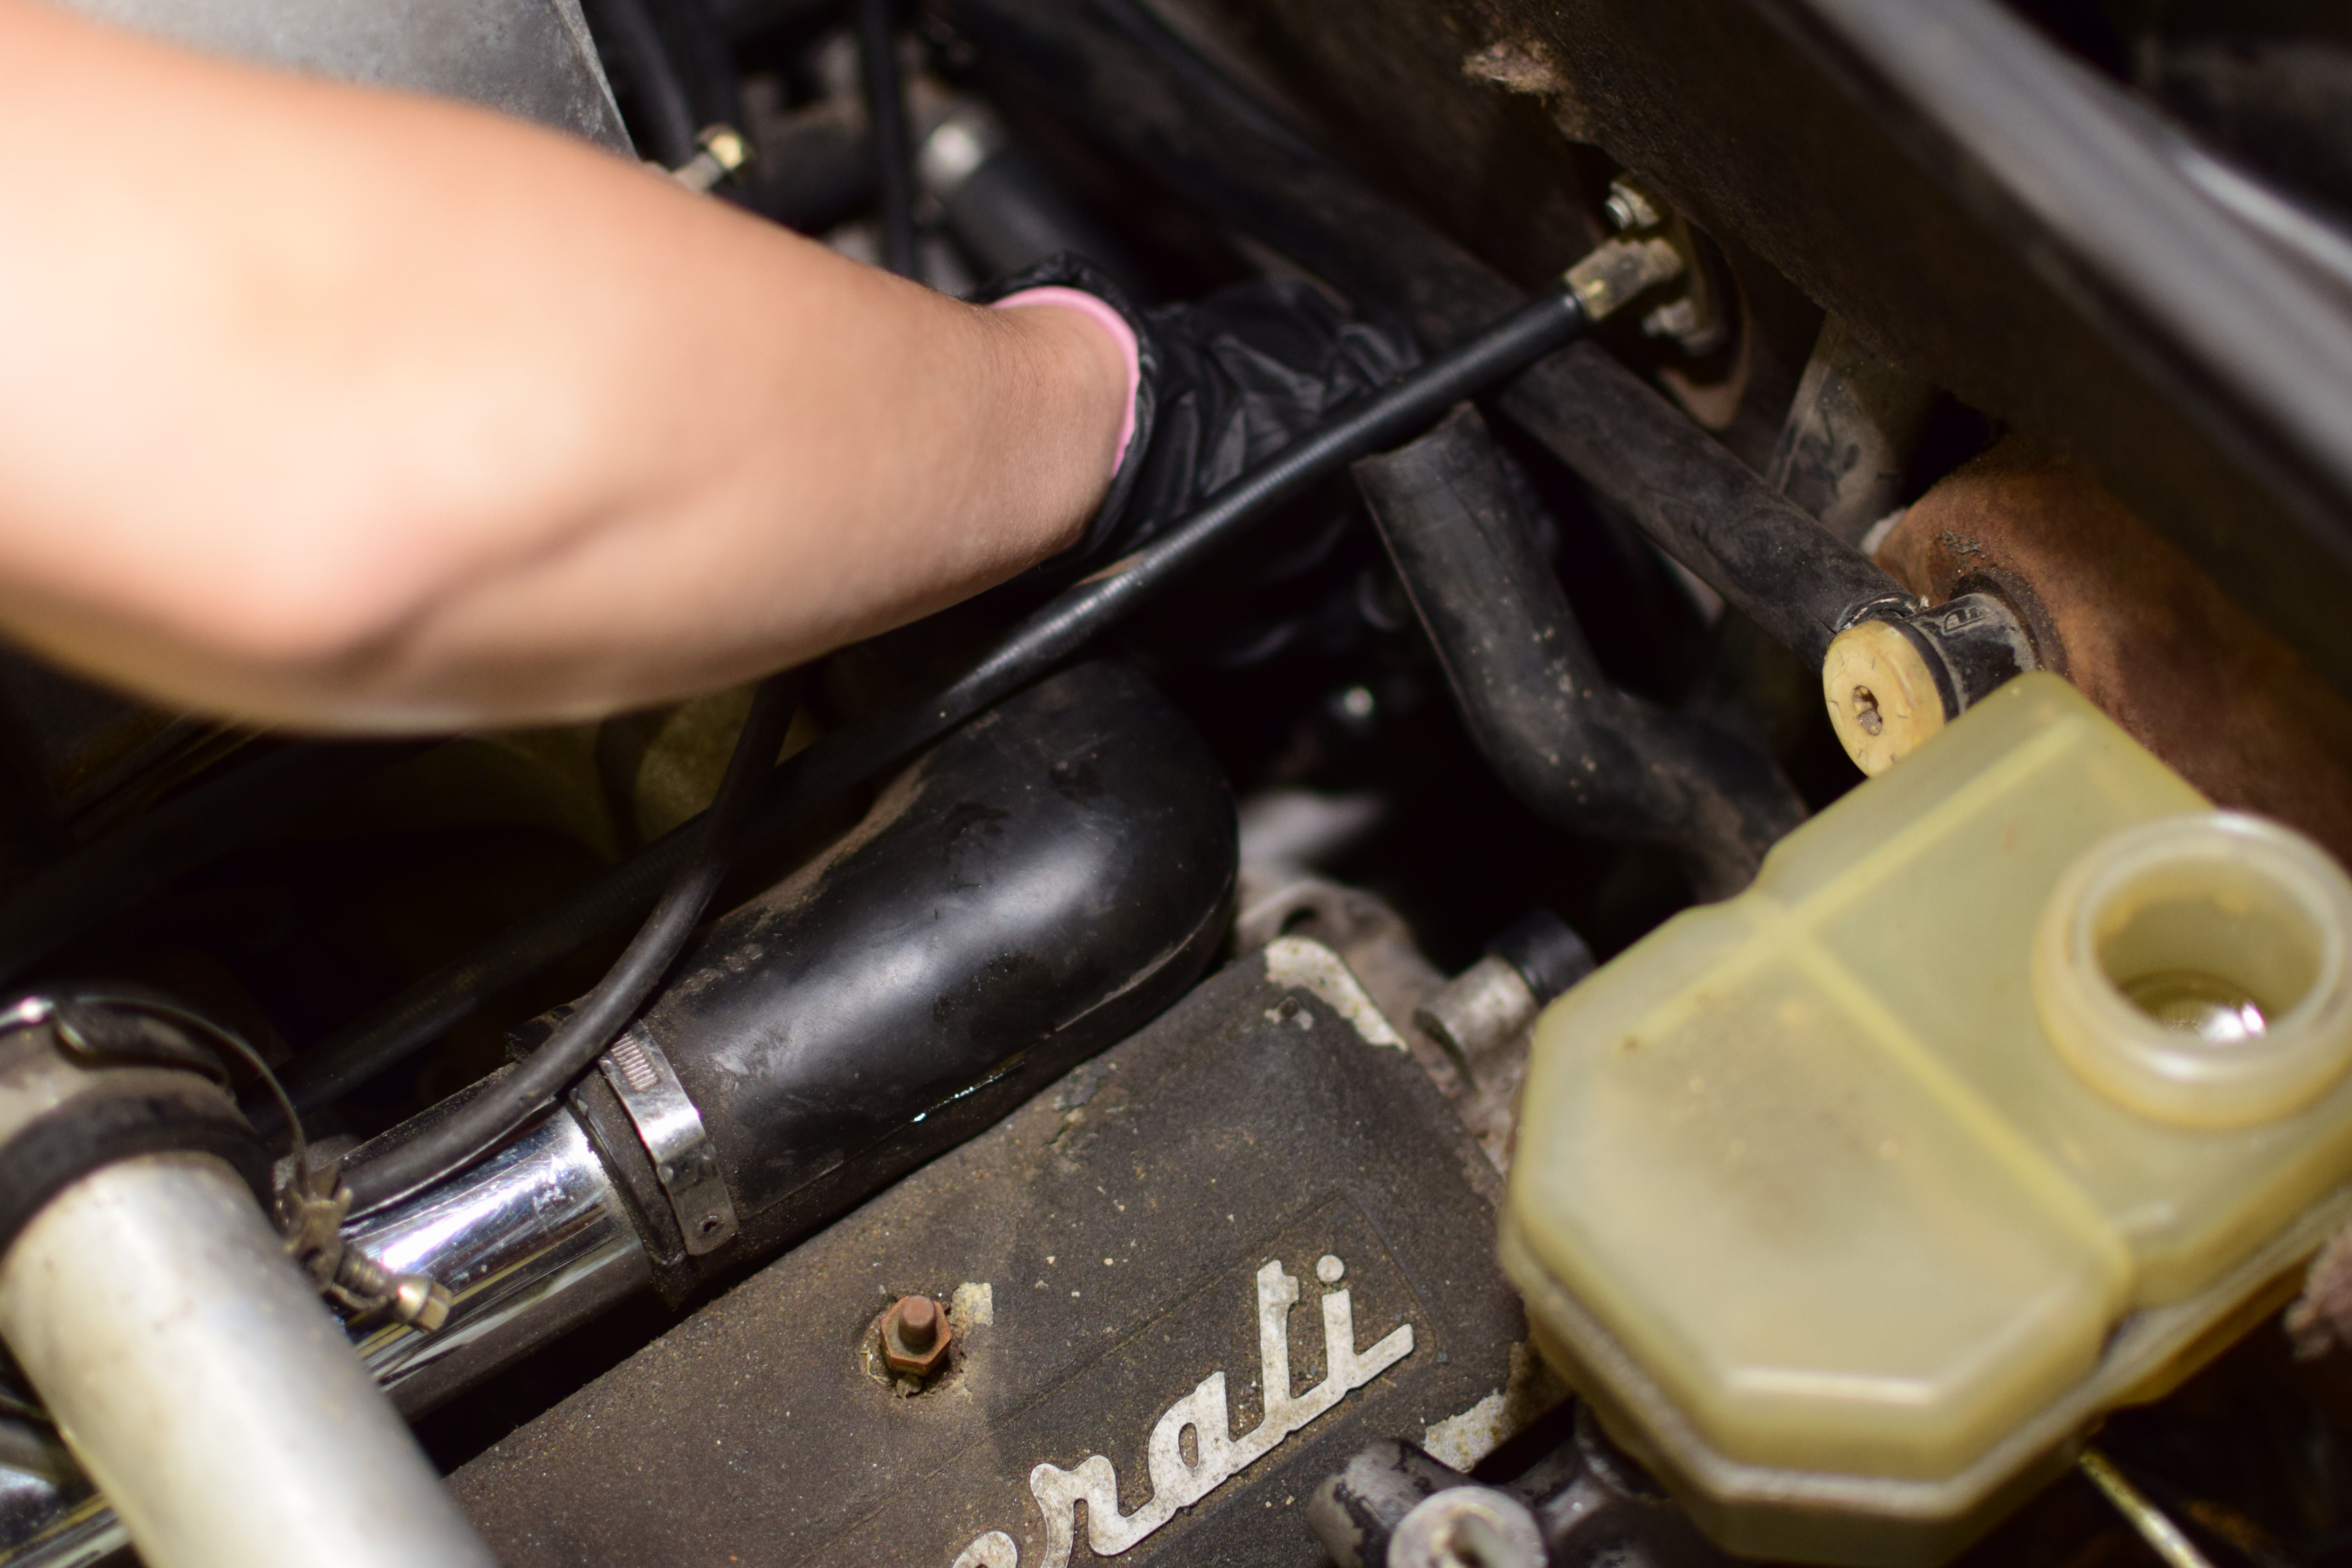
With a little bit of help, the master and slave cylinders got re-installed. Both of them are in somewhat fiddly locations that can be a challenge. The bolts that hold the cylinder to the firewall are particularly difficult because you need to put a wrench on the bolt head on the master cylinder side and then work a ratchet on the nut on the inside.
Once everything was installed, it should have been a simple matter of having someone depress the clutch, open the bleeder, close the bleeder, release the clutch, and so on. But Becca and I went through that process for quite a while and the pedal never got any harder. Frustrated, we called it a night and I decided that what I needed to solve the problem was a pressure bleeder.
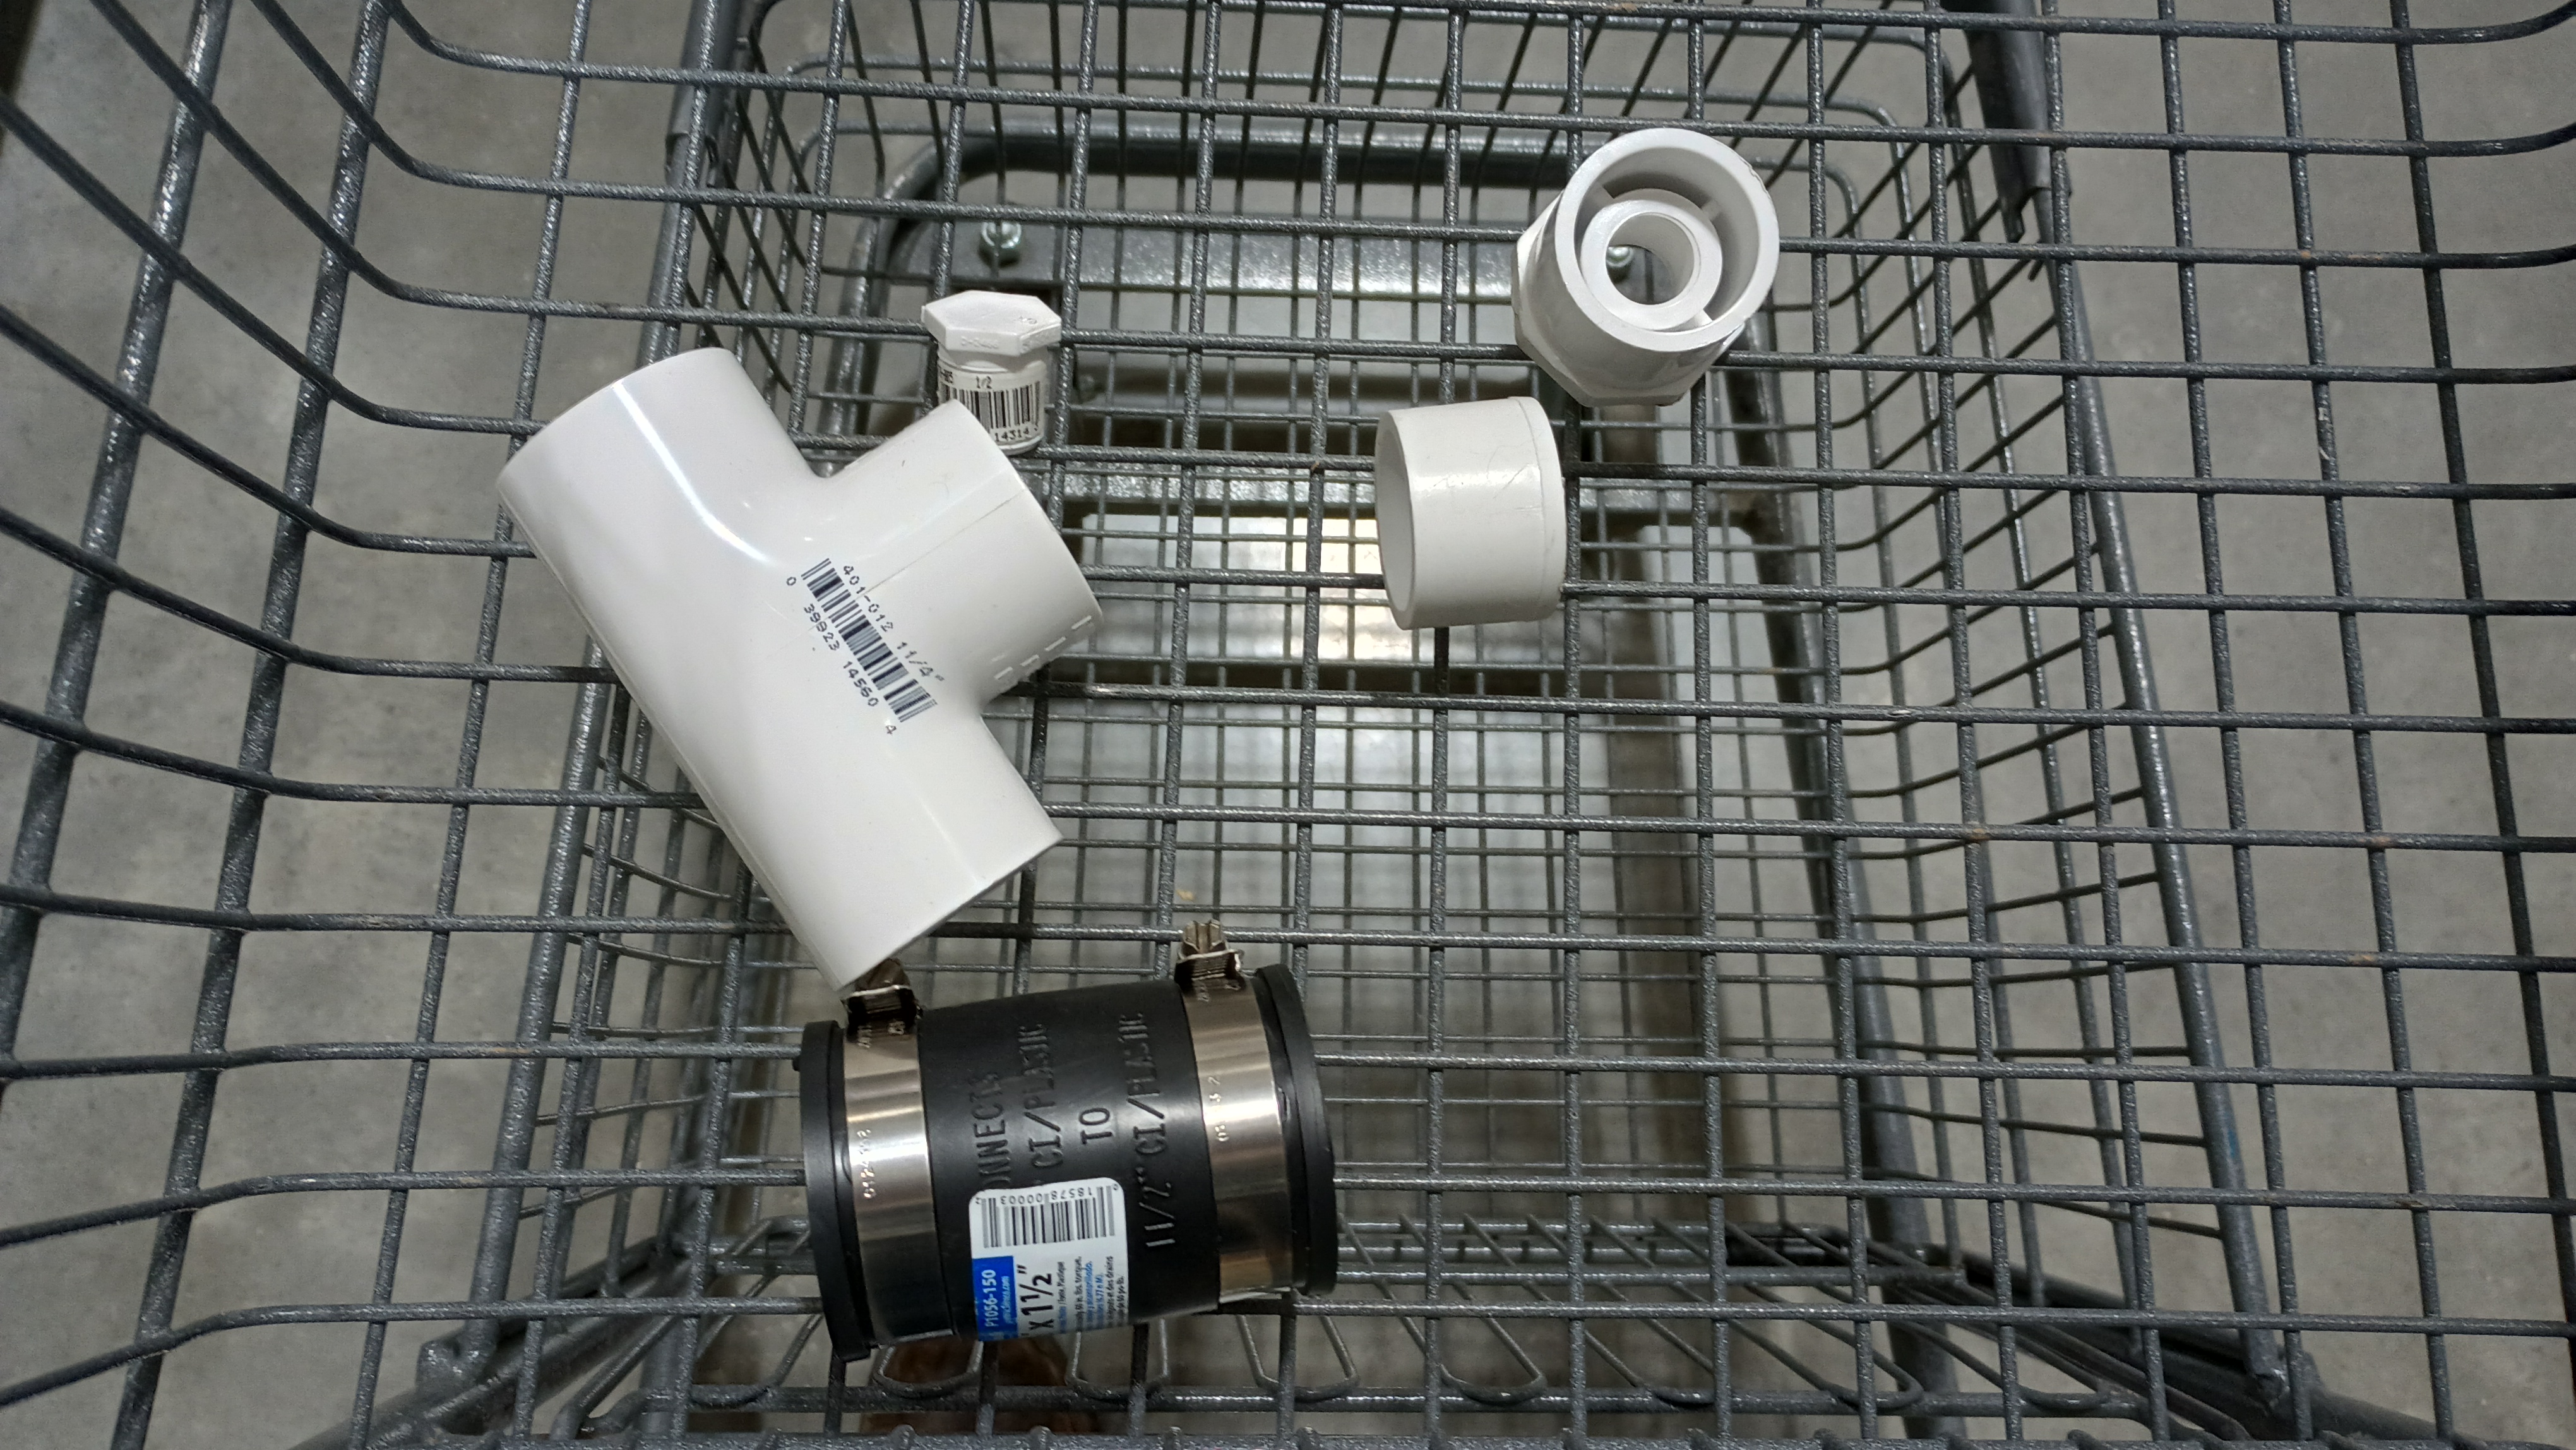
Finding the right cap looked like it might be difficult, so I decided to make my own. Off to Menards!
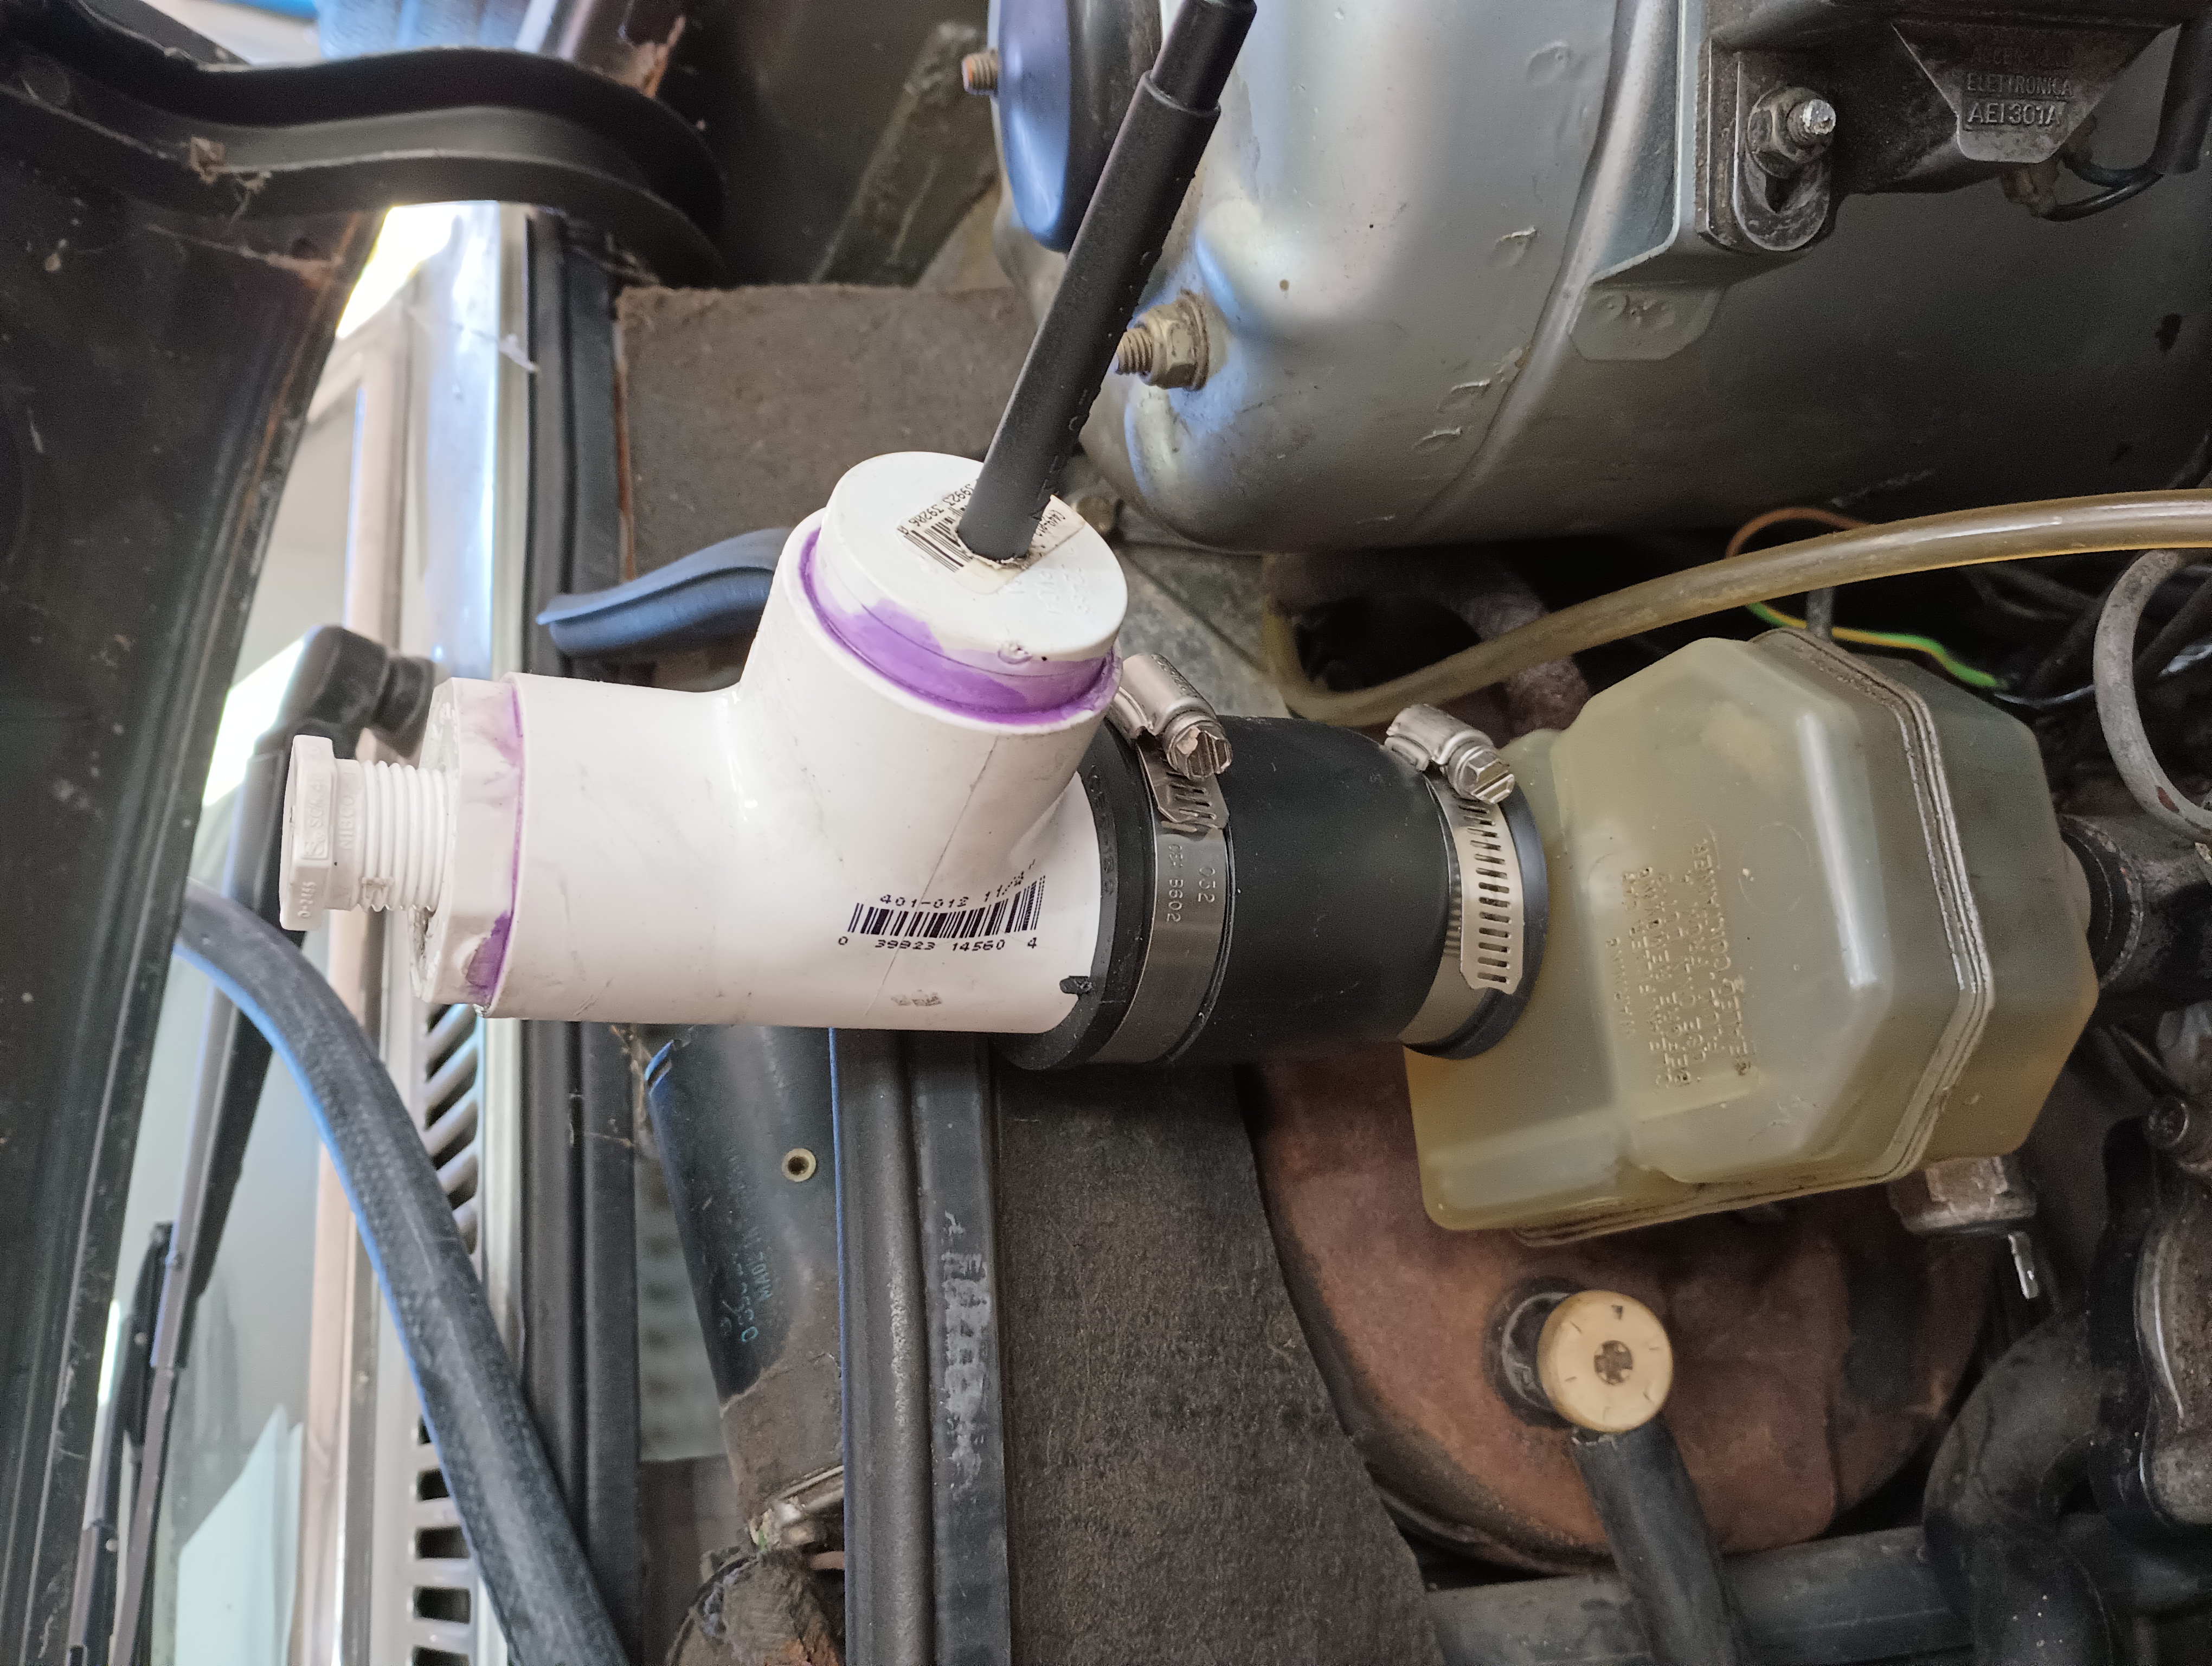
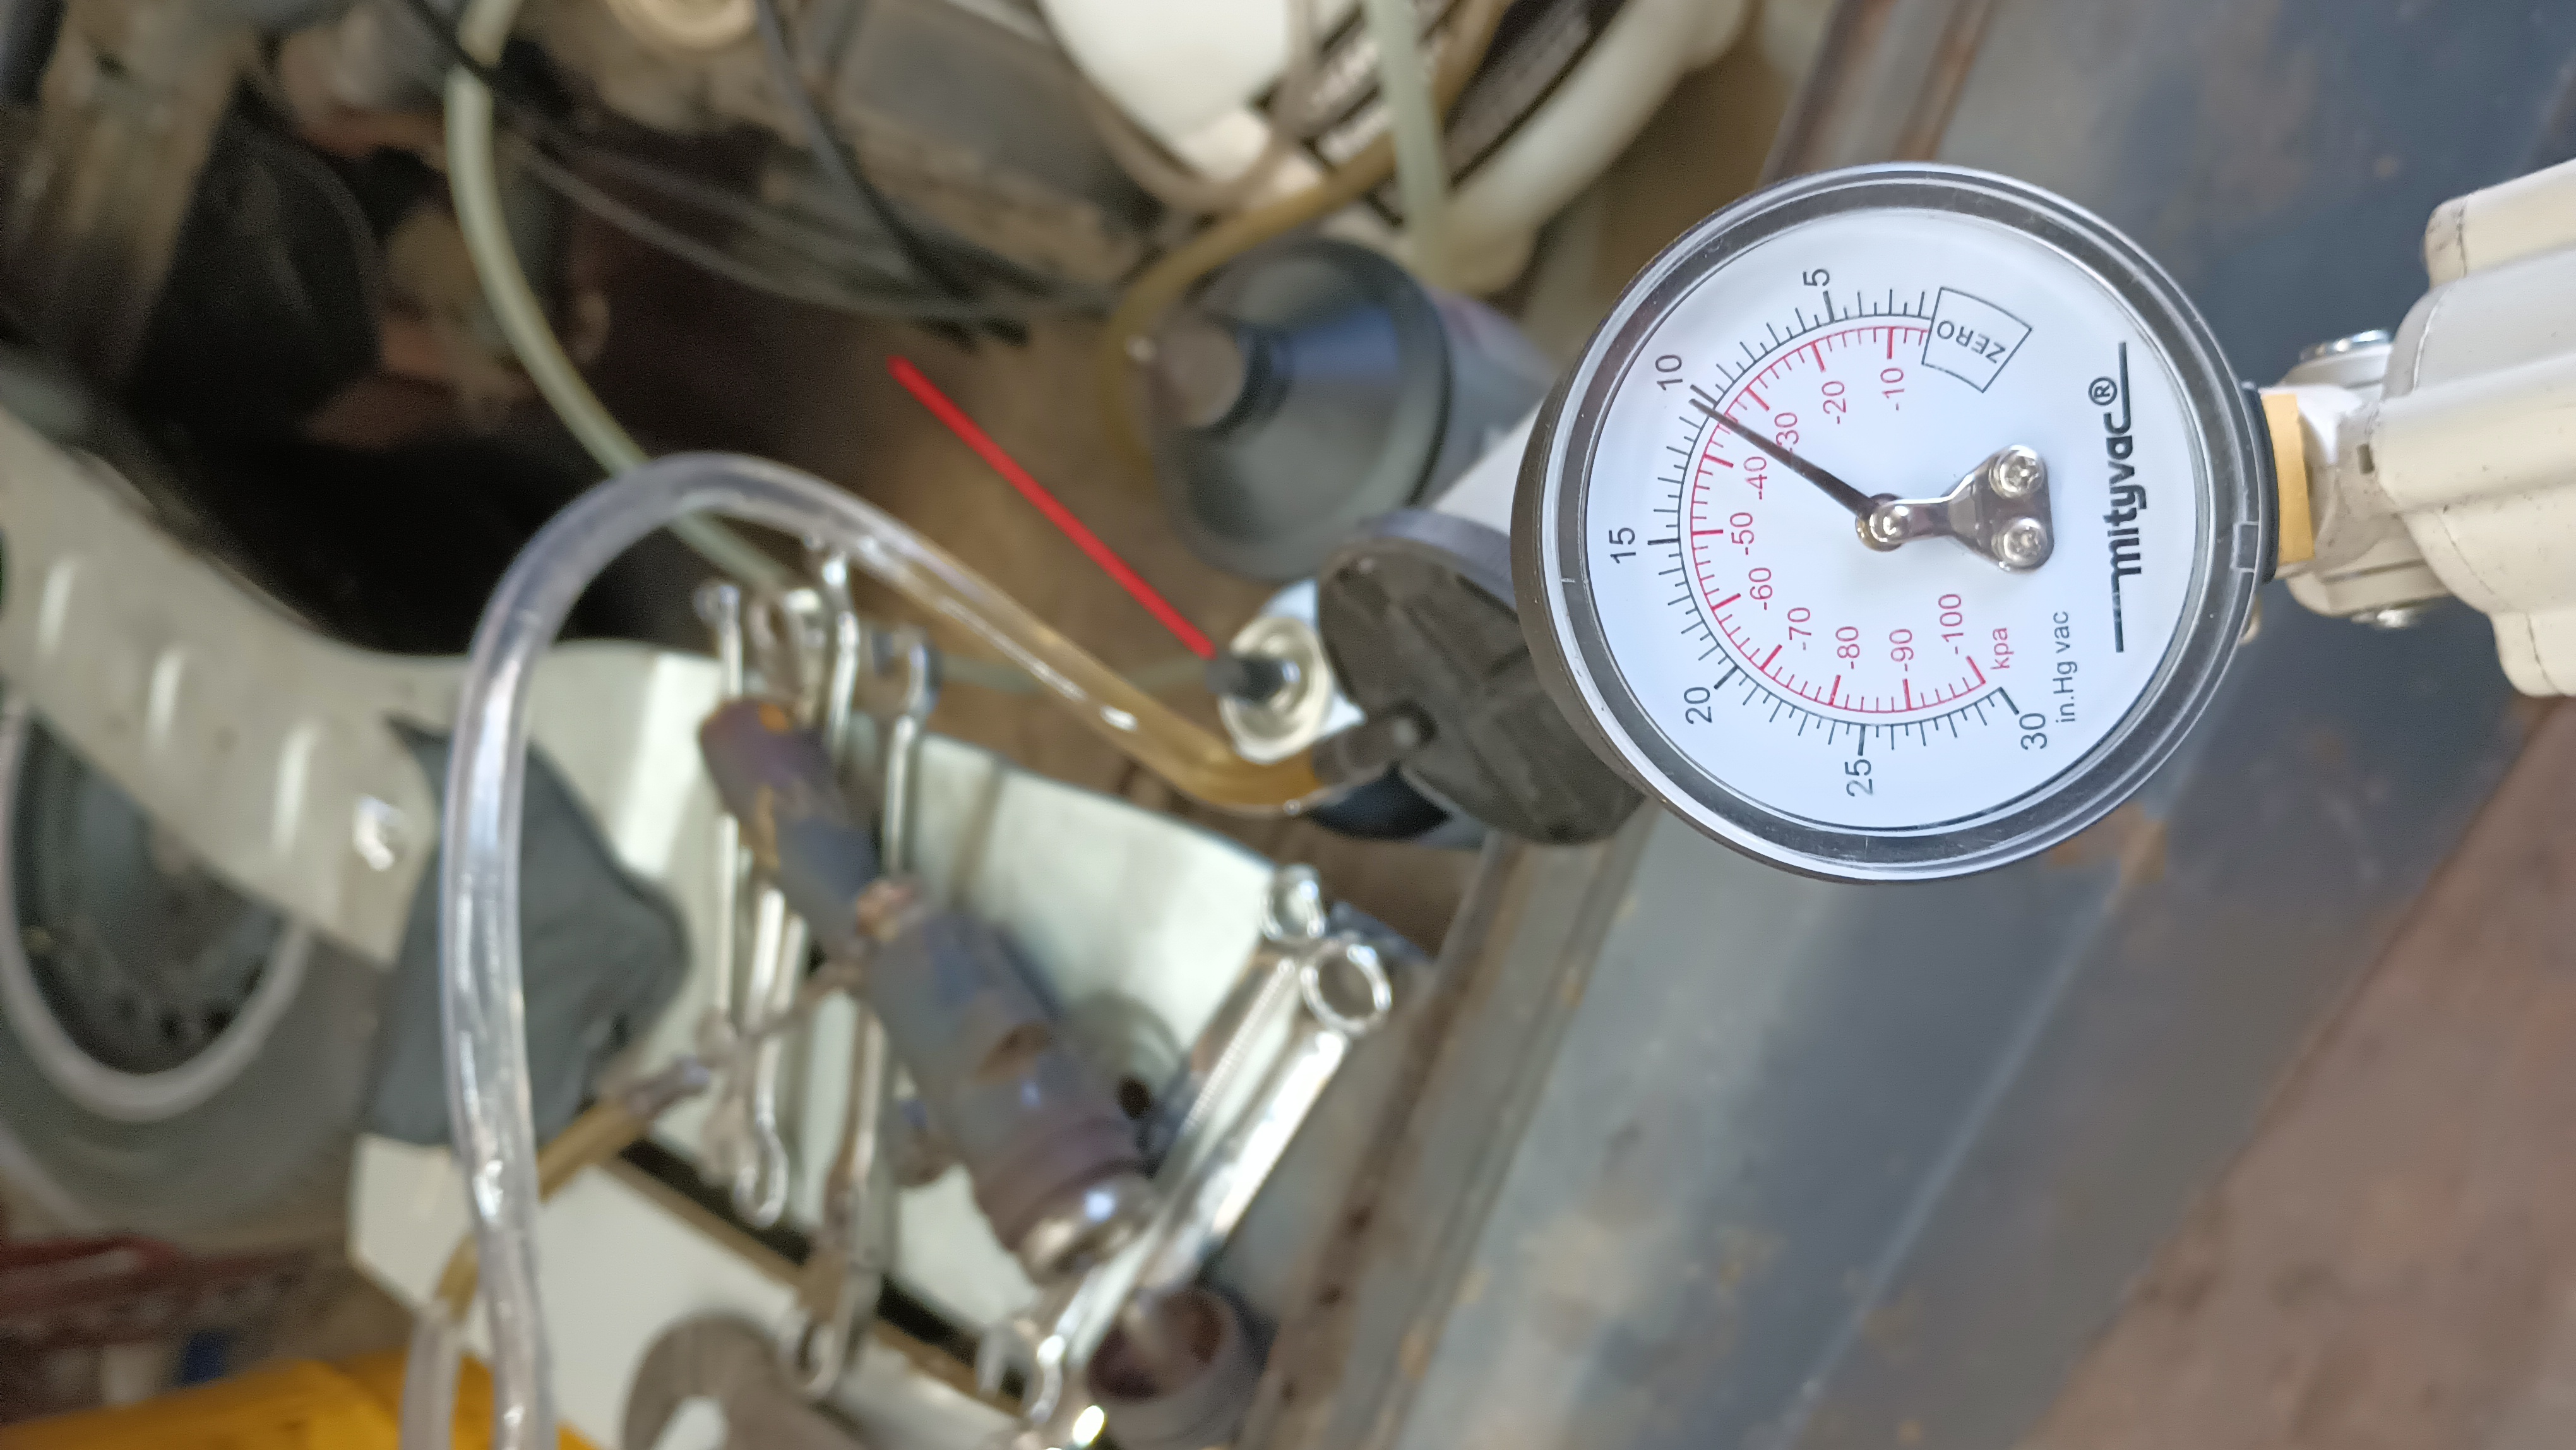
By the time this goes live, there should be a YouTube video about this. I installed it on the reservoir and gave it about 5spi.
But I got nothing. No fluid shooting out of the bleeder, no fluid going past the seals. I cracked open a brake line and got pressure in that system, but from the clutch I had nothing. I pulled the slave back off, pulled the hose off of the slave and was unable to extract any fluid at all with the vacuum pump, despite it holding a vacuum for several minutes.
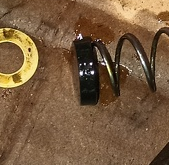
I went home to think about it and eventually I came up with the theory that the rod on the master was adjusted improperly and wasn’t allowing the piston to pick up fresh fluid. When I got back to the shop, though, I quickly discovered that the rod was fine. Out of ideas, I went ahead and took the whole system back off the car and disassembled it again. I couldn’t really find anything wrong other than potentially one seal maybe being installed in the wrong direction. Looking at the pictures from disassembly, the new seal was oriented the same direction as the old, however, the old seal was worn enough that I couldn’t really tell which end of it was the high side. It was this seal on the end of the spring:
You can see how they always have the two seals with the peaks facing different directions, like this:
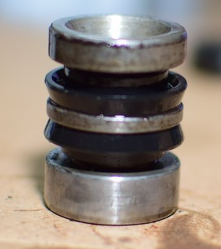
With the new seal installed so that it acted as a “cap” on the end of the spring, both seals had their peaks facing the same direction. So I flipped it around. Then I put the master and slave back together and started bench bleeding again.
The master took forever to bench bleed. I got it to a point where it seemed like all the air was out, but then as I was holding it, a last bubble made its way out of the clutch line port and bubbled up. So I spent a very long time working on bleeding the master. Eventually the bubbles stopped and I put the clutch hose on. Sinking the open end of that hose in brake fluid, I worked the master cylinder until the hose was bled. Next, I put that hose onto the slave cylinder, opened up the bleeder, ran a hose from the bleeder to the cup of brake fluid, and worked on bleeding the slave. That part also took a very long time to get all the air out. Eventually, I put a clamp on the slave to prevent the piston from moving and continued the bleeding process. That seemed to be the final step, as the master started to get pretty firm.
Once I felt like things were firmed up, I re-installed the master and slave cylinders to see if I had made any progress. Sure enough, all of a sudden the clutch pedal was firm, with plenty of resistance and using my phone to take a video of the clutch fork, I can see the clutch moving in and out! Success!
I still need to tighten down the bolts all the way and get the boot on the inside portion of the master cylinder. The rod may need to be adjusted if the clutch engagement isn’t right once the engine is running. But this is major progress!