Project 185

The Last Days

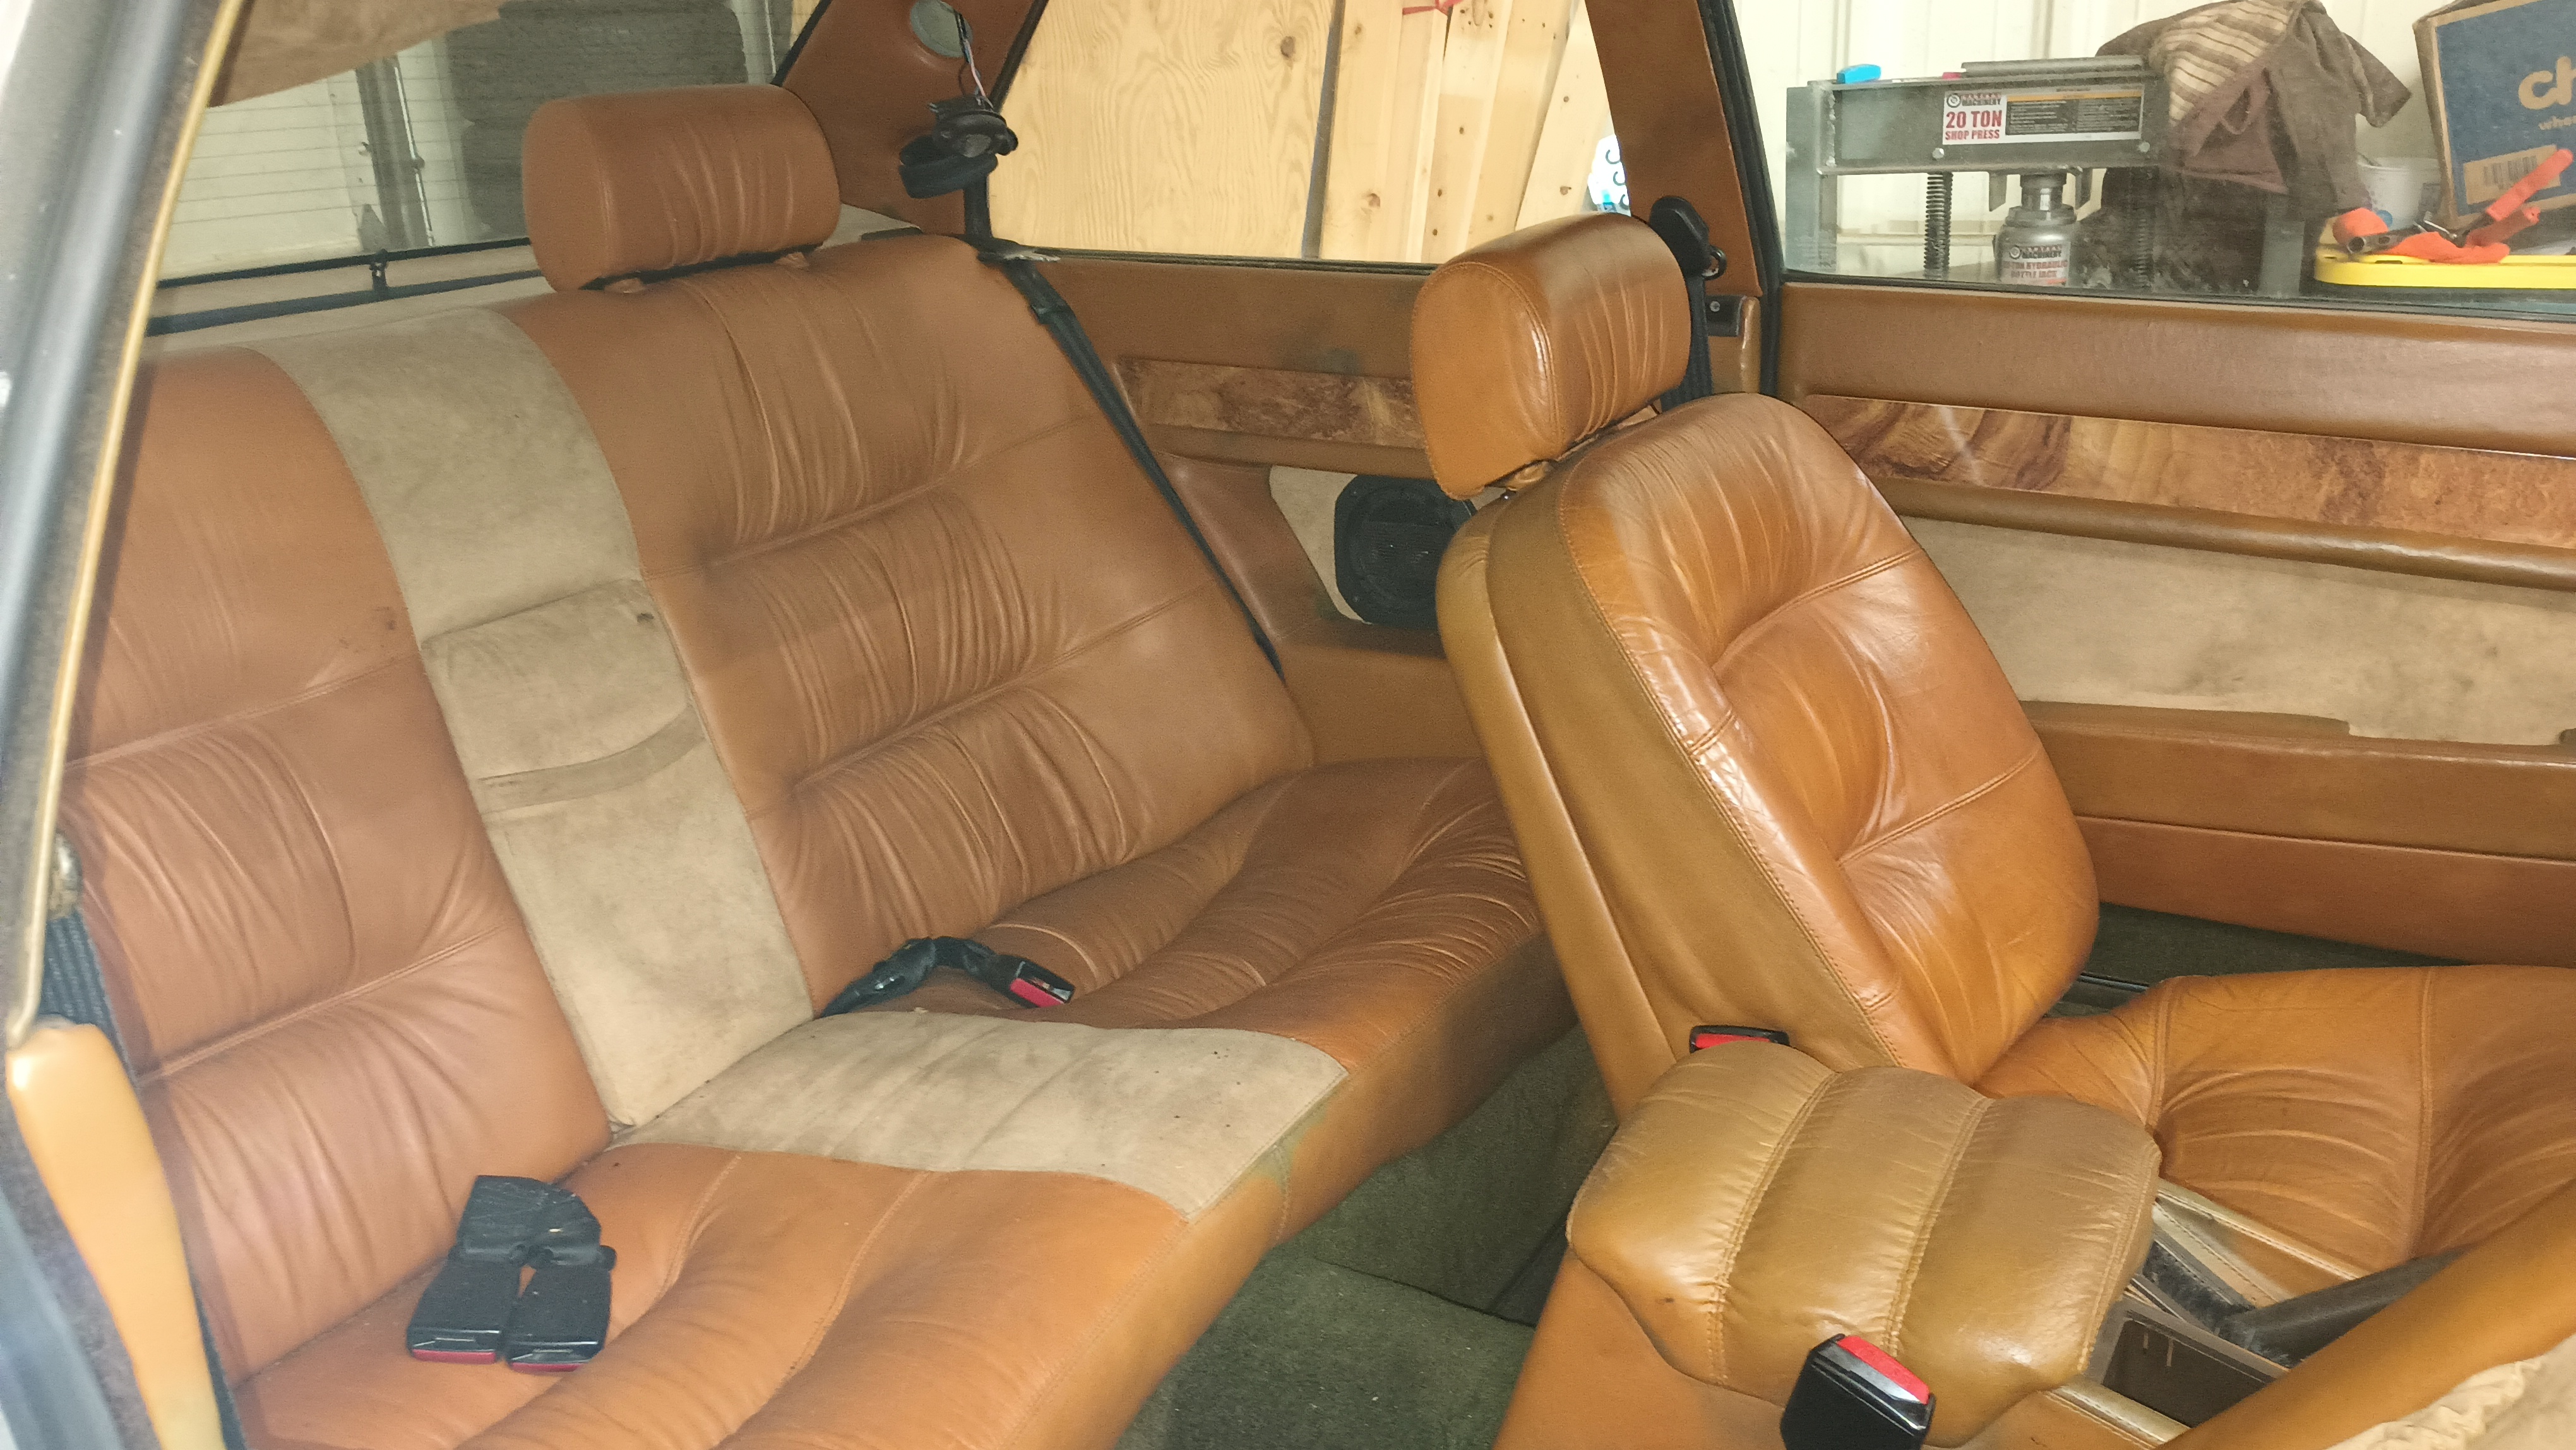
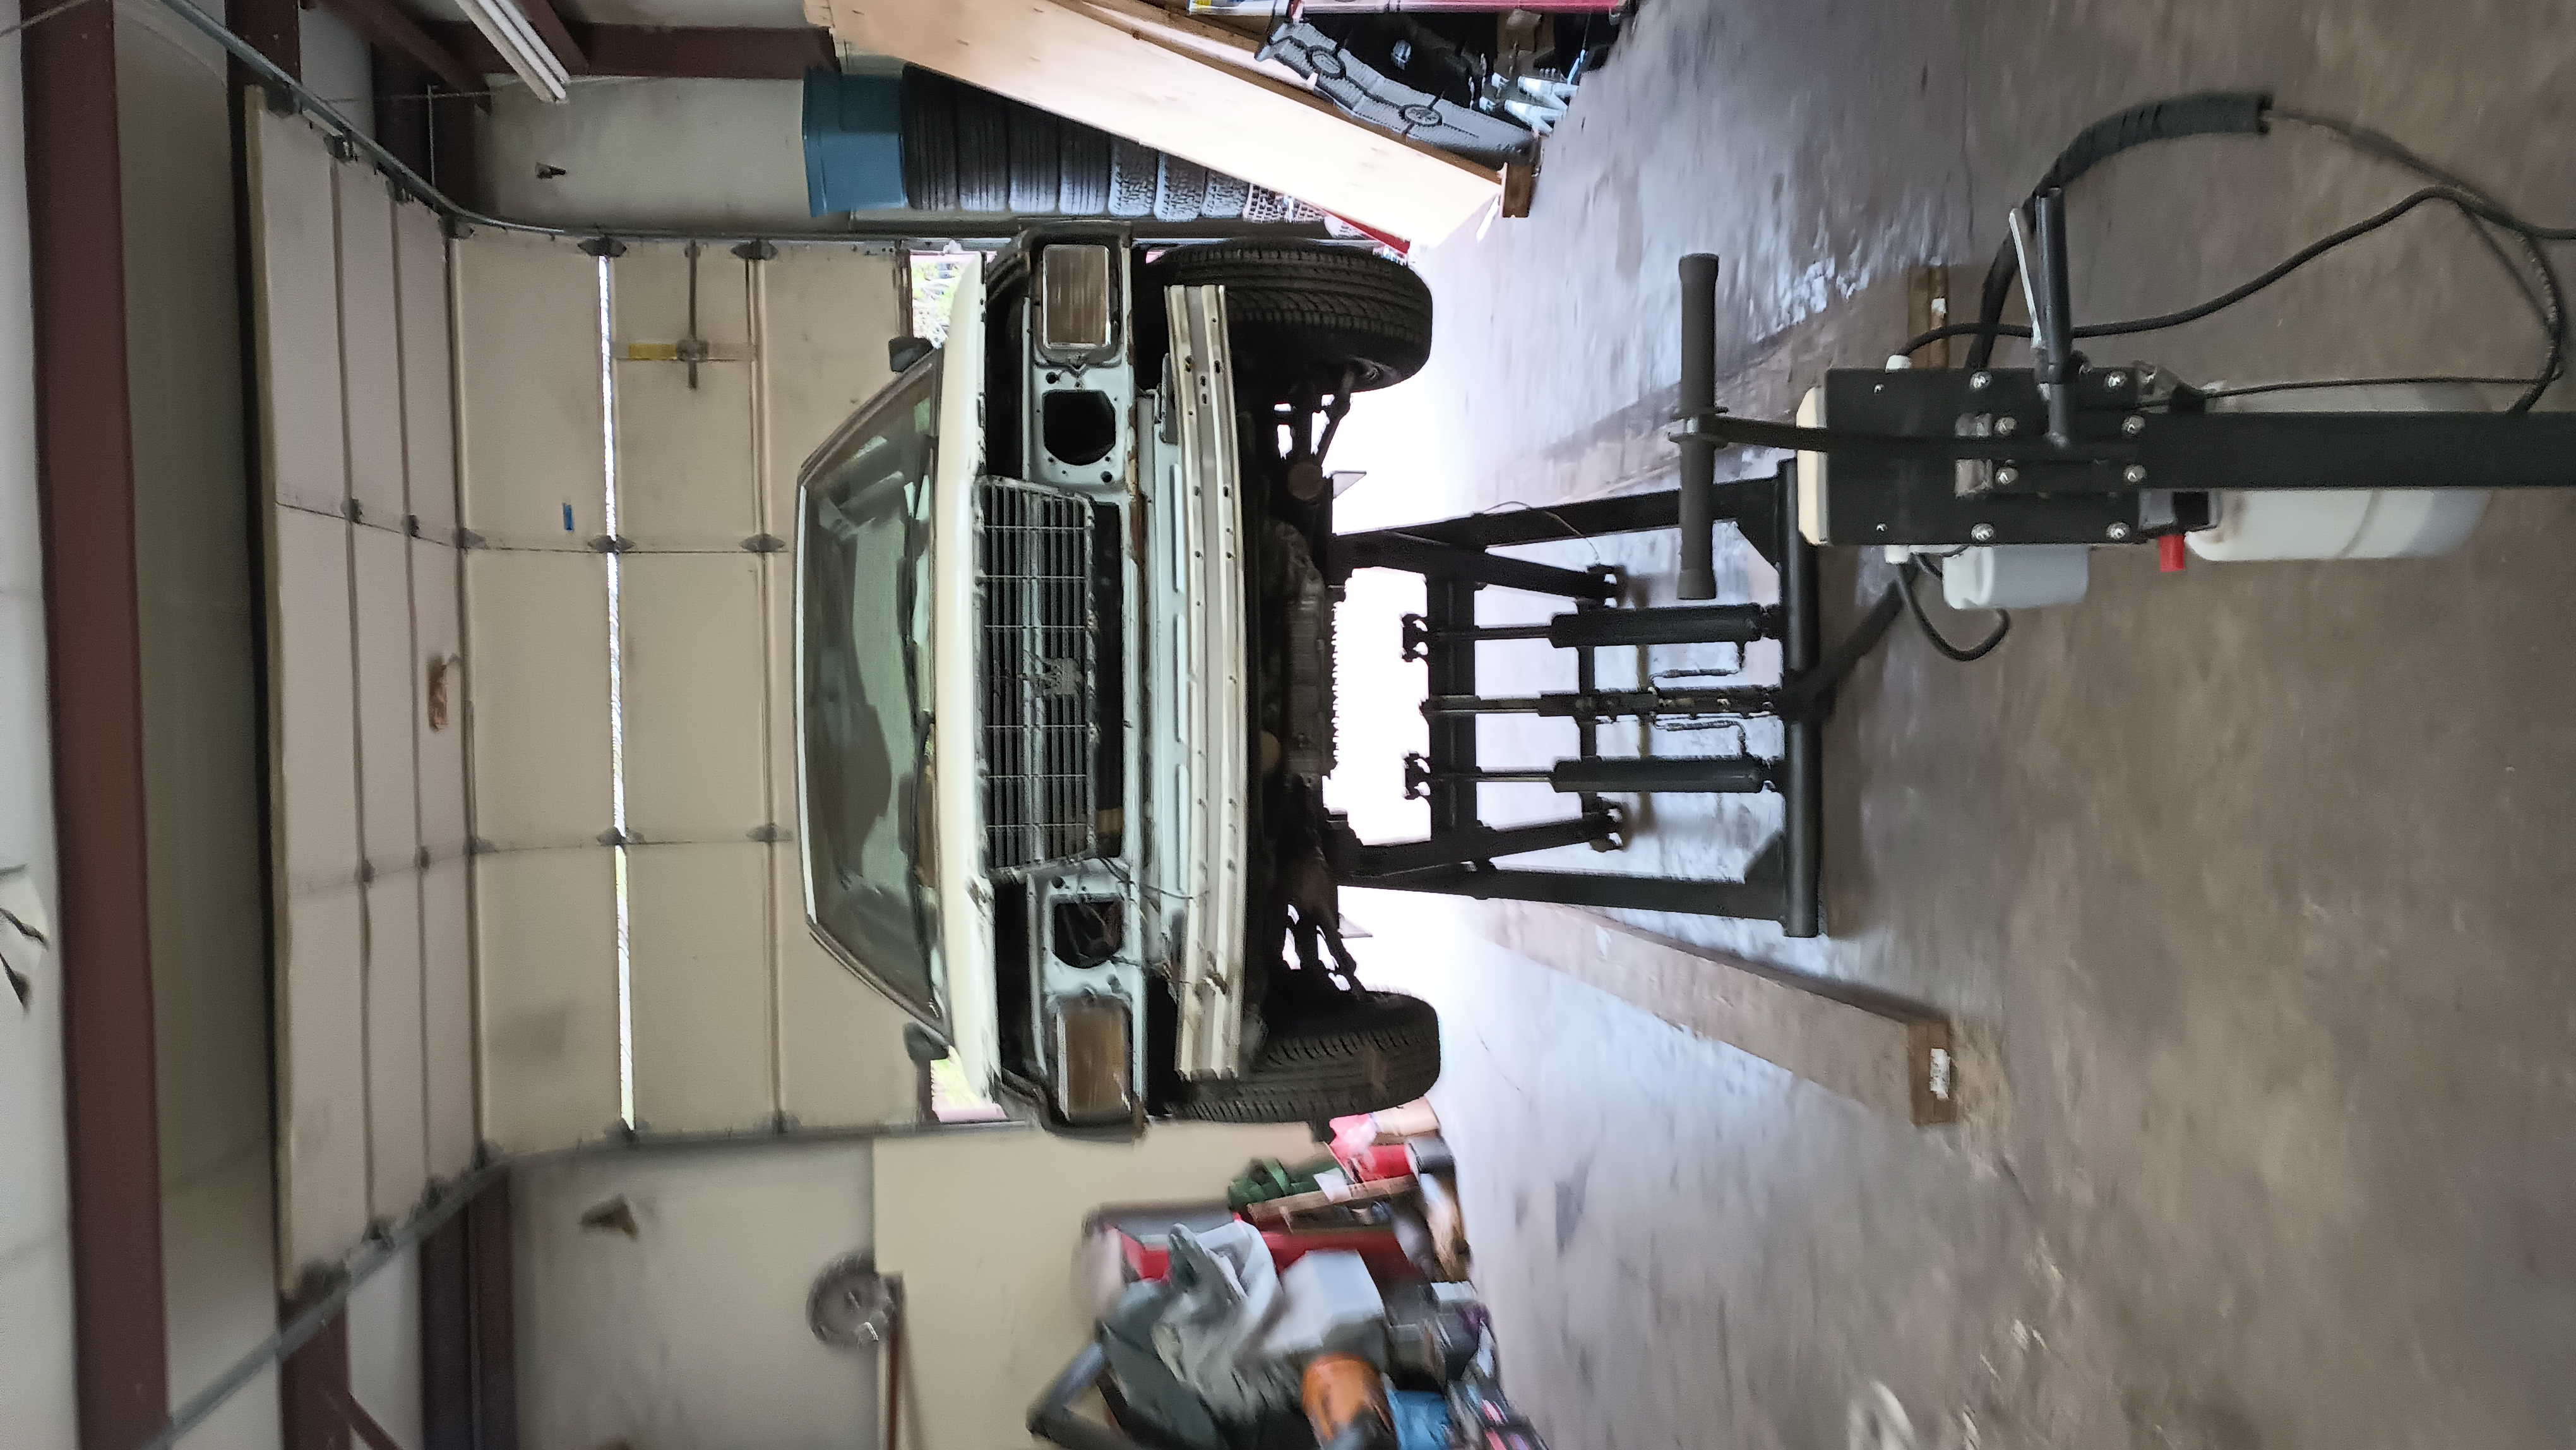
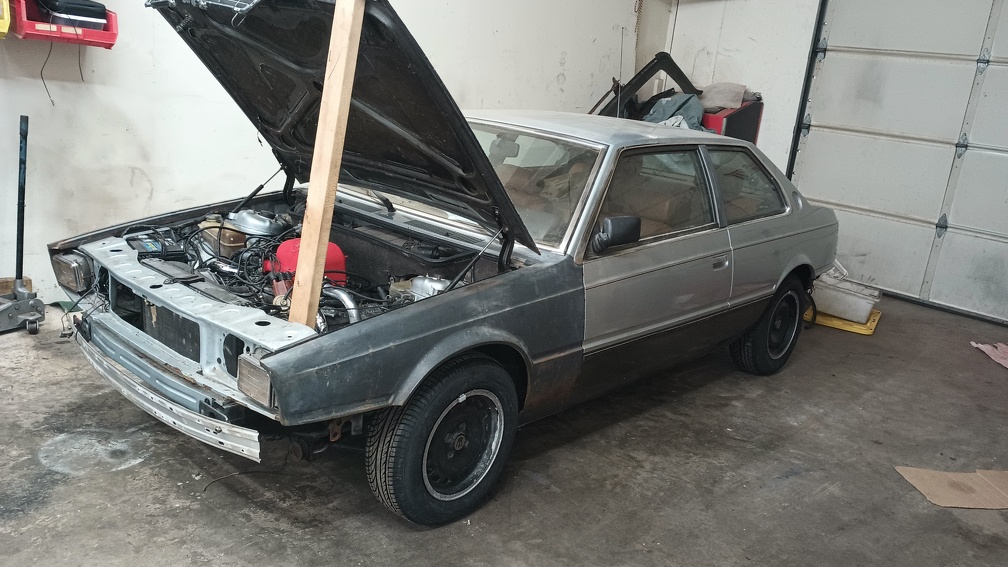
This will be the final update of the build thread before I leave for Gainesville. As of right now, the car is strapped down on the trailer and things are packed up and ready to go. It’s been a heck of a week so far though!

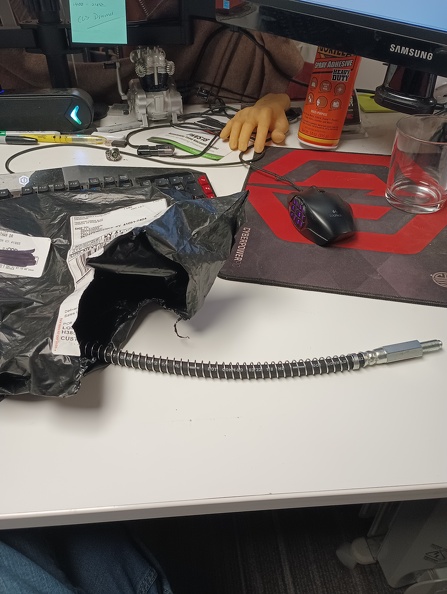
After getting back from the in-laws, I got the carb re-installed, but fuel was spraying everywhere. As it turns out the fuel line that goes into the carb was all torn up.
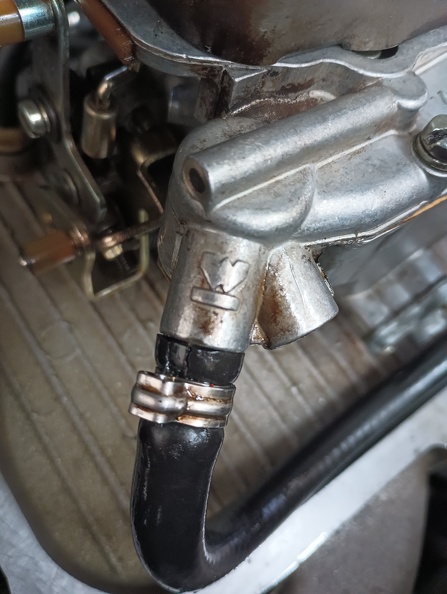
A new bit of fuel hose was procured – I needed about 17 inches’ worth – and then I used some blue Permatex to put the carb hat back on after cleaning up the mating surfaces.

I cleaned up the plugs, replaced the plug wires, and it started up and ran well. Except I was getting some steam from the radiator as well as getting fairly heavy “stuff” in the exhaust. This time, though, the exhaust was clean when it first started and it didn’t smell of fuel. But as the car warmed up, the “stuff” increased in volume. Trouble.

Fearing that there might be a busted headgasket, I put in a can of Blue Devil headgasket repair and followed the instructions. I was supposed to let it idle for 50 minutes, which we did. Everything was going fine until about minute 47 when the car sputtered and then died and wouldn’t restart. Checking the plug wires with the inductive timing light, we confirmed that there was no spark. With severe weather heading our way, we closed up the shop and went home. Later in the evening I came back out and started to take a look. When I pulled the distributor cap off, I discovered that there was a wire that was crimped between the cap and the body of the distributor. Now when I took the distributor off to do the advance repairs, I noted that wire was pinched and thought I had fixed it. But I did not, in fact, fix it.

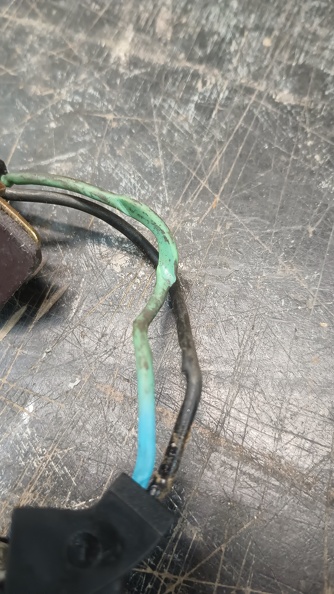
After cleaning that up, wrapping it in tape, and carefully routing the wire to its proper channel, the car fired up immediately!

Next, I needed to clean up some of the appearance items.

The headlights were installed, things got cleaned up a little, a matte white vinyl wrap was applied, the oil was changed, and a couple zipties were added to hold the tie rod boot in place.

Now the car is loaded up and we’re soon on our way to Gainesville!

Mad Dash to the Finish

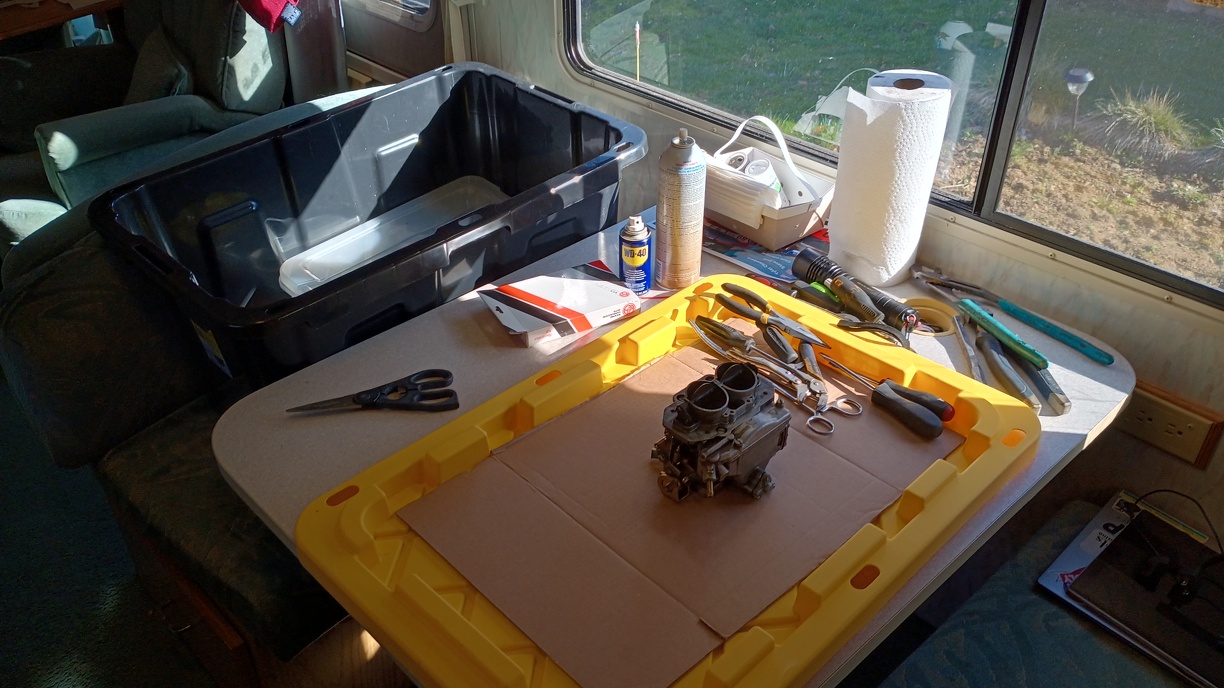
With only a few days remaining until I need to be southbound to Gainesville, I sat down on the RV at my in-laws house and started taking the carb apart. Now, you need to understand that I’ve never rebuilt a carb before in my life, so I don’t have the slightest idea what I’m doing.

The diaphragm in the accelerator pump was definitely in need of replacement

This other diaphragm also was quite leaky.

And the third diaphragm on the carb was also torn in a couple places. This is the little vacuum operated device that is supposed to prevent flooding when the choke is on all the way.

After cleaning things up a bit and putting in the new bits, I had a hopefully rebuilt carb to put back on when I get home!
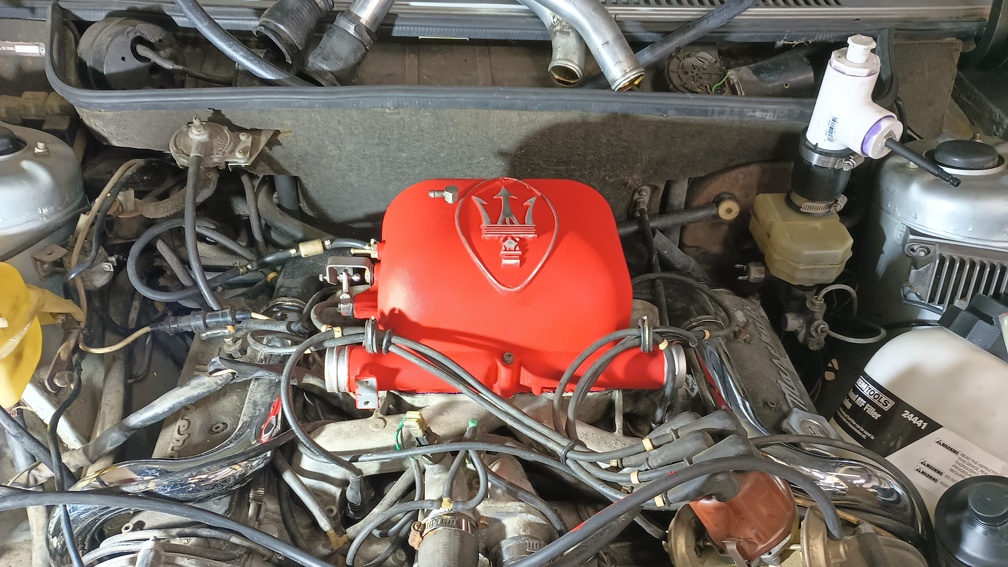
In the meantime, I also opened up the vacuum pots for the boost/vacuum advance and repaired them. This becomes important later.

Getting Close – Time to Take it Apart!
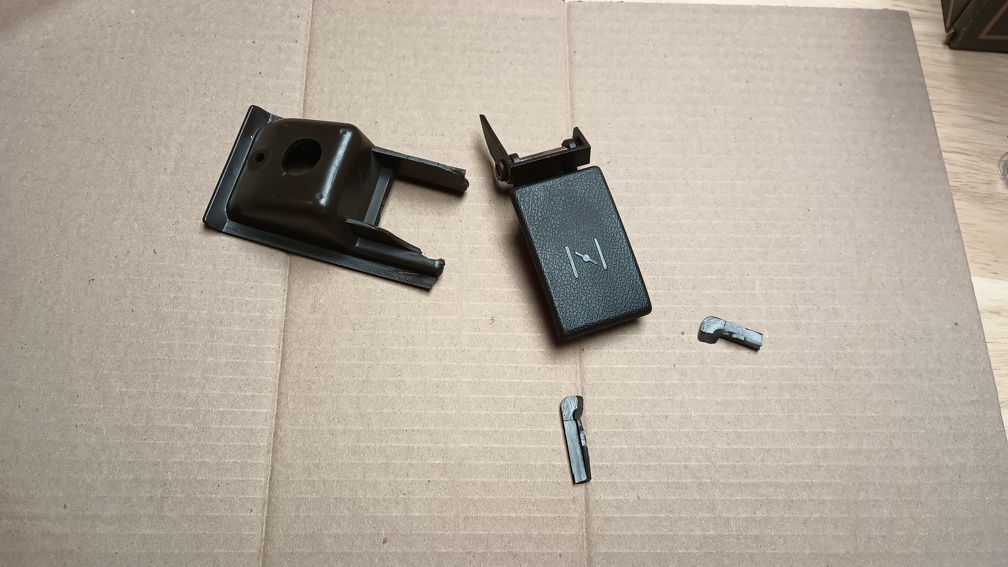
The car was running so well, I decided I needed to take it apart again!

Okay, I guess that’s not entirely accurate. The car was definitely running too rich. I was getting a pretty constant stream of smoke out of the tail pipe that was absolutely unburned fuel and a few minutes of idling and revving in the garage had the brand new plugs pretty black. While I suspect that I’m going to get at least a little smoke out the tail pipe from the oil that’s getting by the turbo seals, I don’t want to wash down the cylinders with quite that much fuel. And besides, if it’s running this well with an imperfect carb, how much better will it run after I’ve monkeyed with it?

I’ve got this carb kit and I’m going to figure out how to use it! I’ve taken the carb off and brought it with me to my in-laws so that I can work on it in my downtime here. When I give the throttle linkage a rapid push, I can see that the accelerator pump is gushing fuel into the chamber instead of spraying it. Every other rubber diaphragm that I’ve come across in this car has been failed, so it’s a good bet that this one is also failed and causing my problems.

Before heading out for the weekend, I also pulled the distributor out (after carefully marking it, of course) so I could remove the advance/retard mechanism from the bottom of it. Using a screwdriver, I bent the crimp back to get a look at the diaphragm and, no surprise, it has several cracks in it which is why it isn’t holding pressure. I don’t know how I’m going to go about fixing it quite yet, but that might just get some silicone spread over it to seal it up. That’s another thing to work on while we’re visiting relatives.

On the cosmetic front, I realized that each of the headlight brackets could only fit into one particular spot based on where the mounting studs are and where the adjuster screws are located. All of the headlights were bad – one of the low beams had a good high beam portion, but that was it – so I pulled them out and tossed them. Replacing the headlight bulbs requires the headlight trim to be removed, so before I go through all the work to get those installed, I’m going to go ahead and put four new bulbs in.

The last thing I did before leaving town was to check out the wiring for the cooling fan. As a worst-case scenario, I’ve got a couple wires with alligator clips on one end and spade connectors on the other that will connect to the cooling fan harness. So once the car is running, I can pop the hood, hook up the clips, and then have working fans. I’d like to maybe re-do that with a thicker wire and a fuse, though.

So Smooth

I had a list of things to do last night, but I did basically none of them, other than finding the giant wiring diagram in the packet of papers that came with the car.

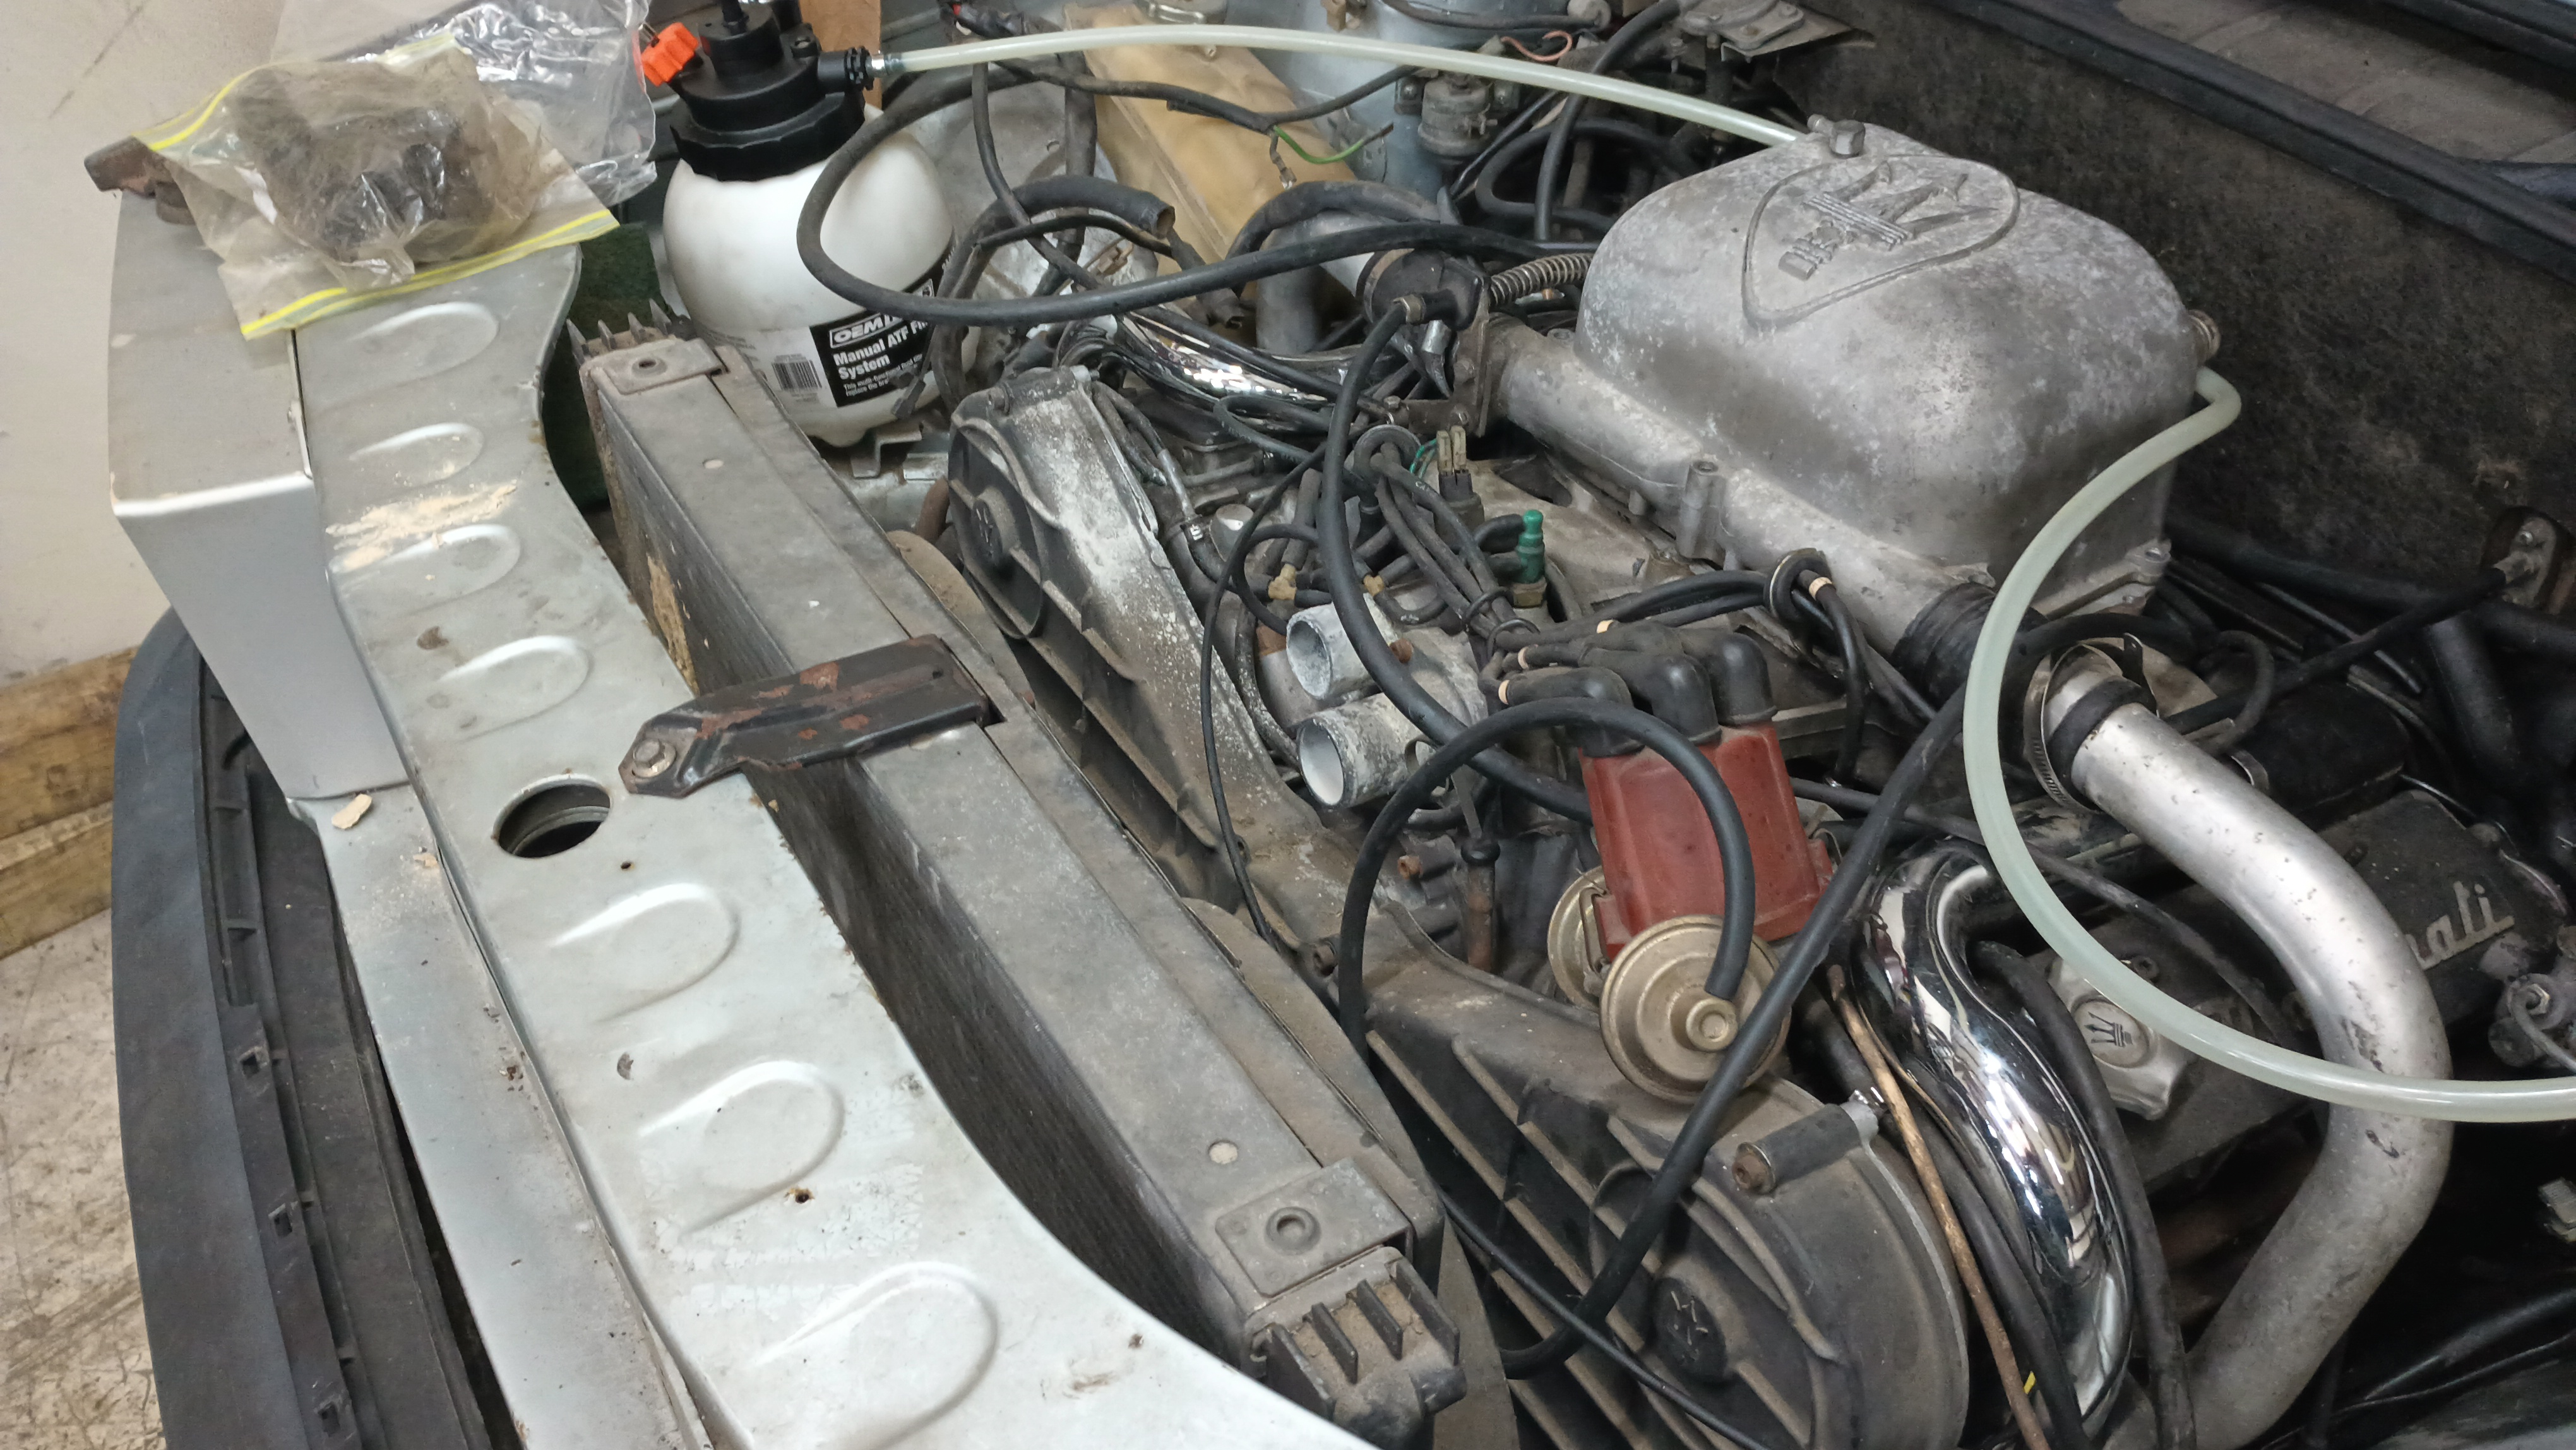
I want to go about getting the fans set up to run to prevent overheating and work out what wires are for the headlights so I can have those ready. But I got distracted from that pretty quickly in my quest to try to make sure the ignition timing is set correctly. Because the timing marks are on the flywheel (!) I decided I wanted to try to set the timing via vacuum readings. When I popped the vacuum line off the fuel pressure regulator, though, I got a steady stream of fuel. Bad fuel pressure regulator. This failure mode is interesting to me because it holds a vacuum with no problem, but it still will suck fuel through the diaphragm.

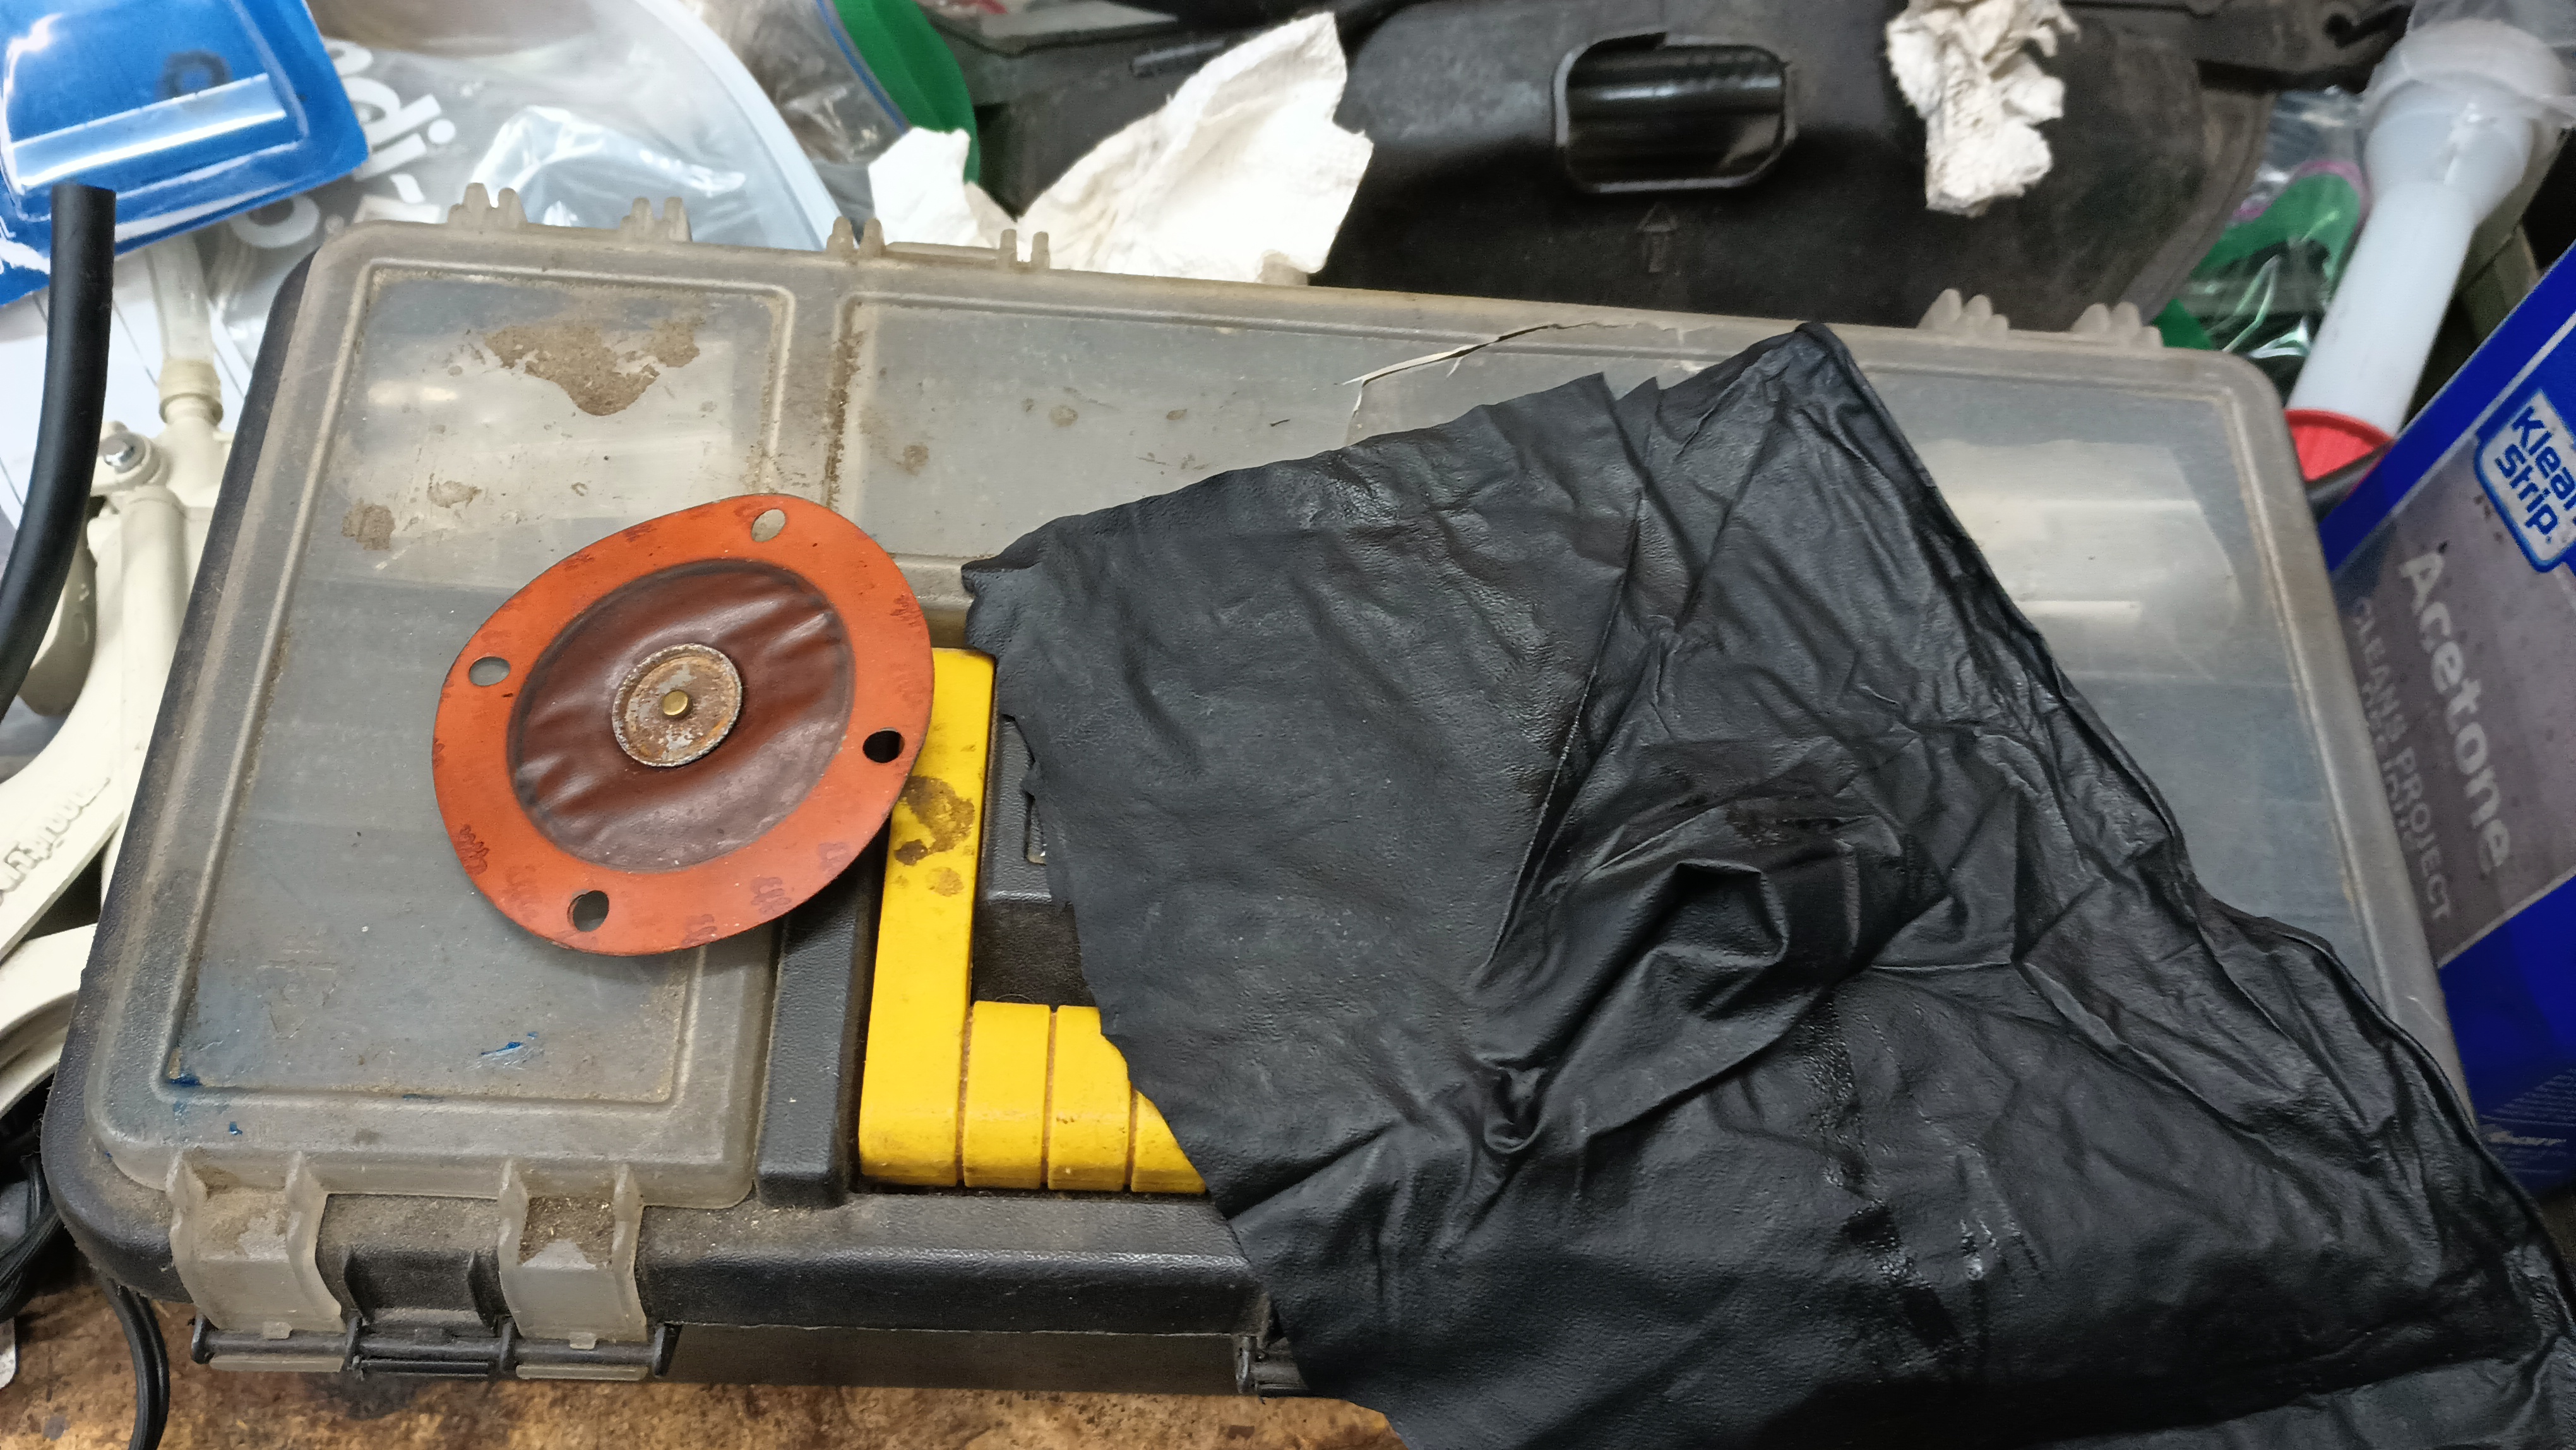
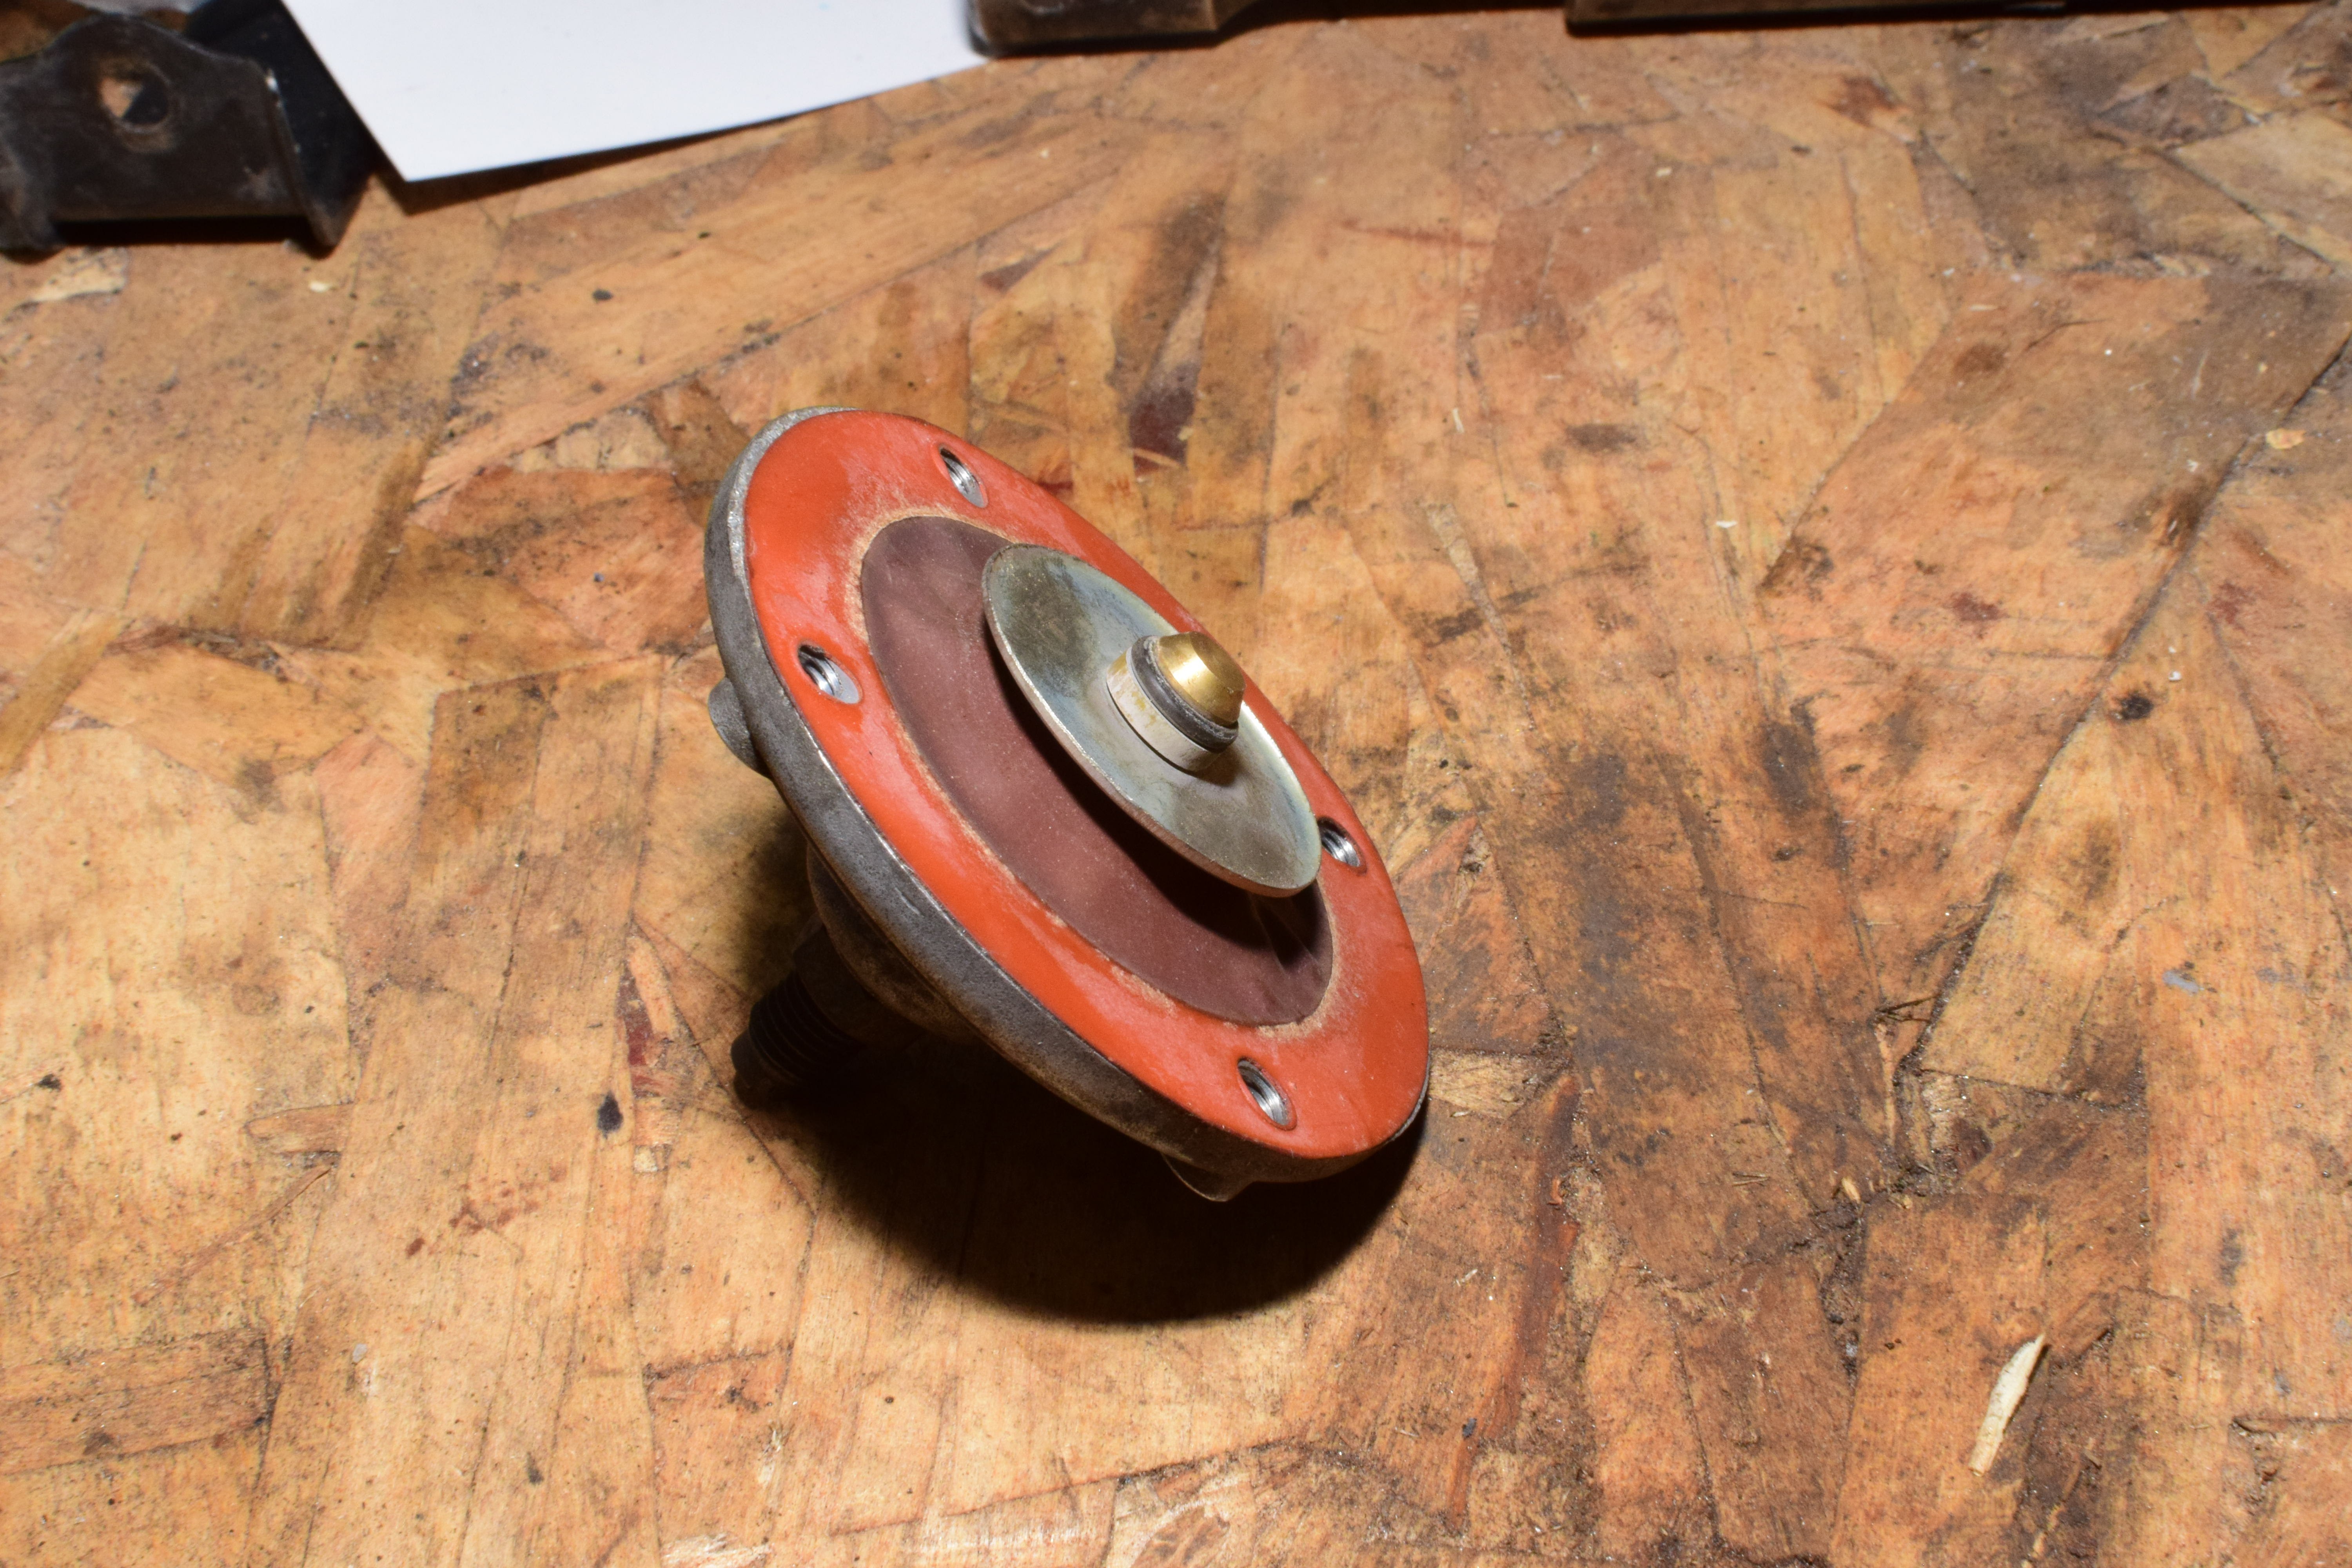
I had already switched to the spare regulator, so I first tried re-sealing the original one with fuel-safe RTV, but that wasn’t the problem with it. The membrane itself was porous and allowing air to pass through. So I needed another membrane.

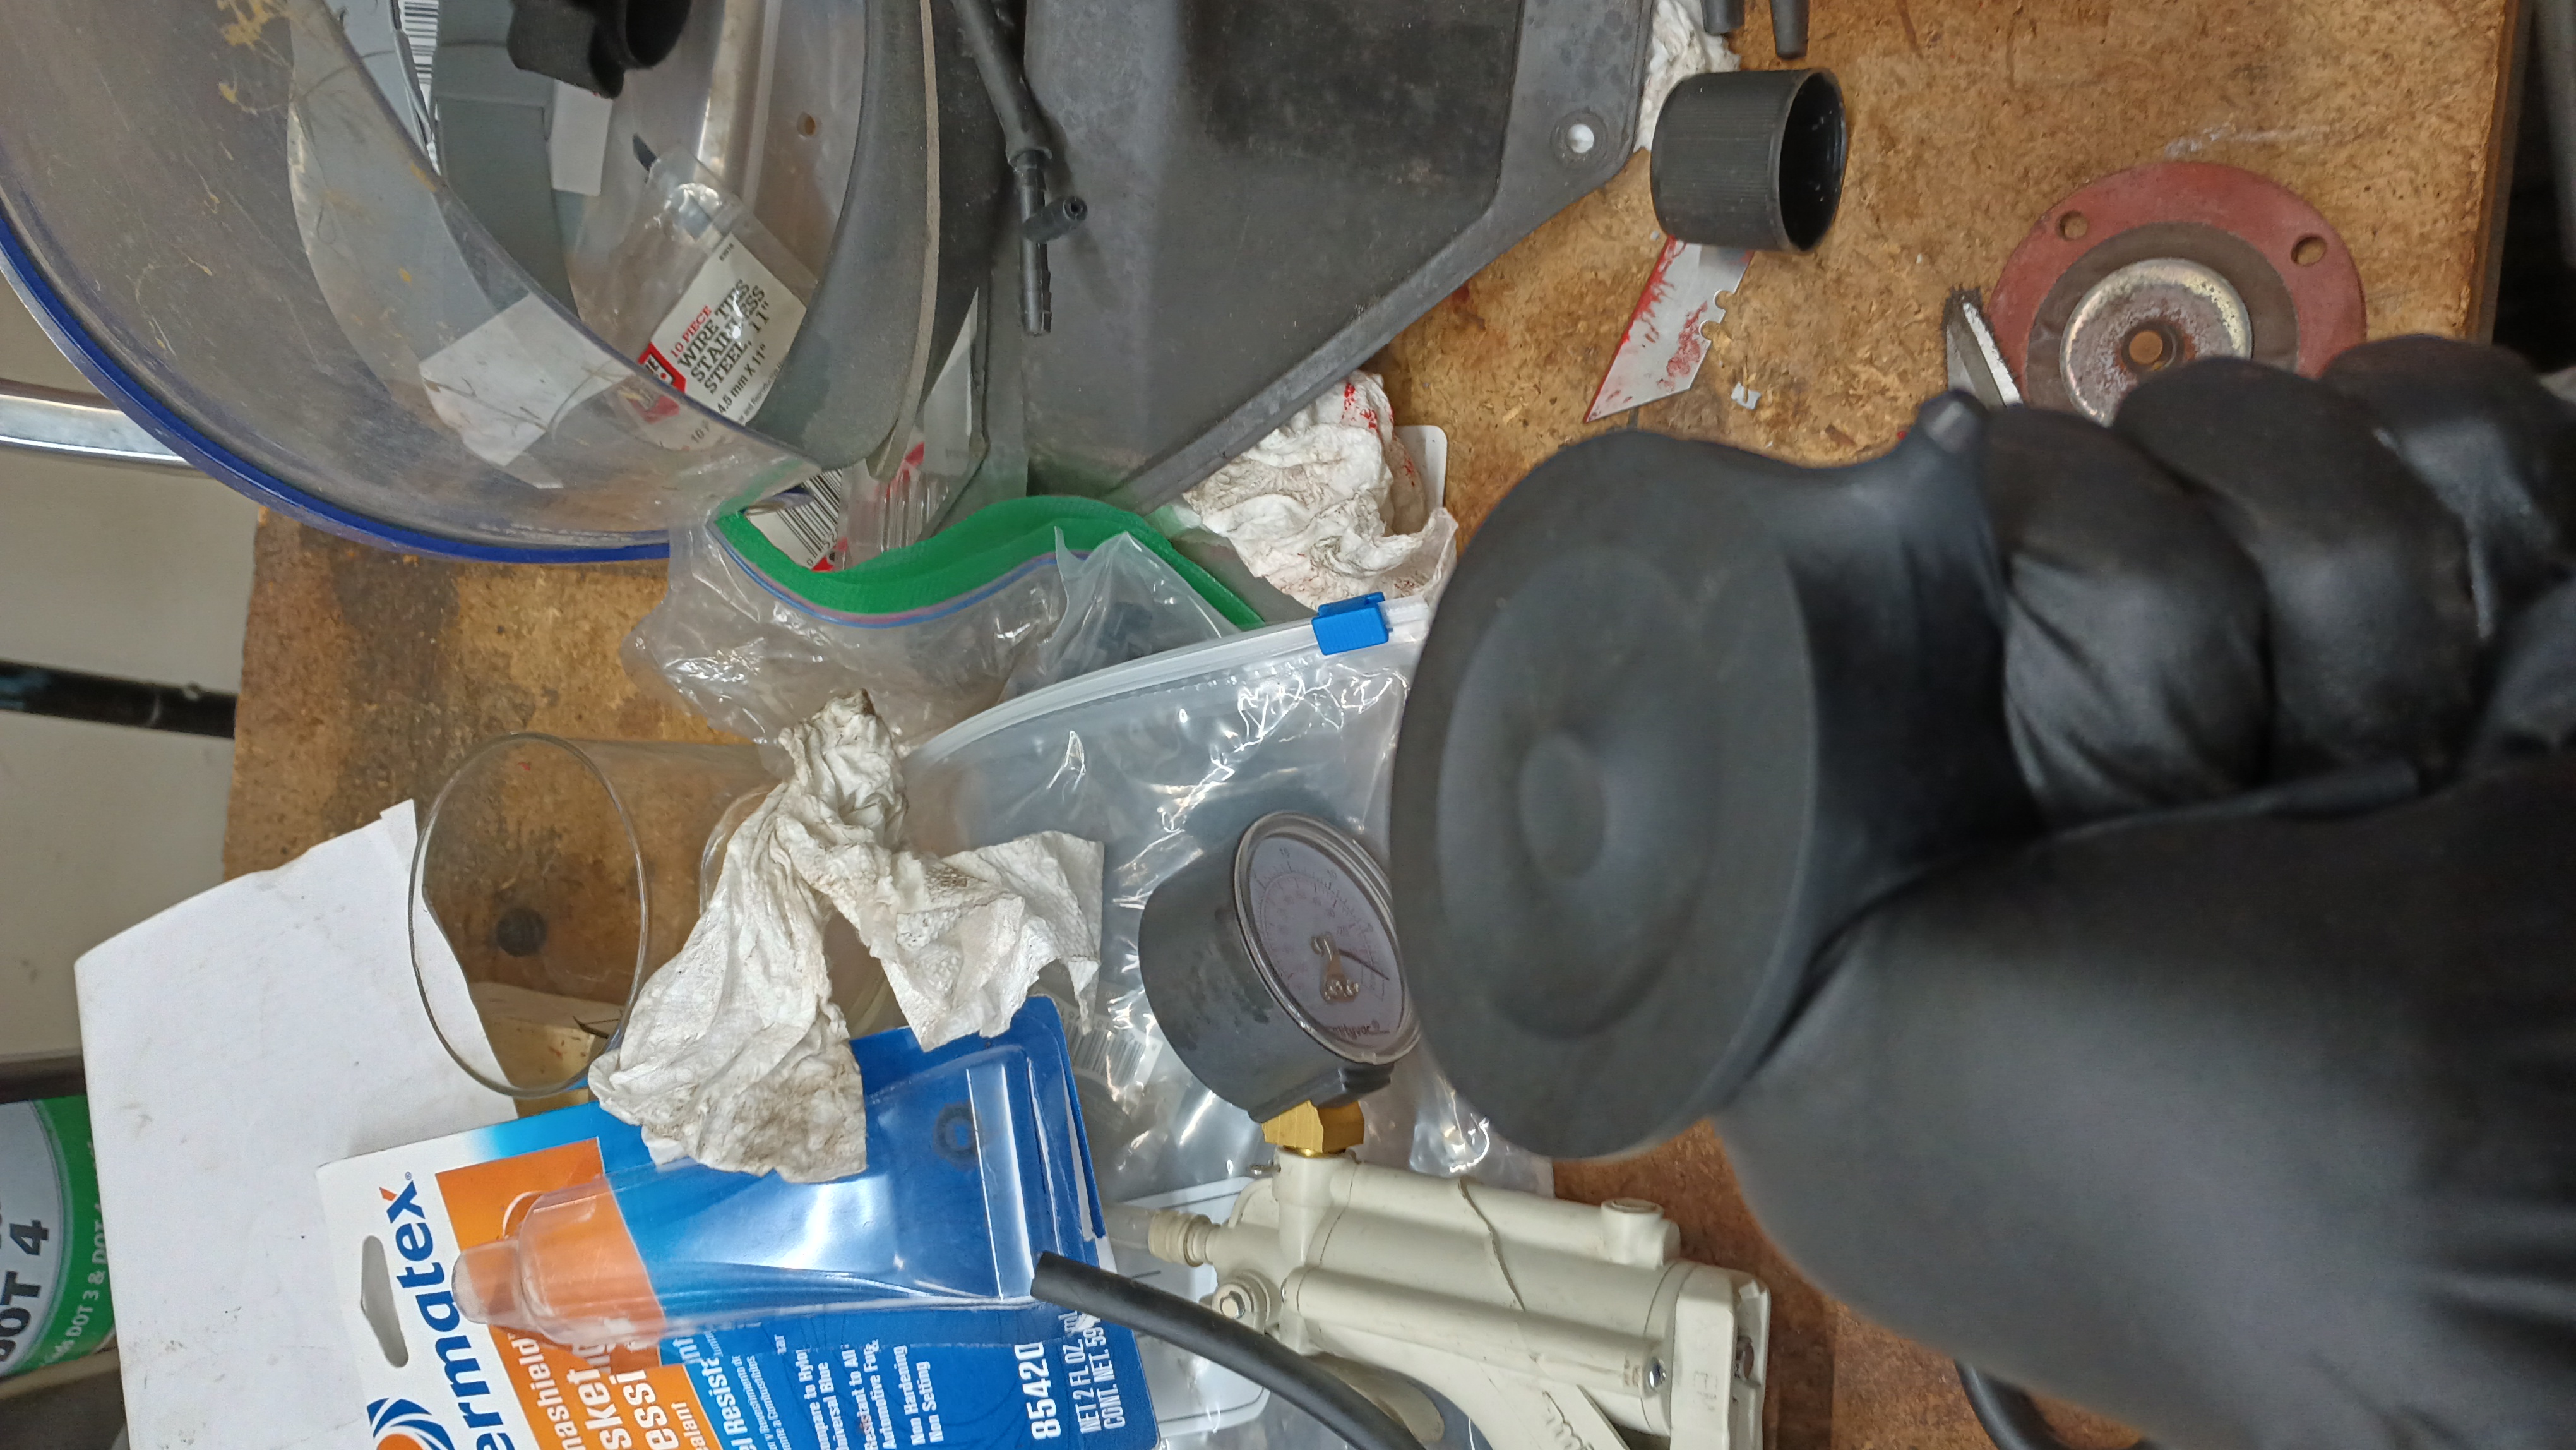
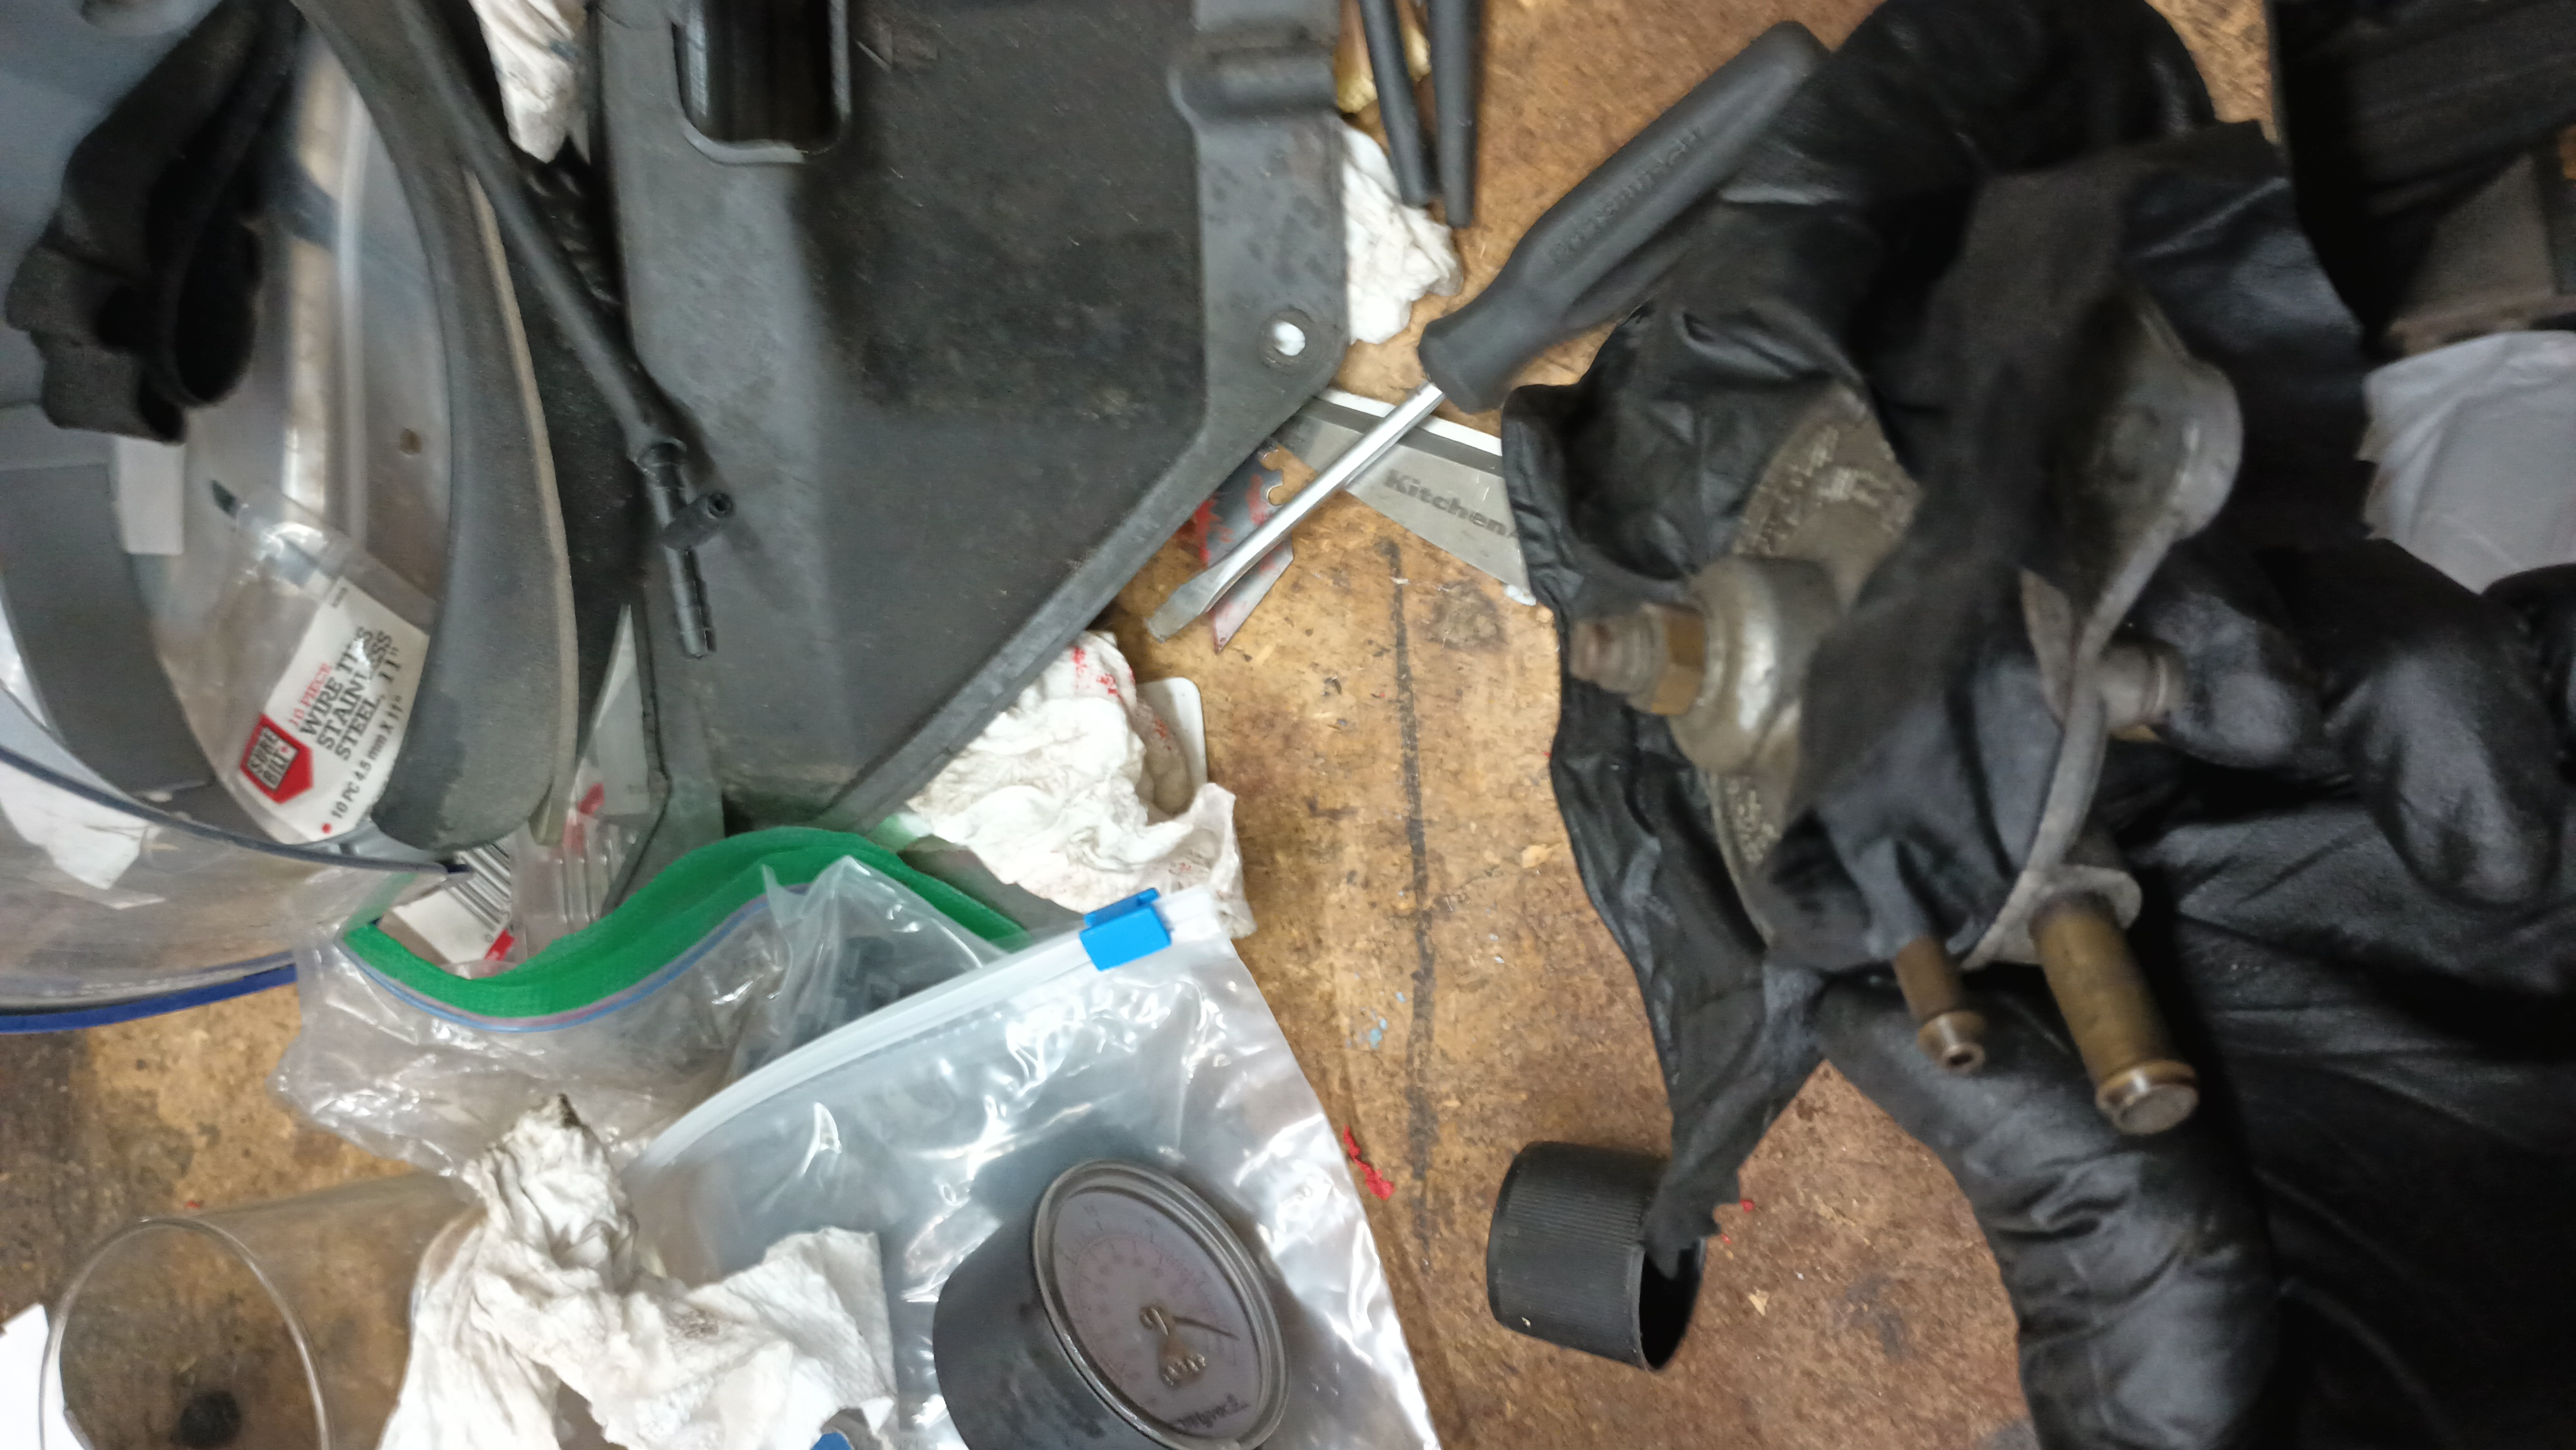
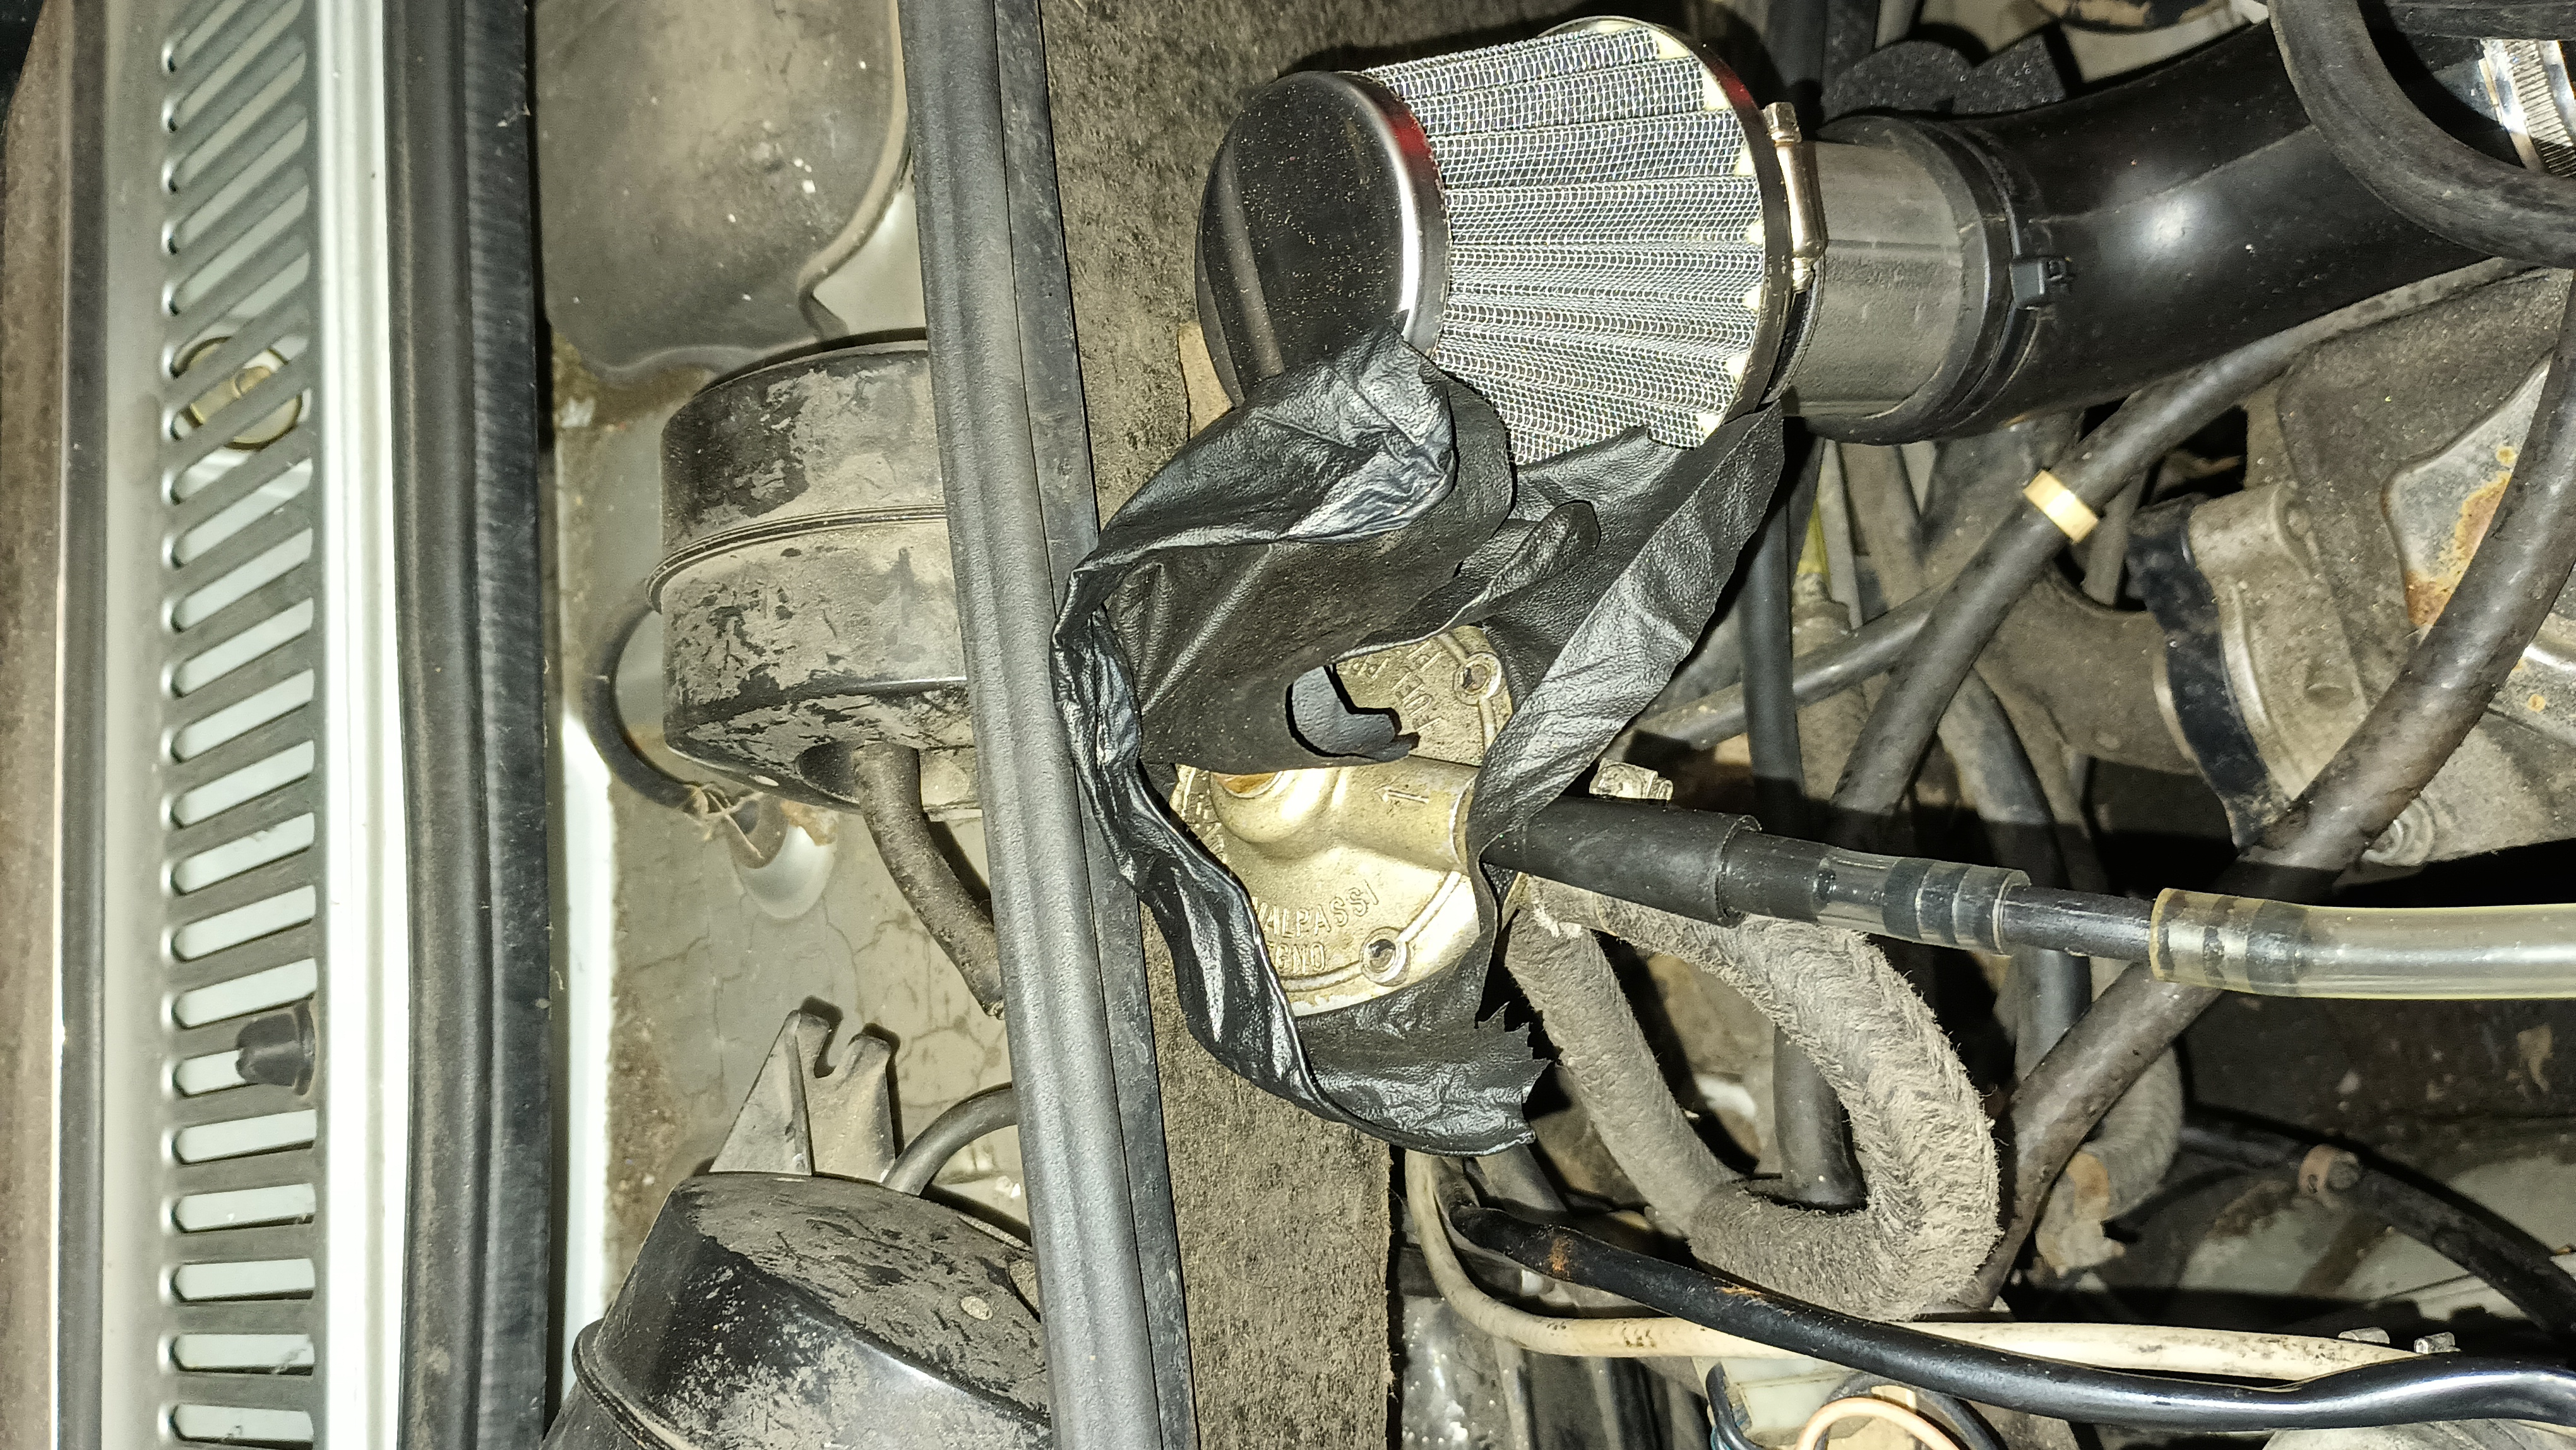
Nitrile rubber is fuel resistant and I just happened to have an old nitrile glove hanging about in the trash. Originally, I wanted to completely replace that membrane, but I couldn’t figure out how to remove that center bit. I tried to press it out, I tried turning it, but nothing seemed to be working. So I went to the air side of the housing, put the spring in, and stretched the glove over it.

I dropped the failed membrane on top of the glove, added the fuel-side half of the regulator housing, and put the screws through.

Installed back on the car to test and no more fuel leaking through the regulator!

I’ll clean up the glove and bolt it down later.

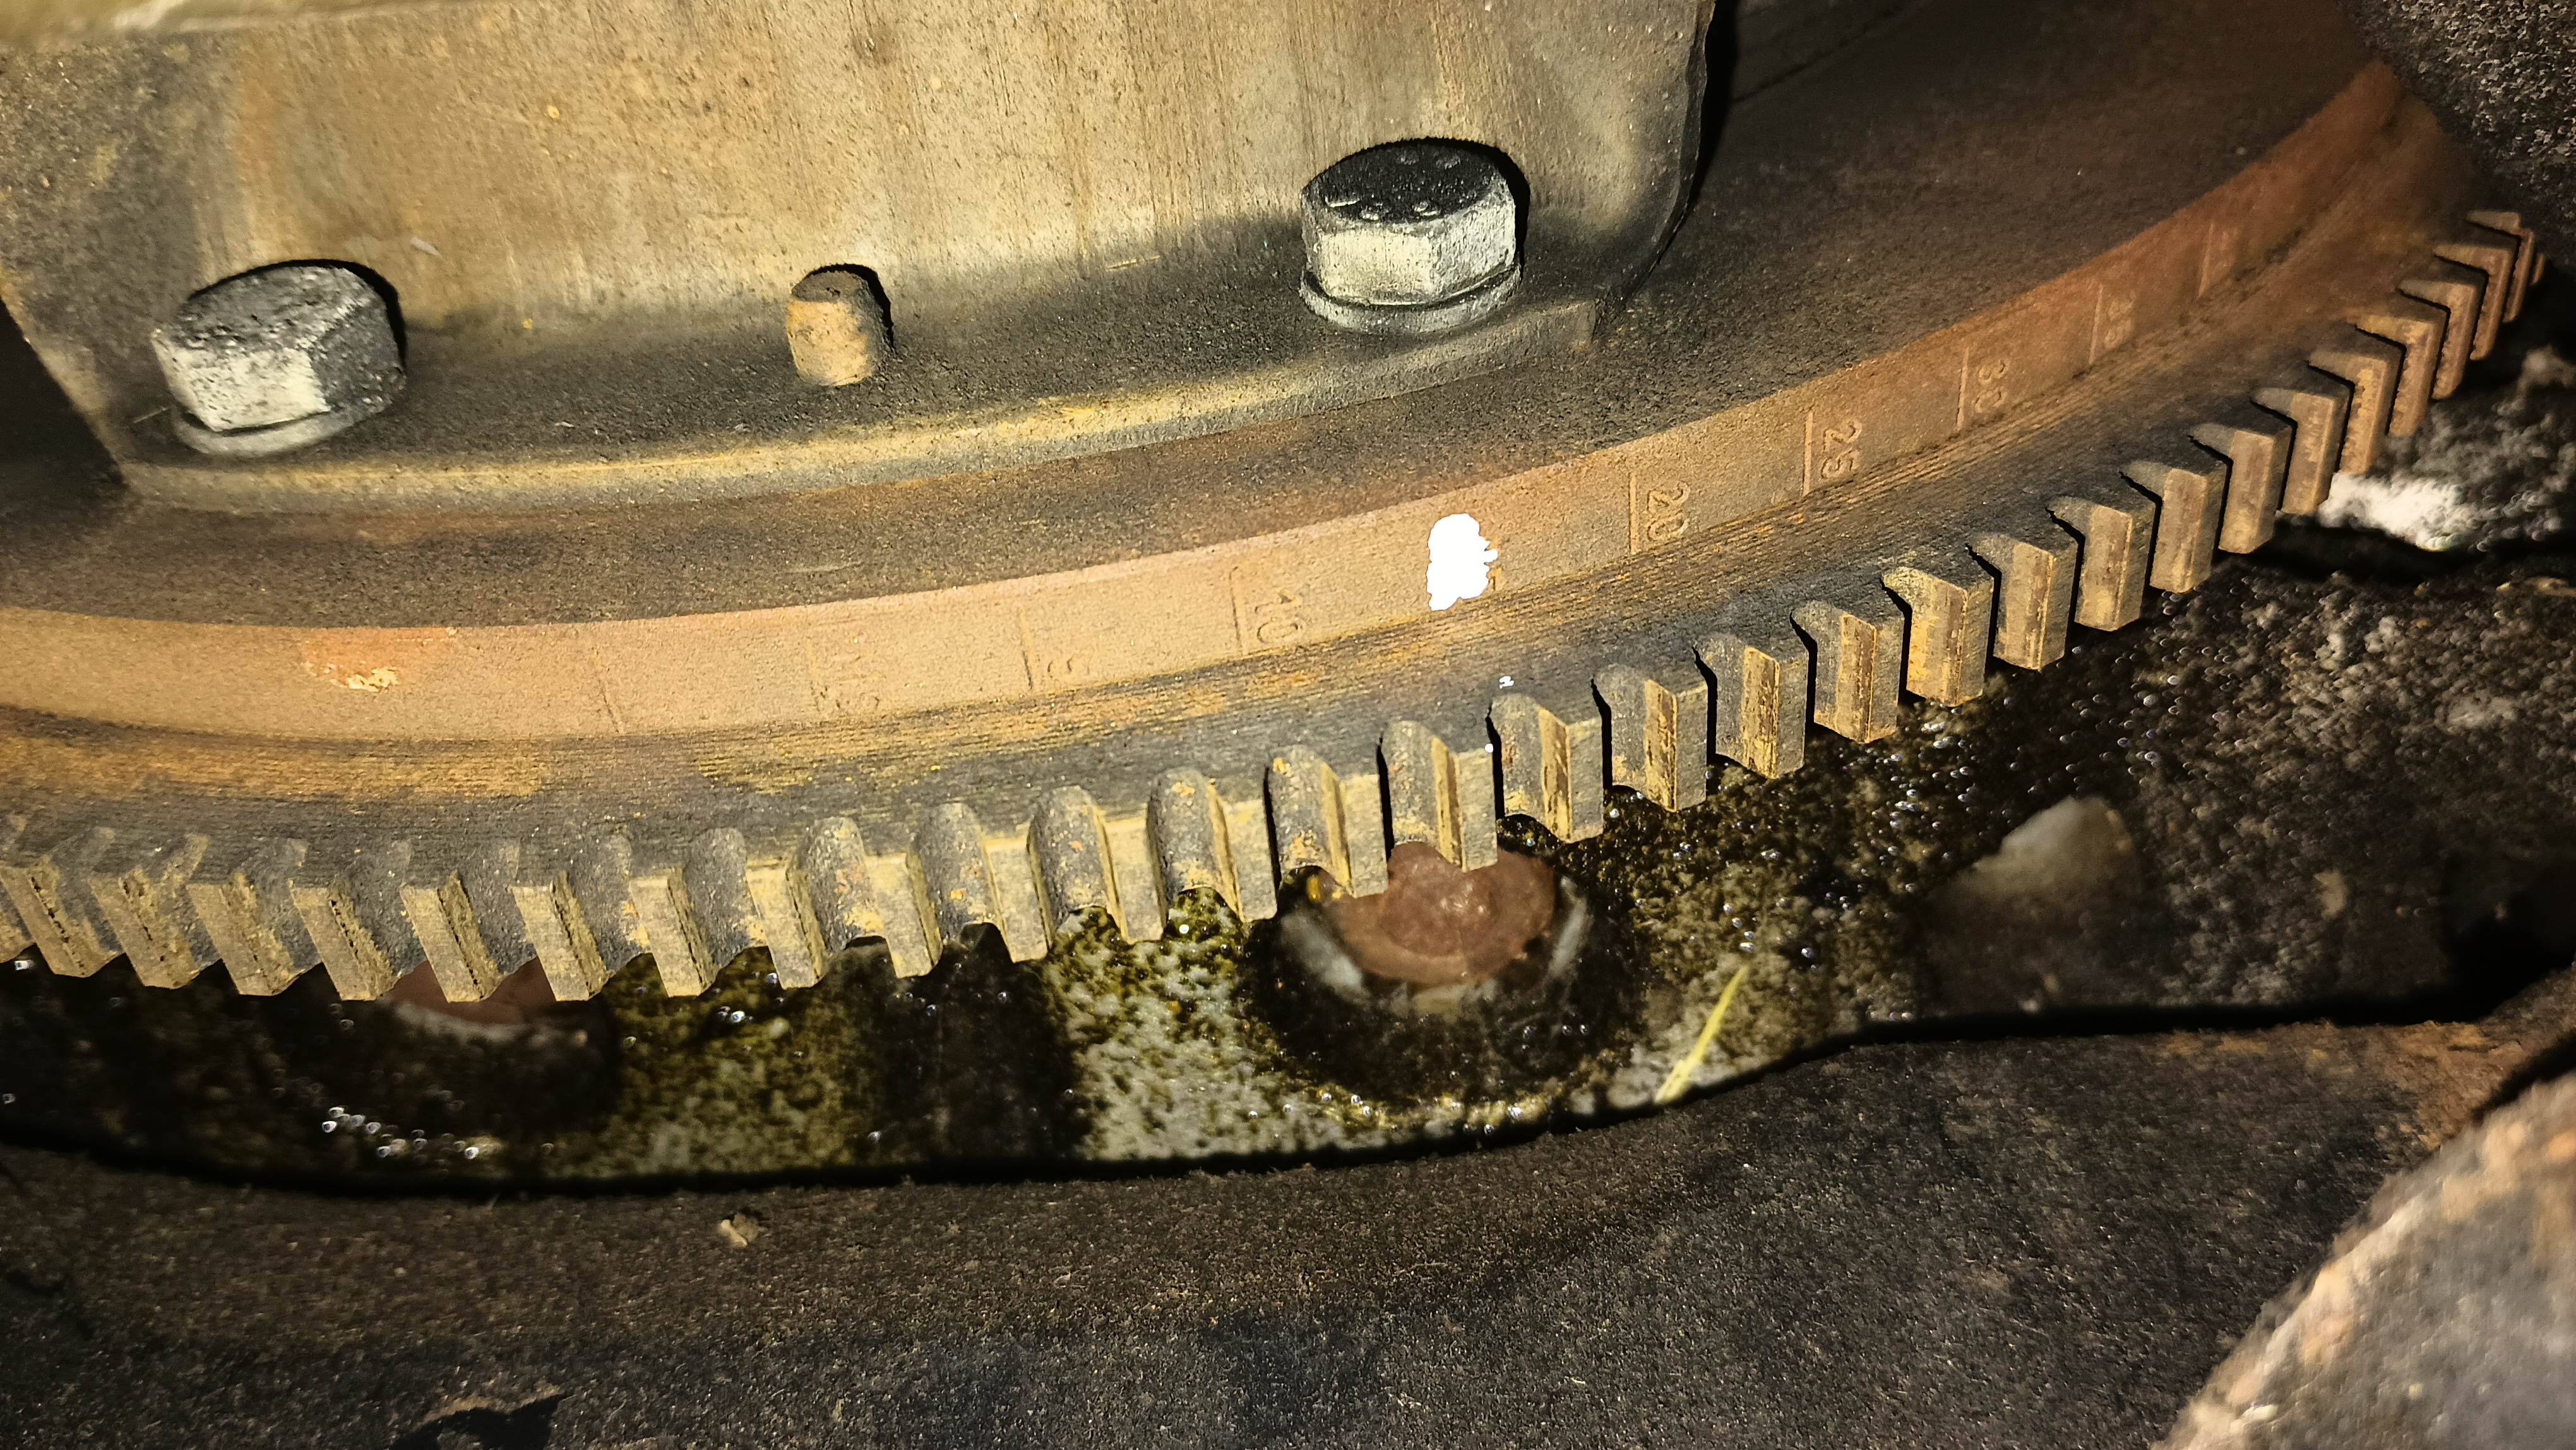
That problem solved, it was still running rich. Before making an attempt at tearing down the carburetor, I remembered hearing that the main cause of carb rebuilds was timing, so I went back to my original task of setting the timing. I put the car up on the lift, hooked up the timing light, and peeked underneath. As expected, the little marks on the flywheel were basically impossible to read, so I put a little white mark at the 15 degree line with my paint pen.

There’s supposed to be a plastic cover over that with a small inspection window and an arrow smack in the middle of the car that indicates where one is to read the timing. While I do have that cover, it is not attached to the car and, frankly, I’m not entirely sure how it’s supposed to be installed with the subframe and the steering rack in place. Add that to the list of “problems for later”.

At any rate, with the timing mark now visible, I got the distributor twisted around to put the timing at the specification of 15 degrees BDC plus or minus 2 degrees. I was hoping that would clear up the richness, but it is still pushing a little much fuel. The upside, however, is that it is running really smoothly. There’s no bogging down at load on throttle at all and it just idles beautifully. I have no way of checking fuel pressure right now, but I suppose the only thing that could be causing the issue other than the carb needing to be rebuilt is if that little seal on the regulator is leaking, preventing it from sealing up the flow.

With all the other rubber seal problems I’m having, though, I think the simple answer is that the carb just needs some love.

On a smaller note, I did determine that the temp gauge in the cluster is operational. I don’t know how accurate it is, but as the car idled, the gauge came up and started to move. The boost gauge remains non-functional as I need to find the hose that provides its signal and get it hooked up. There is also another coolant leak – this time it’s the lower end of the rubber hose that goes between the engine and the metal coolant pipe to the bottom of the radiator. It’s a pretty minor leak, but still should be addressed since it might become less minor when the system is at full pressure! I’m going to attempt to put another hose clamp on it to see if it will seal up that way. If that doesn’t work, it’s a pretty simple elbow that I may have laying about or at least won’t be tremendously expensive or hard to find.

It lives!

It turns out that the Maserati Biturbo is actually a pretty feisty little Italian! And one that happens to have a working limited slip differential. Tonight I replaced all the plugs and blocked off the line going to the boost ignition retard module since it’s leaky.

I also put 5 gallons of fresh 93 octane in the tank with a can of Seafoam. After doing all that, it started right up and finally sounded pretty good. It smoked a little bit at first, but I pulled it out of the garage and gave it a quick spin around the lot. It pulled really hard and sounded great. After that quick run, it stopped smoking quite so much, but it also went back to bogging down a bit on throttle. That’s okay, though: I’ve got new plug wires coming and I’m going to rebuild that vacuum retard. Also, I noticed that the distributor is quite loose, so the base timing might need to be set still.

While I was going down the list, I got the rear bumper installed, so that makes it look a little more finished. And, more importantly, it’s a much better way to store the stupid bumper!

I confirmed that there’s one working taillight and the brake lights are working. The wires to the fluid level sender and the pressure sender are now hooked up.

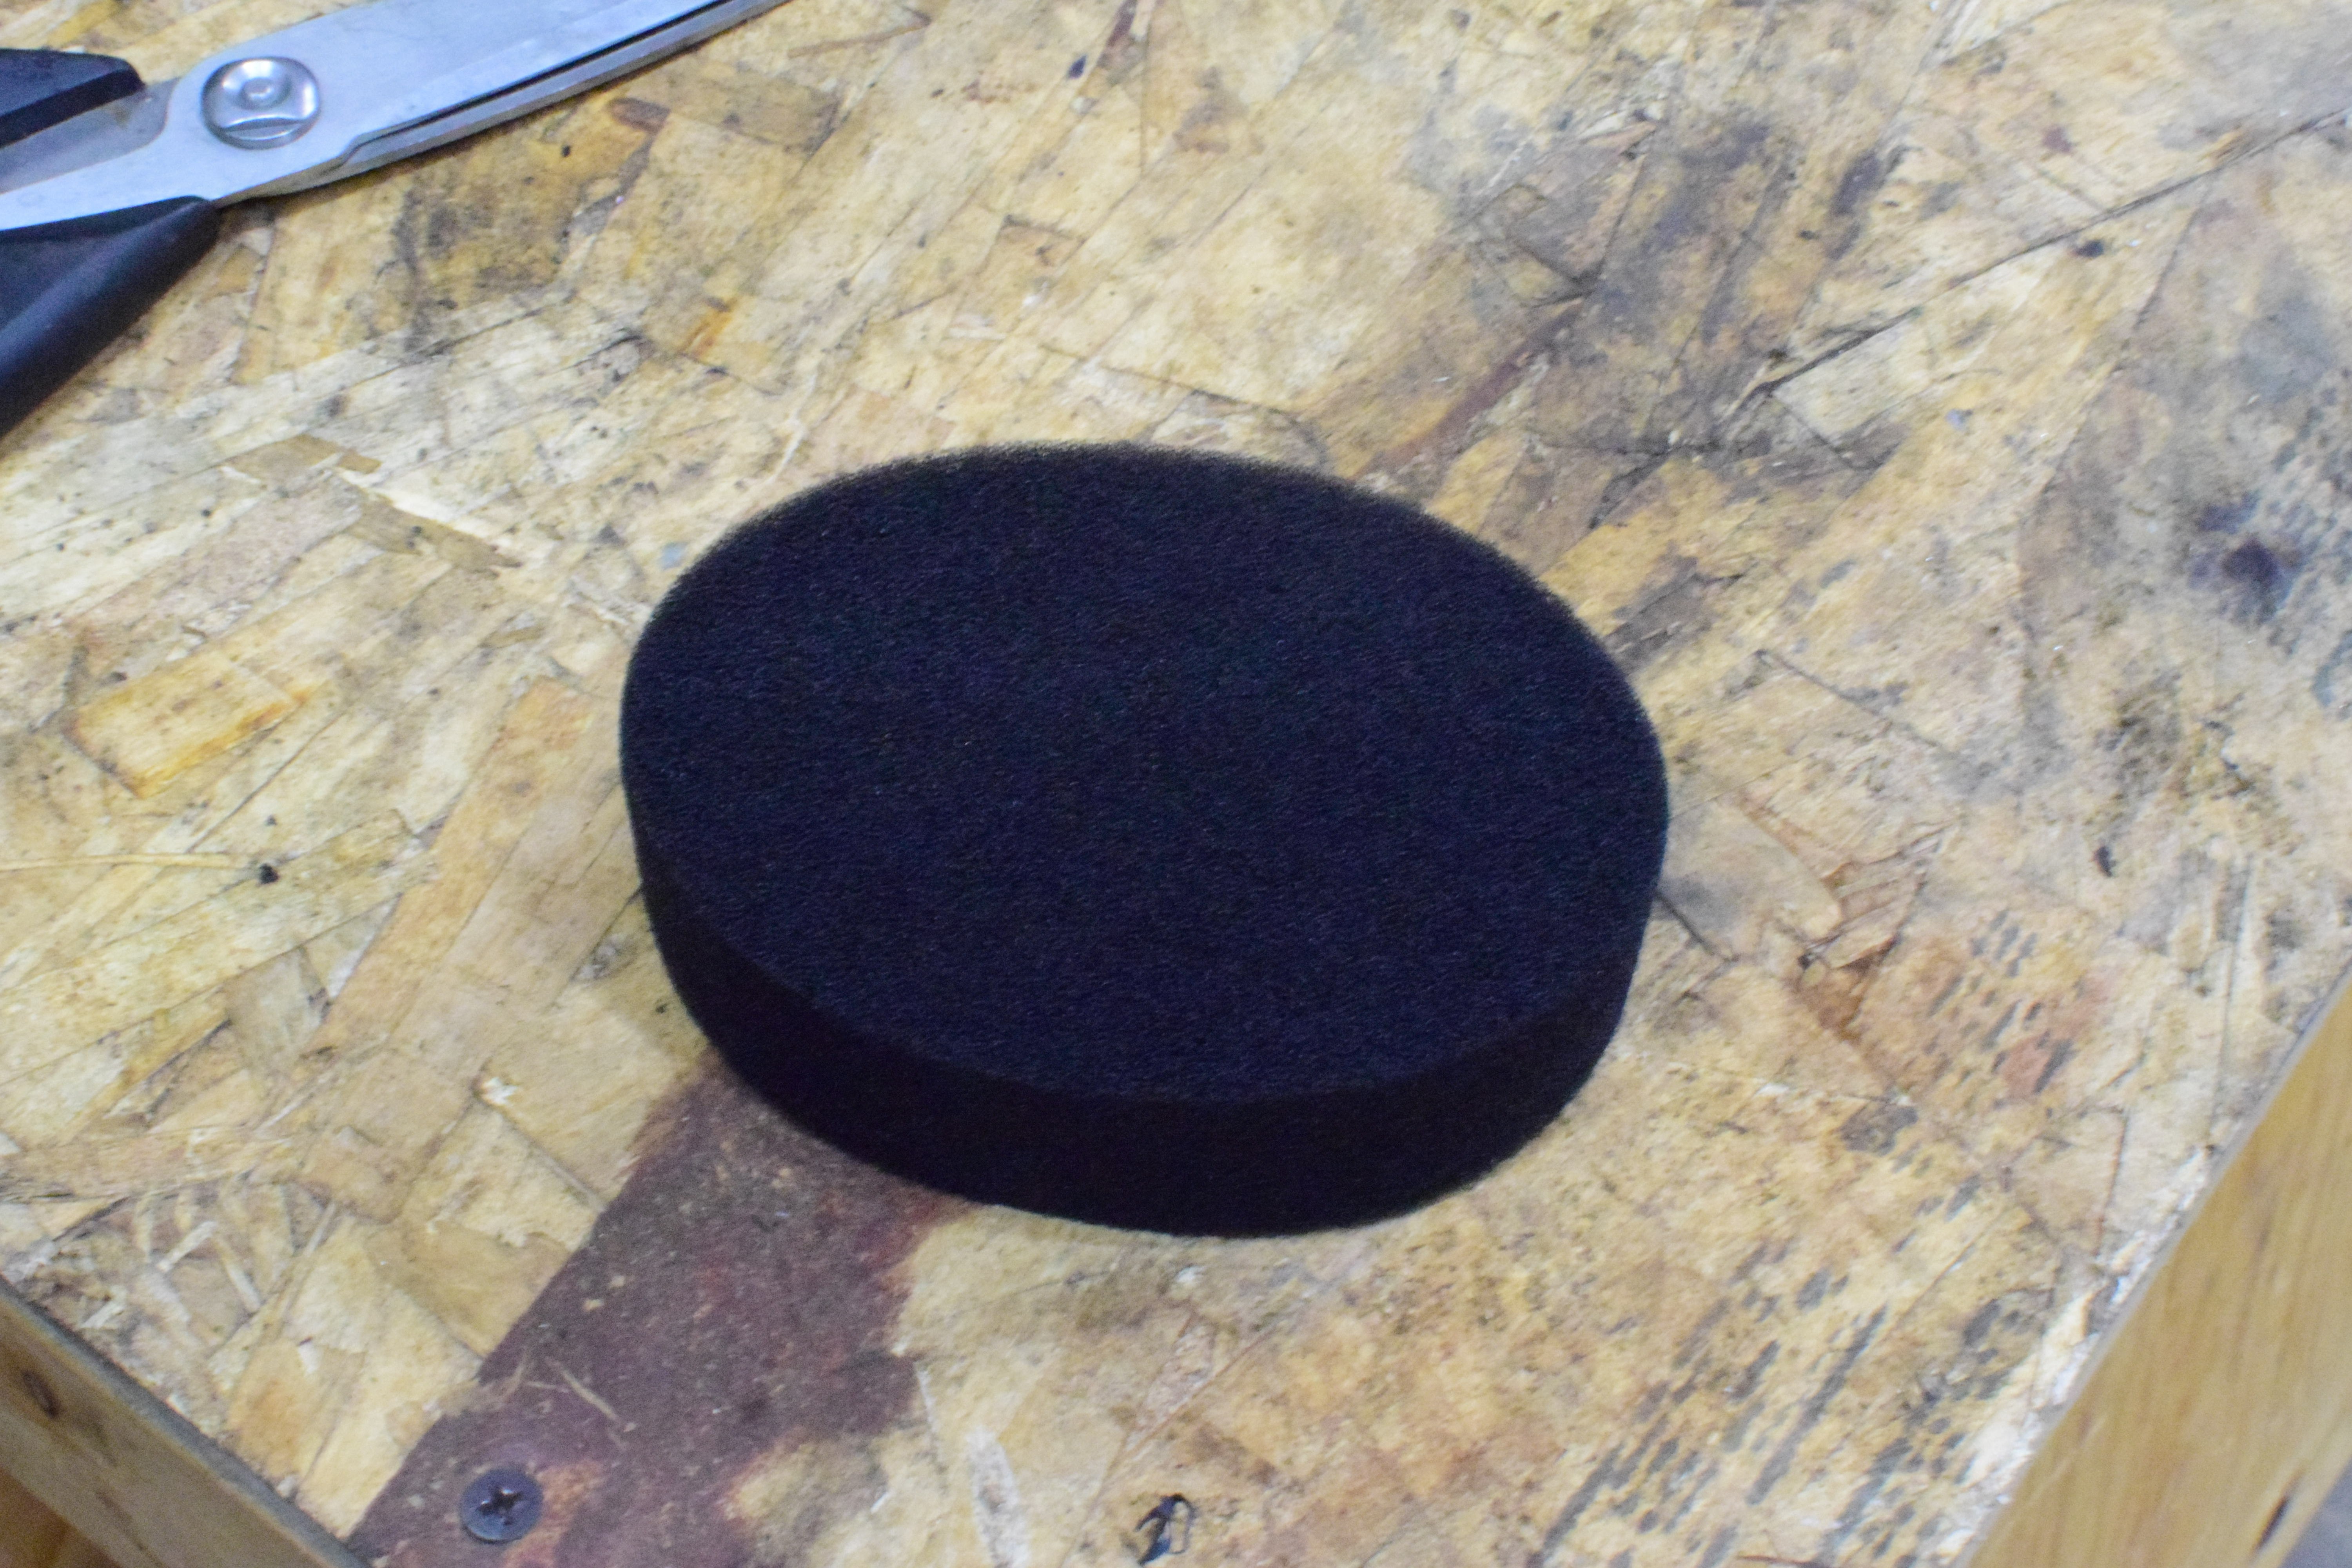
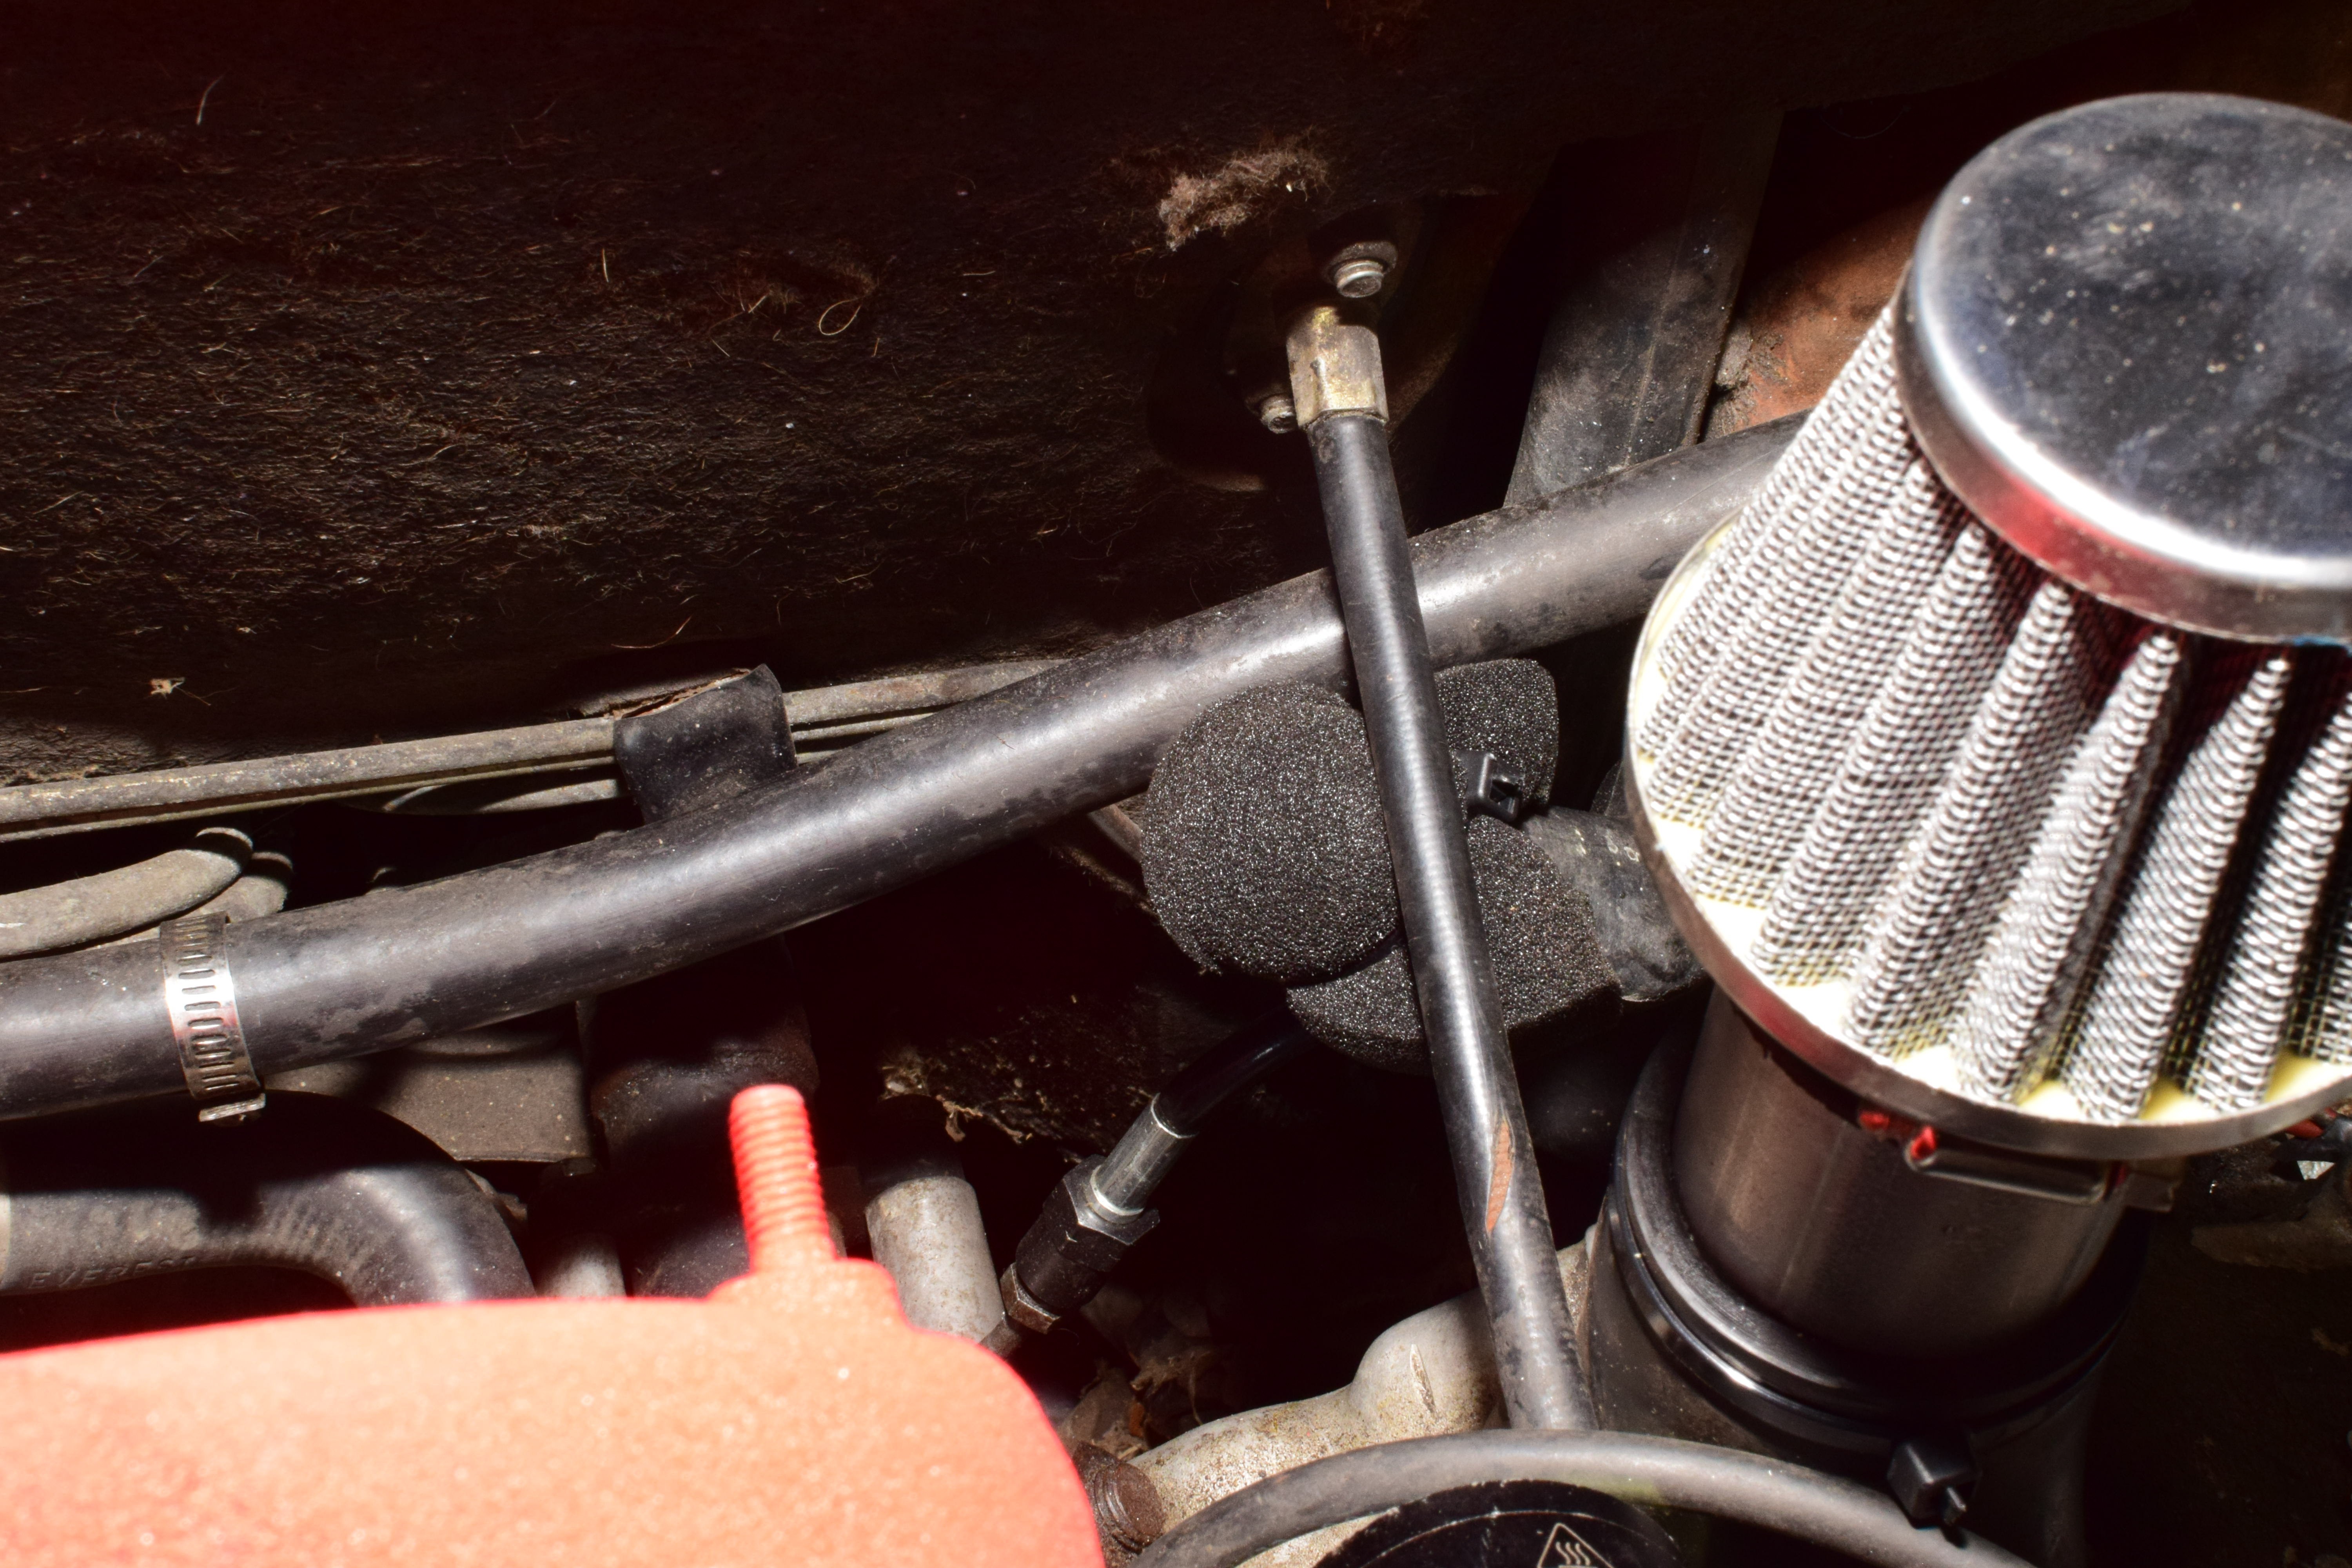
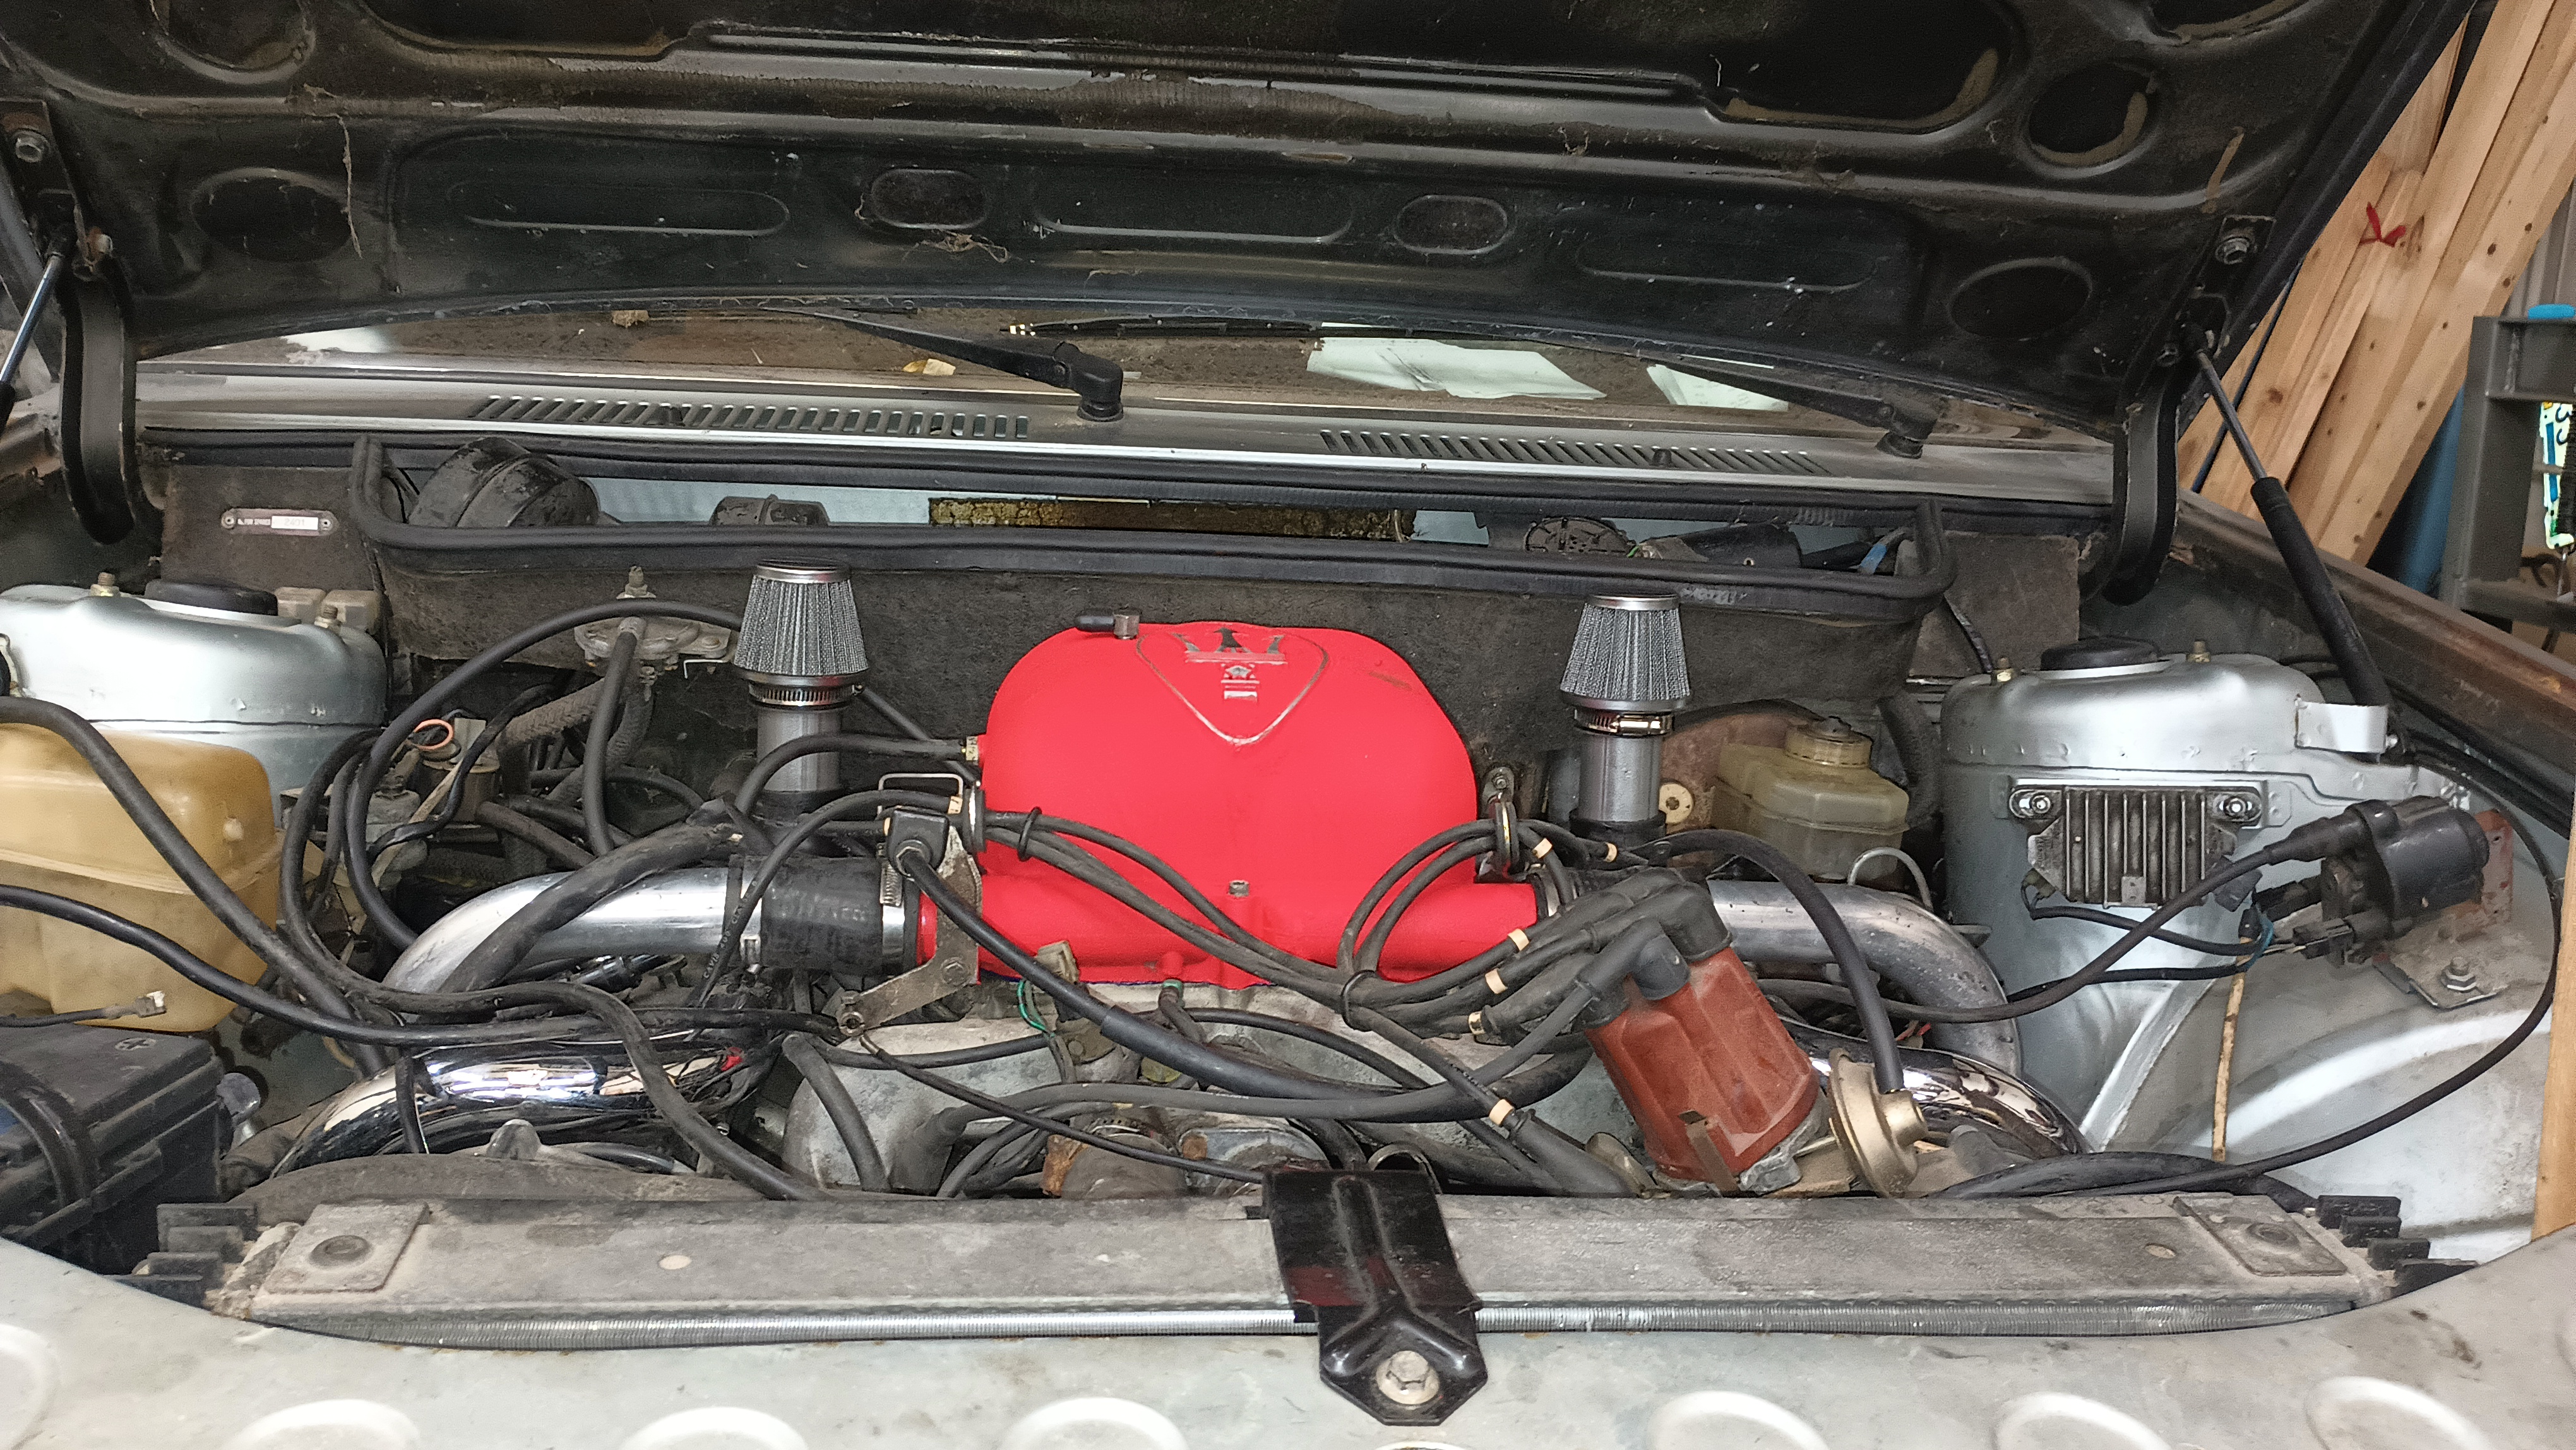
I also used a lawn mower air filter to cover the cam cover breathers.

The RTV also seems to have sealed up the radiator.

All told, this was a very encouraging amount of progress for the evening.

Lots of Time, Not a Lot of Progress

Today I feel like I just sort of ran in place. I didn’t get to clear very many things off of my to do list and I’m absolutely at that hyper-nervous part where I’m not sure that this is going to actually work out.

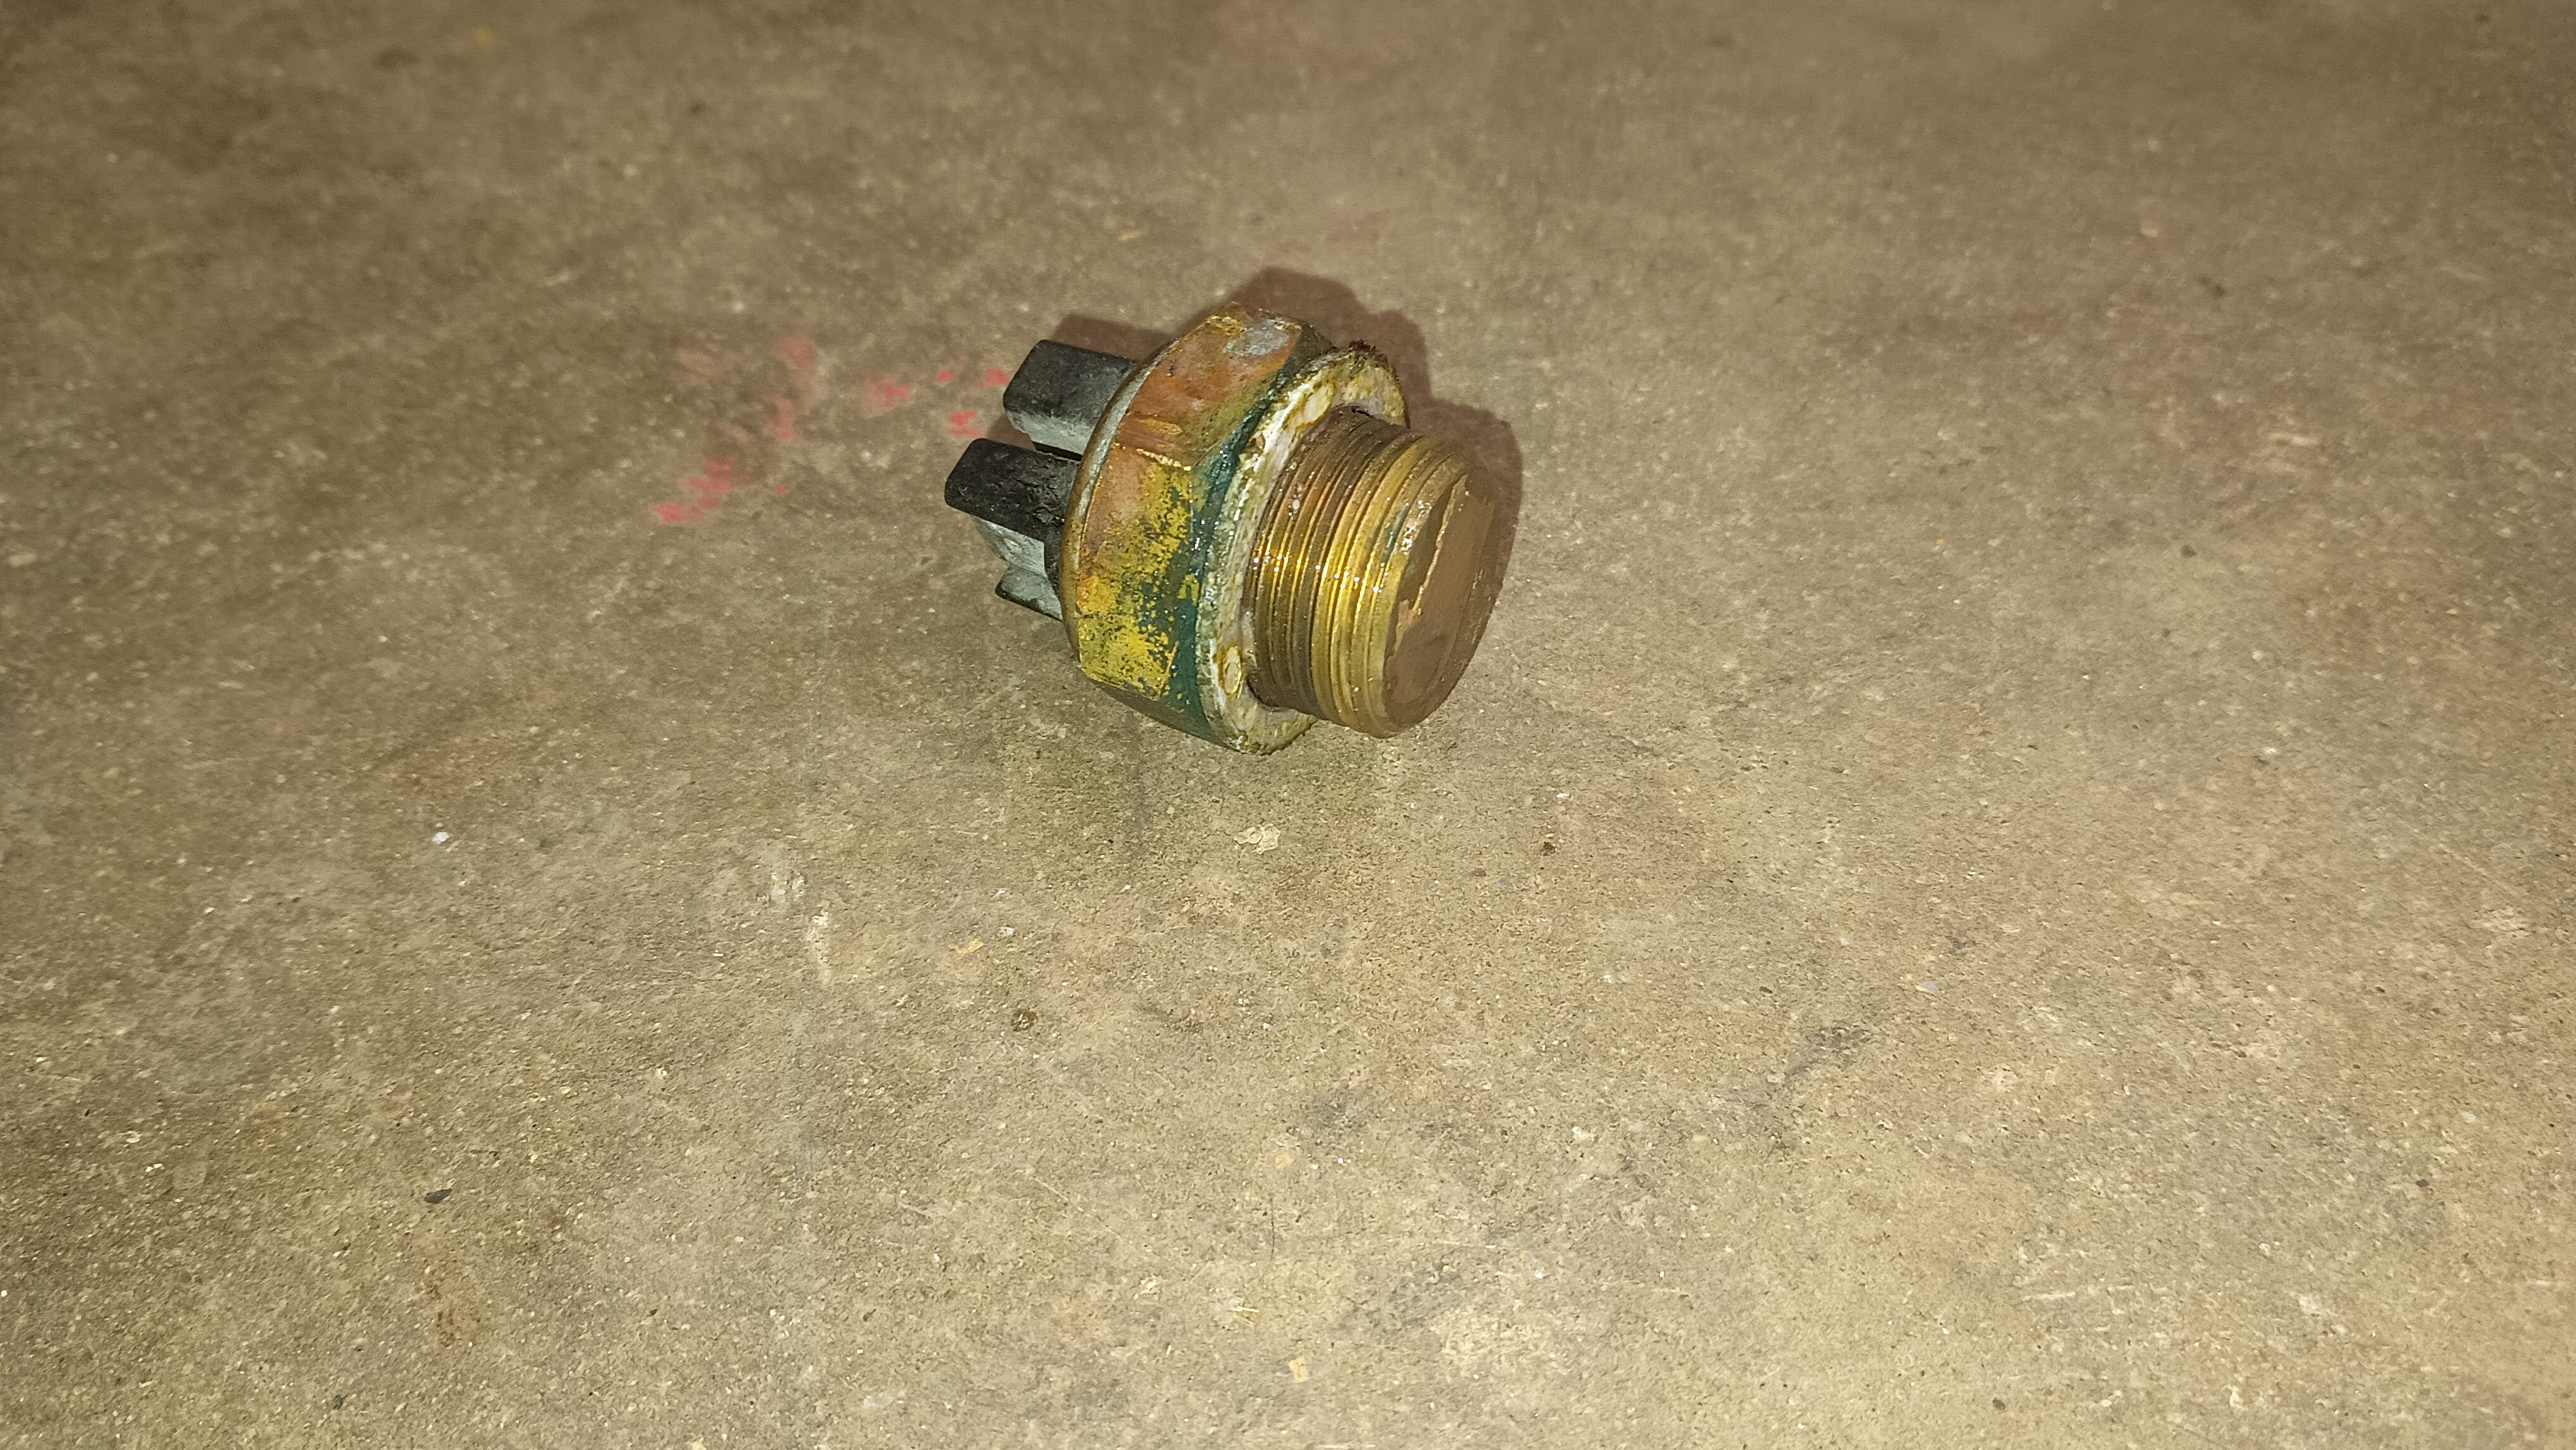
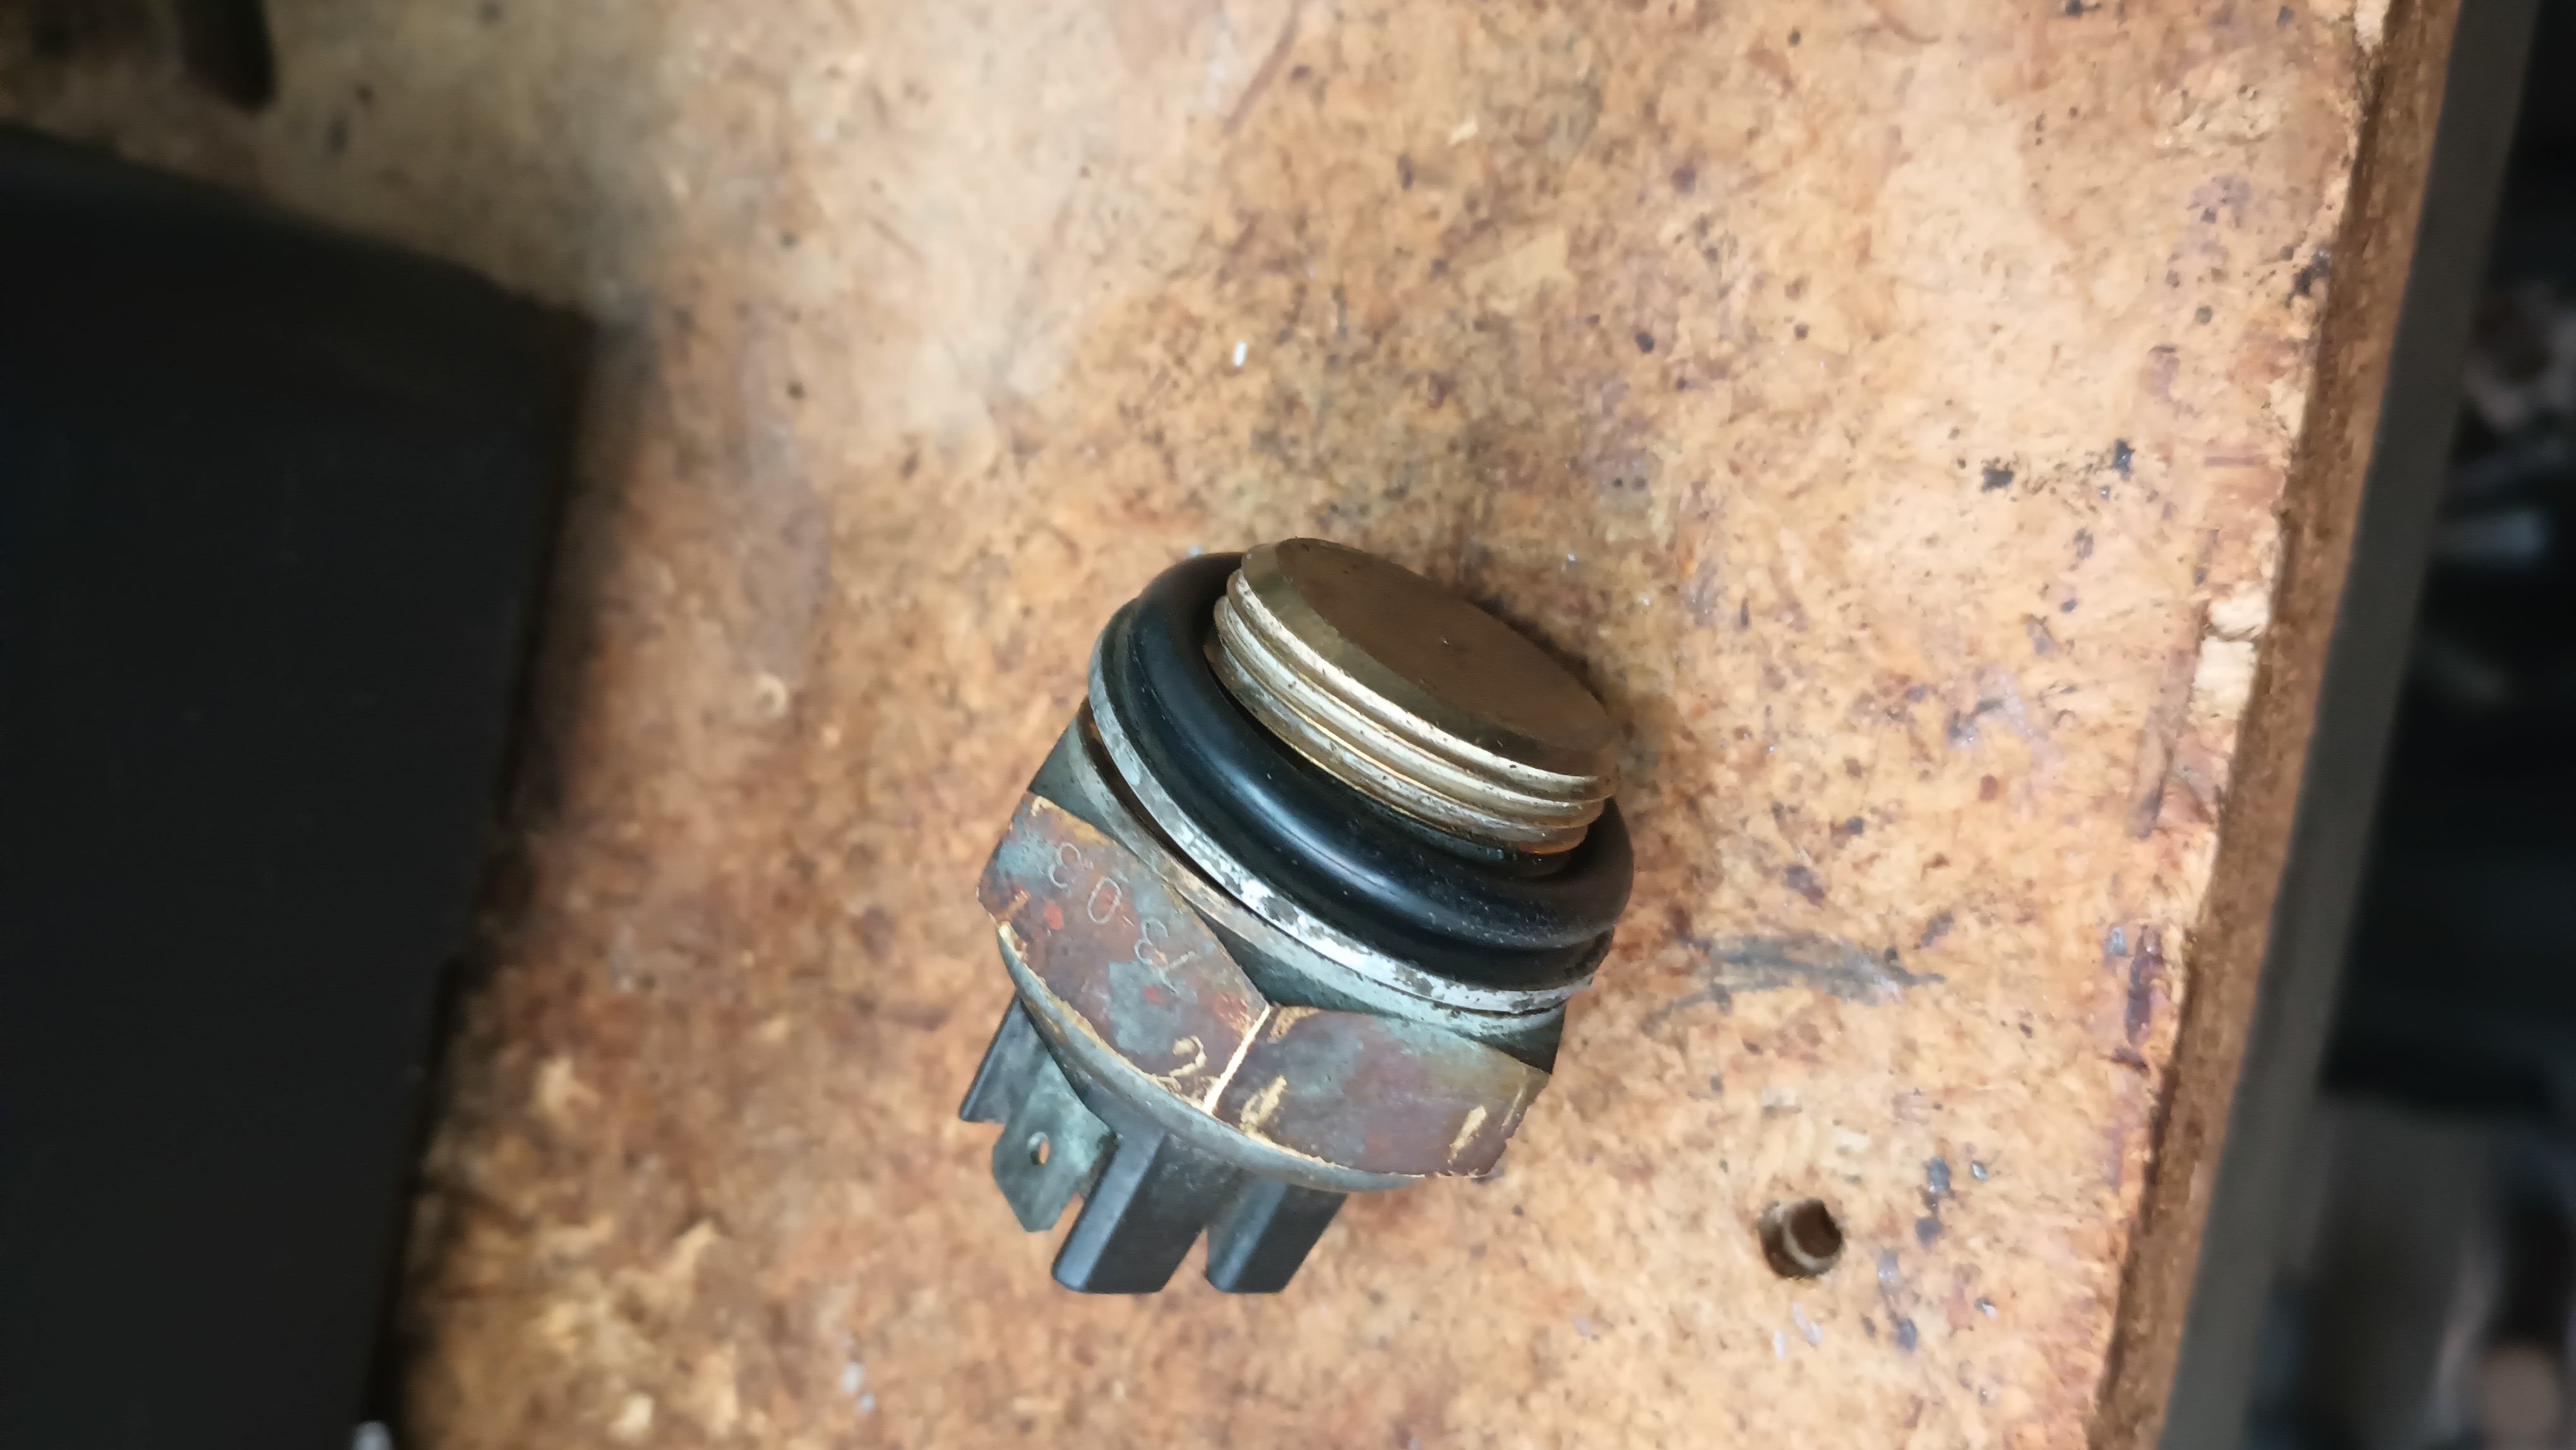
As previously mentioned, there’s a leak at the radiator and I was able to confirm that it is coming from the temperature switch for the cooling fans. After draining out the coolant from the radiator, I removed the sensor and verified that it is not working. I can get a new one for around $25, but I don’t think it will arrive in time for me to be able to continue testing, so replacing that switch is going to be a “later” item. For now, I need to seal it up. You can see that the sealing ring is a little grody.

I tried cleaning it up a bit and putting an o-ring on it.

That didn’t work. I’m trying a little bit of rtv right now in place of the sealing ring and the o-ring and if that doesn’t work, I may just put a coating of JB Weld around it to seal it. Or I might go ahead and make a bit of a larger order from Lenny at Auto Italia and just deal with knowing that I’m going to be leaking a bit while I test.

Moving on from that, I found an item that needed to be corrected but wasn’t on the list: The nuts holding the torsion rods to the subframe were pretty loose, so I torqued them down. Not worth a picture of that.

I stopped by the hardware store and got a bit of lawnmower air filter to make some filters for the valve cover breathers. While I was there, I got a big bin to store all the spares so that I could empty out the car.

Using some old scrap of exhaust pipe, I made a couple little tubes to go between the air filters and the low pressure charge pipes. I rotated the elbows around from their more flat orientation for the stock airbox so that the air filters will stand up and hopefully get some cooler air.

I also broke out the smoke tester and vacuum pump again. There’s a lot of smoke that comes from the secondary advance unit on the distributor and when I put pressure or vacuum on it, nothing seems to be happening. What’s weird about that is that when we didn’t have that connected before, the car didn’t run right at all, but once it was hooked up things got better. So maybe it is doing something after all, but that’s going to require more investigation at some point. I think that the vacuum portion can be removed from the bottom of the distributor, the bells can be opened up, and the diaphragms can be repaired.

Another sign of failure was that the fuel pressure regular does not hold a vacuum. It will pump up a bit and then fairly quickly drop back down. Fortunately, the car came with a spare and that one does hold vacuum. If that diaphragm is not sealing, then it’s very likely the fuel pressure is too high and also possible that extra fuel is coming in through the vacuum line. So I’ve swapped out the pressure regulator with the spare and hopefully that will help with the rich running.

Finally, I worked out how the rear bumper gets mounted and found most of the hardware to do so. I’m going to need a pair of M10x1.50 nuts to get the job done, but it should be a pretty quick job.

At this point, I need to start really planning out the time that I’m going to take to get things done. Cutting the numbers and other vinyl I can do over Easter while we’re traveling to see the in-laws. If the turbo rebuild kit comes in before we leave for that, I can also try to pull the turbo off and take it with me and do that on the road as well. I’d really like to wait for the plugs and wires to come in before I do any more testing of how it runs and drives but that may not be realistic. I’ve got 5 gallons of fresh 93 octane and a bottle of Seafoam that I’d like to start running through it to see if between that, and the fuel pressure regulator being replaced, things are any better.

Finally, I was able to track down how the boost control system works thanks to the diagram from the service manual:

There was a line hanging off of the wastegate control valve (#4 in the above picture) that had a bit of tape over it and I wasn’t sure what the deal was. The way the system works, apparently, is that it gets its boost reference signal at the pressure transducer (#2) and watches the engine performance from the knock sensor (#1). The wastegate solenoid then opens up on command from the computer to push the little arms and bleed off pressure. But I think that the valve also works as the blow off valve, dumping the pressure from the right turbo, through the valve, and out what I have identified as the mystery hose. I may stick a little foam over that as a filter, but that is a loose connection that doesn’t need to be worried about at this time.

Tight Wheels, Fouled Plugs

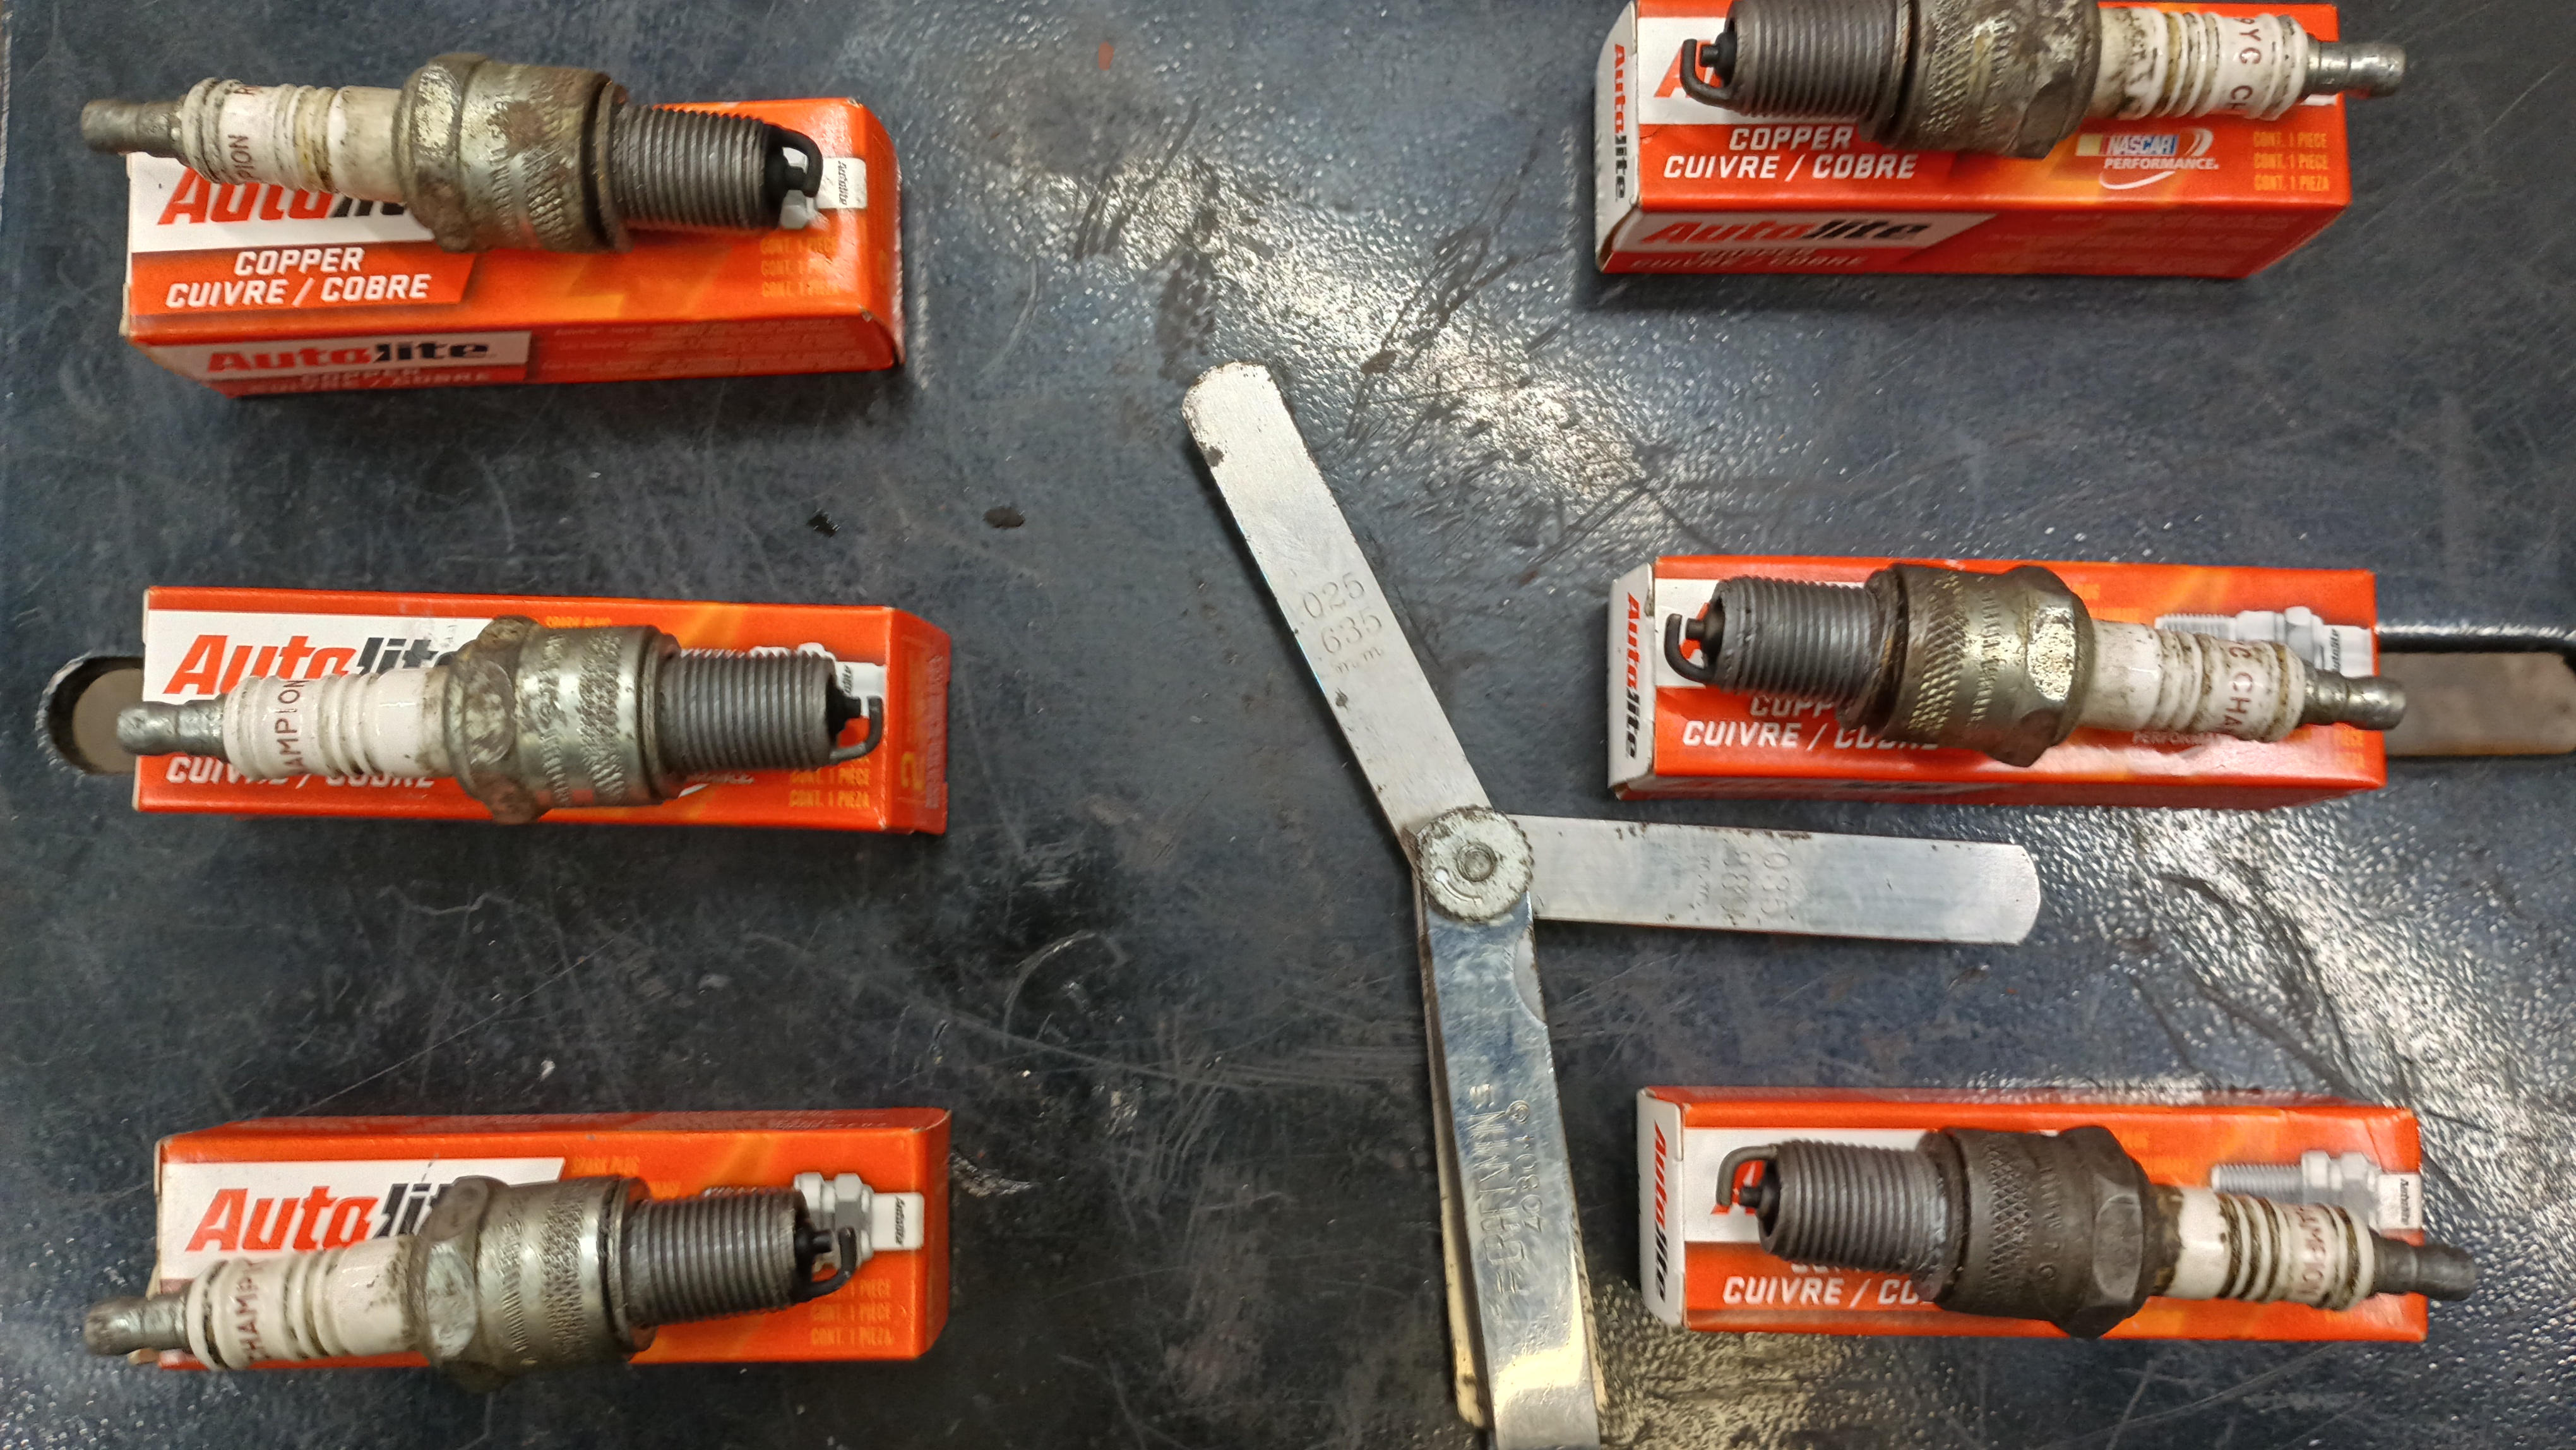
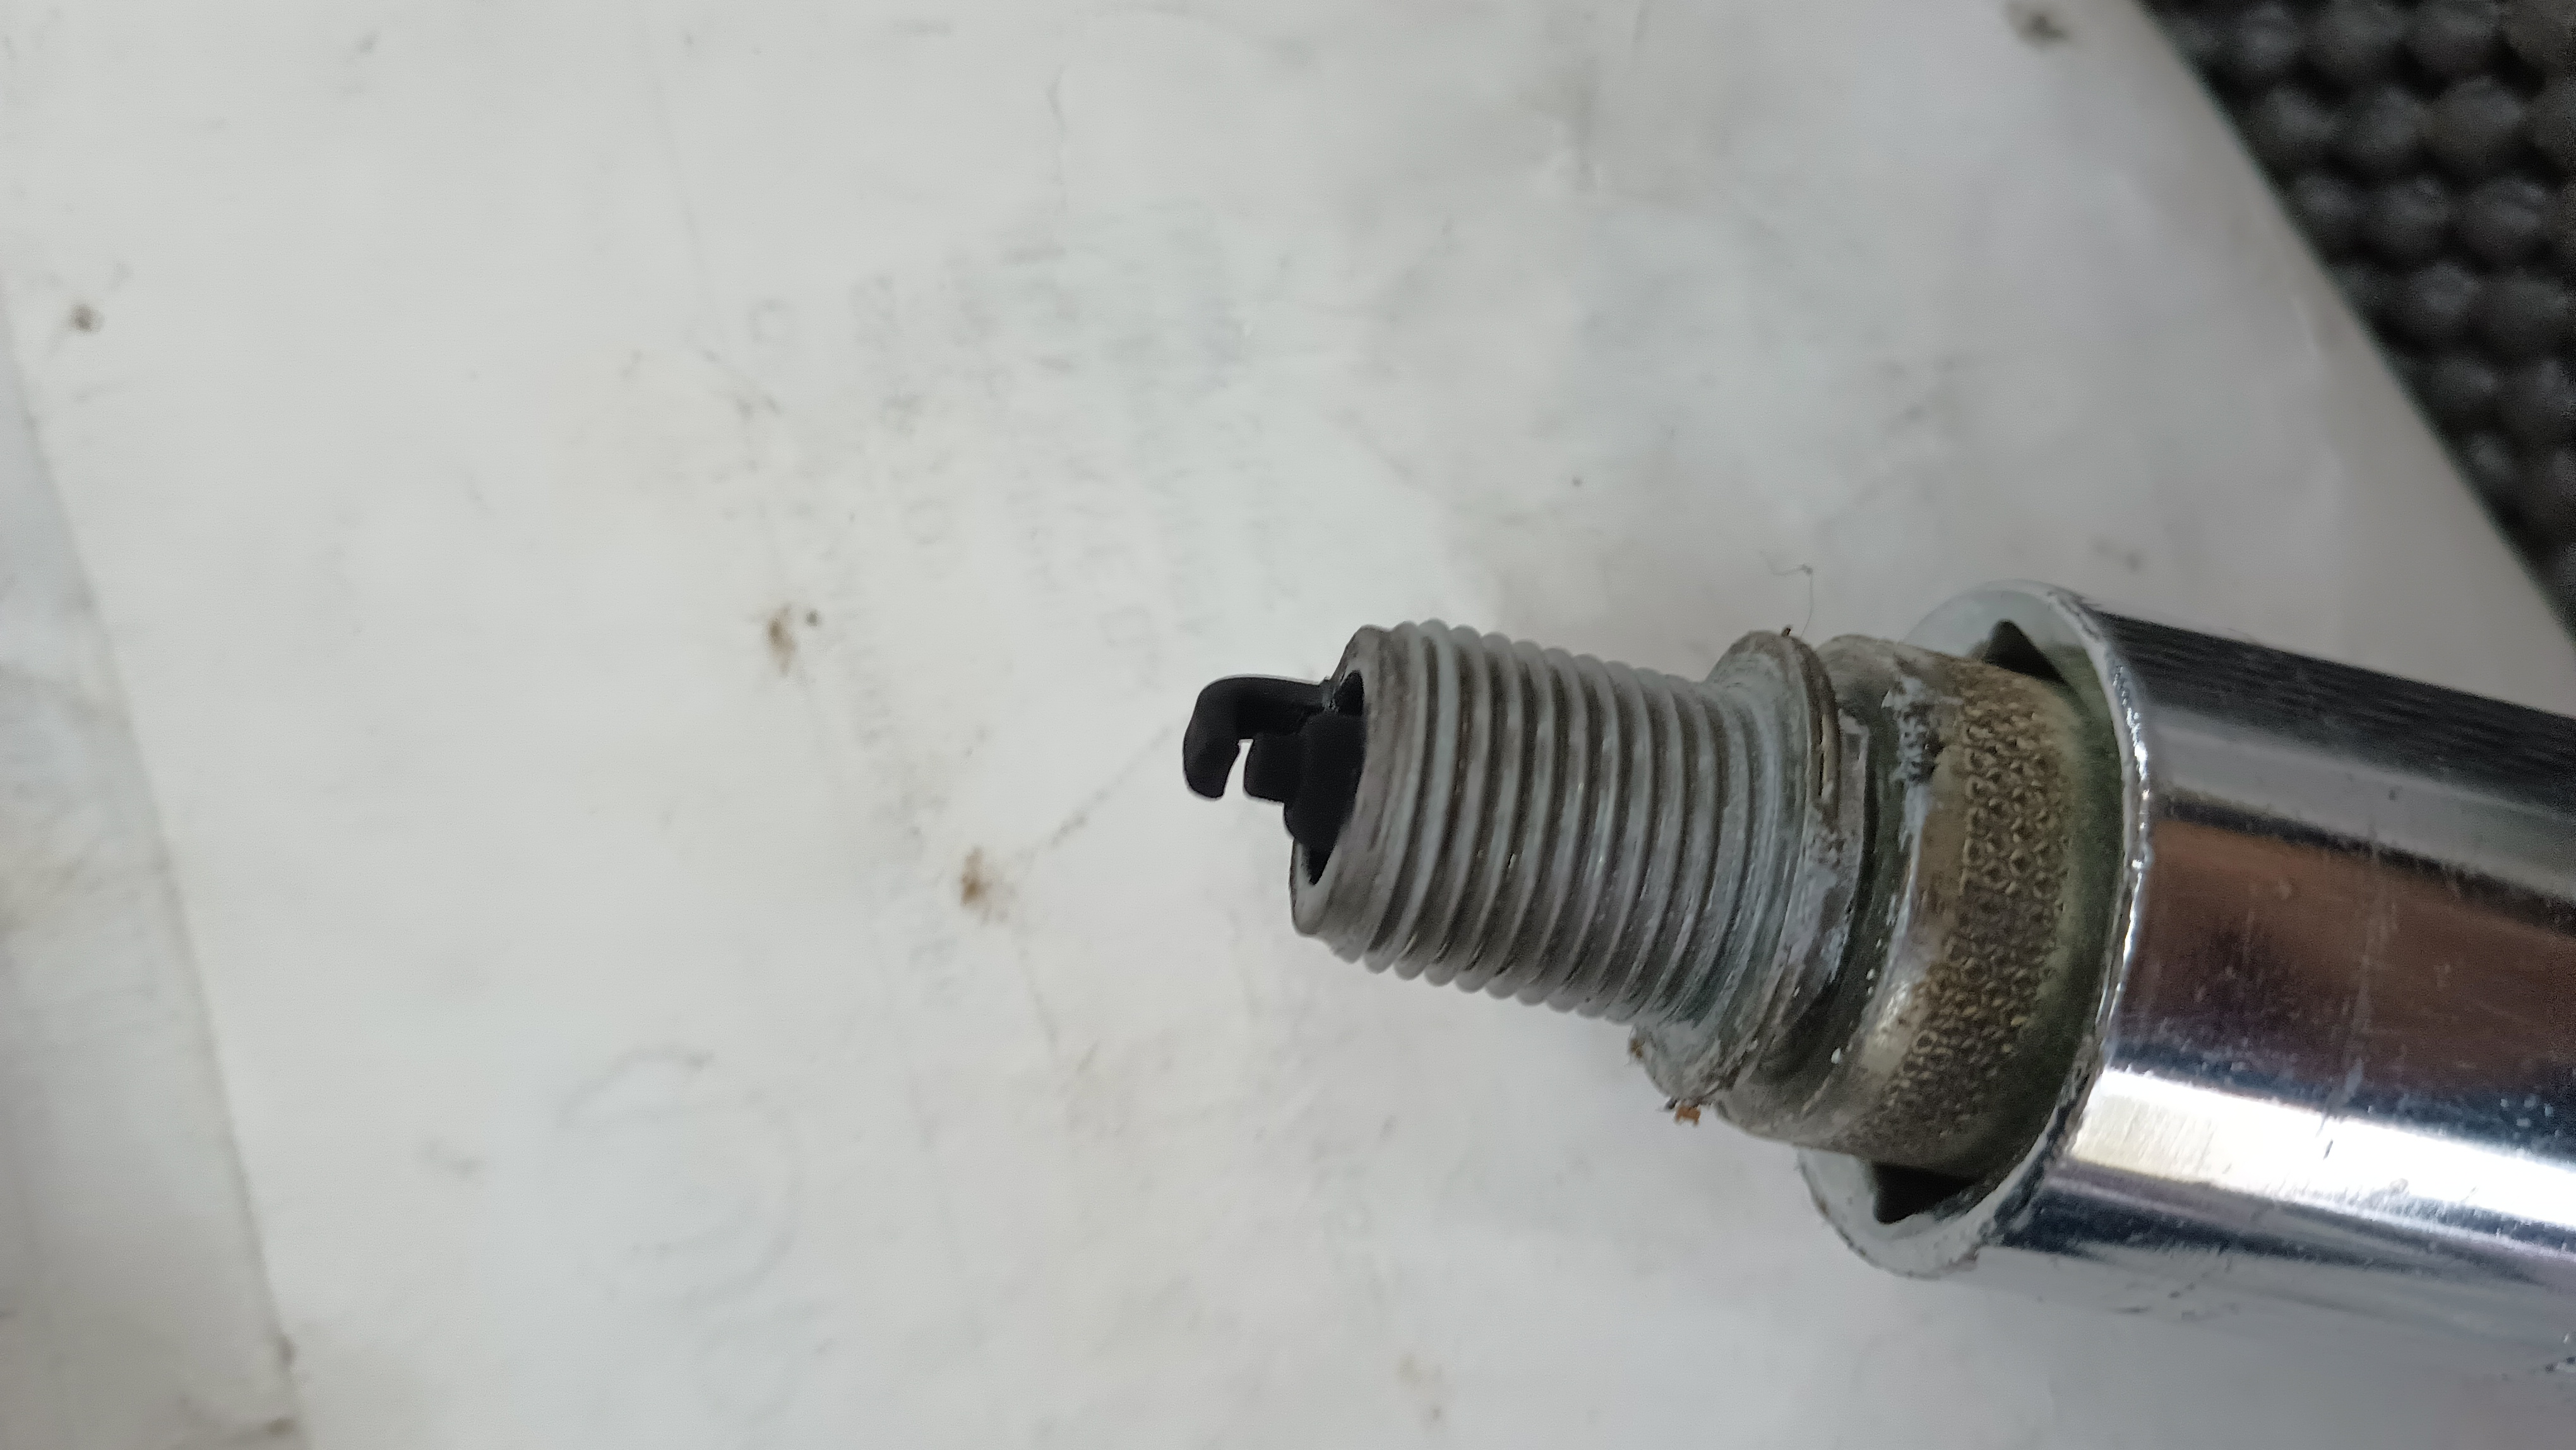
With the car able to move around under its own power, it was time to work on getting it to run well and to see what else it needs to be ready to load up for Florida. Swapping in a good plug got it running a little better, but it was still a little rough. Turns out that a second plug was also not doing so great. It seems like it running a little too rich:

I cleaned the plug up with some sandpaper and a wire brush and got it running a little smoother. Six new plugs and a set of wires are on order.

Since it was running enough to move, I let it have sunlight for the first time in a few months.

And then back up on the lift to start checking things out.

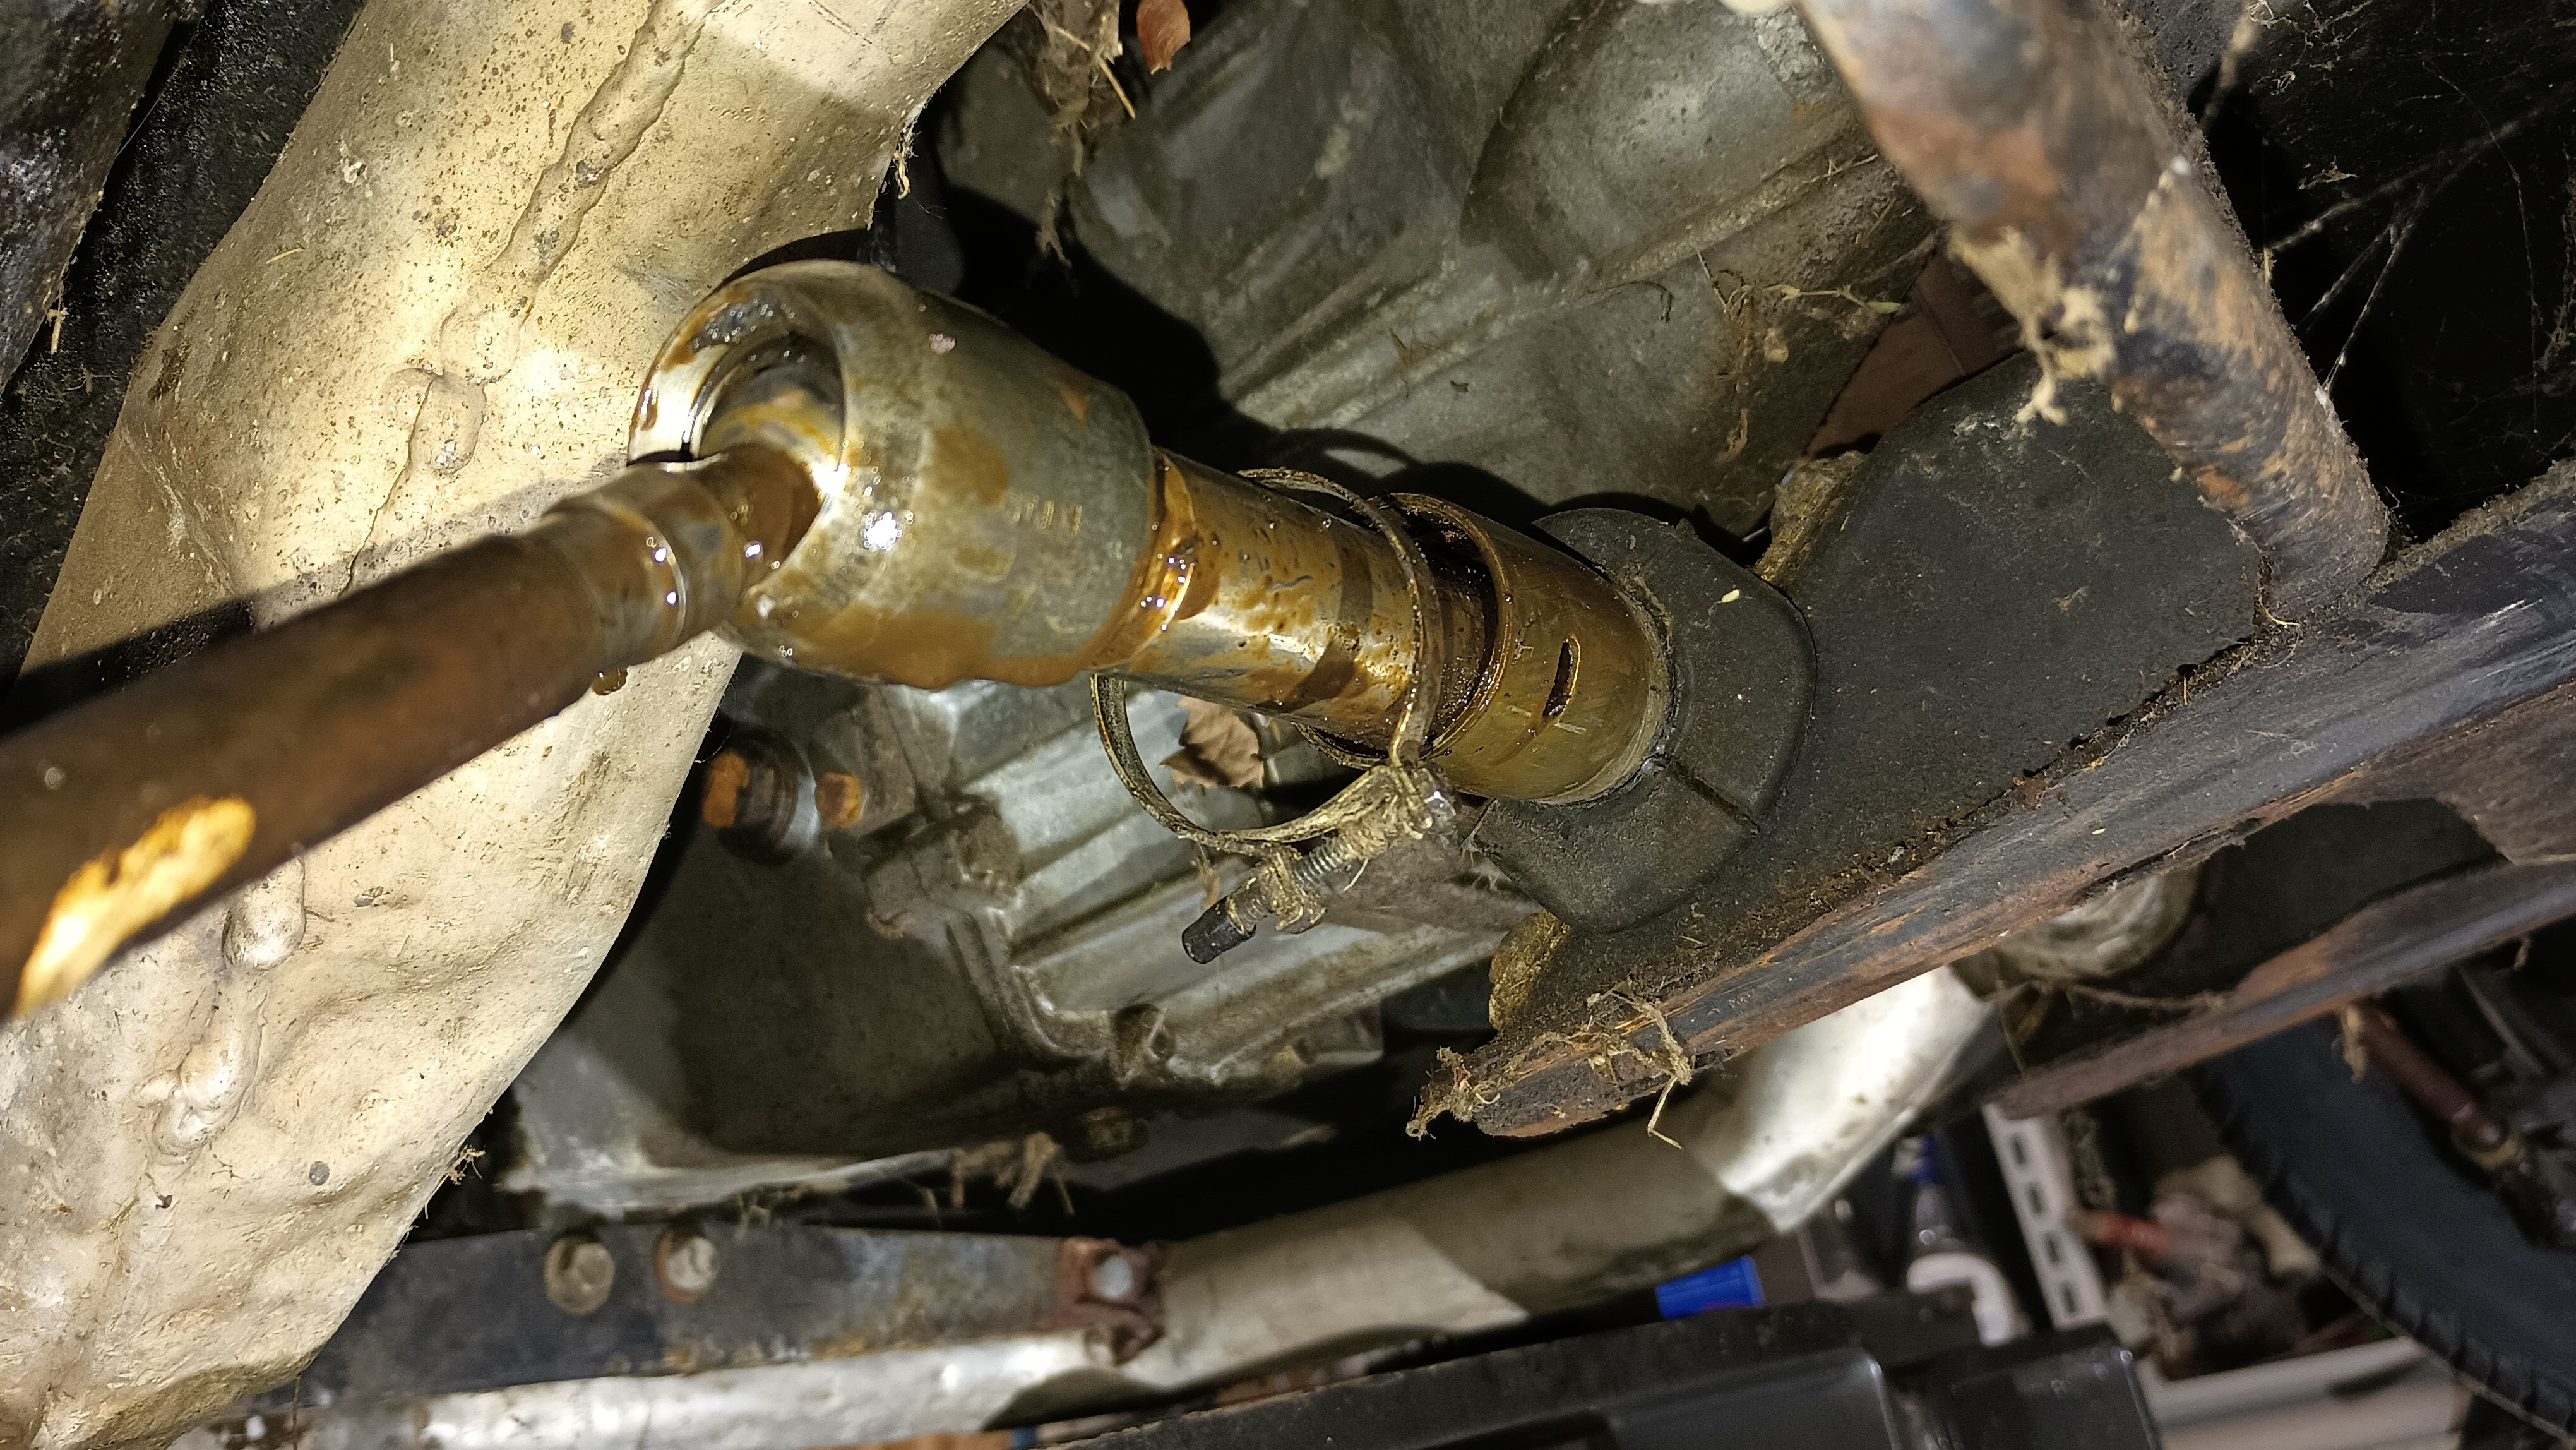
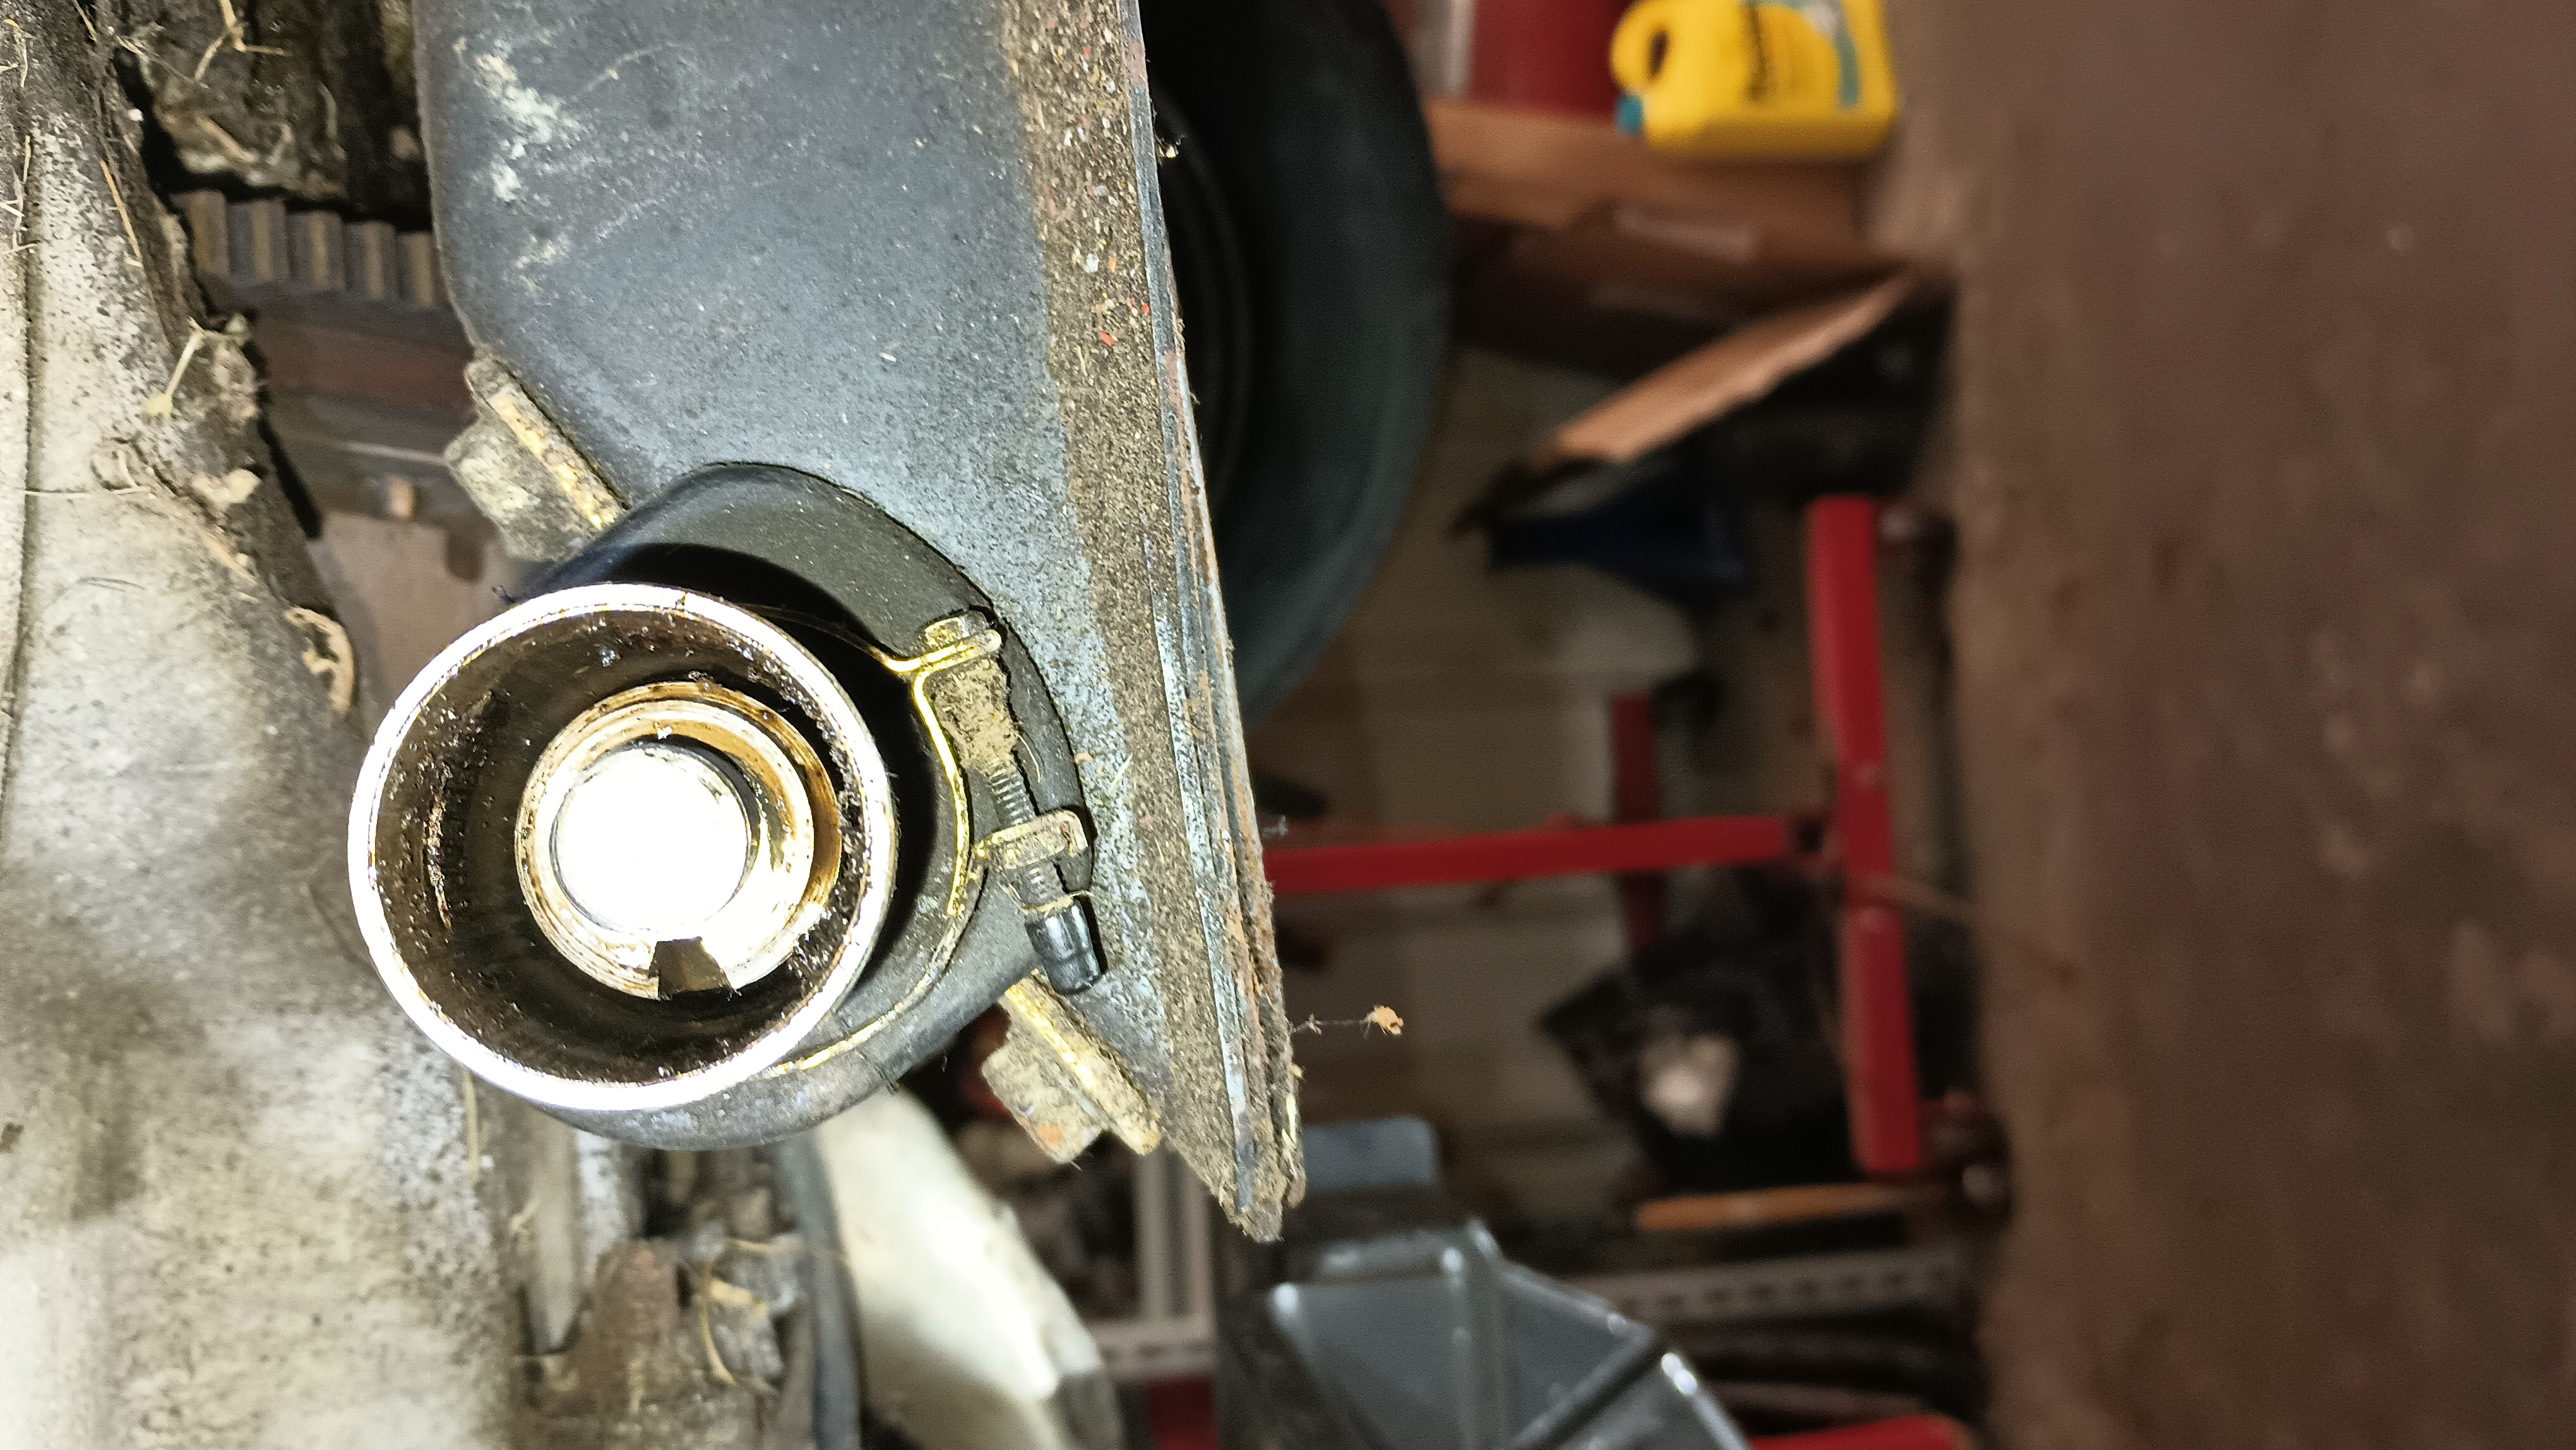
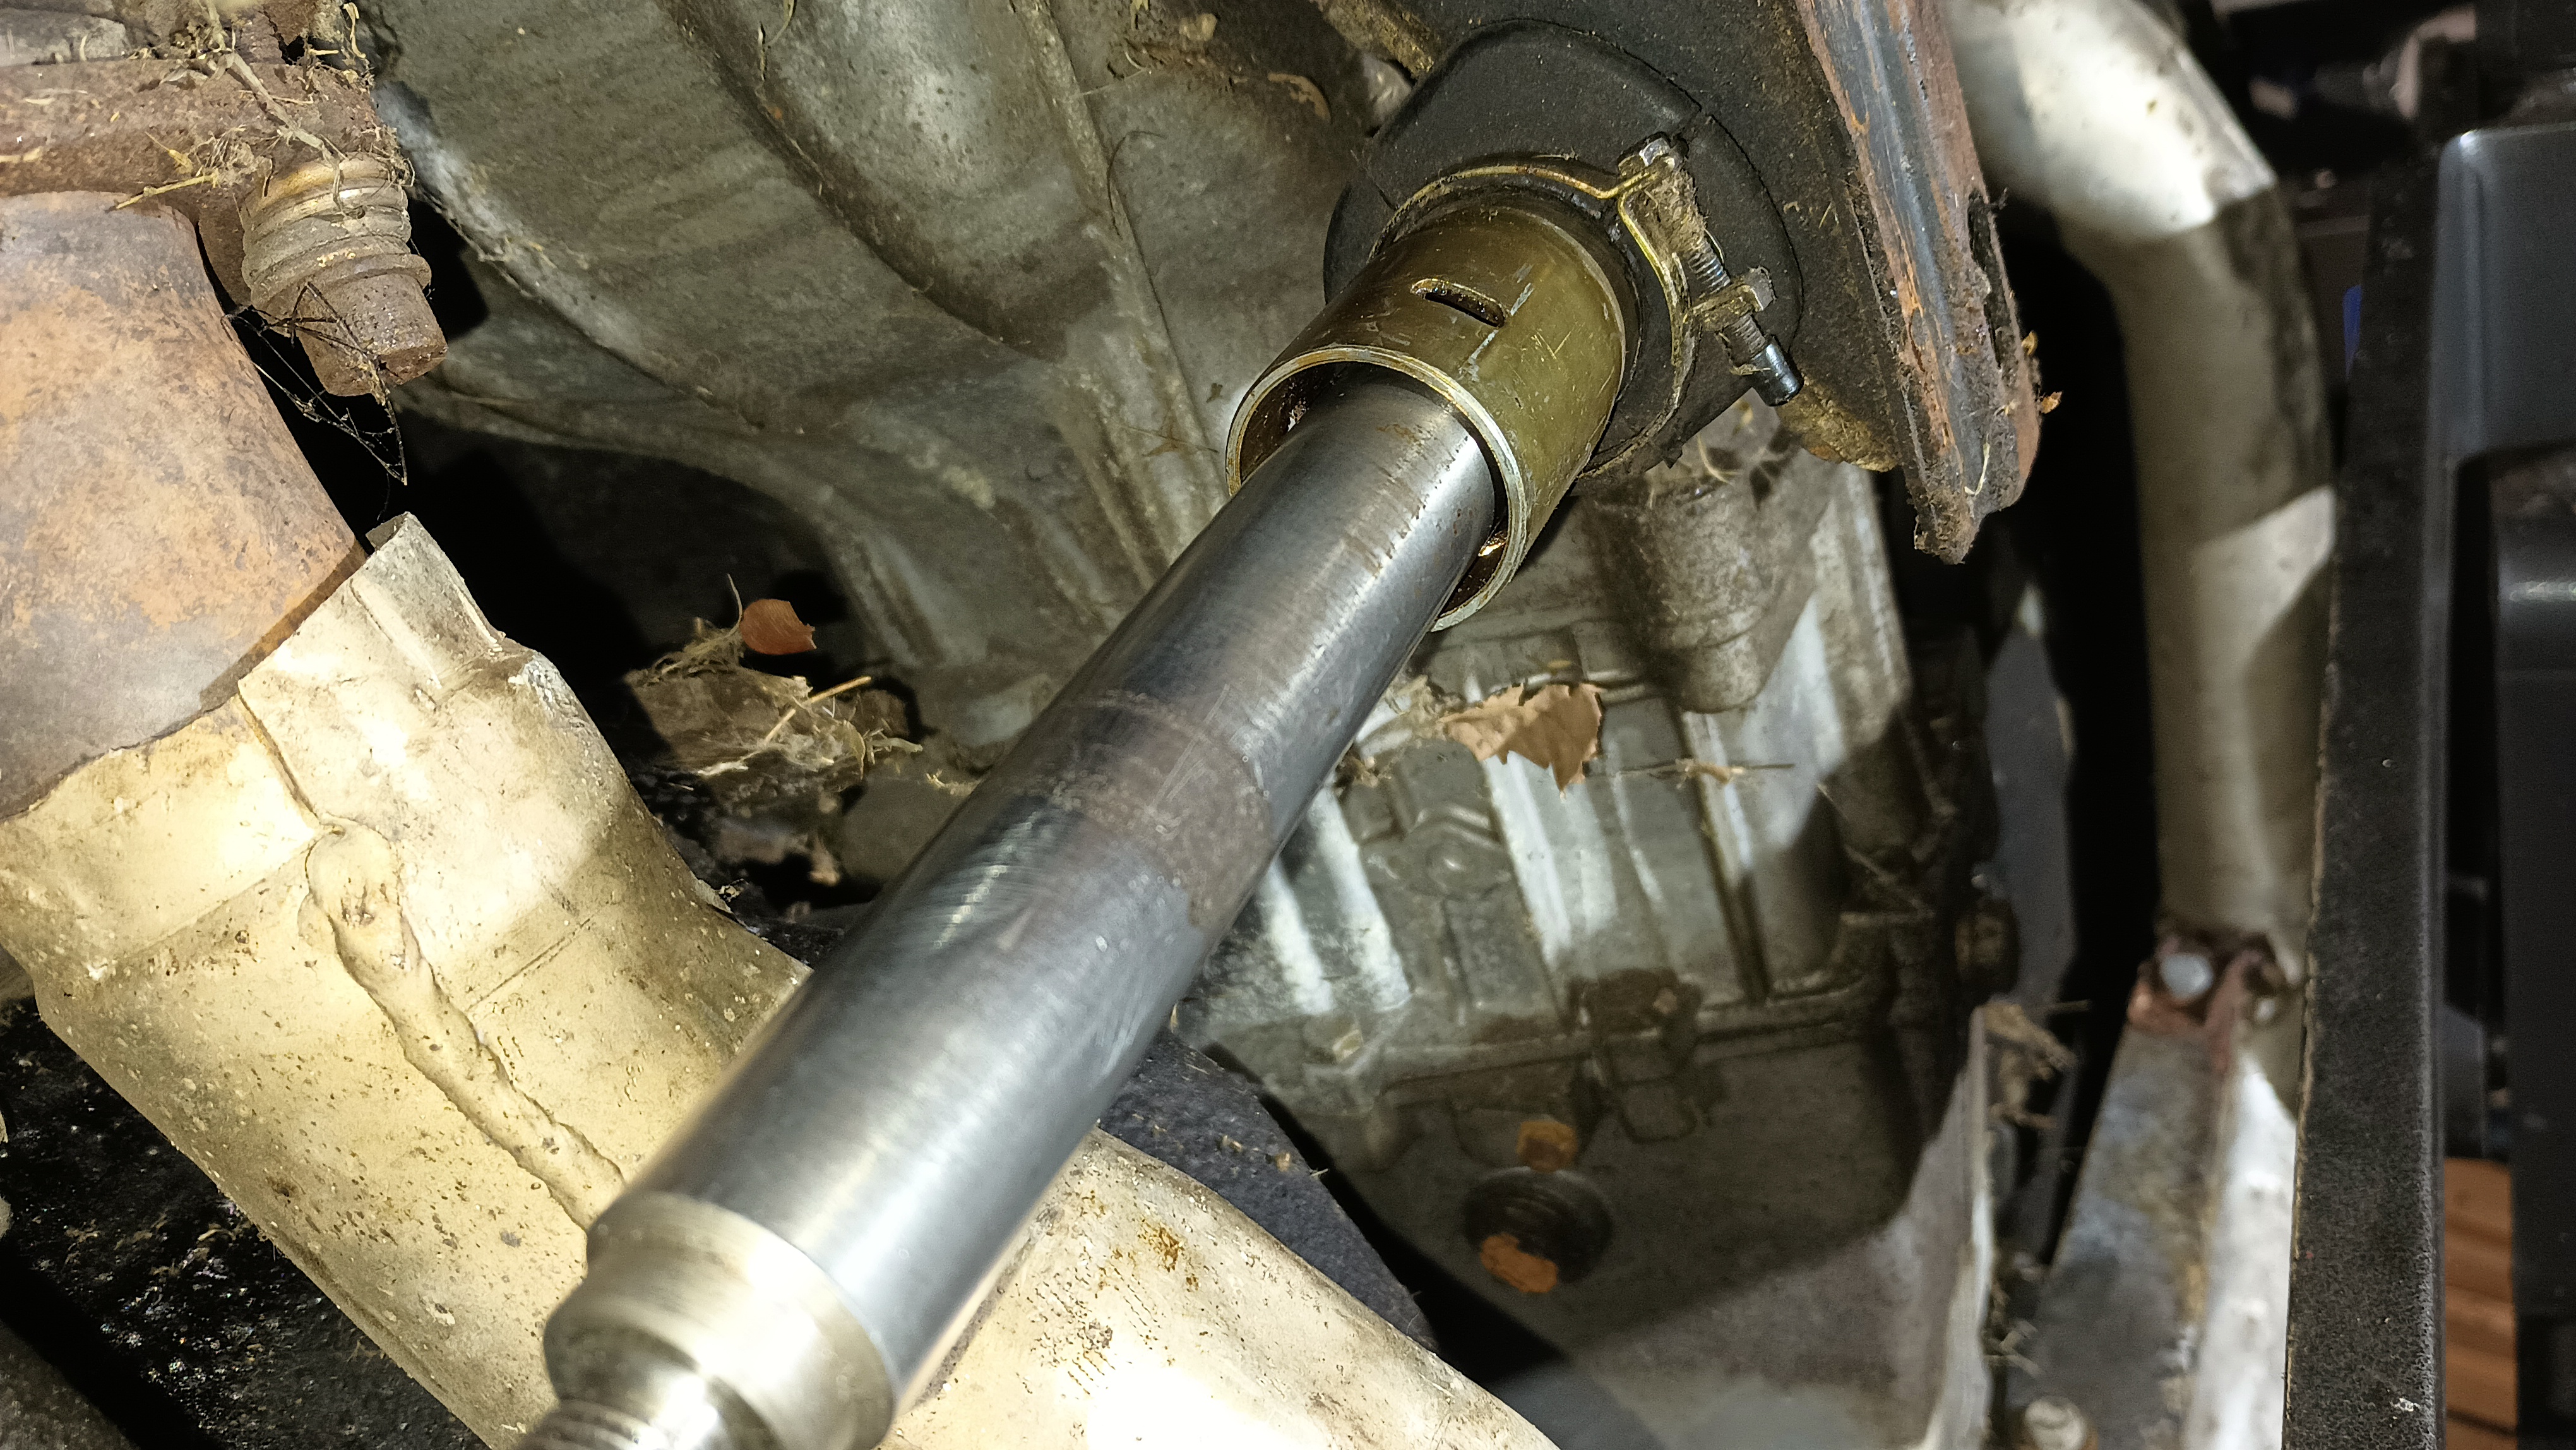
The first thing I wanted to check was that all the wheels were solidly-attached. I went around the car grabbing each wheel at 9 and 3, shaking, grabbing it at 12 and 6, and shaking again. One of the rear wheels had a bit of motion to it, but tightening the lug bolts corrected that. The front-right, on the other hand, had a lot of slop from side-to-side and it was coming from the steering. I got the tie rod boot off and found the source of the slop. While the tie rod itself was good and tight, the arm in the steering rack was flopping around.

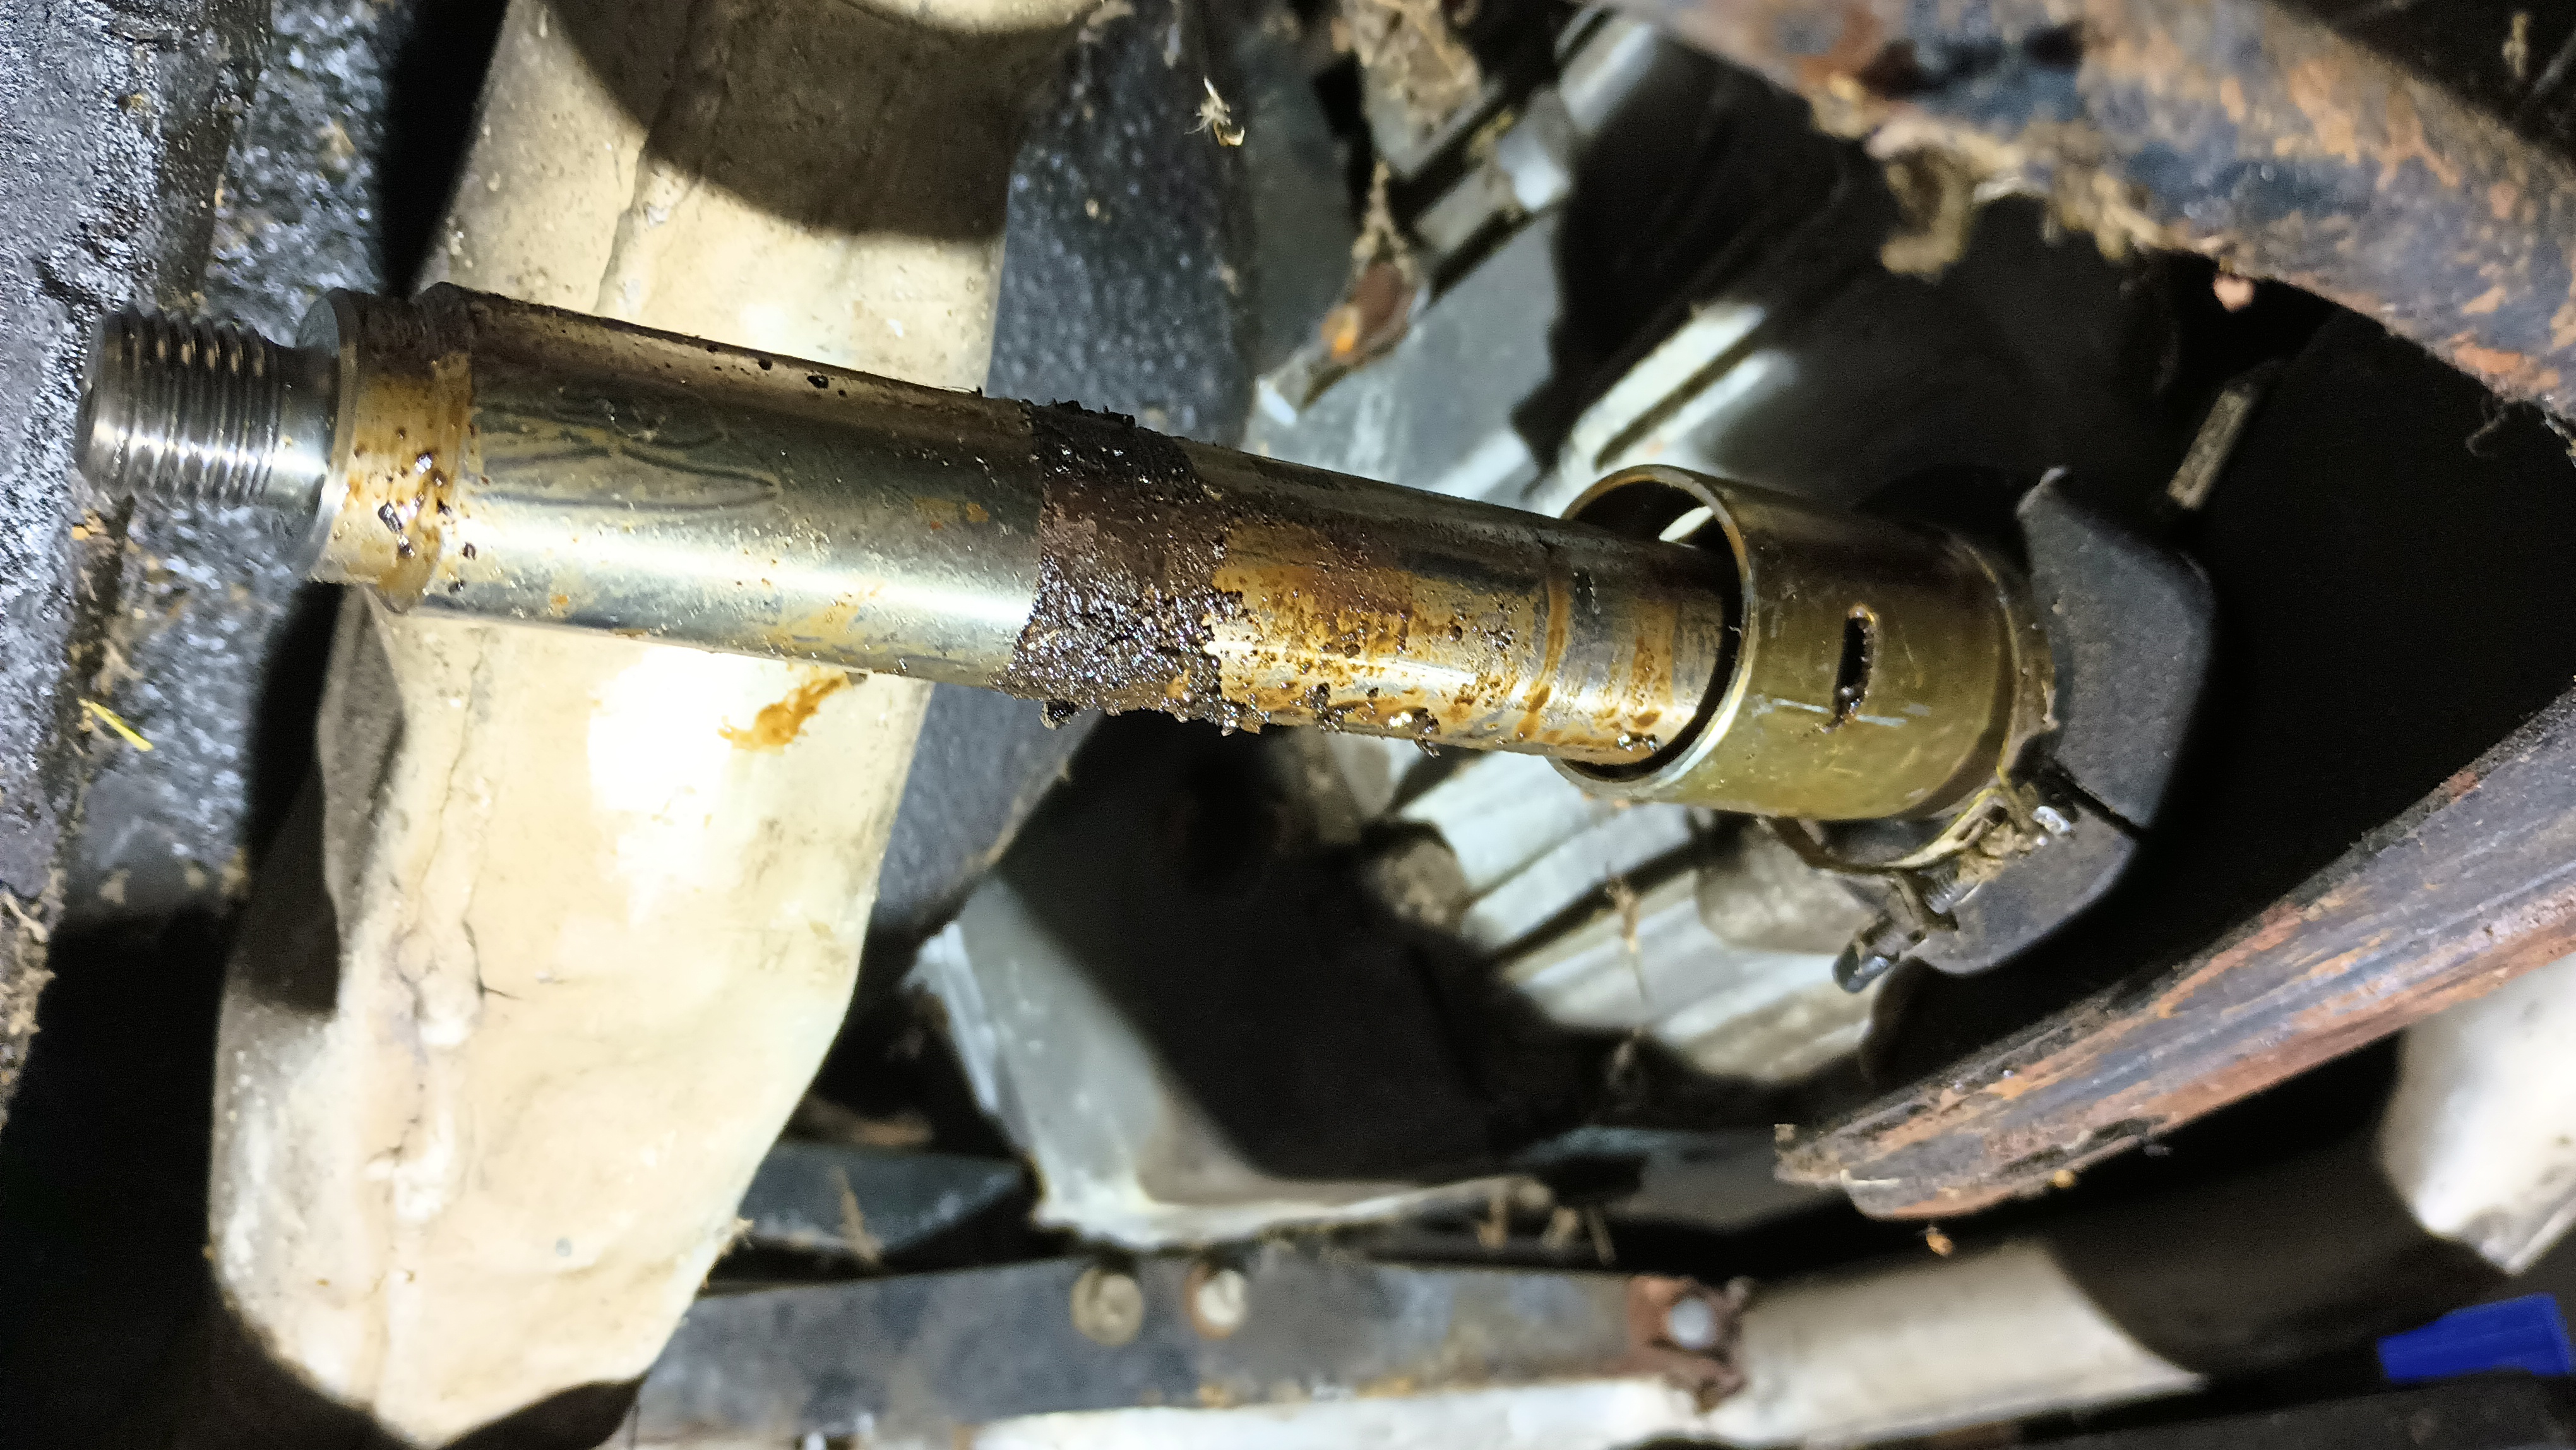
There is supposed to be a nylon bushing there that supports the steering rod. I assume that it came apart at some point because I got a whole bunch of plastic bits that fell out of the boot when I removed it. It looks like some of the bushing stuck to the rod as well.

I got the rod cleaned up

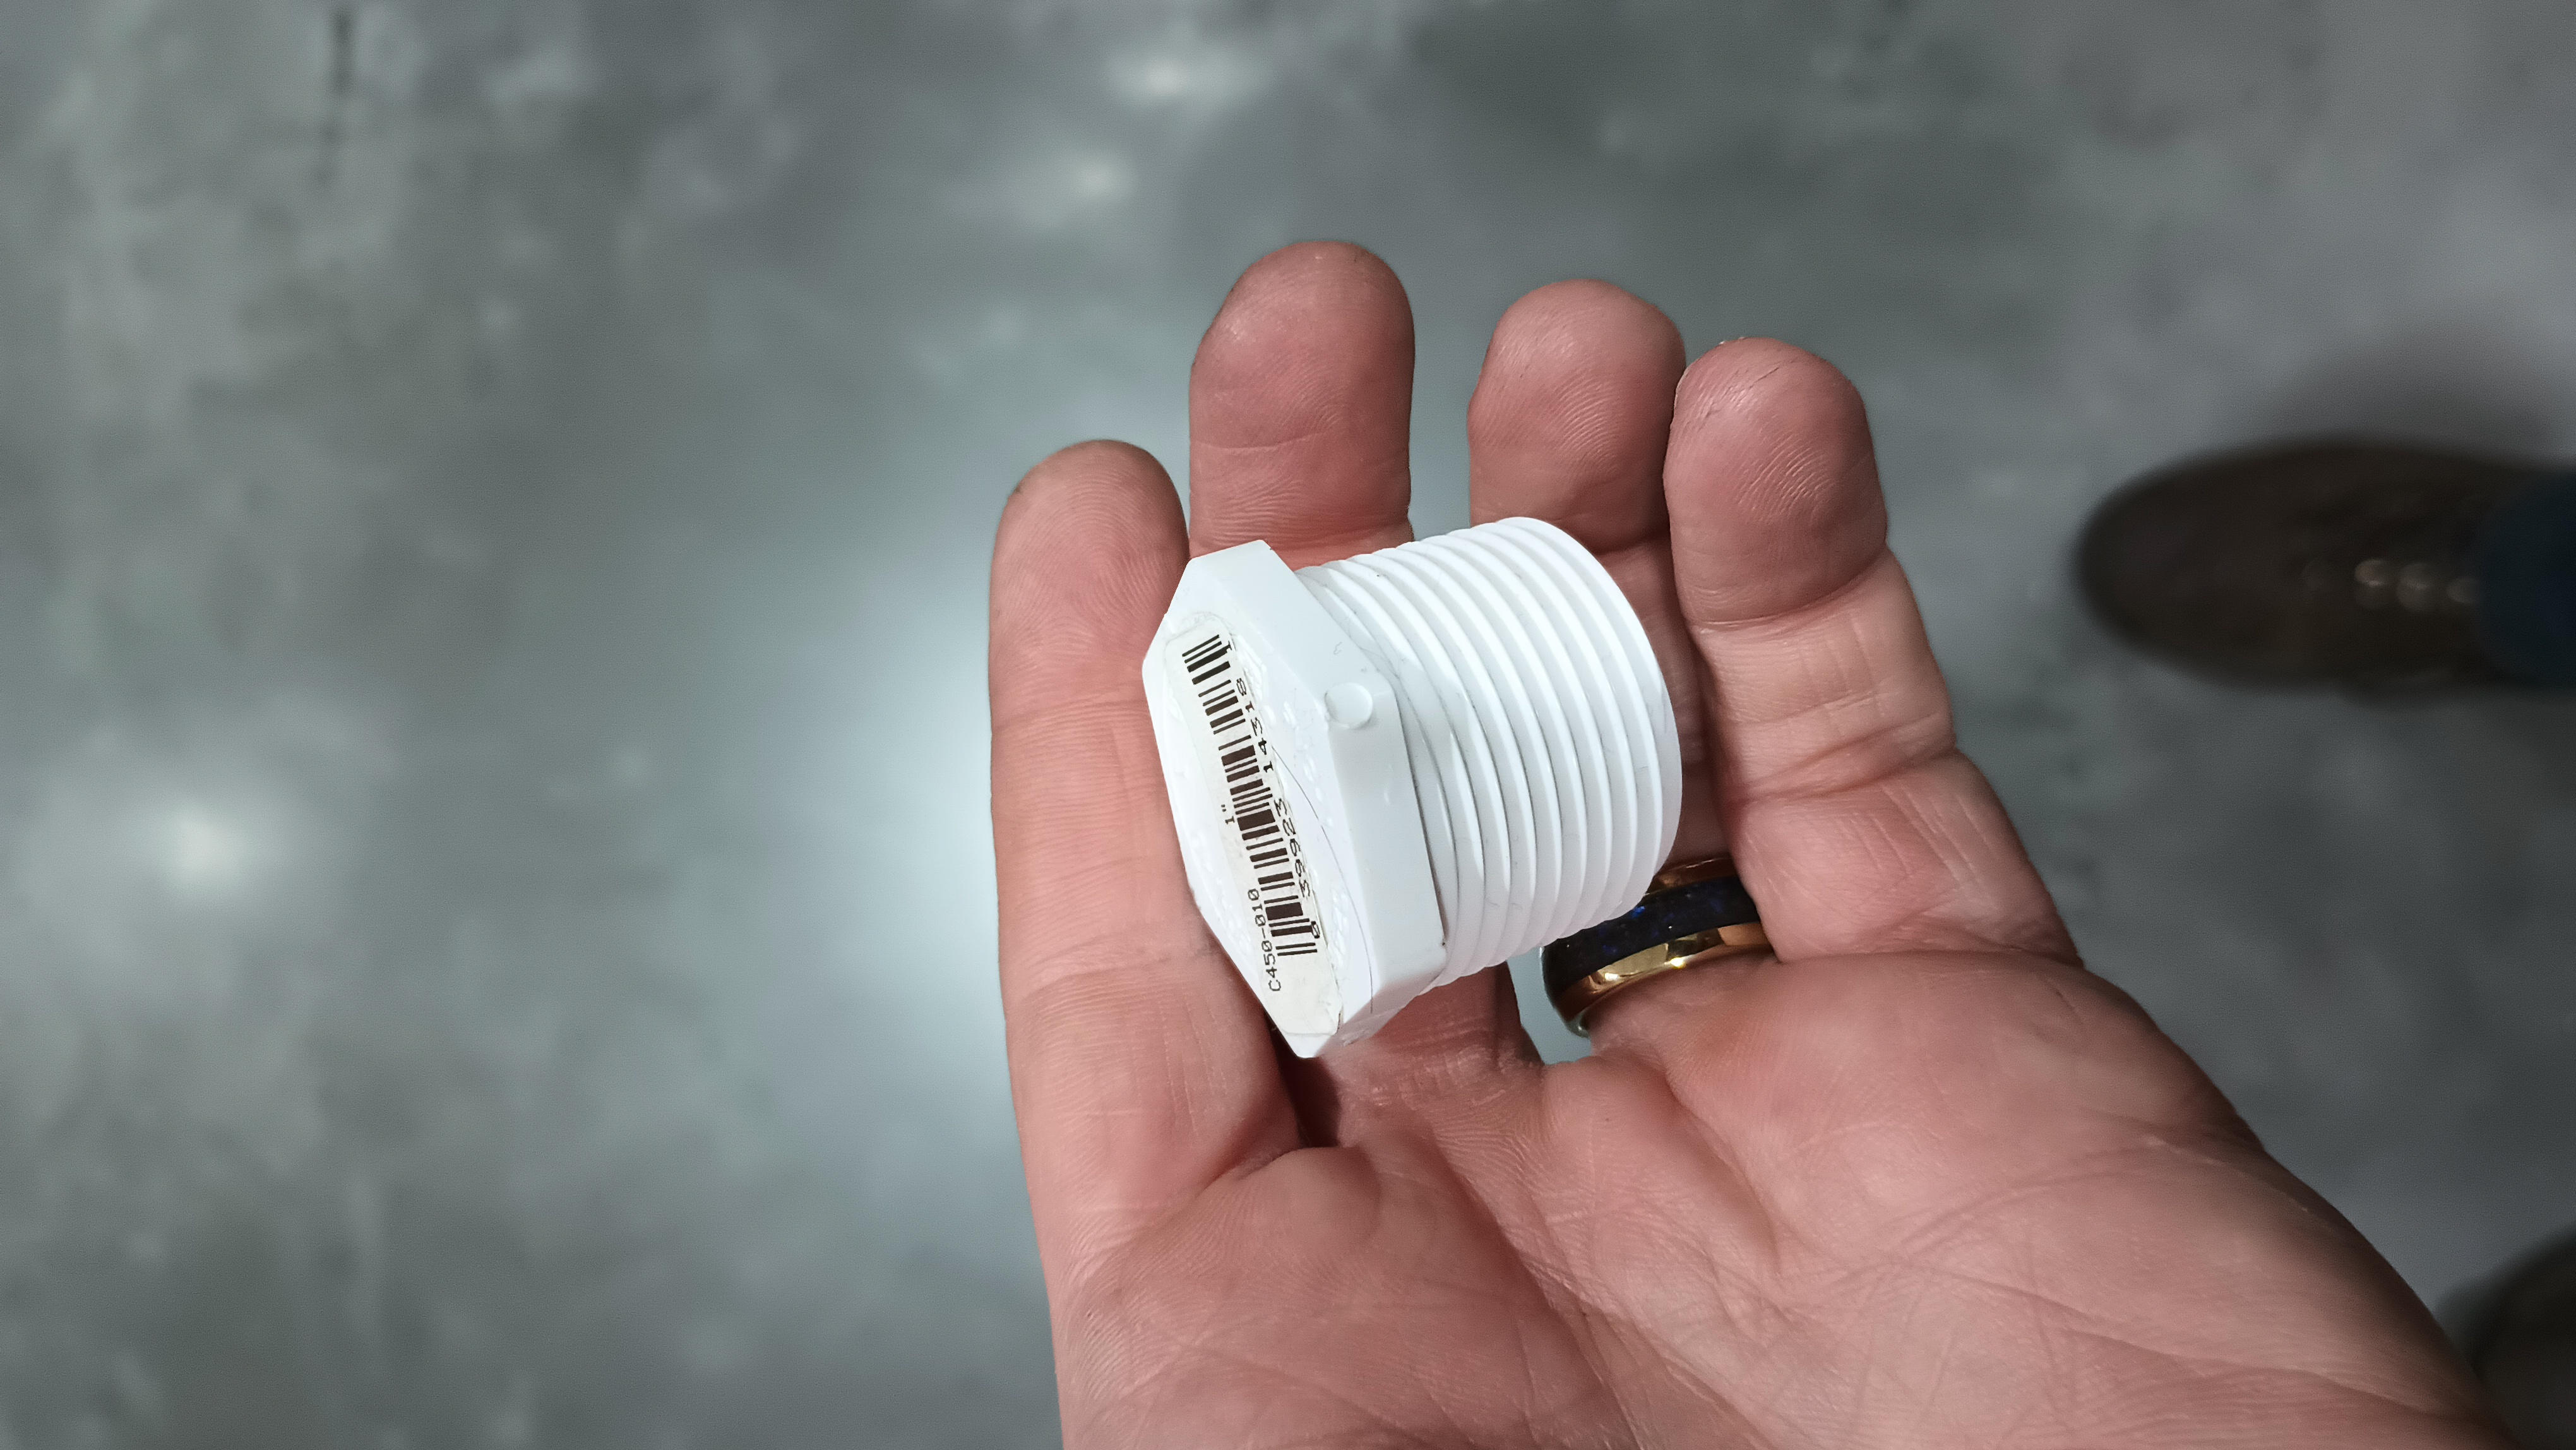
And set about trying to come up with a new bushing of some sort. I assume that the bushing is available in a steering rack rebuild kit of some sort, but I’m running out of time to pull the steering and rebuild it. A trip to the hardware store later and I had one of these:

That’s a 1″ PVC fitting that is just a tiny bit larger in diameter than the ID of the steering rack. Bringing it back to the shop, I found the center, put it in the drill press, and hit it with a 1″ paddle bit to bore it out.

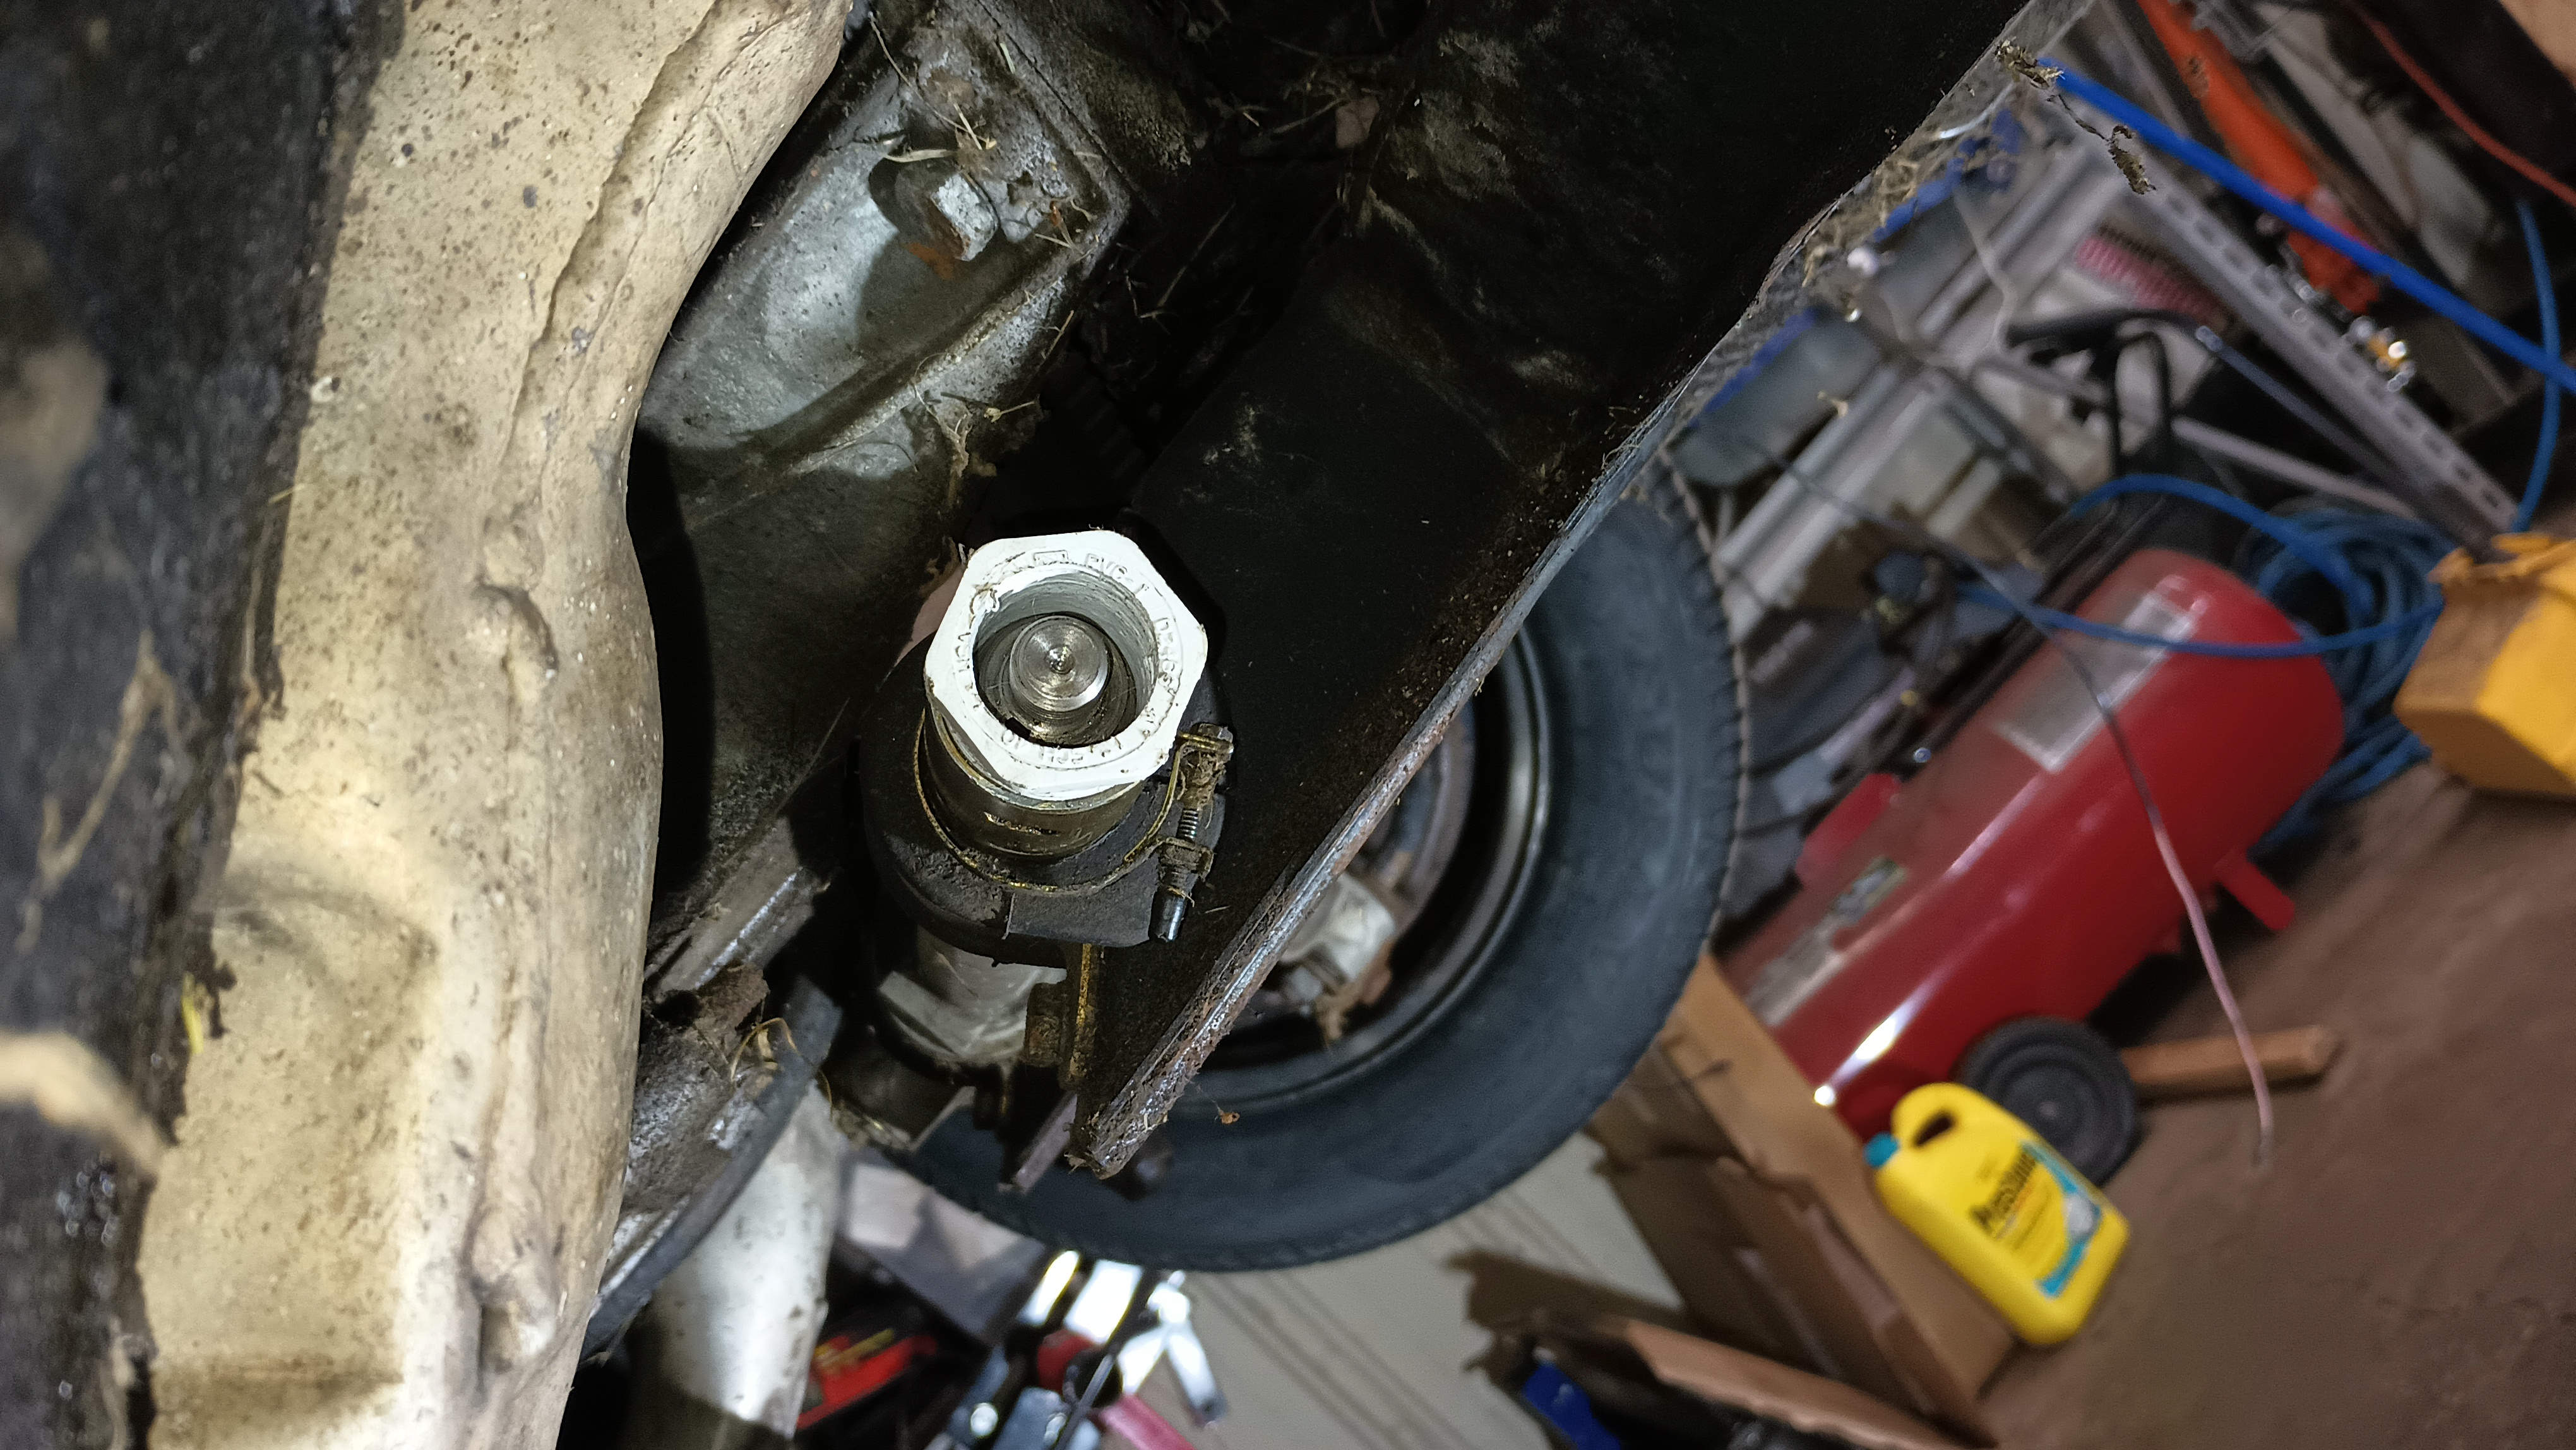
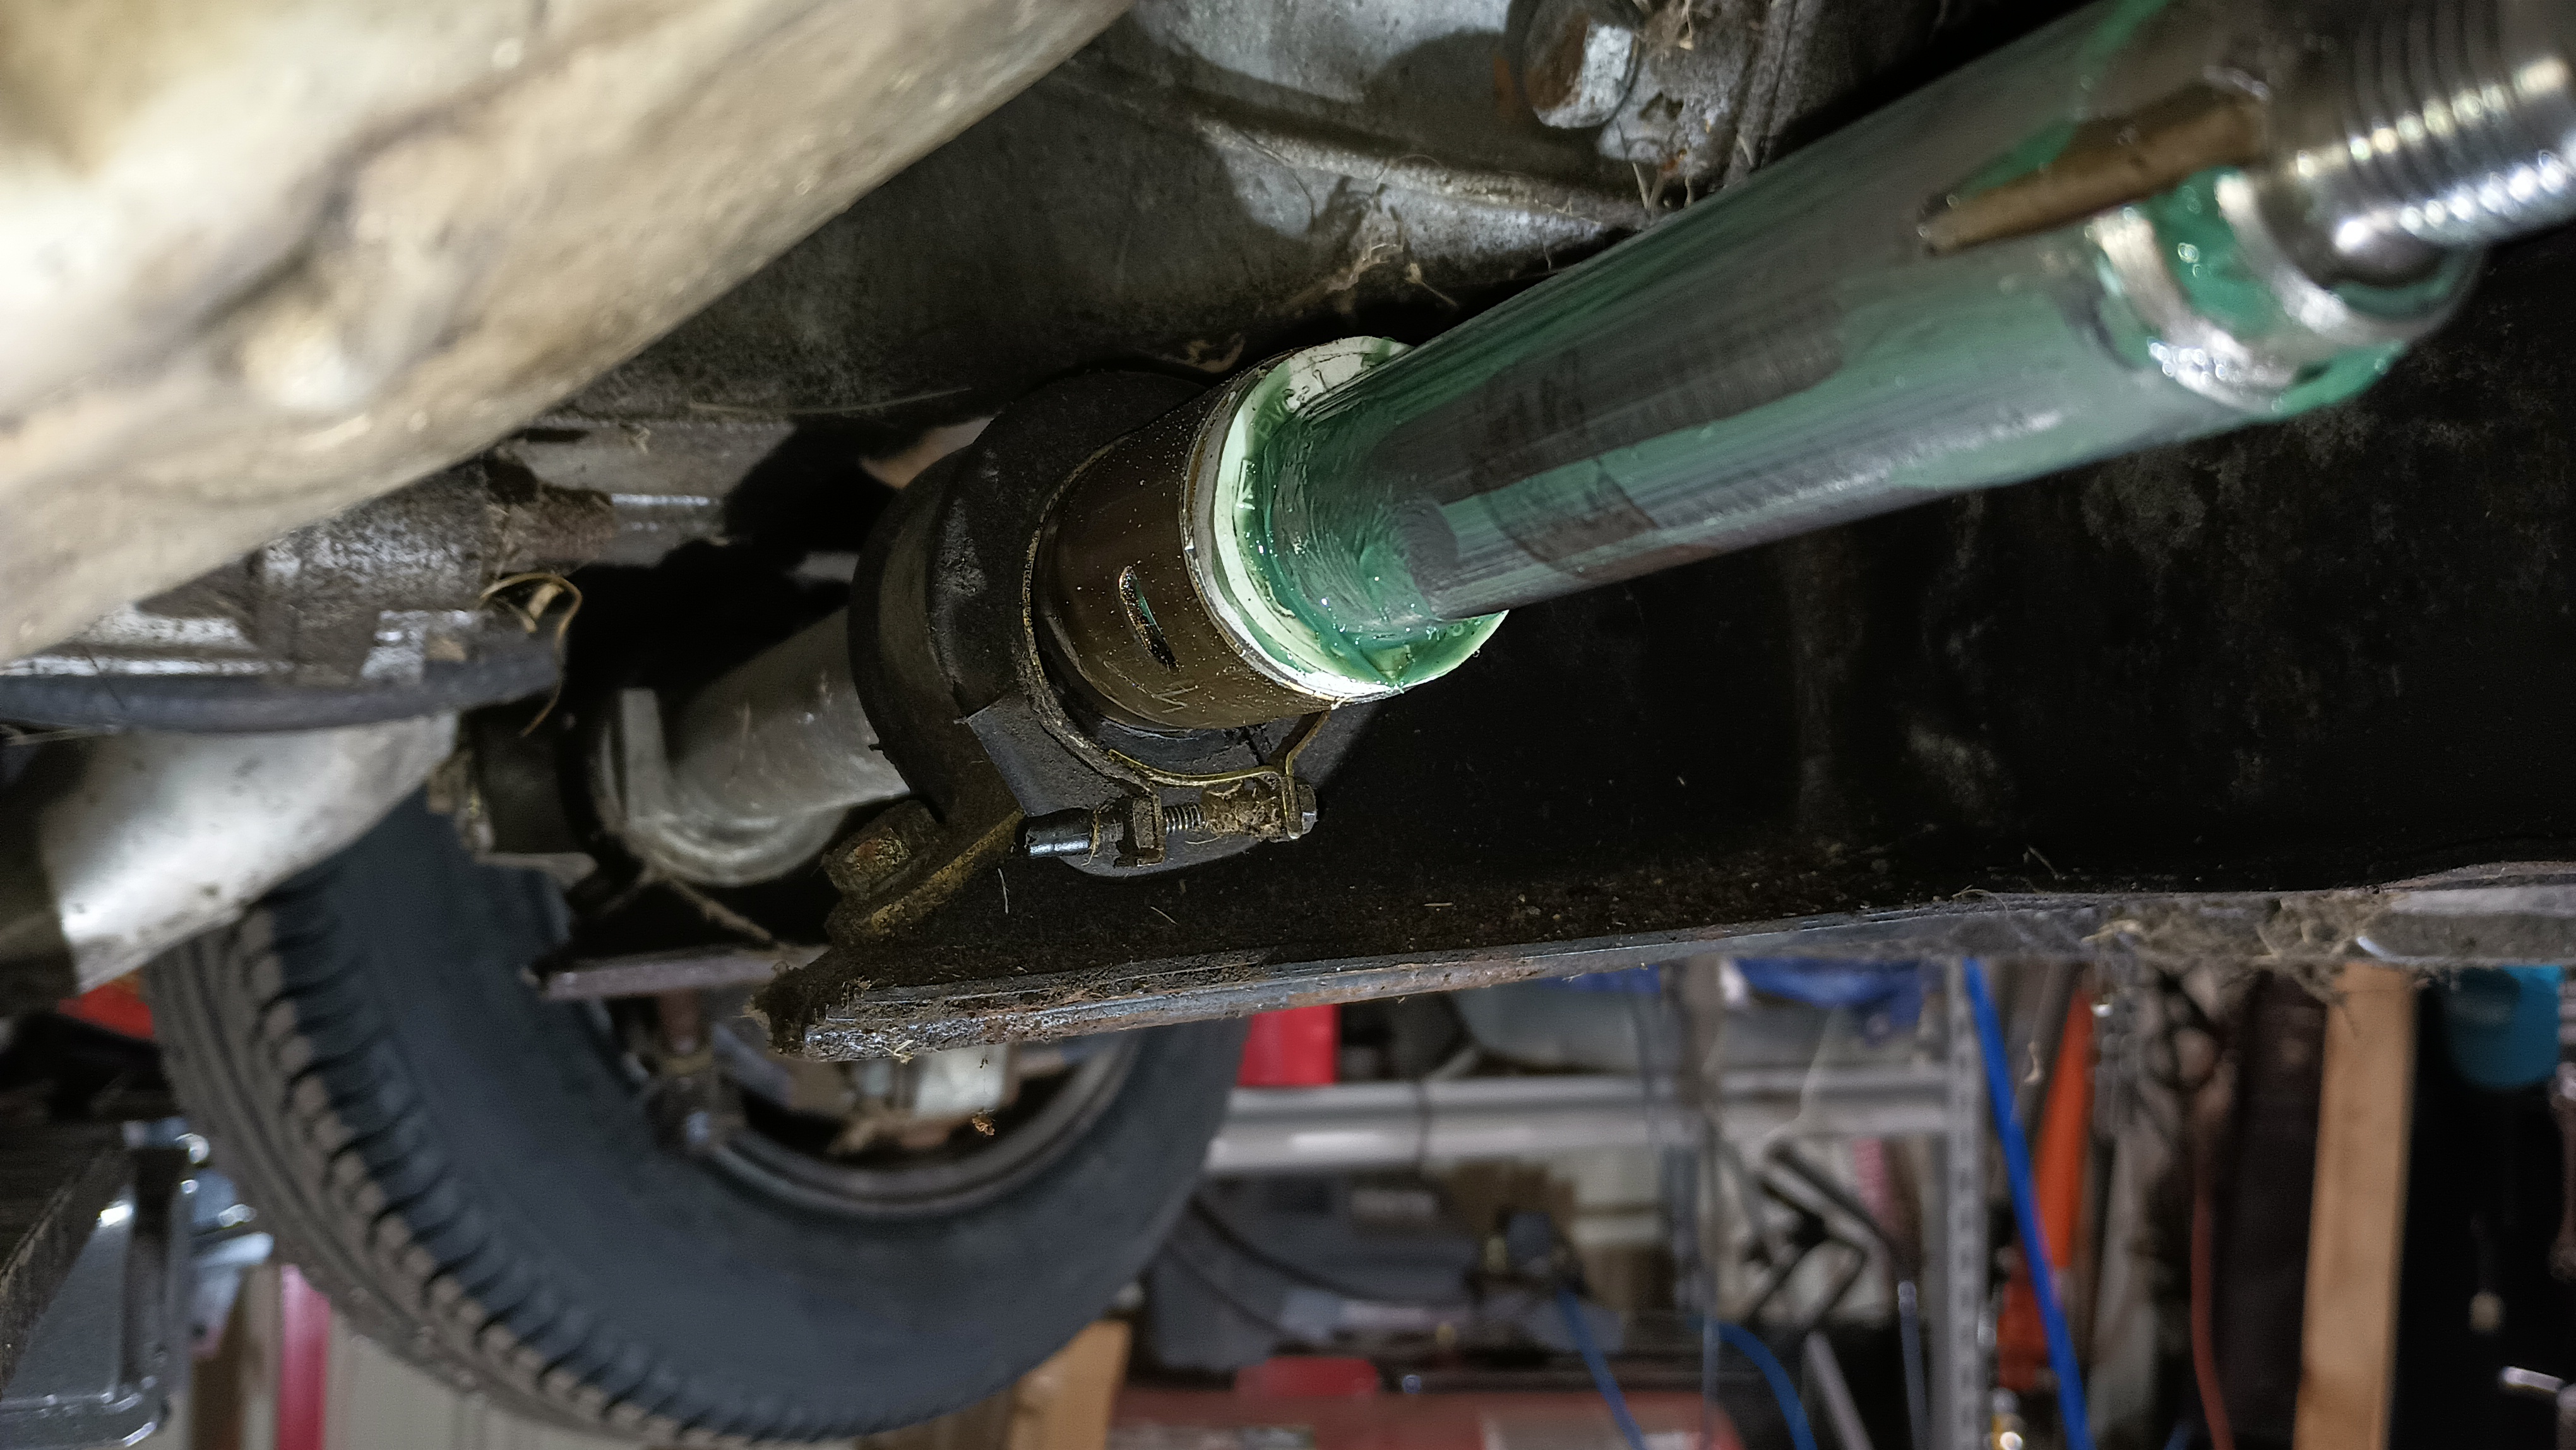
It’s a tight fit in the rack and the rod rides on it with close to zero slop. Using a grinding wheel, I rounded out the hex head, added some grease, and tapped it in with a hammer.

Now the pinion bearing in there is still a bit notchy and I think the rack needs a real rebuild, but for now I think it’s going to get me through.

While it was still on the lift, we got all the remaining clutch bolts tightened up since it’s a two-person job, and then we set about bleeding the brakes again. I had pushed fluid through with the pressure bleeder, but the pedal was still really soft. We did a traditional two-man bleed following the pattern in the service manual. There was still a little bit of nasty fluid left in there which we got out and there were also a few air bubbles left. Upon completion of that quick task, the brake pedal was feeling much more solid.

With the car up in the air, I did discover that there was a little bit of coolant that had dripped to the floor. It appears to be coming from the temperature sensor that screws into the radiator. I might be able to replace the o-ring that’s sealing it or I might just try to seal it with JB Weld. Before leaving for the night, I cleaned up the fluid from the radiator so that the next time I’m there I can see if it’s still leaking and, if so, have a chance at confirming from where.

It Moves!

The Challenge is getting awfully close and I still don’t know if the car will do anything other than idle. As the parts all start arriving, however, I’m getting closer to being able to try to drive it for a short test. Using some Permatex 85420 fuel resistant sealant, I bolted the carb box back on.

Part of getting the carb box installed, though, was that the choke cable was all seized up; so much so that I broke the handle.

I used some JB Weld to repair the handle. The choke cable isn’t like the other cables because there’s no spring on the choke. That means that while the other cables are steel cables, the choke cable is actually a relatively stiff wire, since you can’t push a rope. I tried putting penetrating oil down the tube and working the wire back and forth; while I thought that had fixed it, it was still too stiff. The solution that I found was to completely remove the cable from the car and pull the wire completely out of its tube. I ran some Teflon lubricant down the tube, put the wire back in, and now it is pretty smooth. It’s a little weird since I’ve never actually had a car with a manual choke before so I’ve never had to deal with that.

The other brake line finally arrived making my next task to get the right front brake back together and hit it with the pressure bleeder.

The brakes are still not right, so something will need to happen with that still. I’m going to bleed them again once I have the car up on the lift. If that still doesn’t get it done, I may just have to get a new master, which should be doable before it’s time to load up.

I installed the side post battery adapter plugs and hooked up the battery. While Greg held the fire extinguisher, I jumped in, pulled the choke open, and twisted the key. It took it a minute, but it roared to life, no ether required! It was definitely missing on one cylinder, but it was running. And smoking a ton. I can’t tell where it’s coming from and if it’s just burning off at this point, but it does look like the exhaust on the left side isn’t fully tight. And we know that the left turbo seals are a bit leaky.

The Walmart special “Fullway” tires were mounted earlier in the day, so my daughter and I got three of those bolted up – we couldn’t really get to the right rear, so I figured with three tires it would be enough to pull it away from the wall in order to change the fourth. But it was mostly on its own wheels now and at basically the right height. I started it up again put it in gear, and the clutch worked! It slowly crept out of its storage spot and I was able to pull it away from the wall enough to put the fourth tire on. Interestingly, that wheel is only a 6″ wide wheel, as opposed to the 6.5″ E wheels on the other corners. I don’t remember if that was originally the spare or if the car had that to begin with. Regardless, I put it back in the spare carrier even though it’s flat and coming apart.

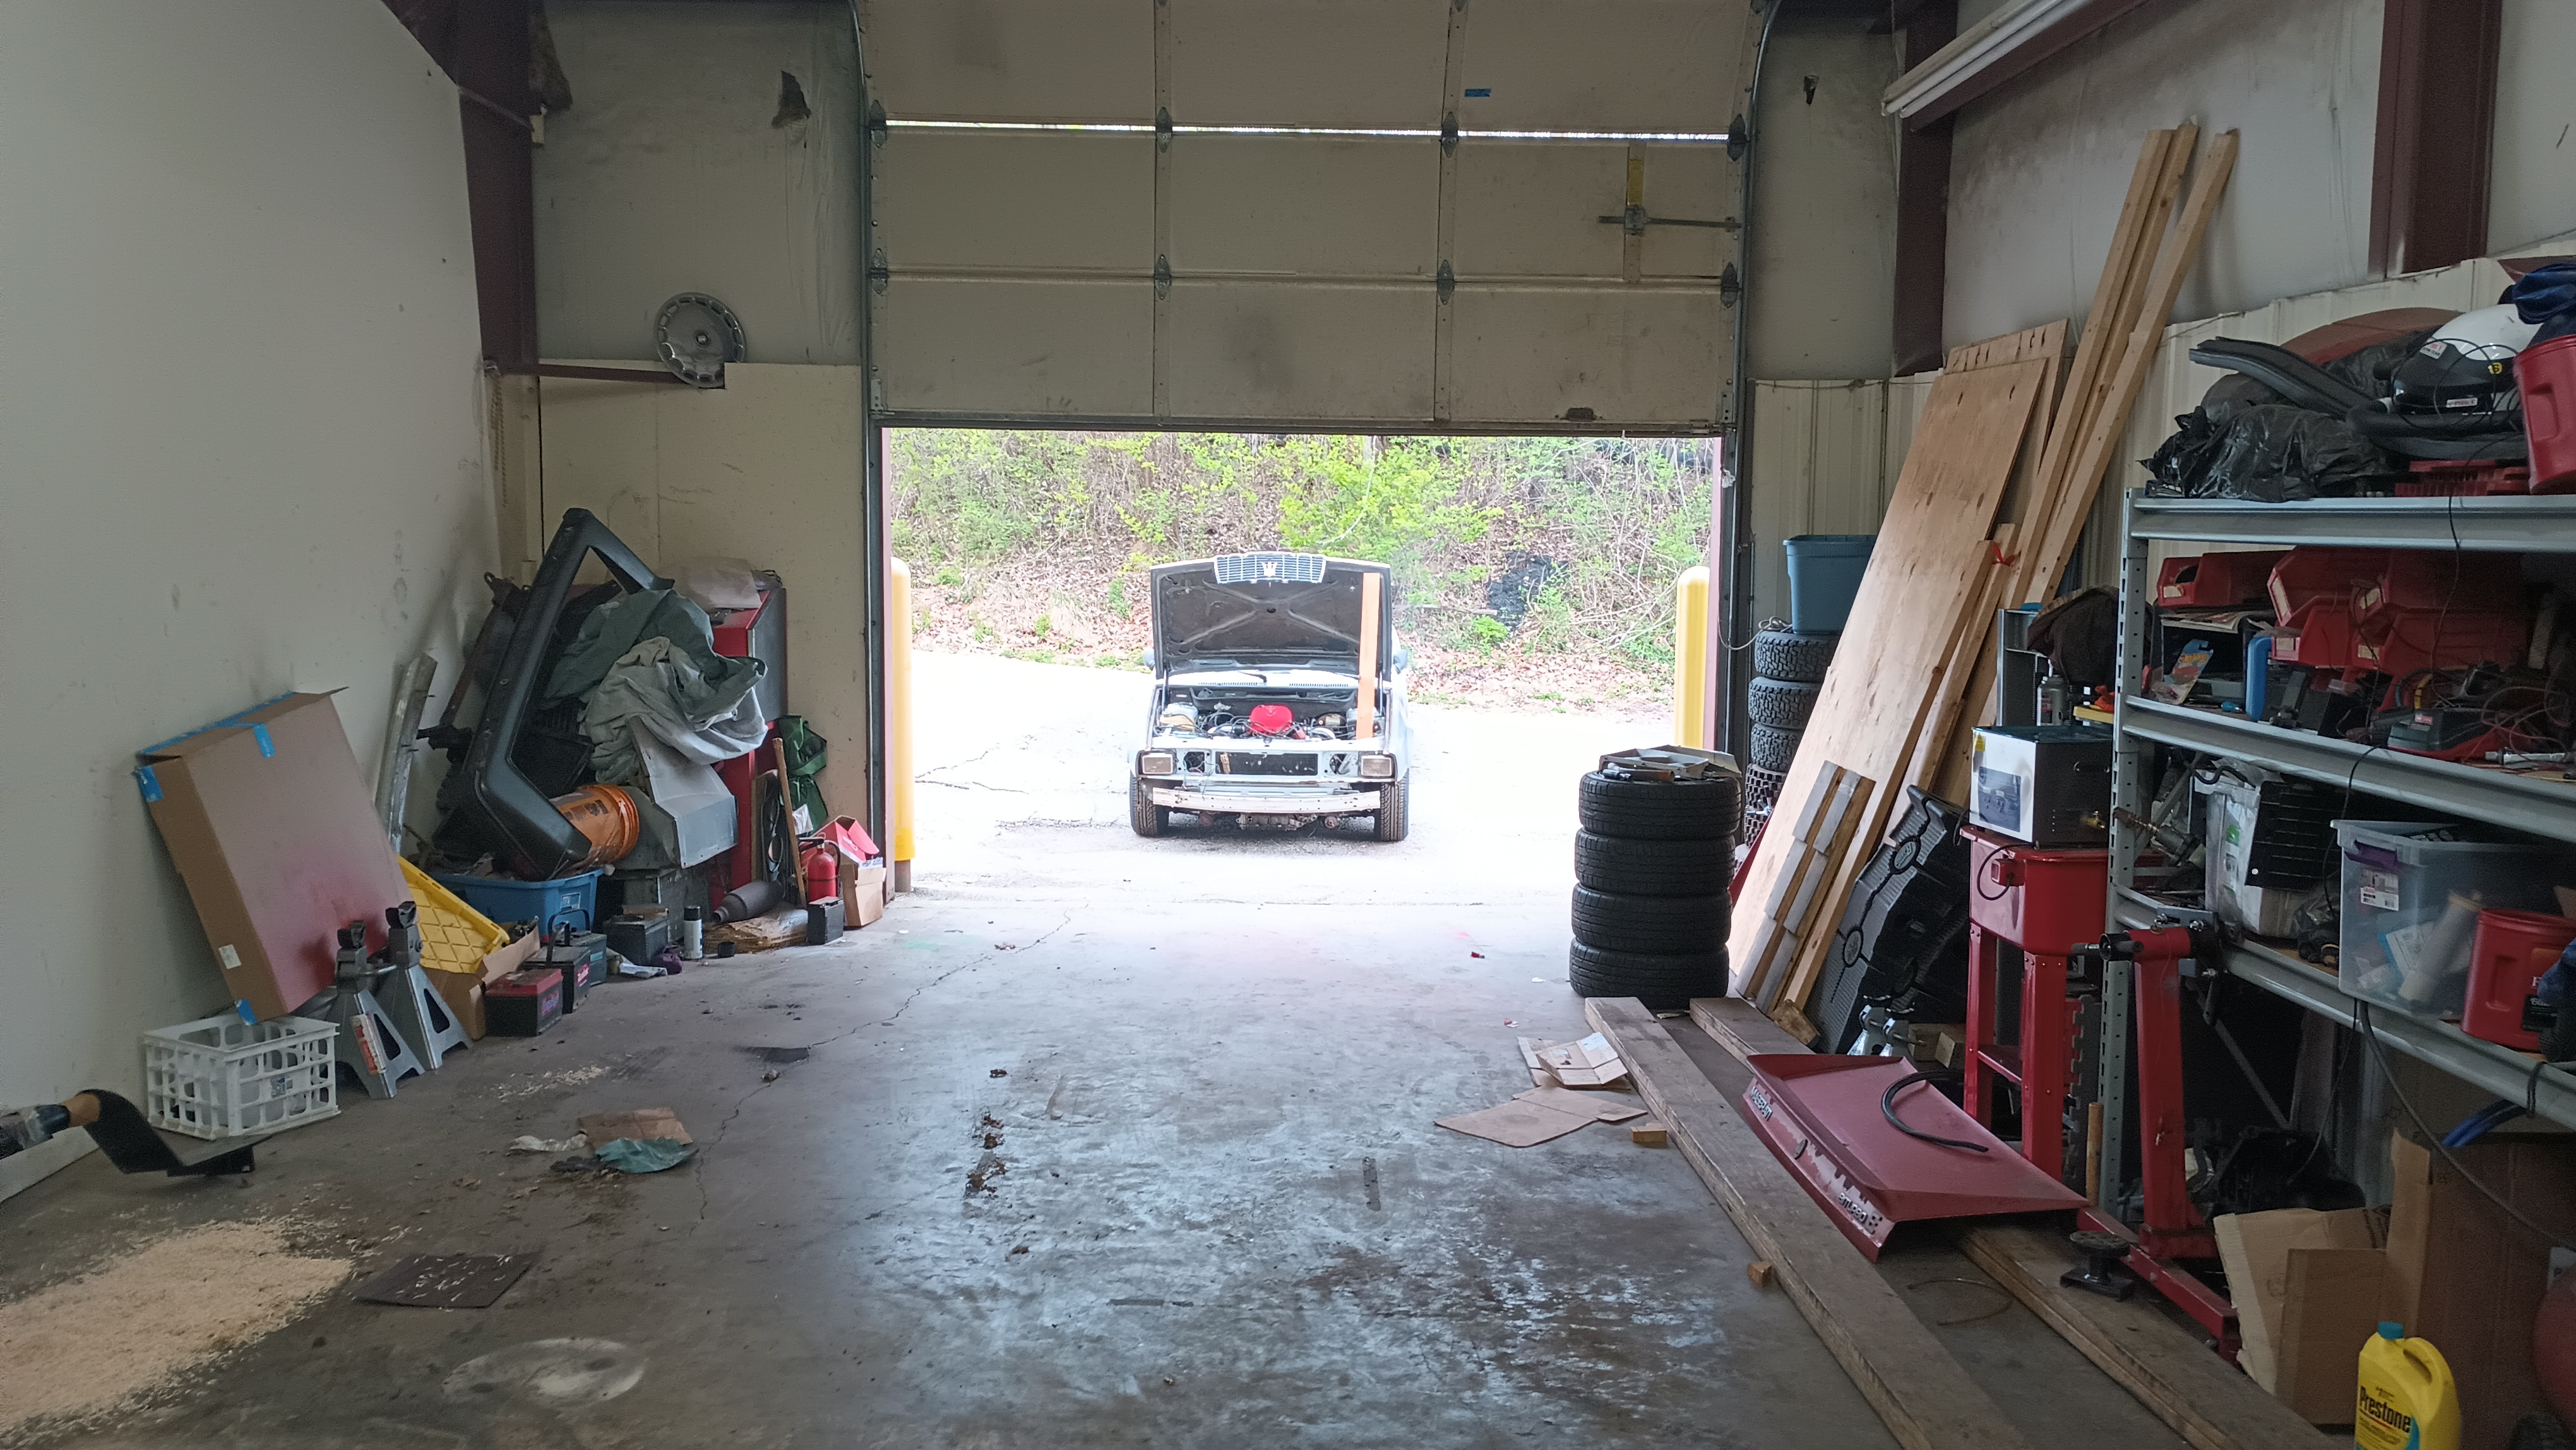
It’s a little tight in the shop partially because the Maserati was something of a shelf while it was sitting there, but I was able to move it away from the wall enough so that it can be worked on a little more comfortably. Once I have the whole issue with the missing cylinder figured out, it’ll go on the lift.

While the car was running, I started pulling spark plug wires to find the dead cylinder. Pots number 6, 5, and 4 all caused the car to stumble and nearly die when the plug wires were removed, so those cylinders were not my problem. When I pulled the #1 plug wire, however, there was absolutely no change in how the car ran. I tried a different plug wire and the #1 cylinder was still dead. All the plugs were a little blackened, so I hit the #1 with a little sandpaper to clean it up, but that also had no effect. Finally, I switched the #1 and #5 plugs and now it was cylinder 5 that had the miss. I’ve got a full set of plugs on order from Rock Auto and in the meantime, I’ll go buy a single plug from the FLAPS to verify that the new plugs will fix the problem.

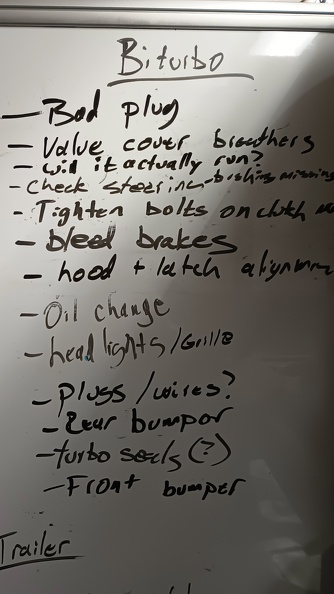
Running out of time to get things wrapped up. Here’s what’s left to do:

A Few Small Tasks

Running out of time before the Challenge, I’m trying to tie up all the last few things. I can’t check any of the actually important stuff because the carb hat is off, the brake lines haven’t come in yet, and I don’t have the tires.

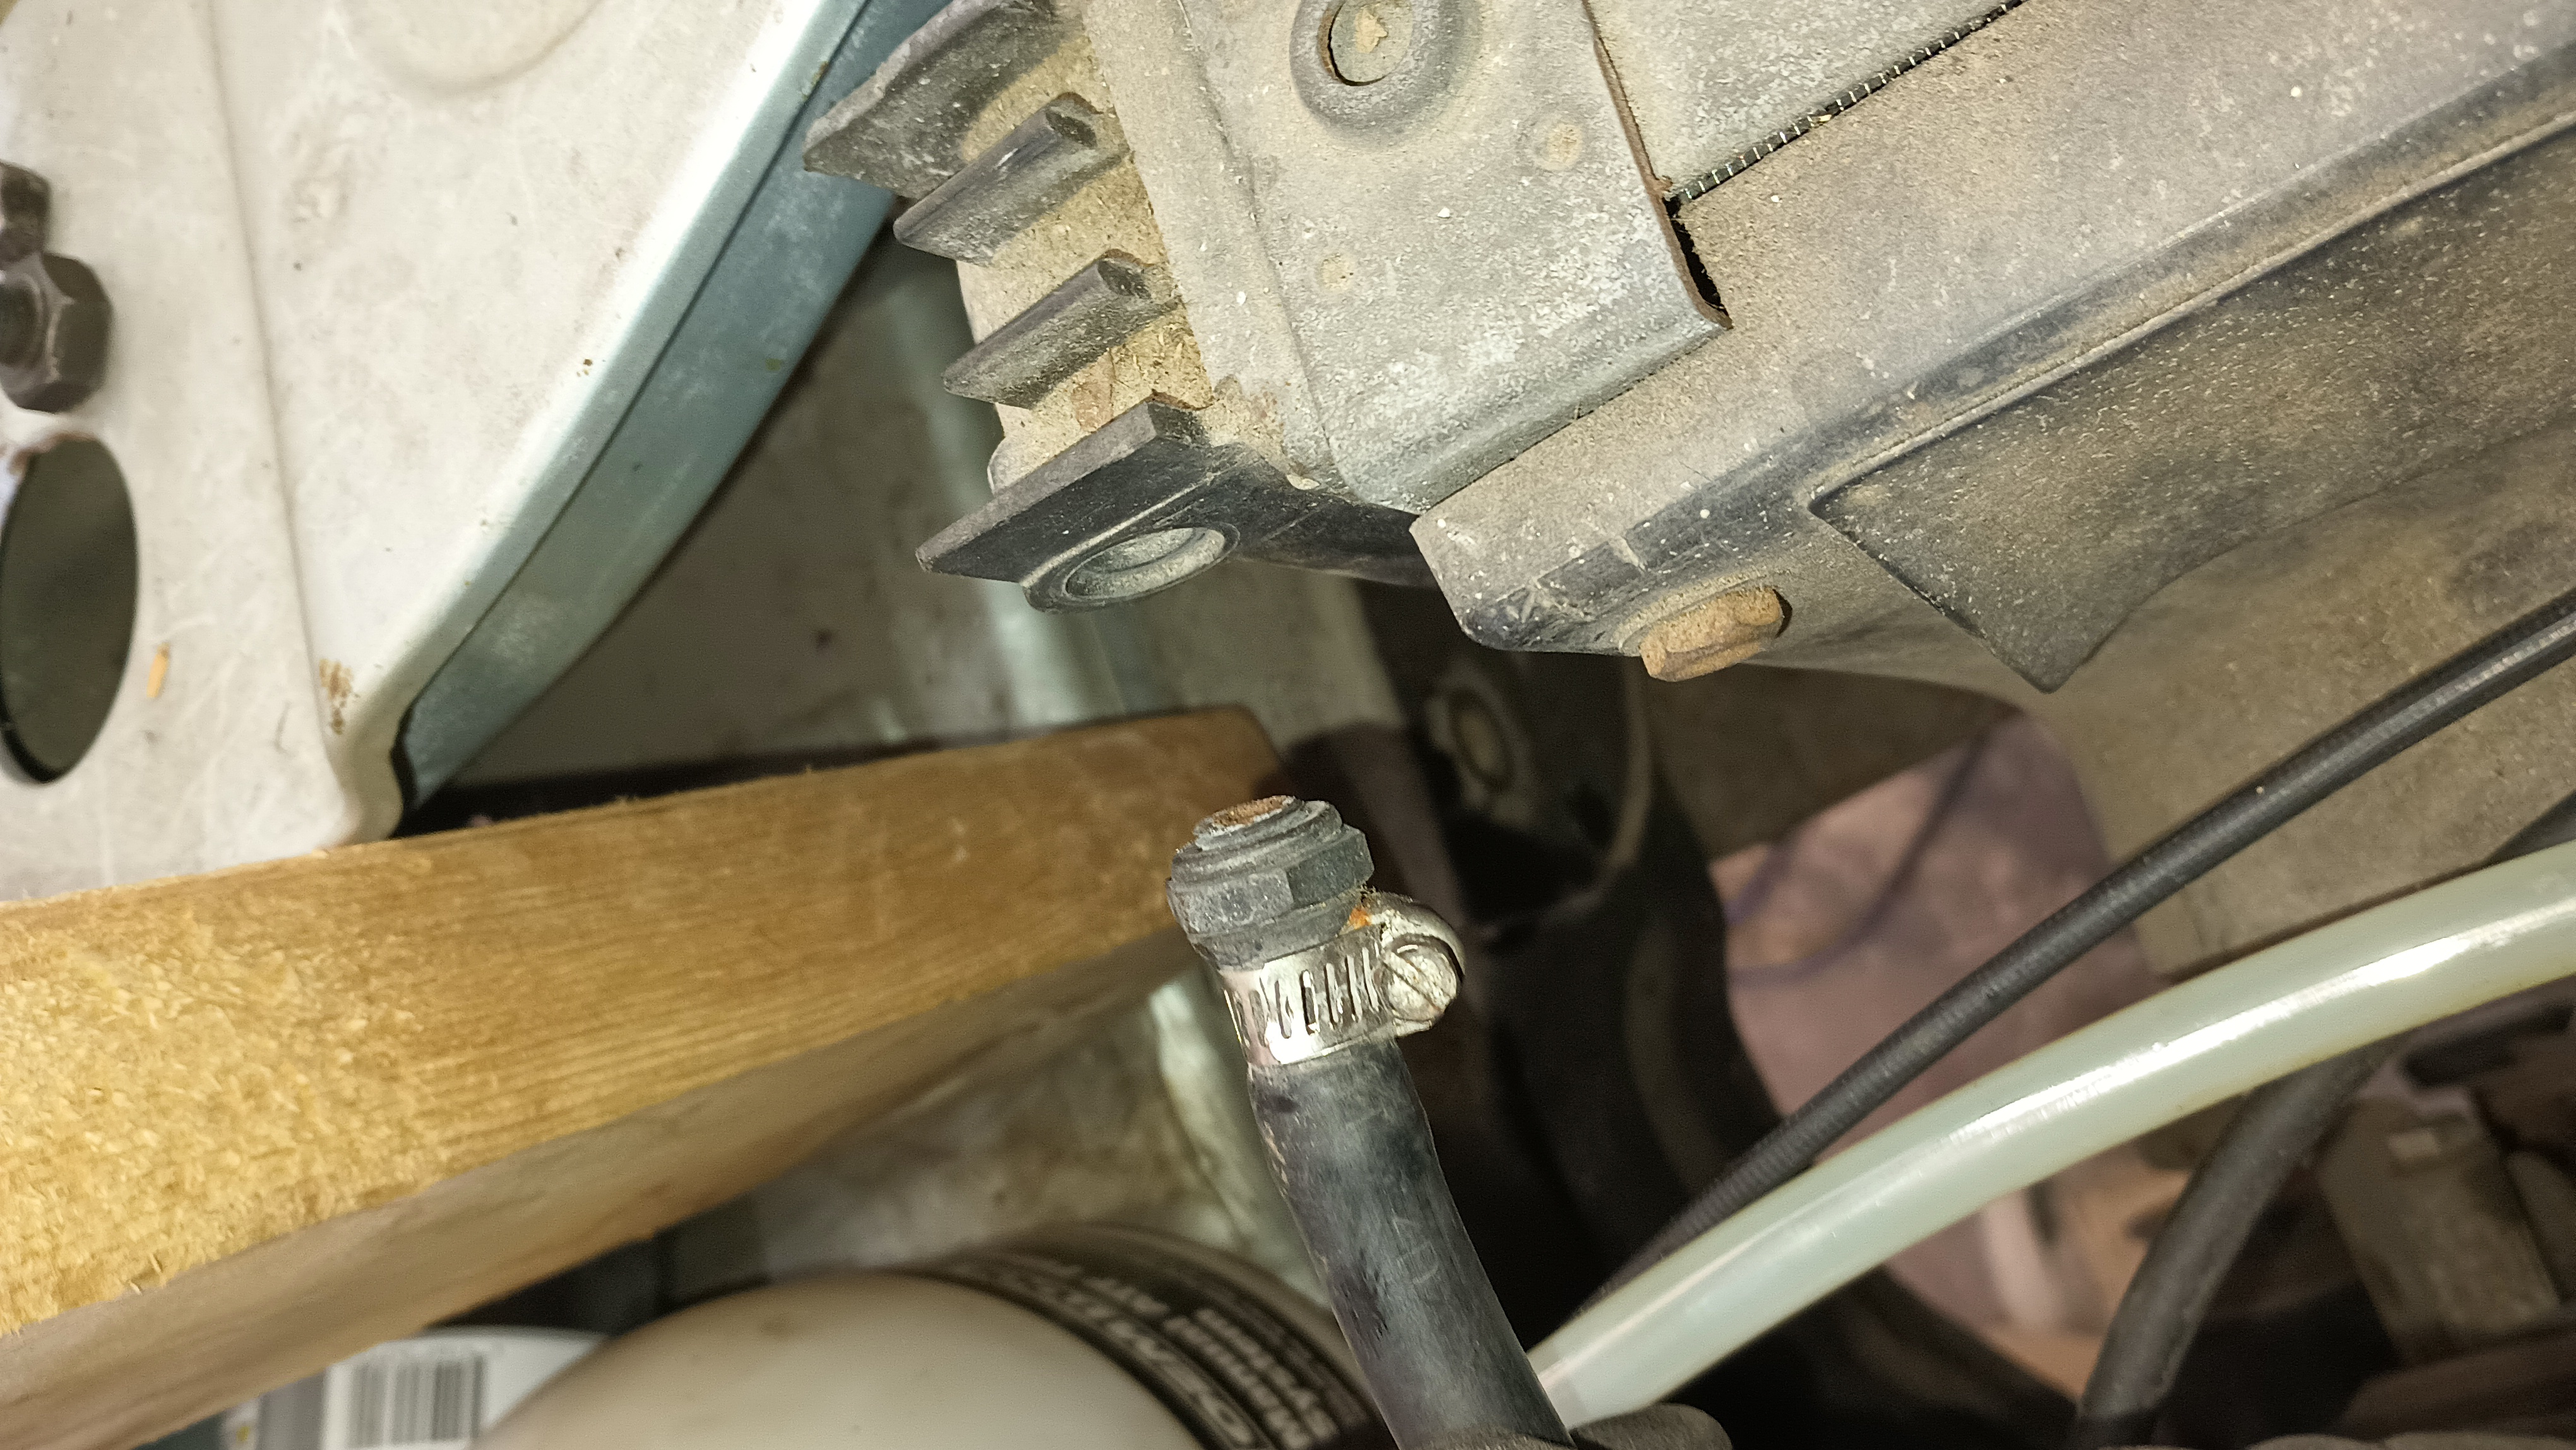
First off, there was a coolant line that had some sort of plug in it.

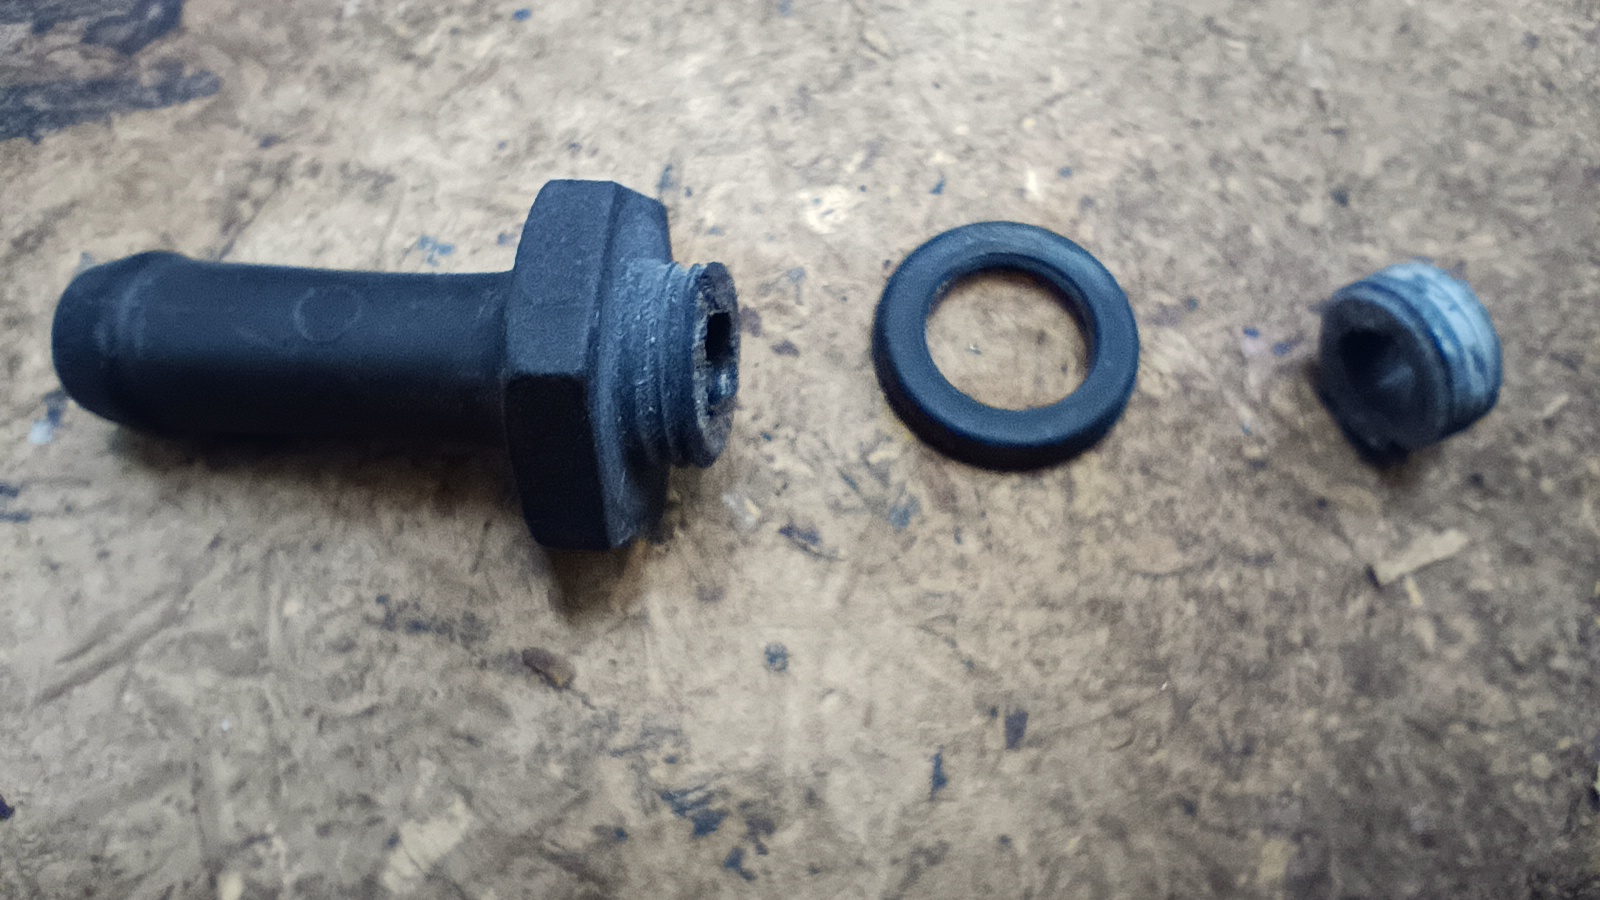
Yeah, not a plug. It was a fitting that had broken off in the radiator. The rest unthreaded easily and came right out.

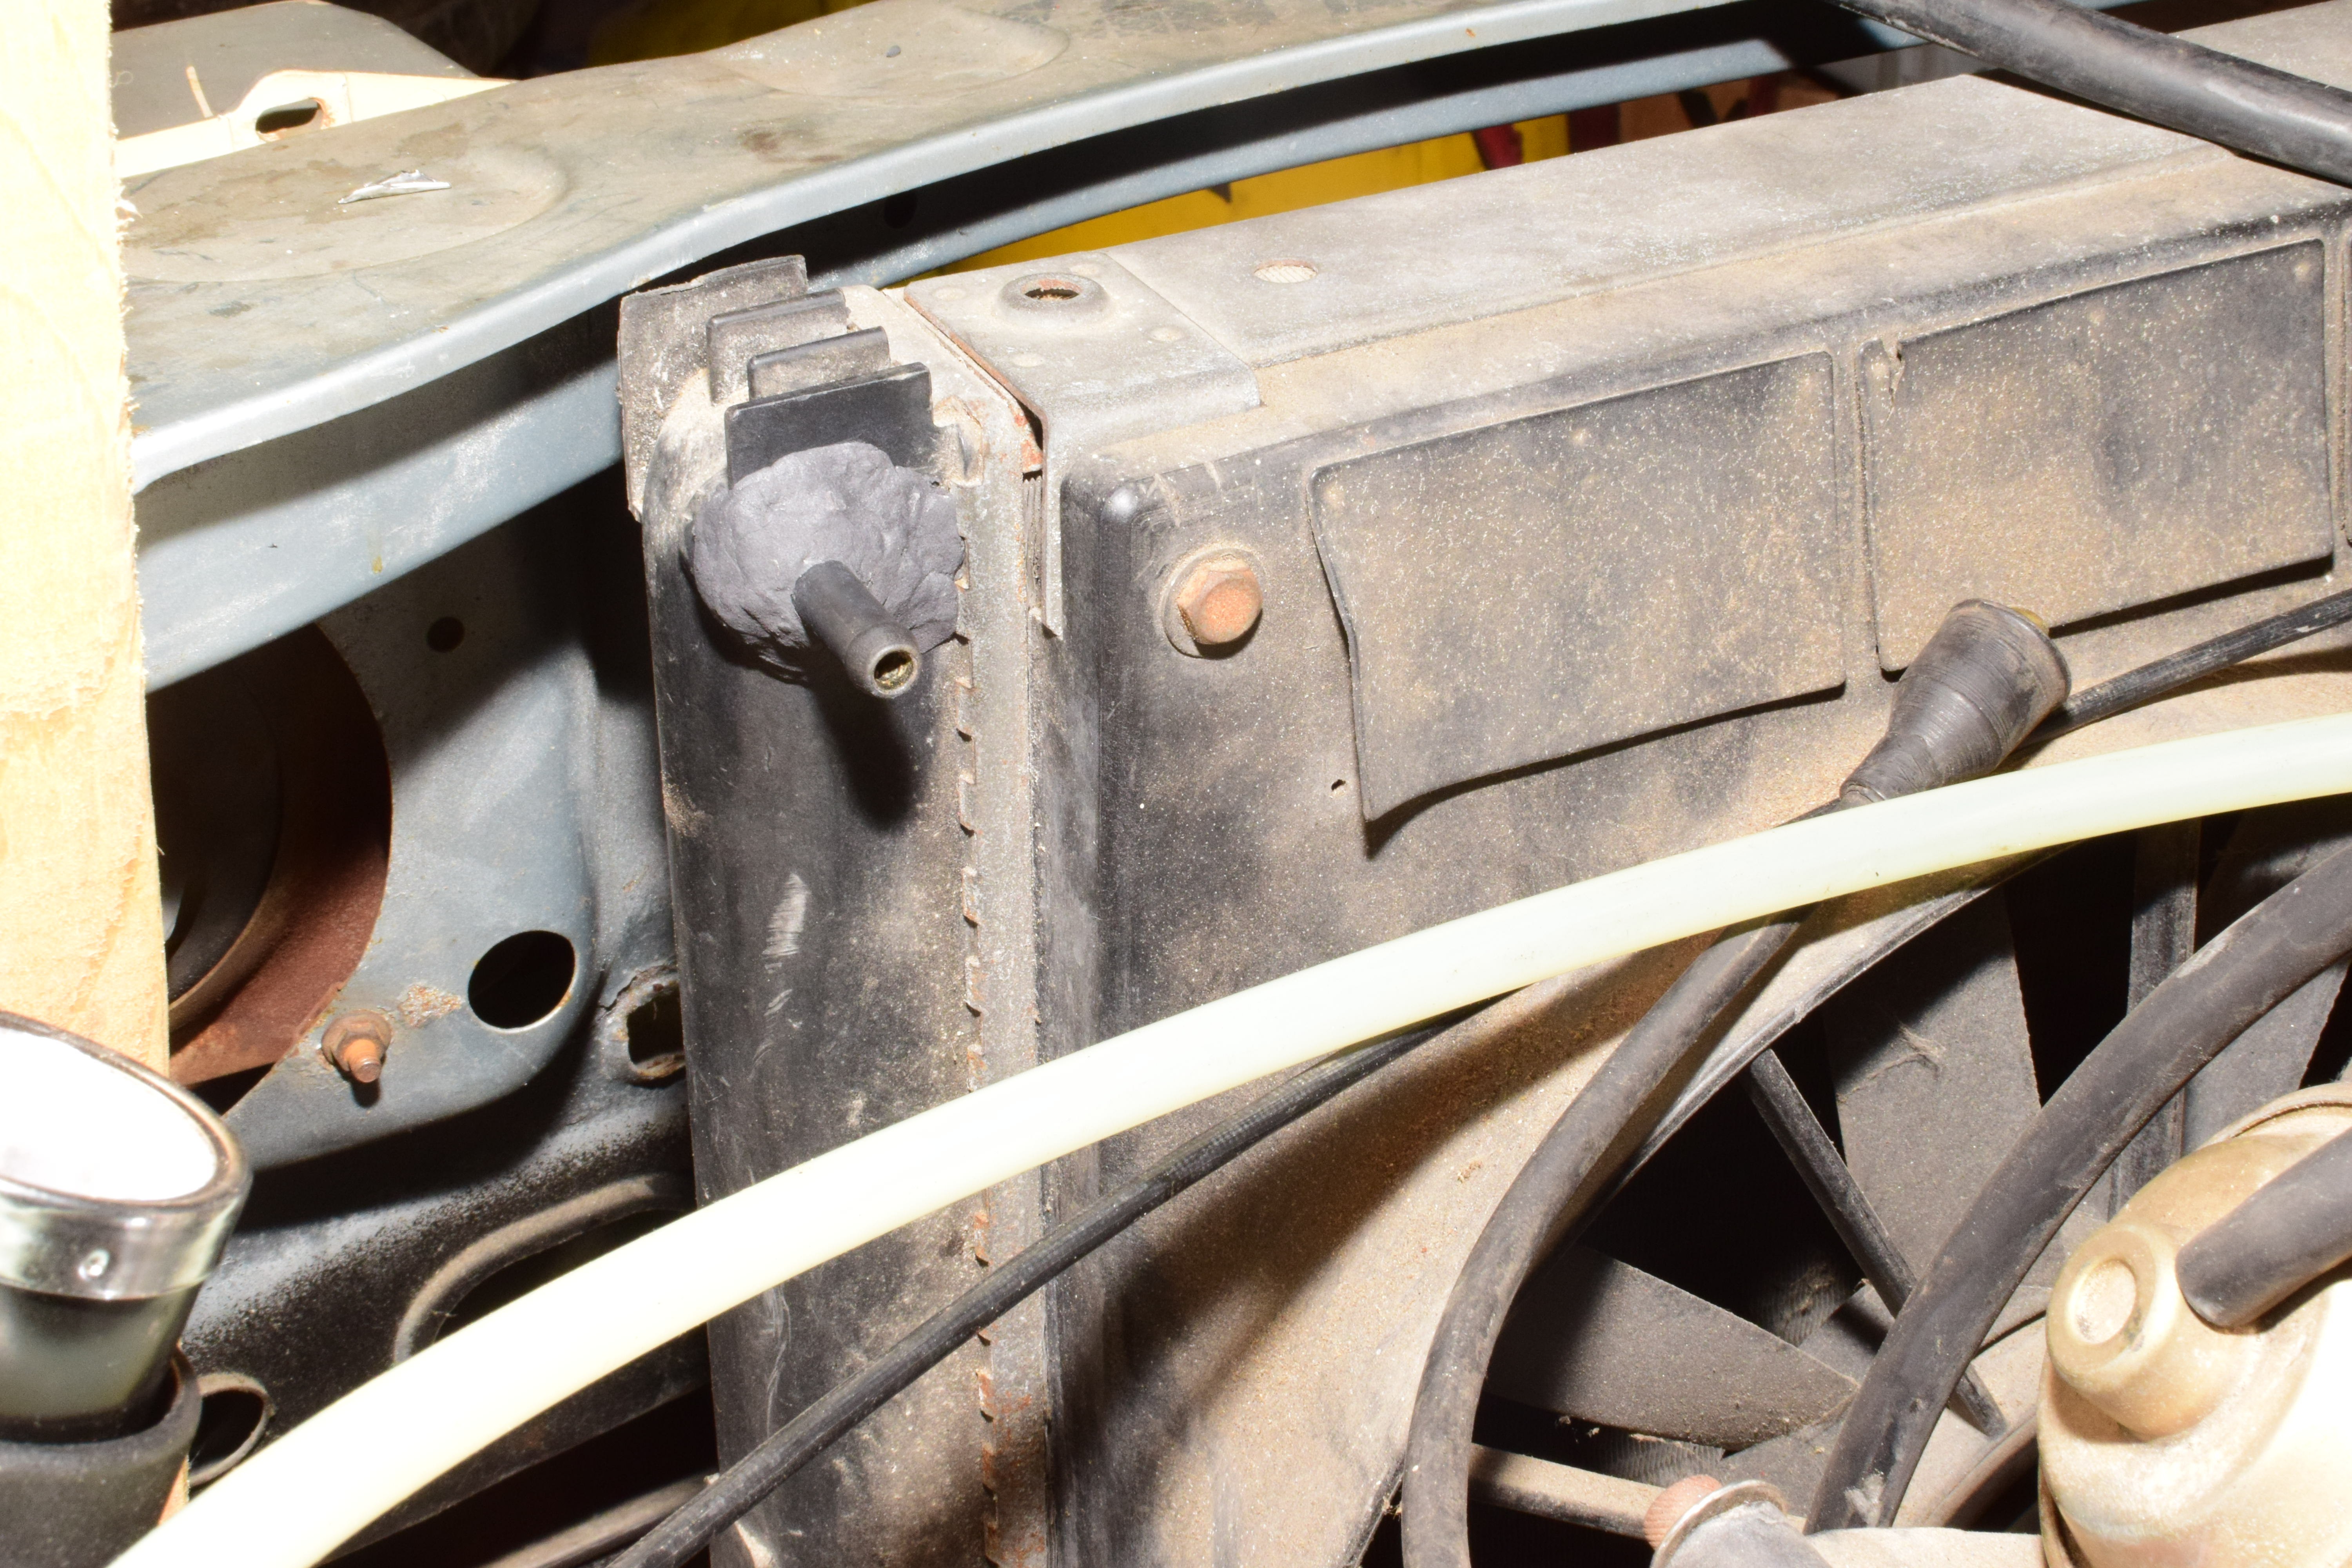
I couldn’t easily find an M10x1.0-to-hose barb fitting, so I threaded what was left into the radiator and put a little JB Weld on it.

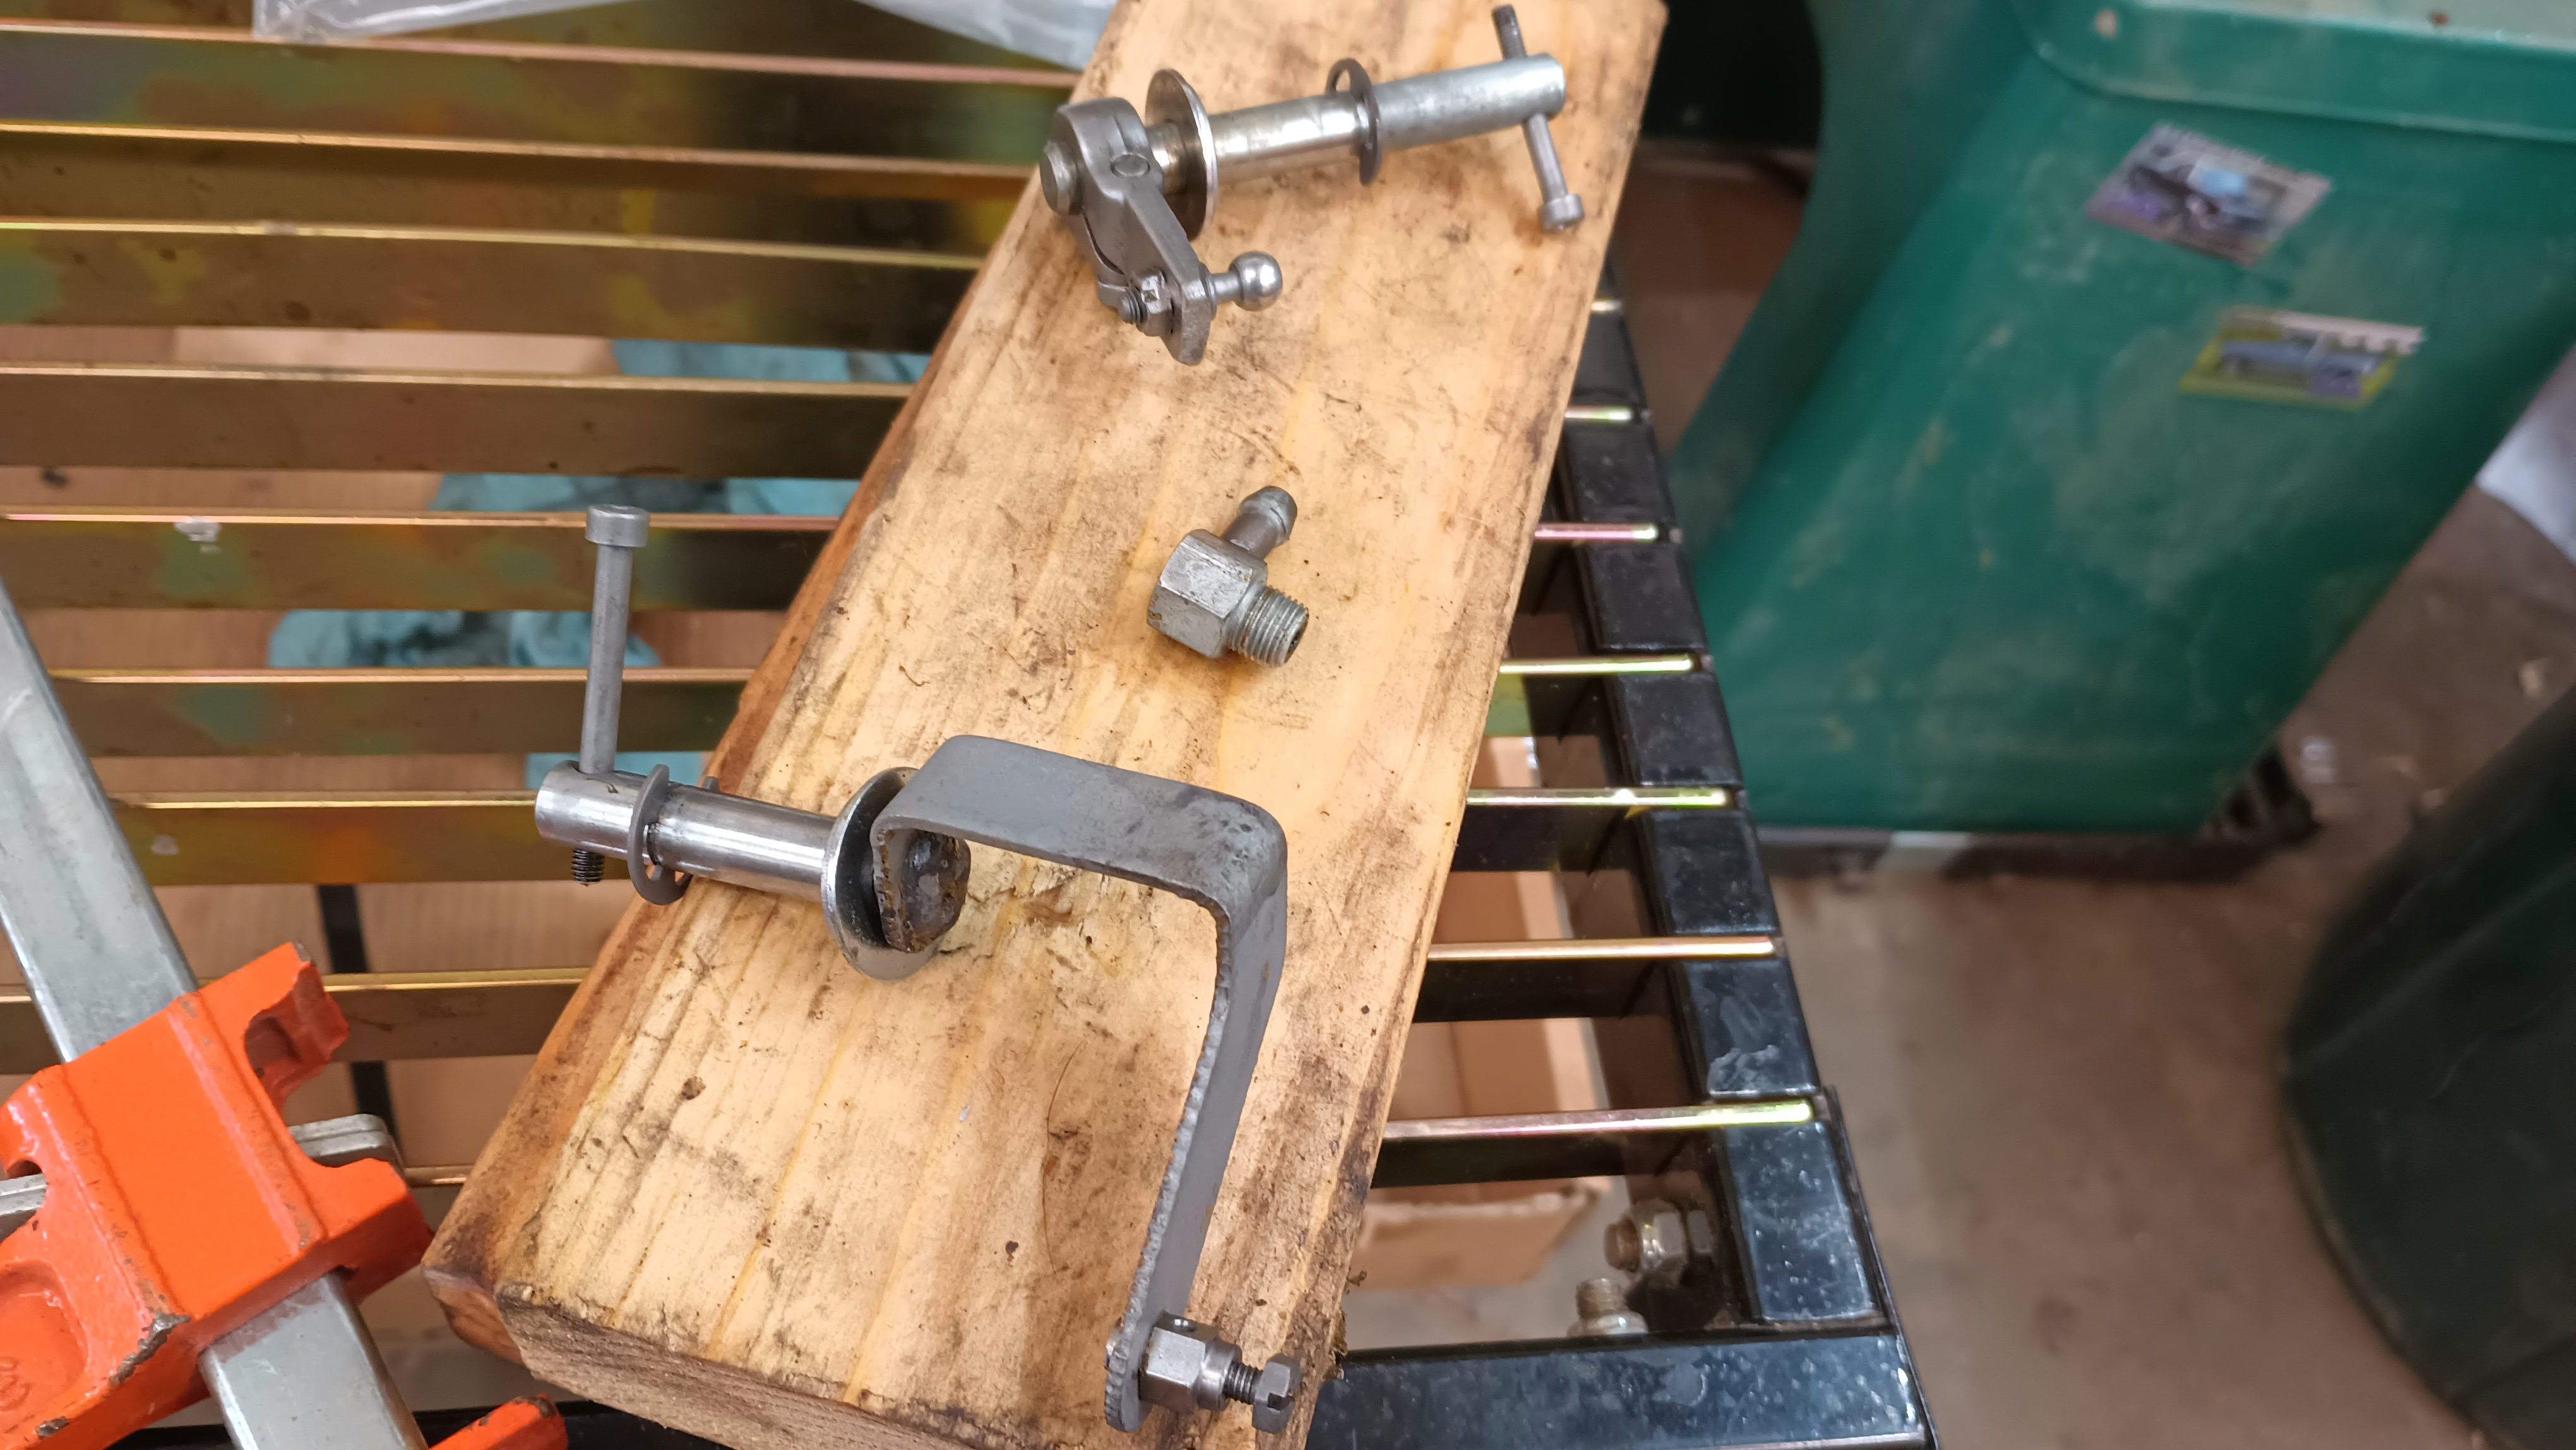
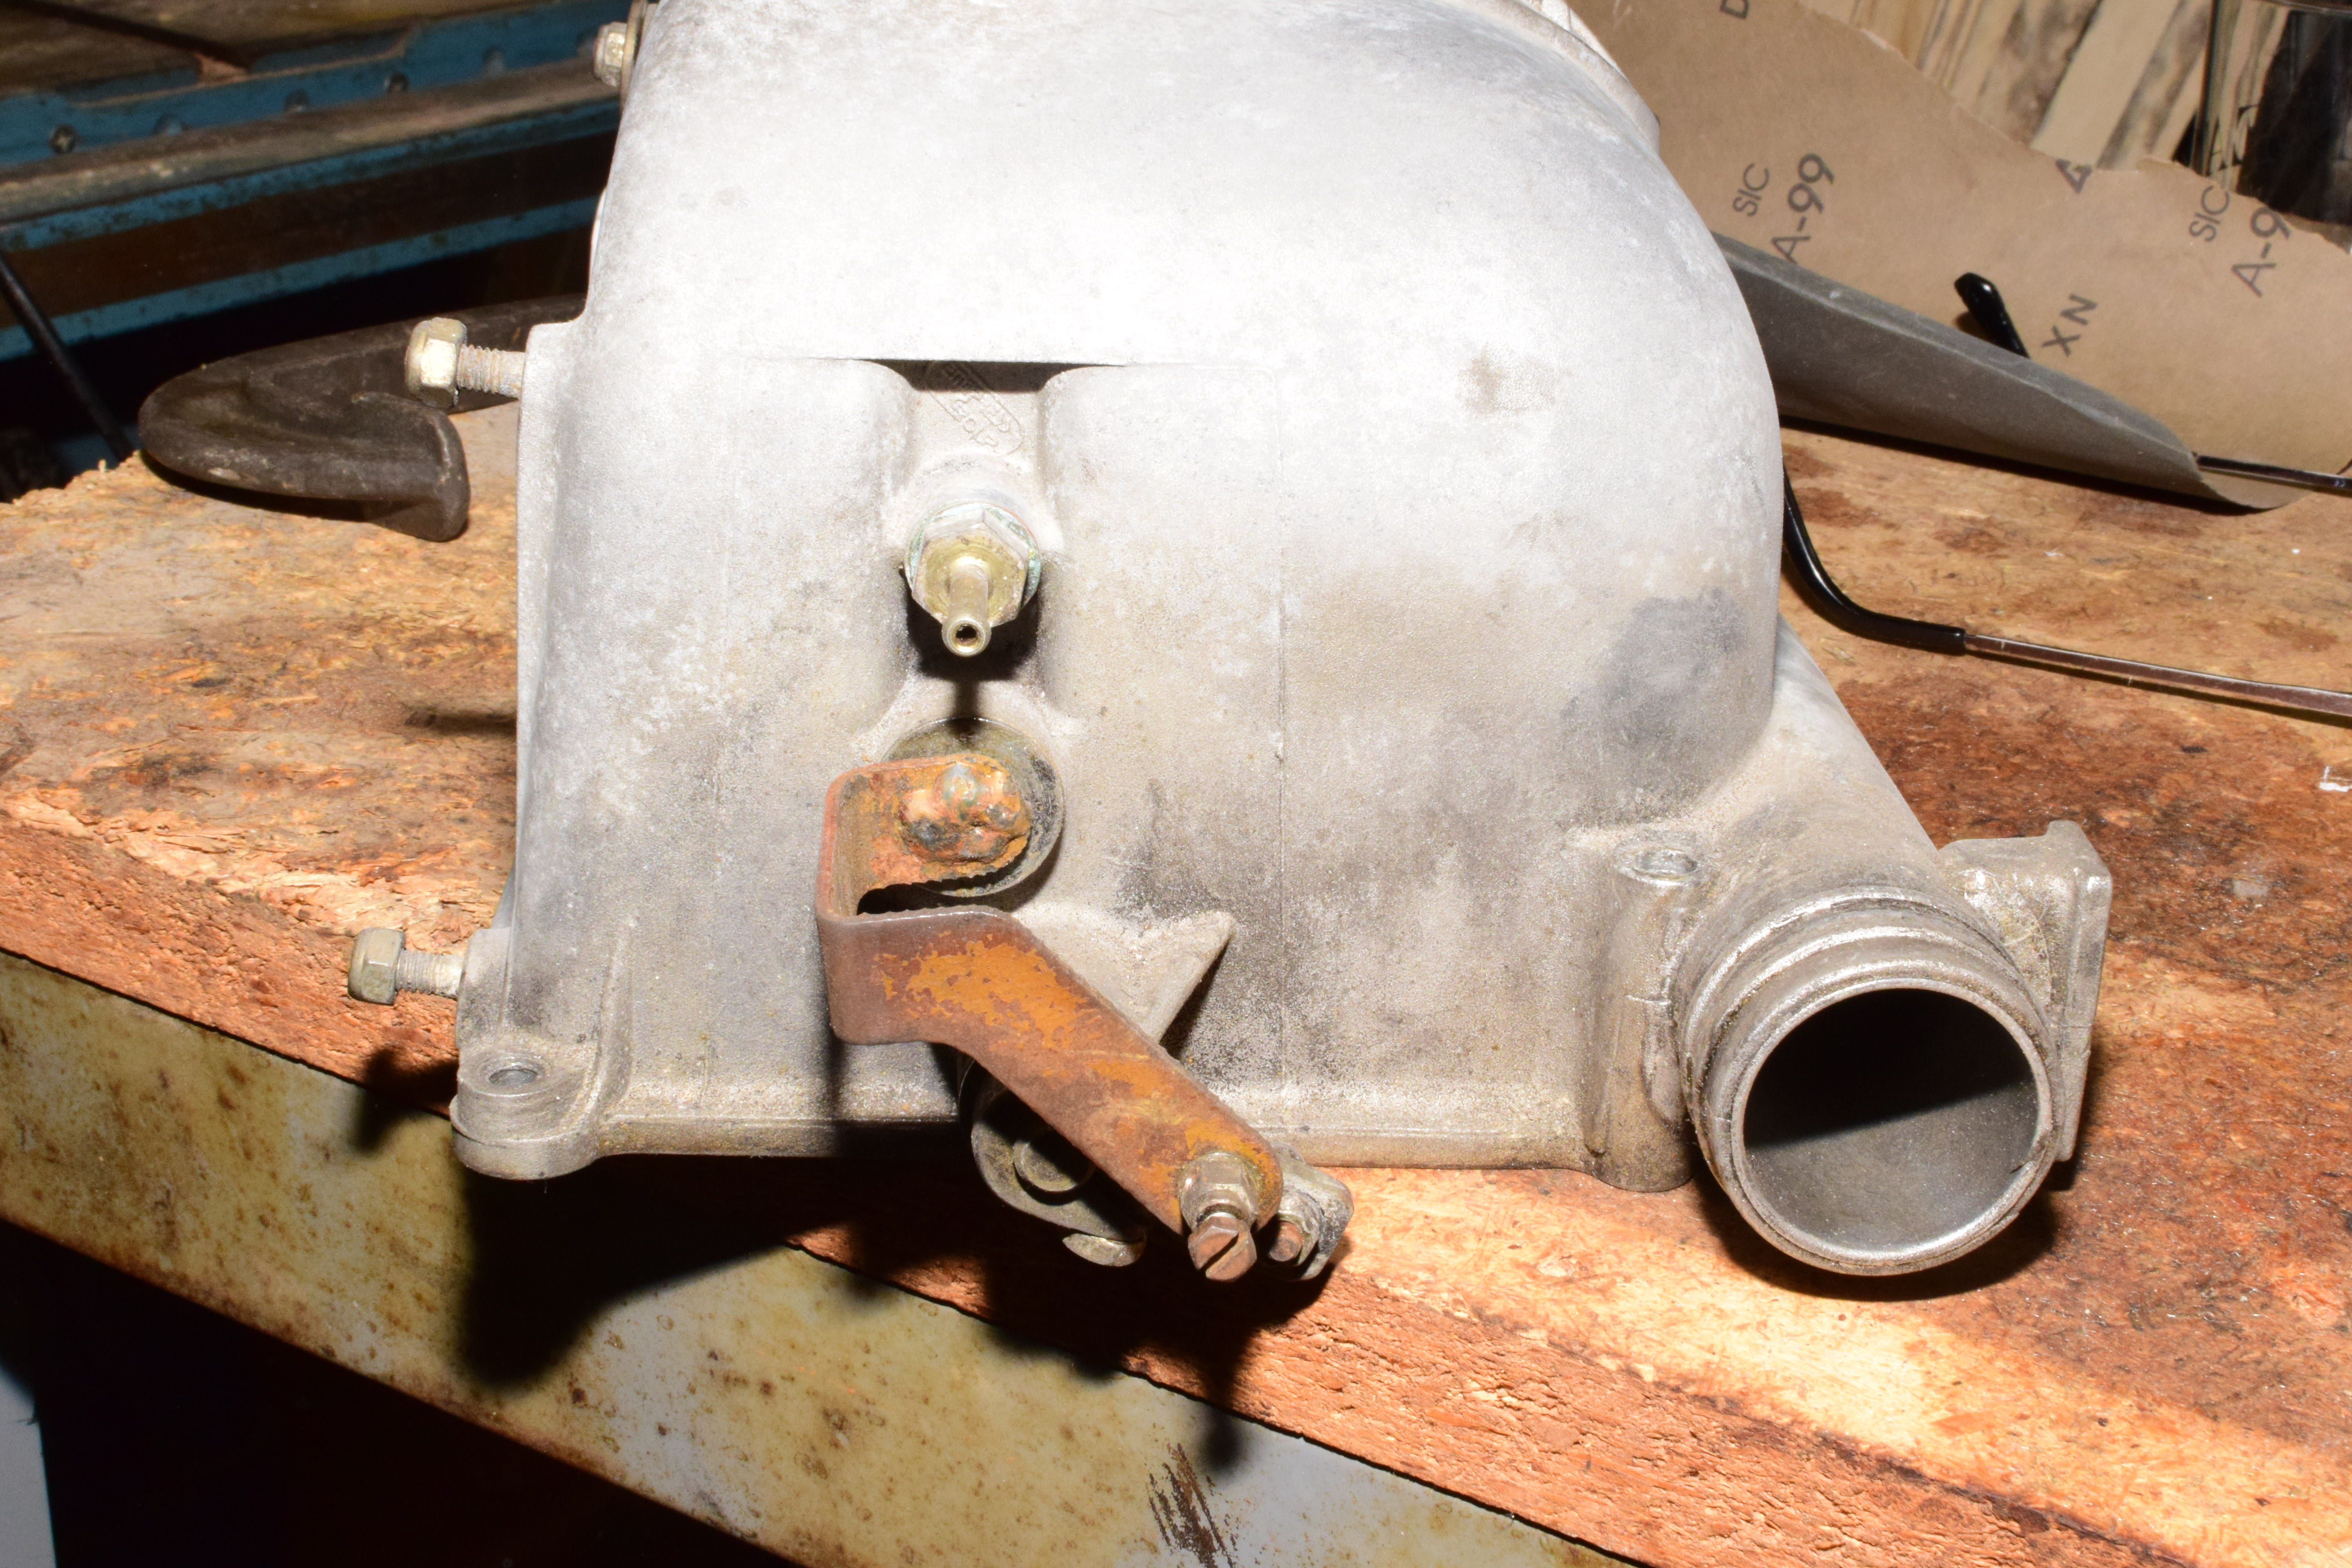
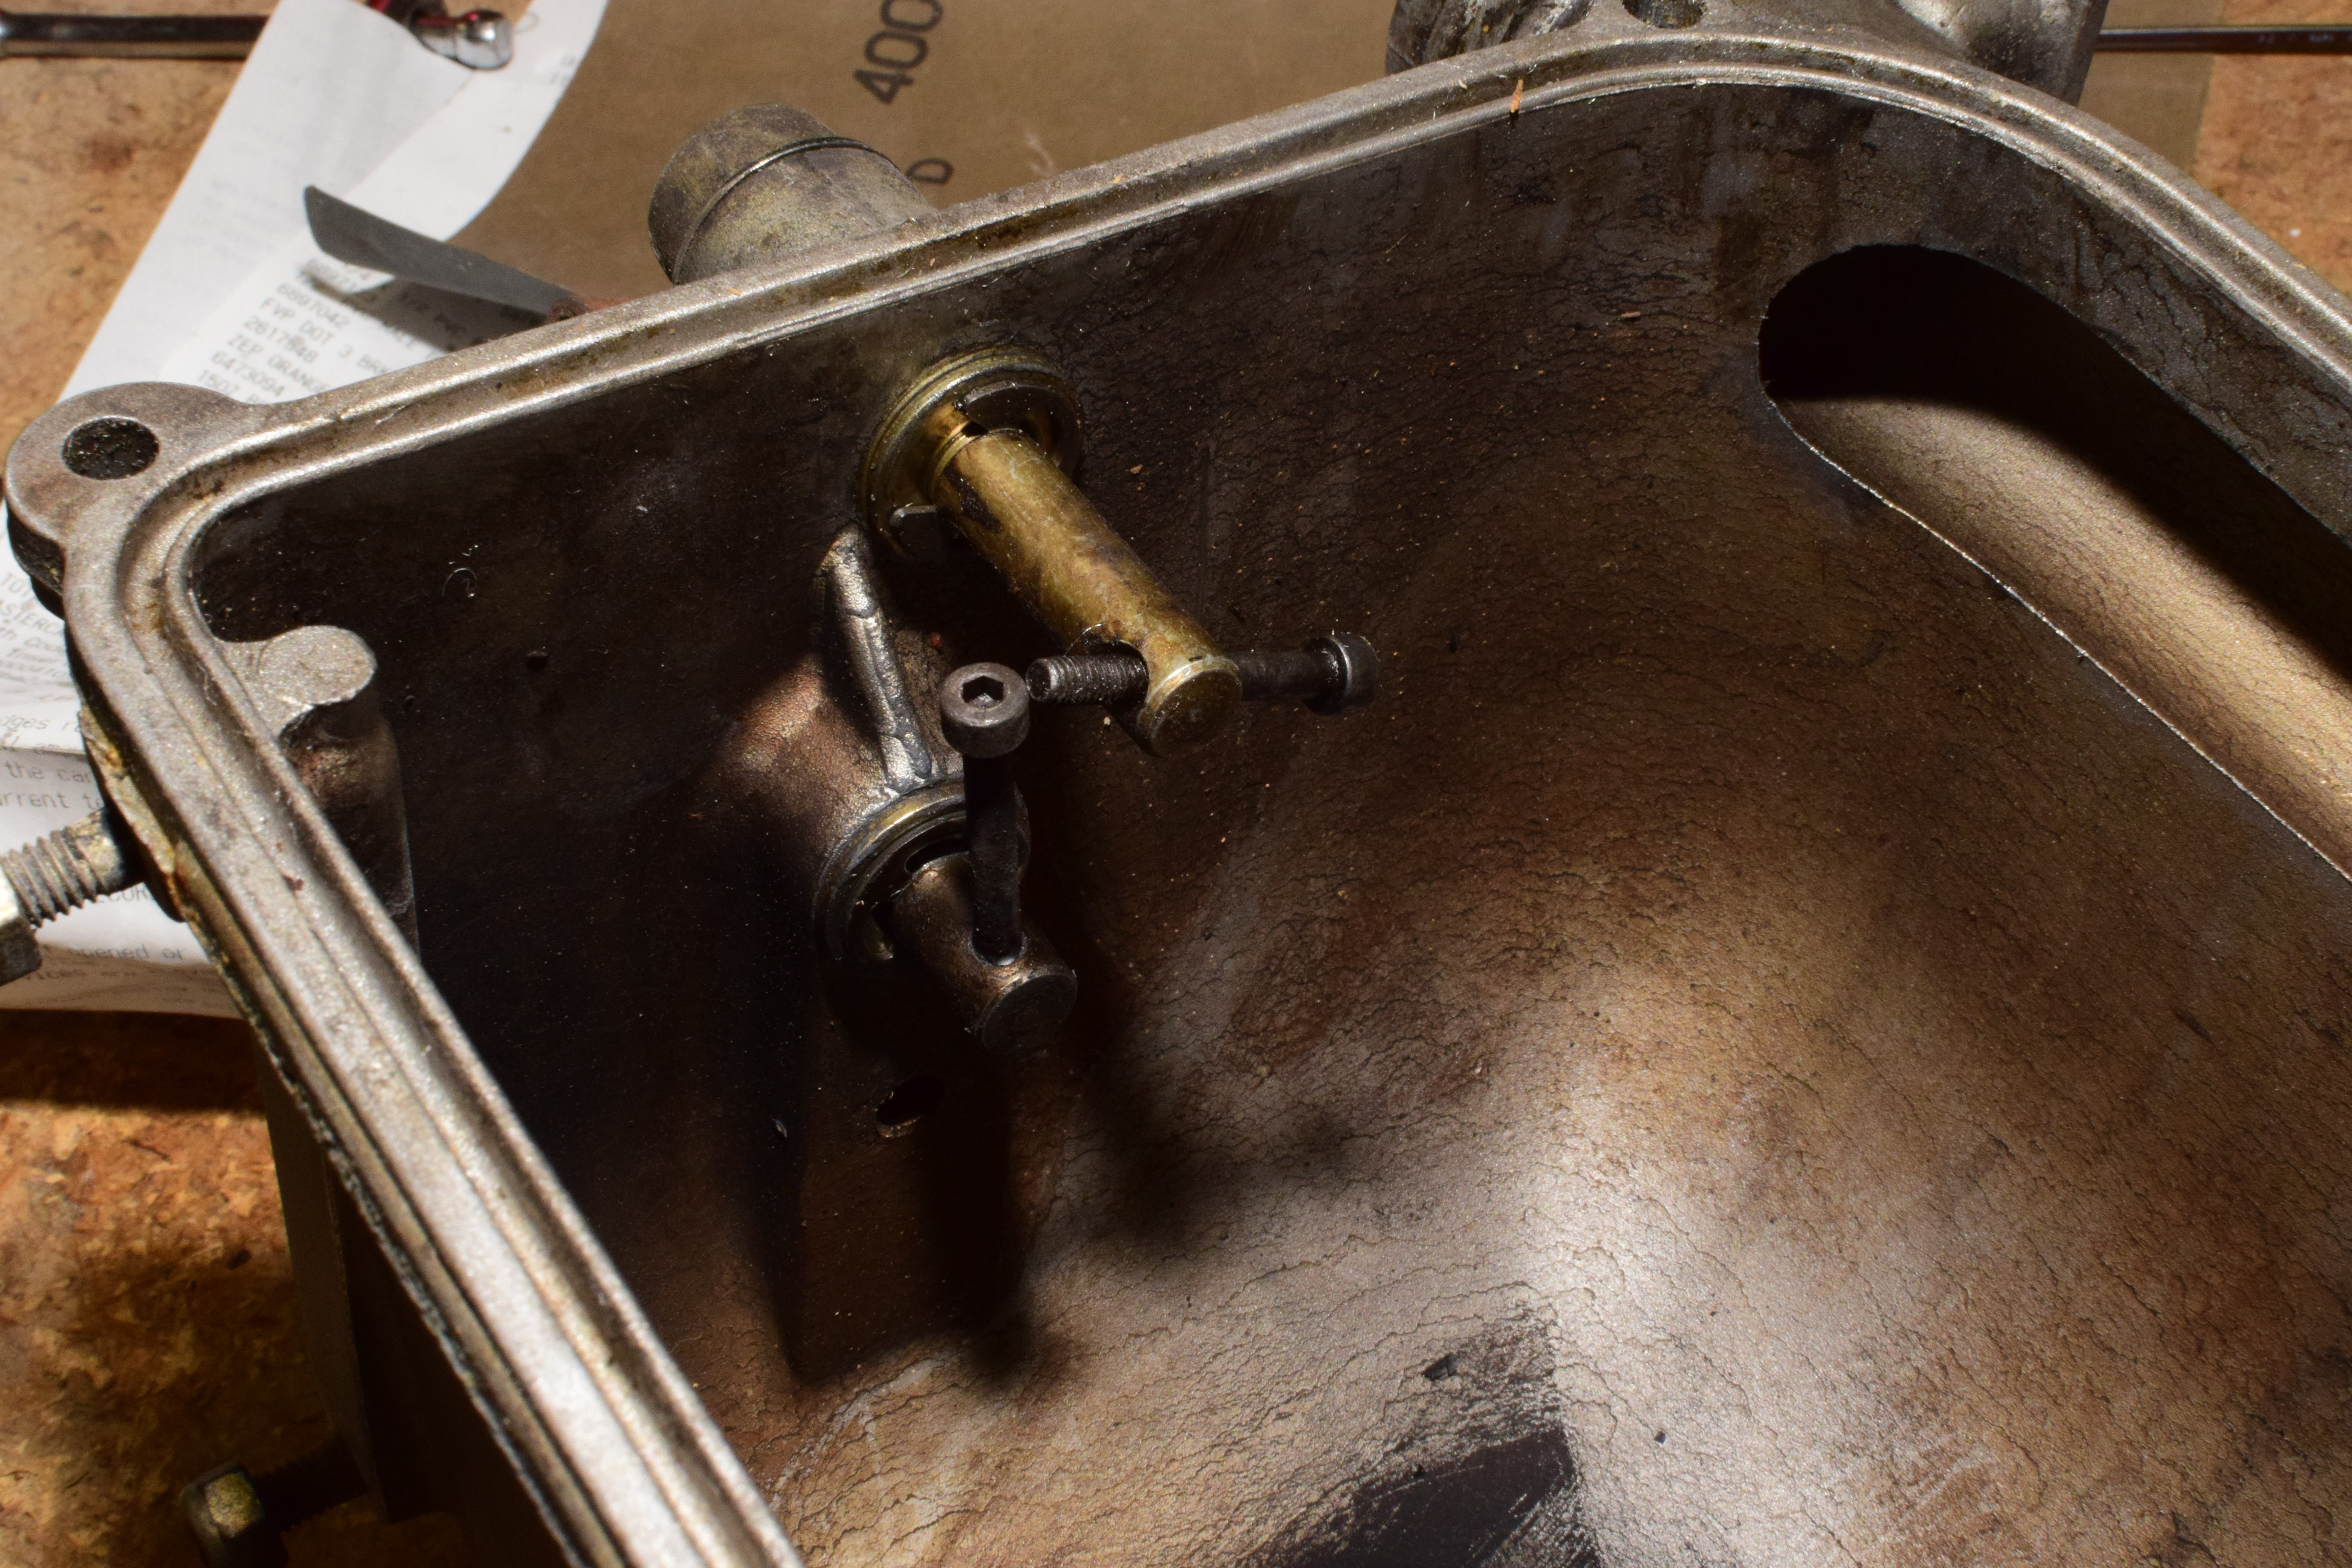
To clean up the carb hat a bit I took the throttle and choke links off and threw them into the ultrasonic cleaner.

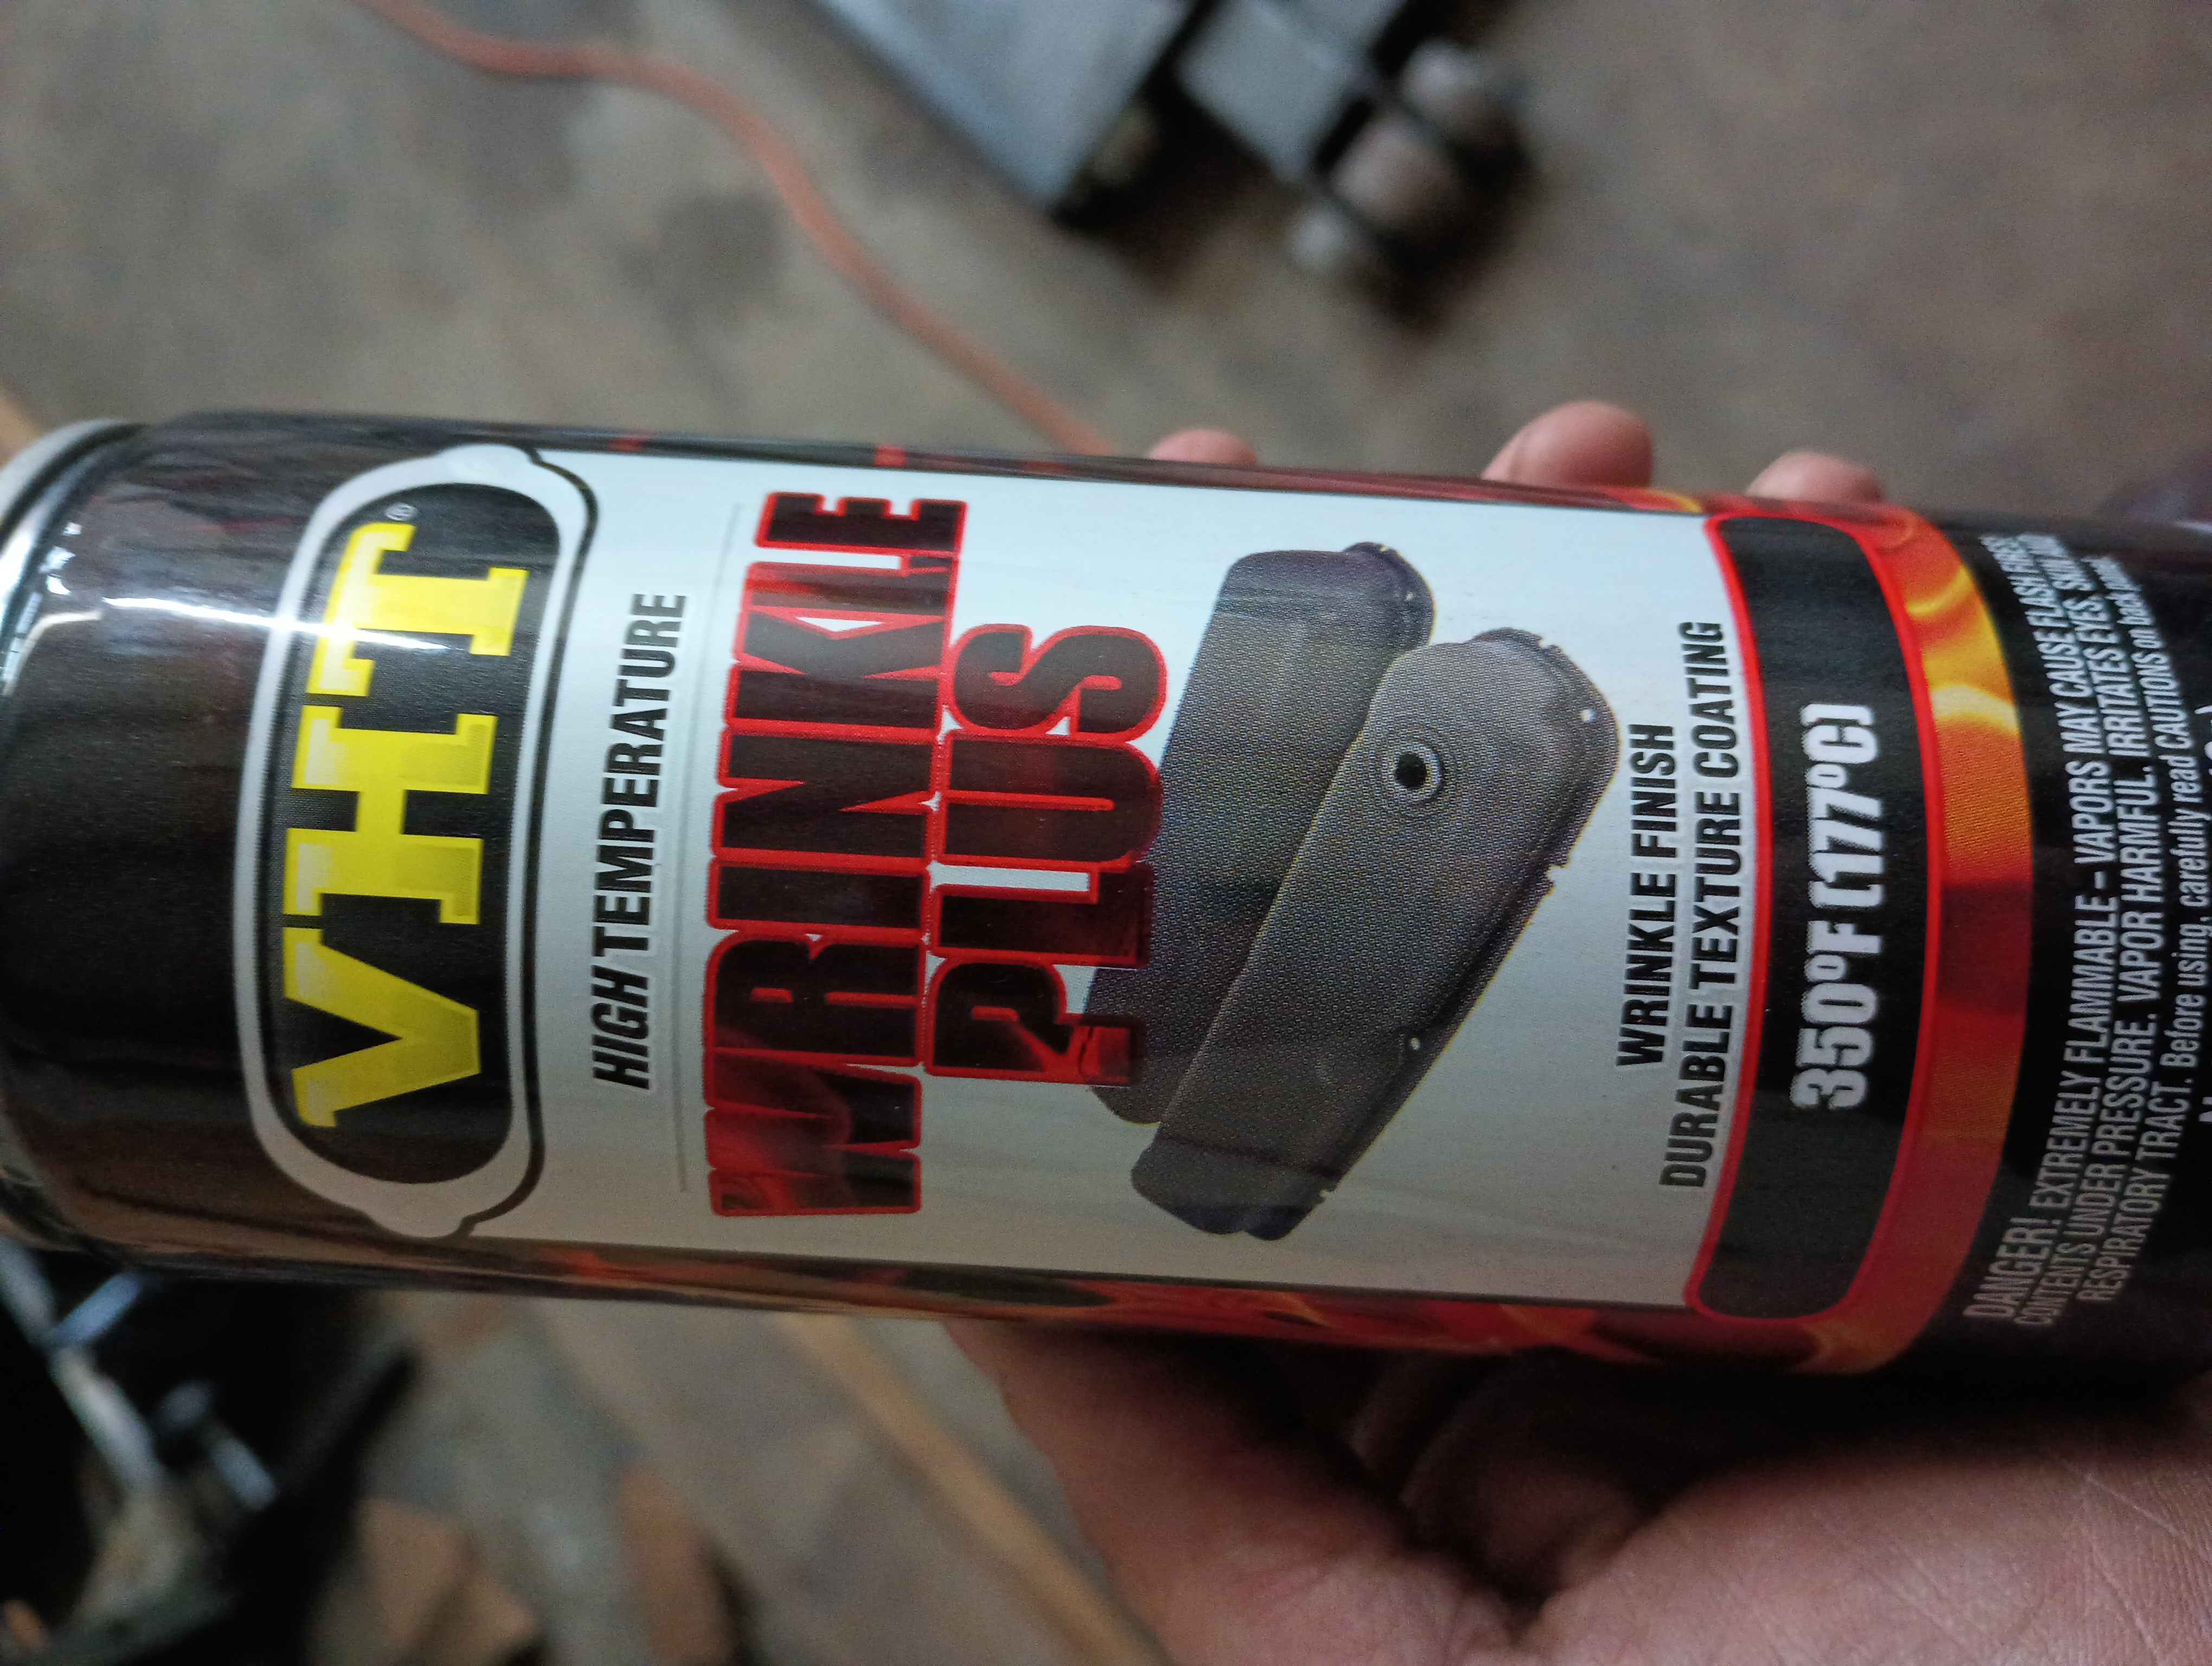
Then I grabbed a can of this and went to paint.

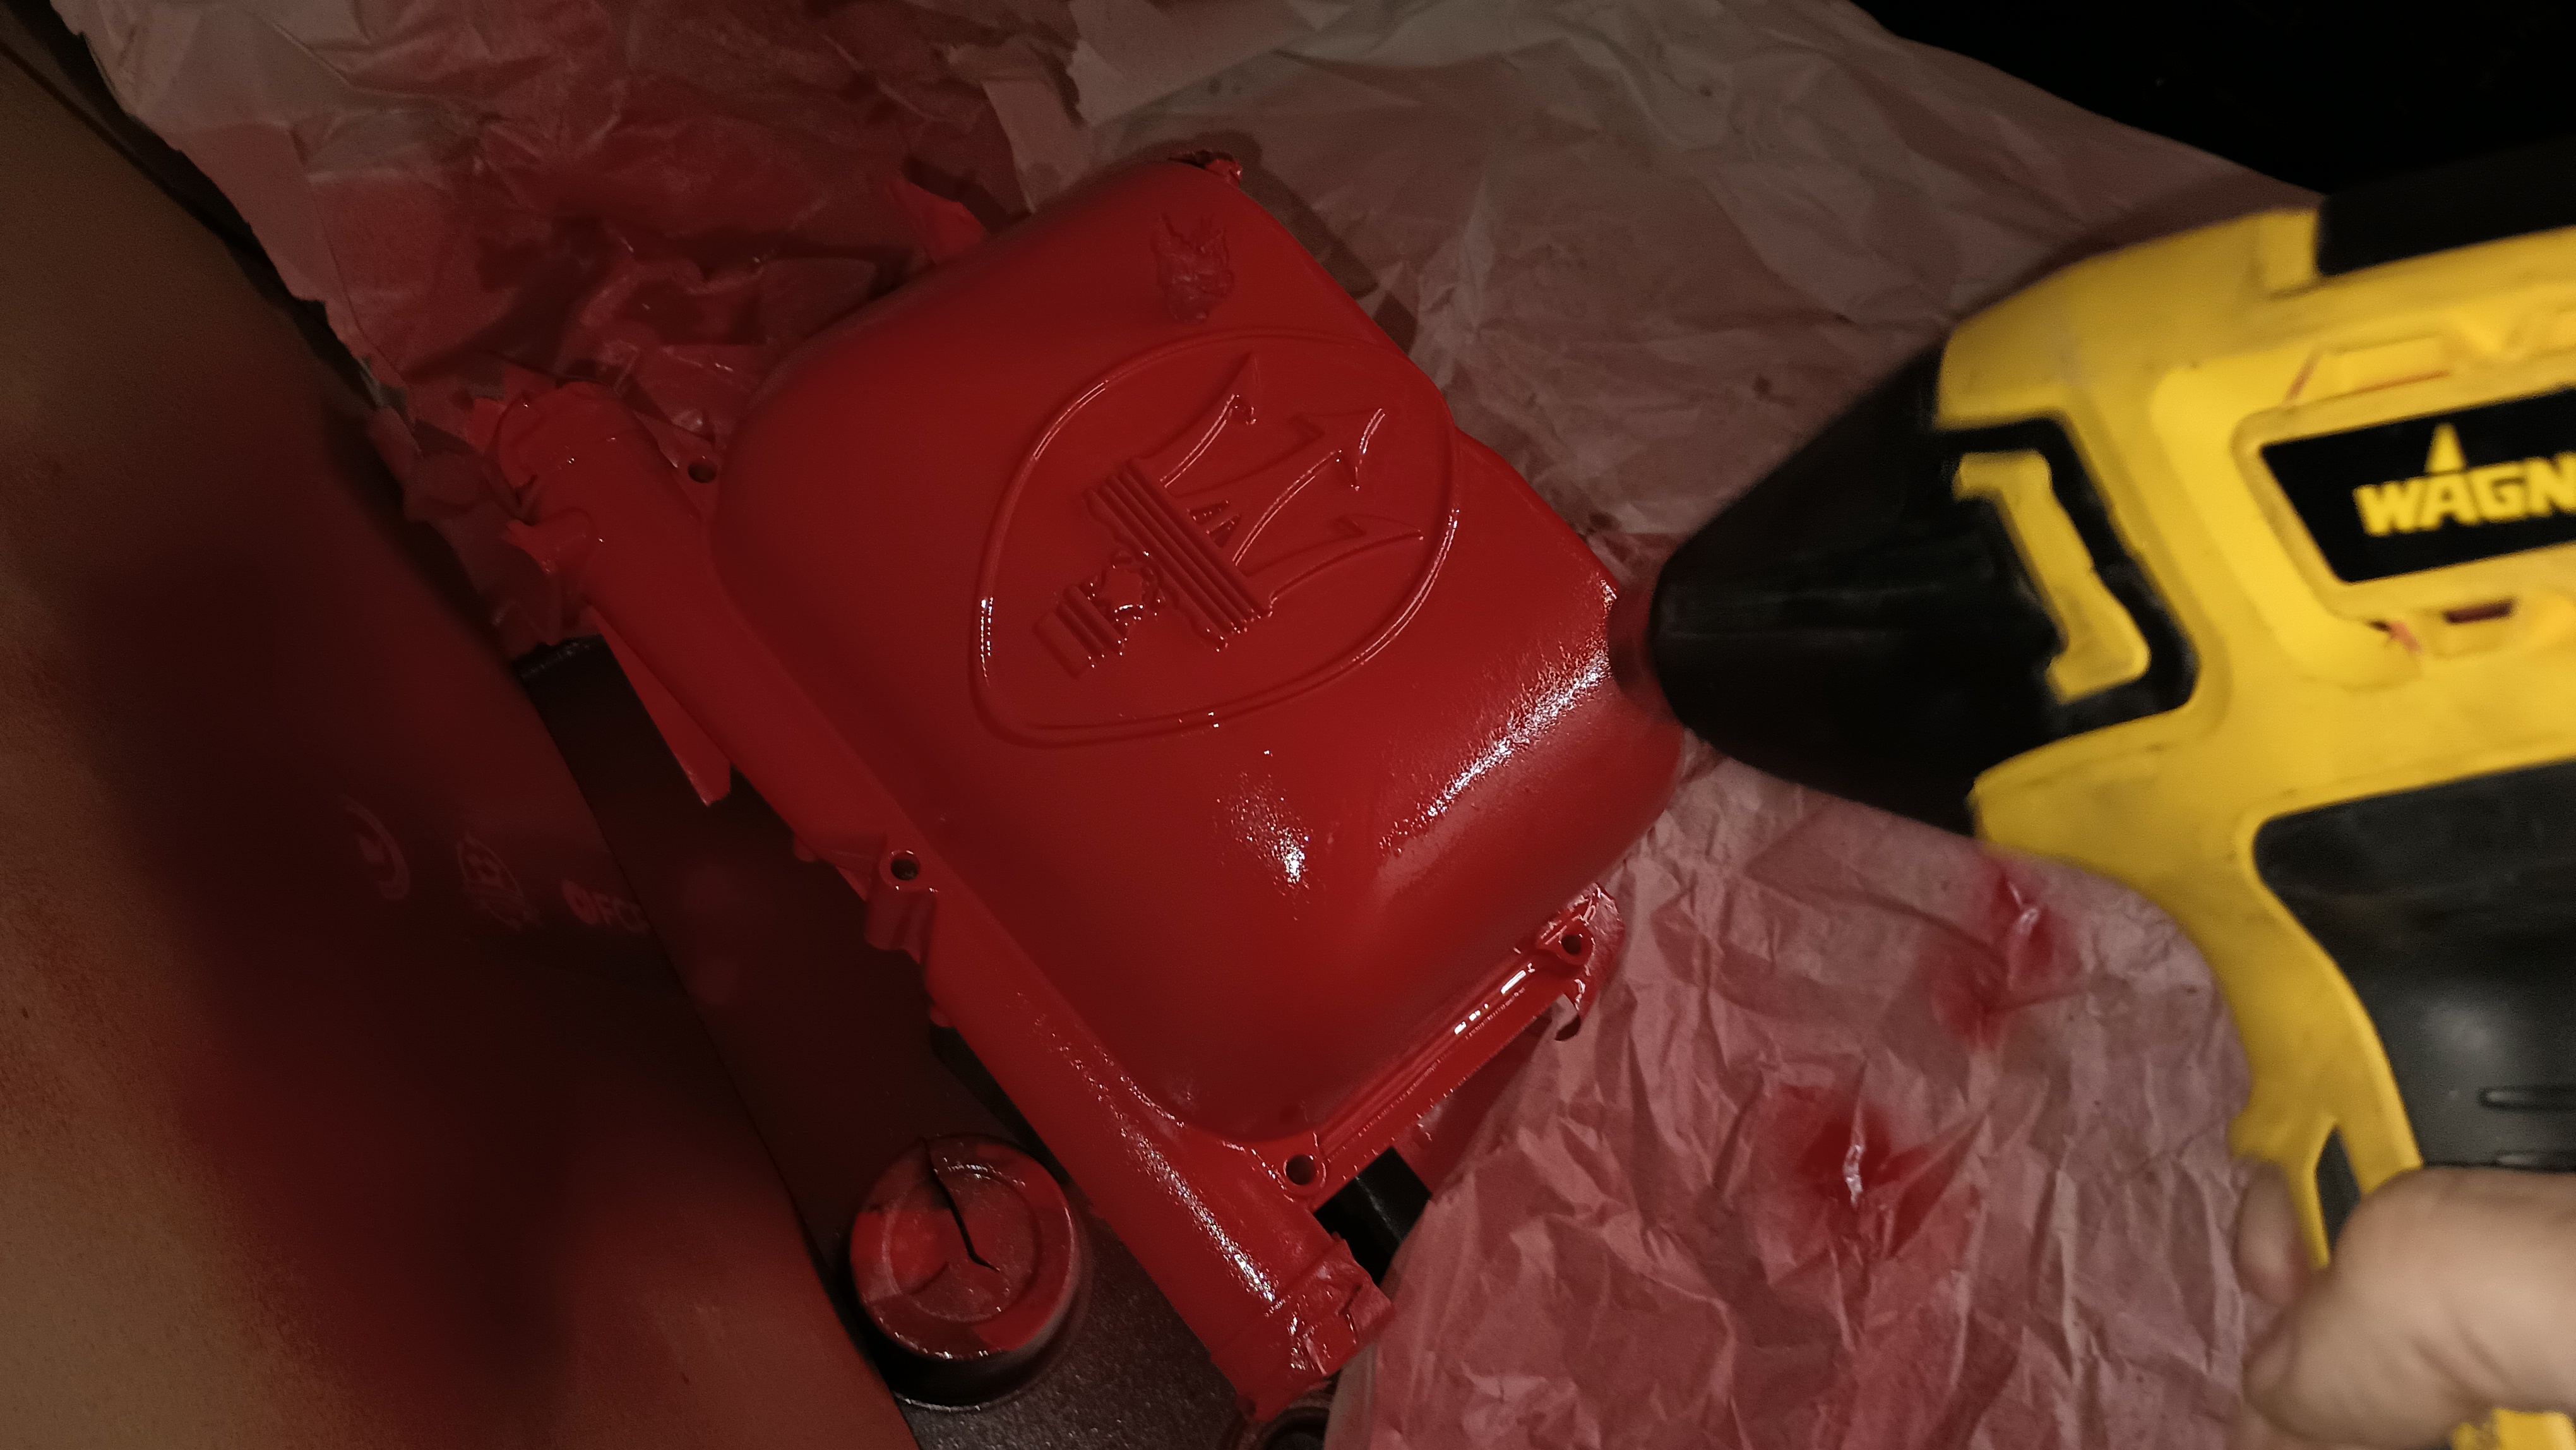
Three coats went on, with some heat gun action in between.

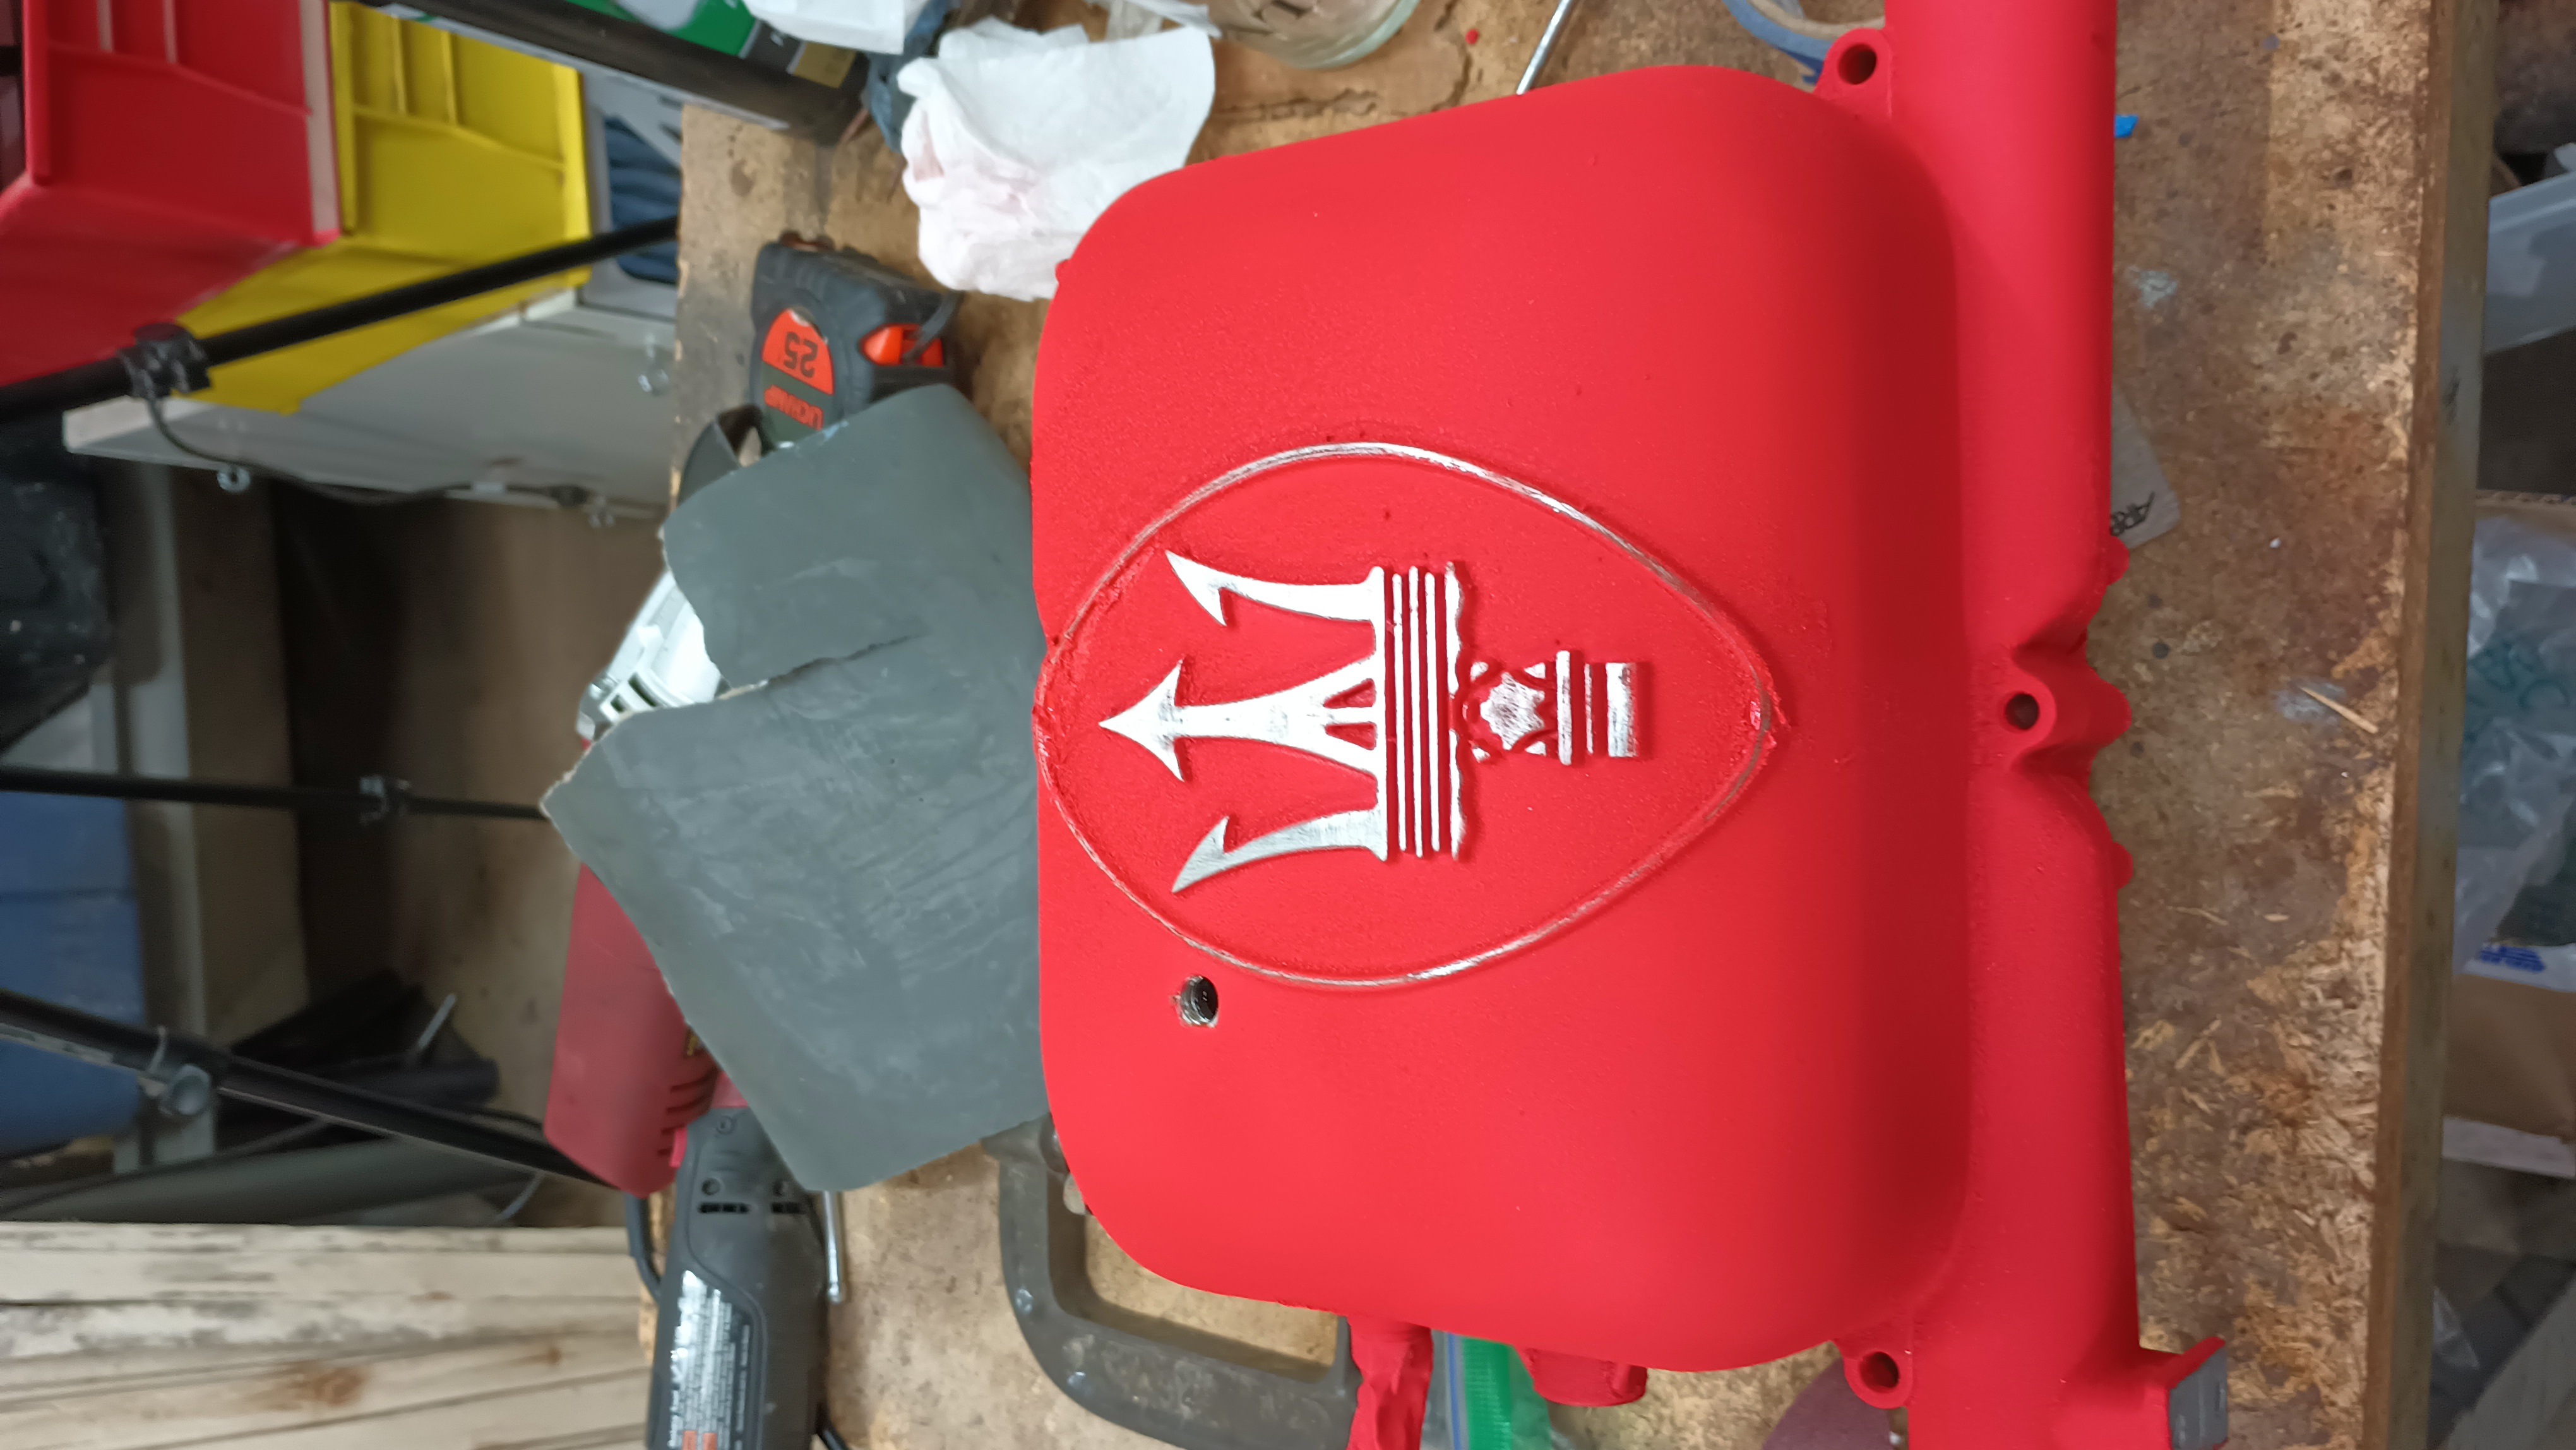
It needs a little more cleaning up once the paint dries the rest of the way, but it’s coming out pretty nice:

I sanded and painted the spare coolant hard line and installed it. I also threw the coolant bottle in the ultrasonic cleaner and then mounted it up.

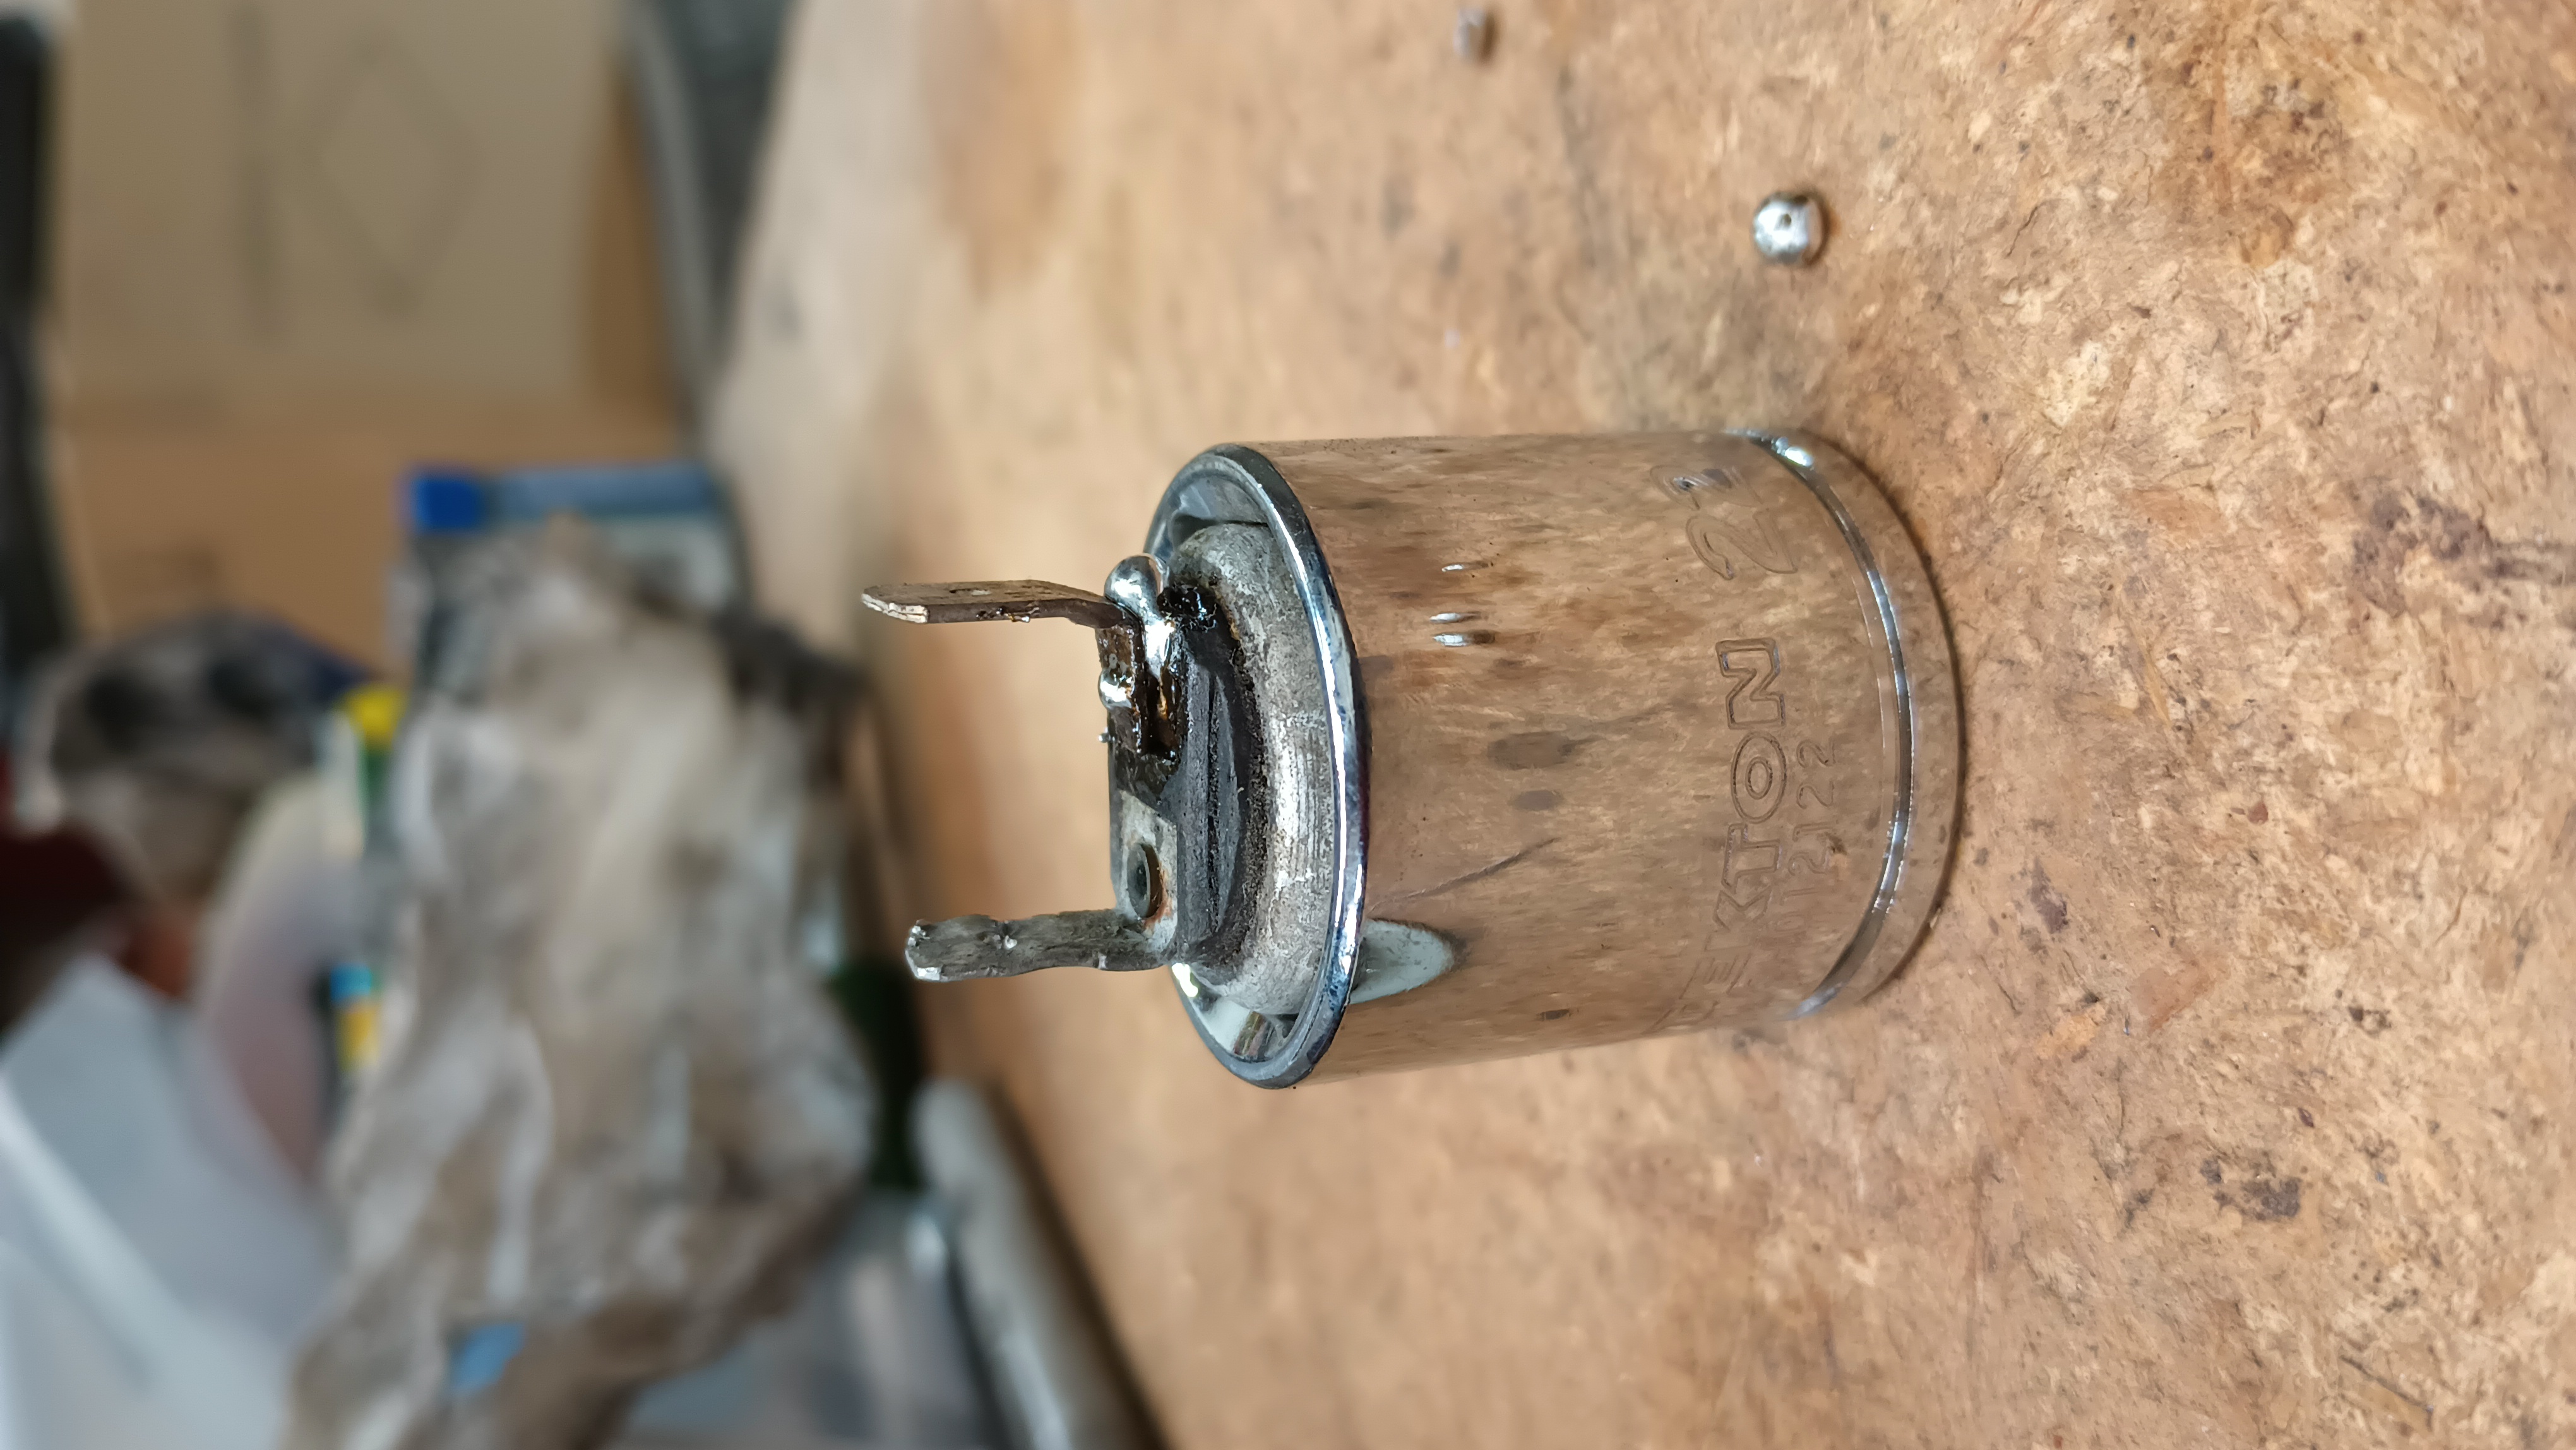
At some point, one of the terminals for the brake light switch broke off so I soldered on a new terminal.

Not the prettiest, but it should work for now.

The last thing I got wrapped up was installing the hood latch components and running the cables through the firewall.

More Brake Work

When working with the rear brakes, I mentioned that I should have checked the front before ordering any parts. That’s advice I should have followed!

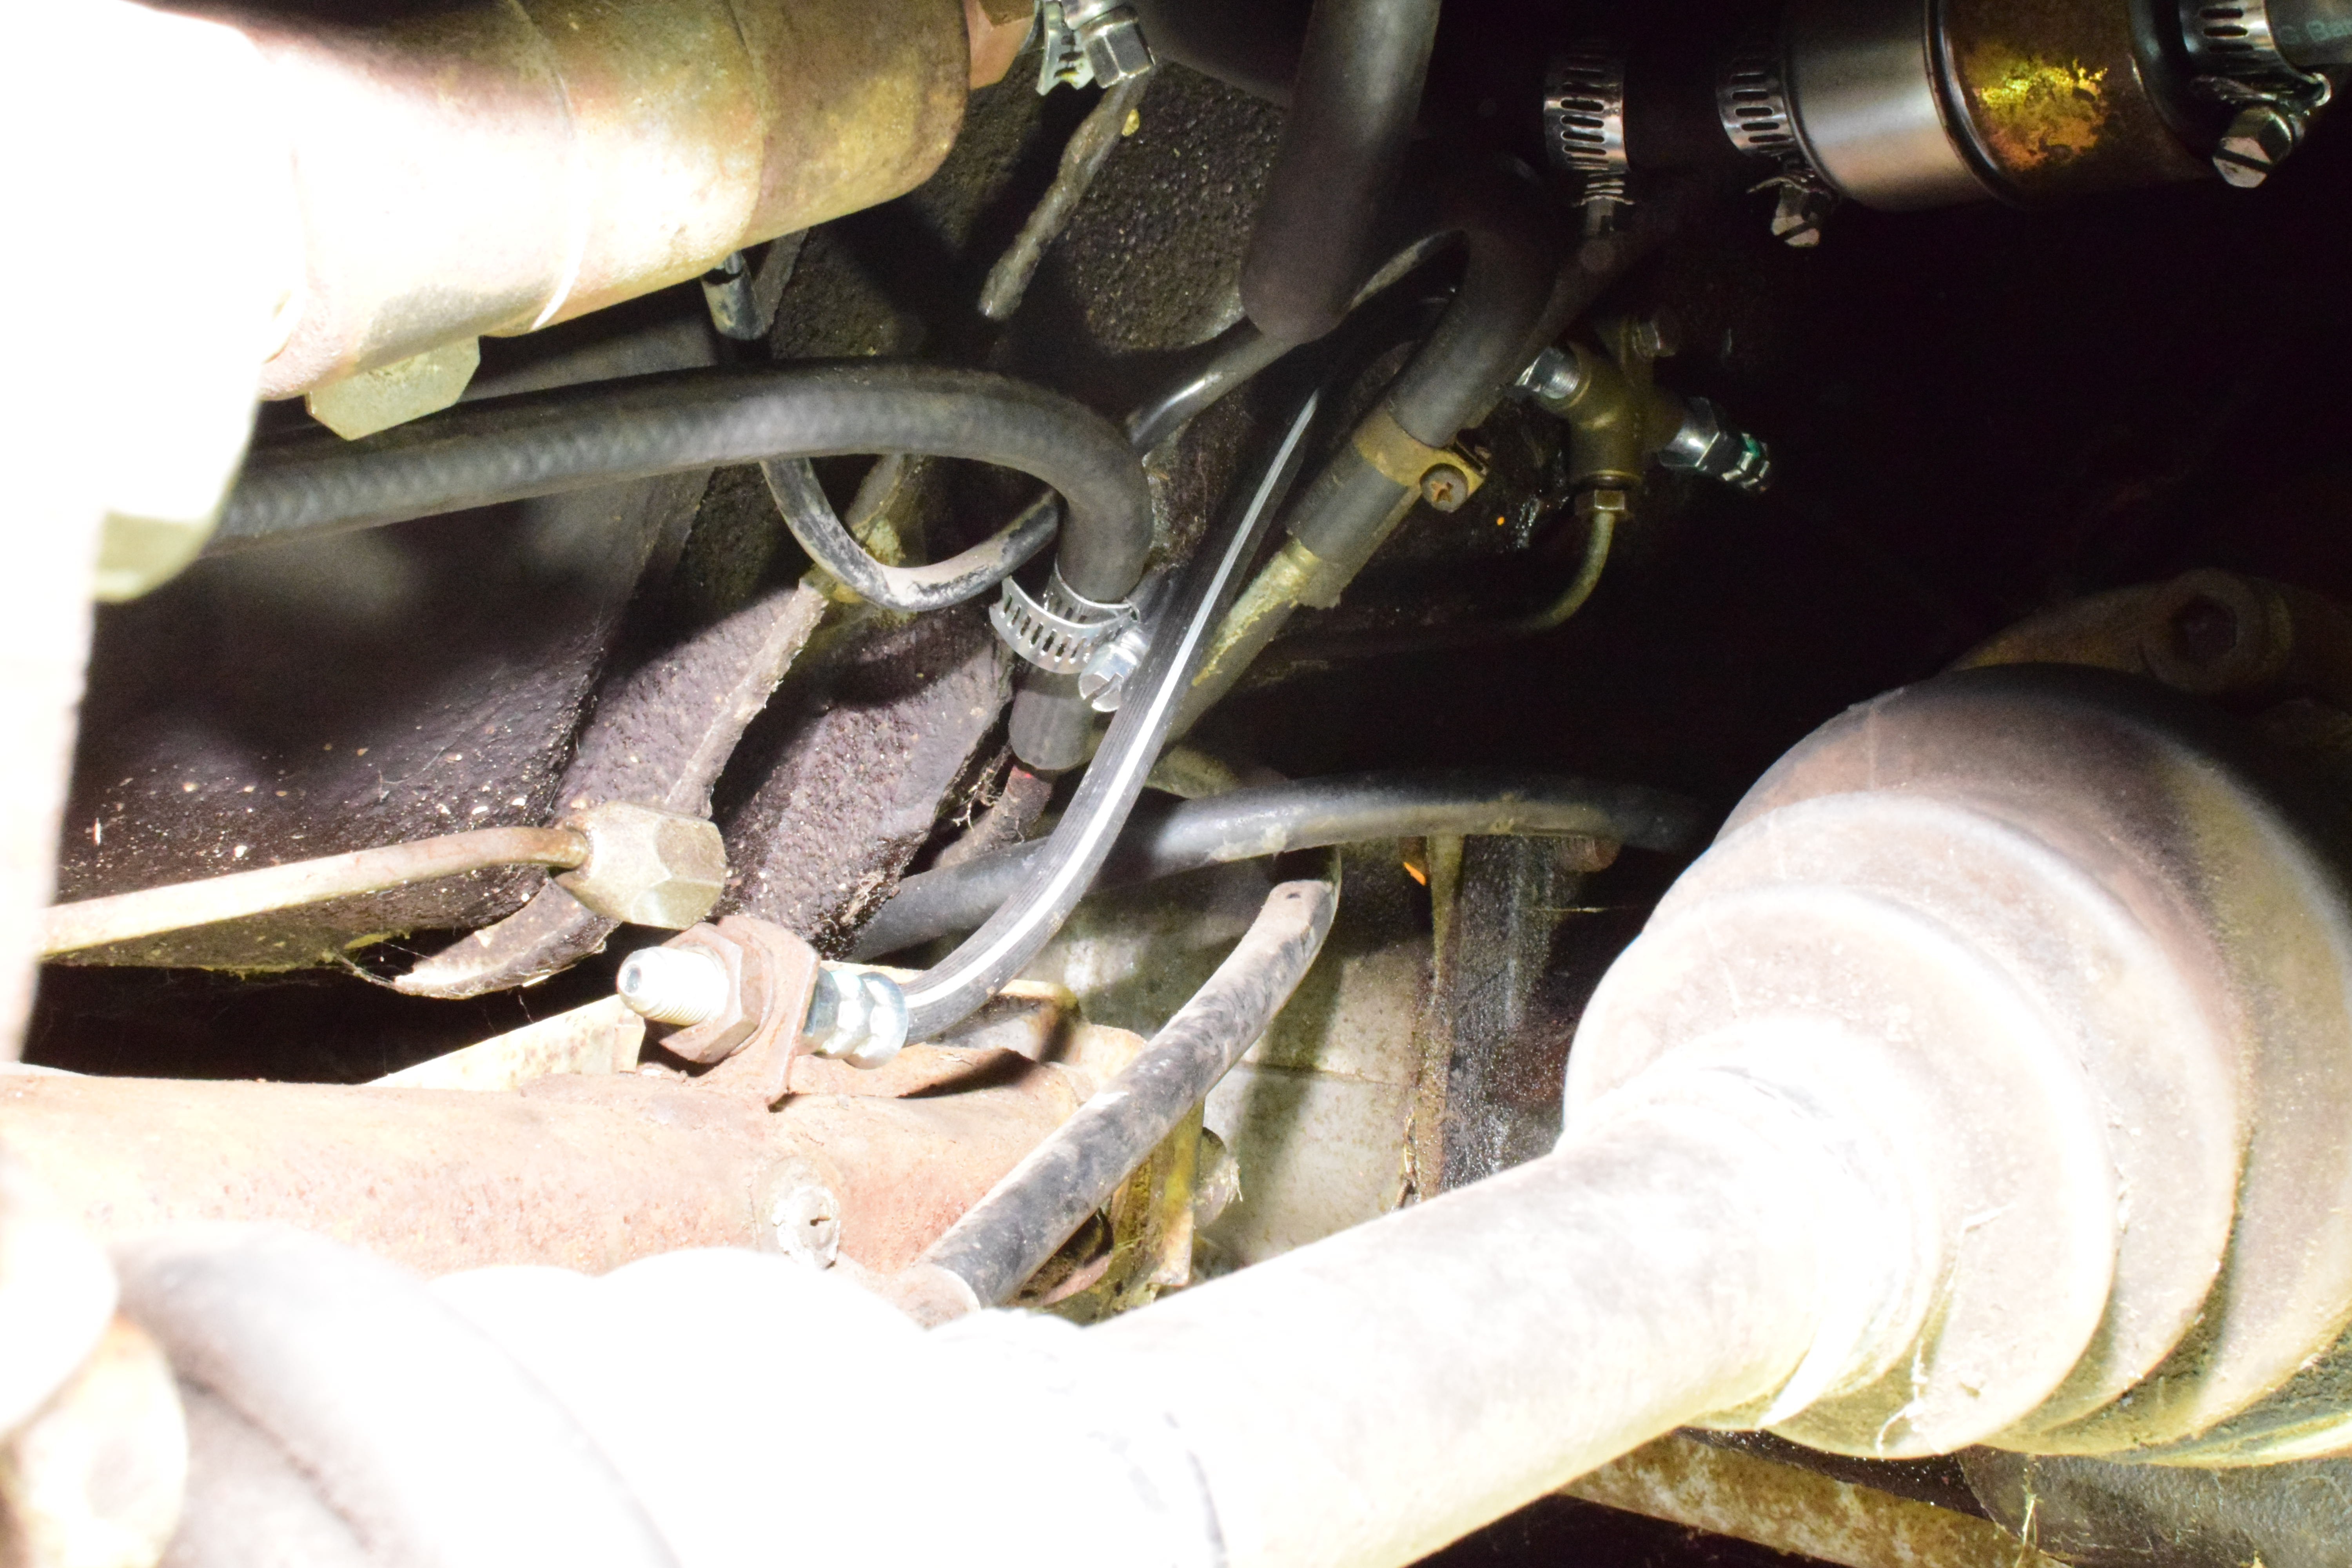
The Jag soft lines that I got – Sunsong 2202540 – are about an inch shorter than the original Maserati – manufactured by Pirelli, if I’m reading the old rubber correctly. I was able to get them installed onto the proportioning valve and then connected to the hard line at the bracket on each control arm, but at full droop they’re a little bit tight. I’m also a little bit concerned that the left side line is going to rub against the fuel line. For the $2000 Challenge, however, they’re fine.

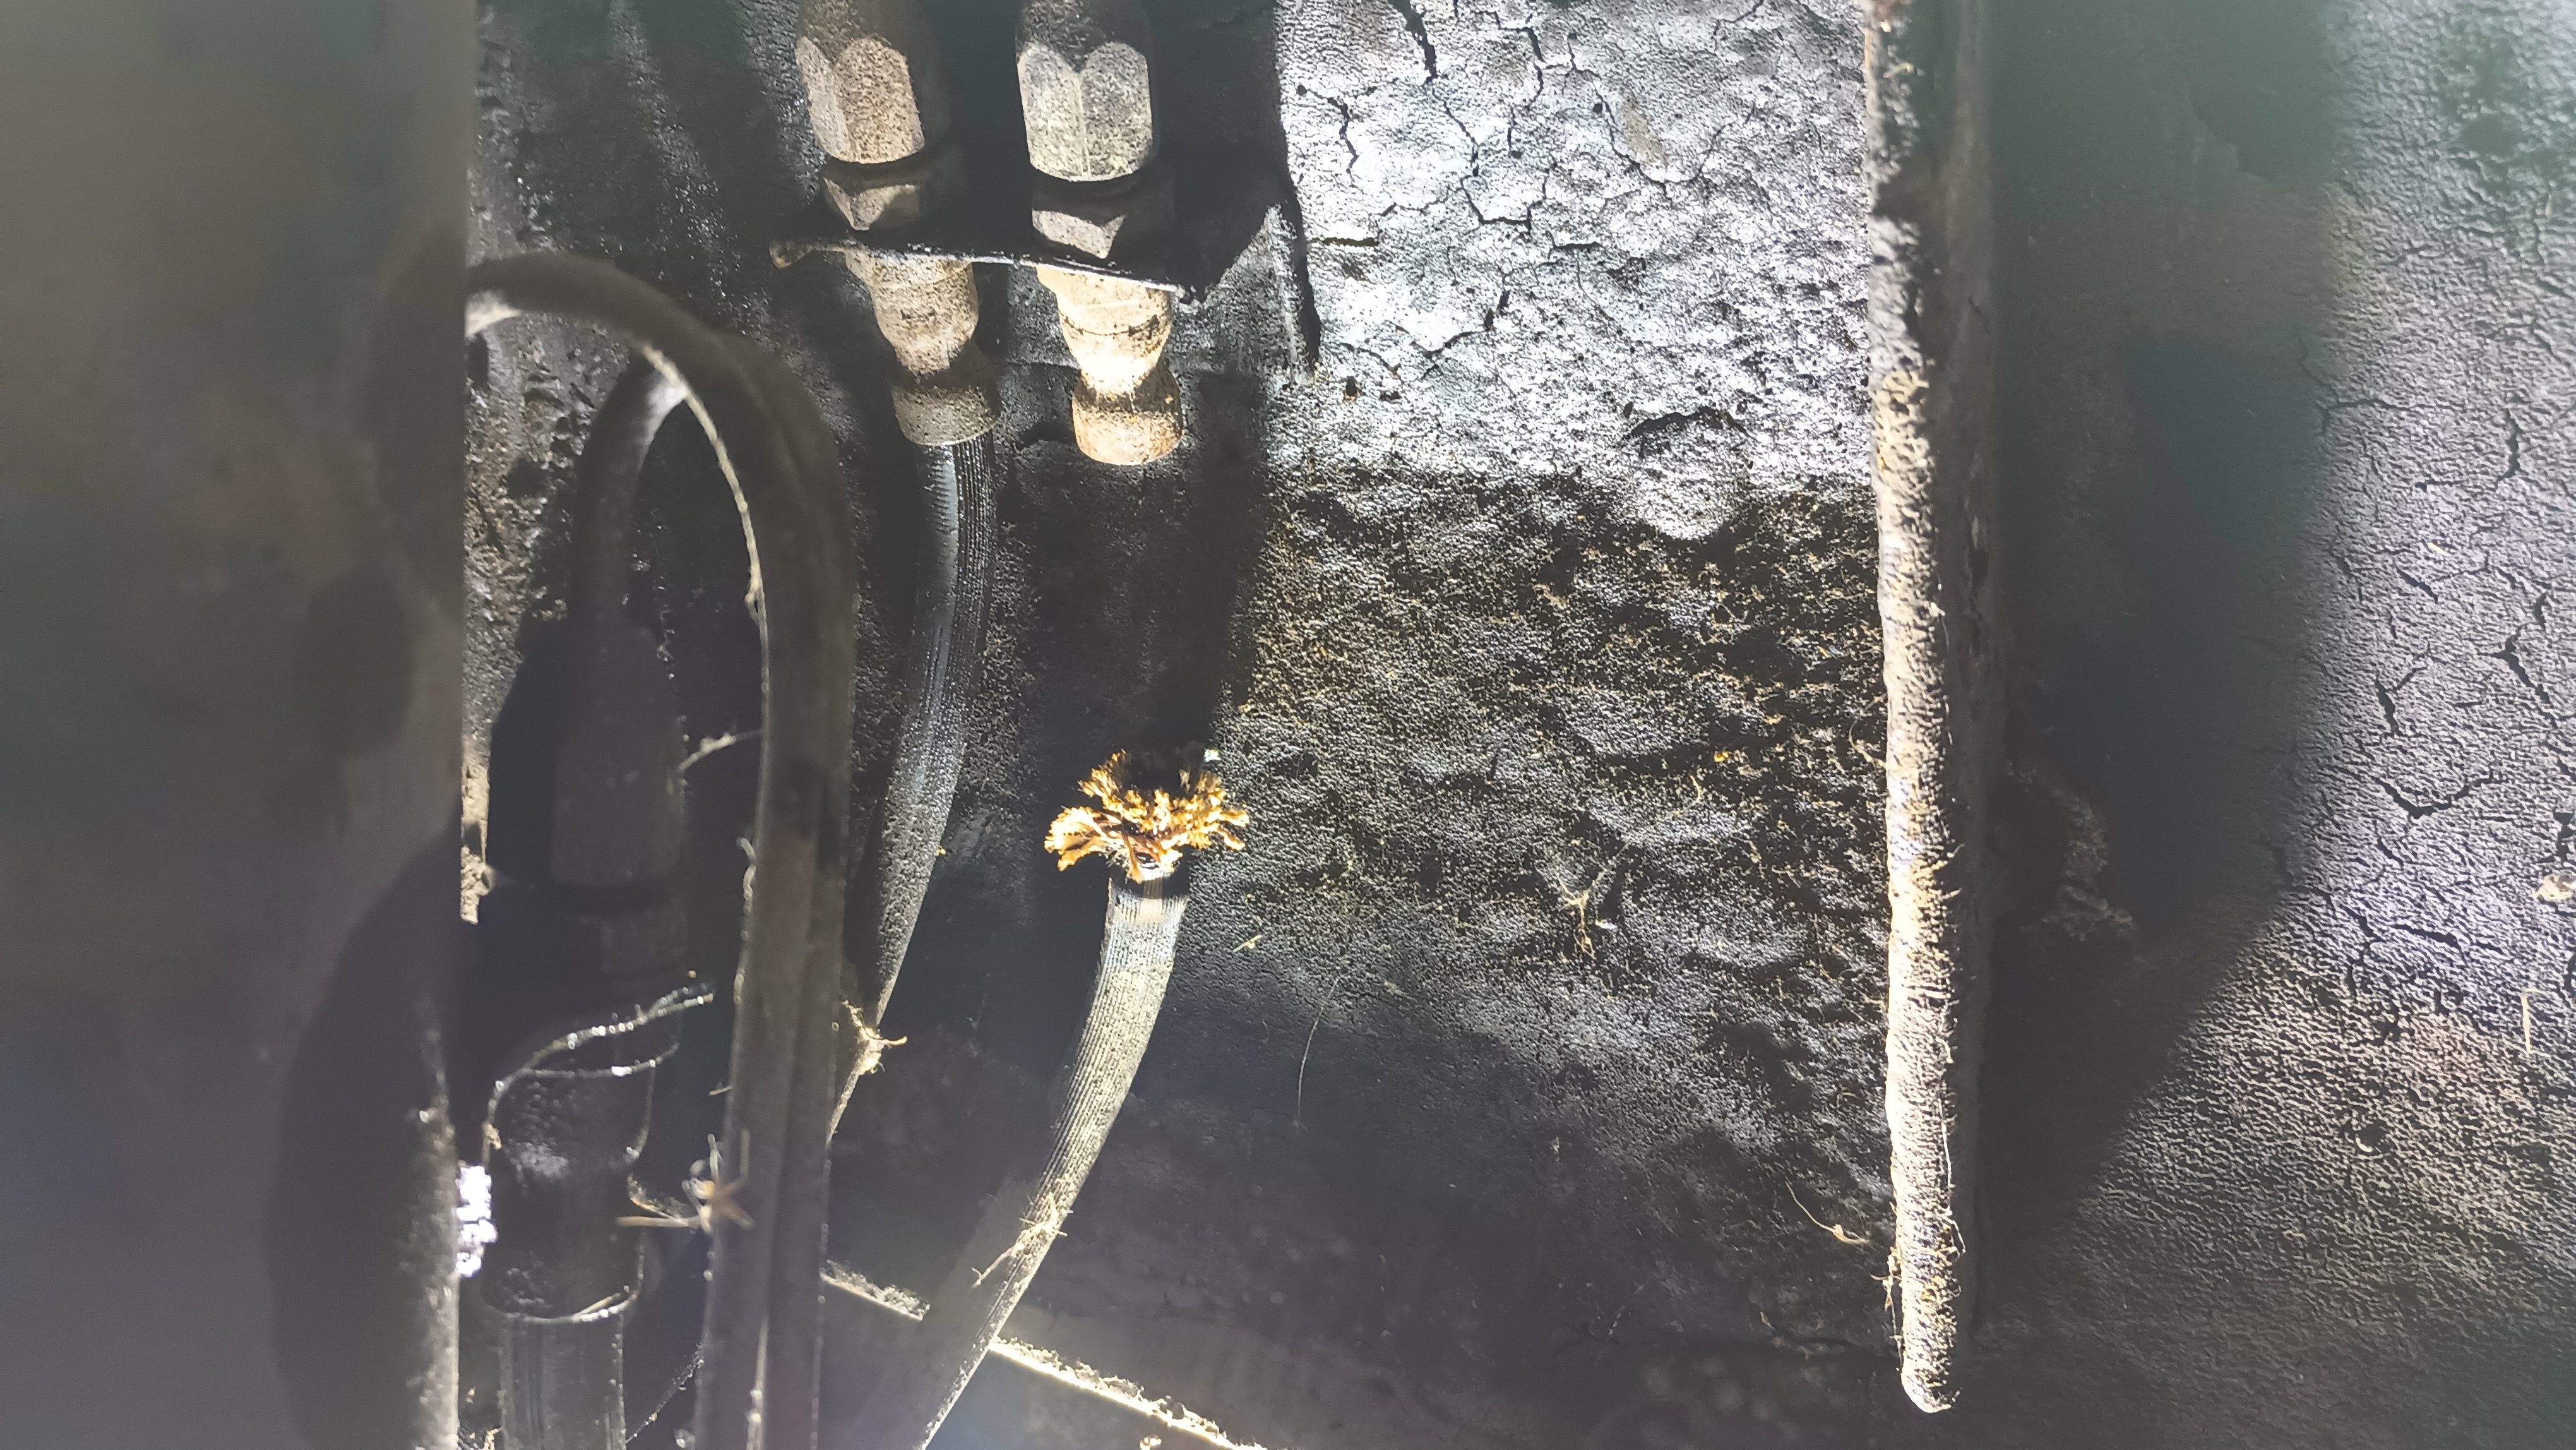
Once those were installed, I connected the front end of the line to the master cylinder and hooked up the Bowie Bleeder. Opening up each side bleeder in turn, the pressure bleeder very quickly filled the lines, the caliper cylinders, and pushed out all the air. Moving to the front, I got the left side opened up and the air out of the three bleeders. Finally, I moved to the front right, but got absolutely nothing out of any of the bleeders. My guess was that the front soft lines were collapsed as well – the two lines do not share anything other than the master cylinder but both lines on the other side which are fed by the same ports on the master cylinder do work just fine. These lines were pretty well frozen in place, though. My final discovery about that was that the problem was that the fitting was stuck to the hard line and wouldn’t turn so by focusing on turning the soft line instead, I was able to get it to release.

Figuring that out, however, required some learning. I tried a penetrating lubricant and then striking it a few times, but that didn’t seem to help. Naturally, I then broke out the torch. That also didn’t get me anywhere as far as loosening the fitting, but after I moved away from it for a moment I heard a pop and there was suddenly smoke everywhere.

The hose blew straight out of the crimp fitting, but nothing else was damaged.

Dorman makes replacement soft lines for the other end of the same Jag model, so I decided to order those up. These H38546 hoses are about 3 inches longer than the Maserati lines so I think they’ll work better for the rear. The eventual plan is to put those longer hoses on the rear and the shorter ones on the front, but I may just leave the rears in place for now.

Since I’m waiting on the brakes, I moved under the hood to get things buttoned up there. The alternator belt is all tightened up now and hunting around in the pile of spares netted me the bracket that holds the radiator in place.

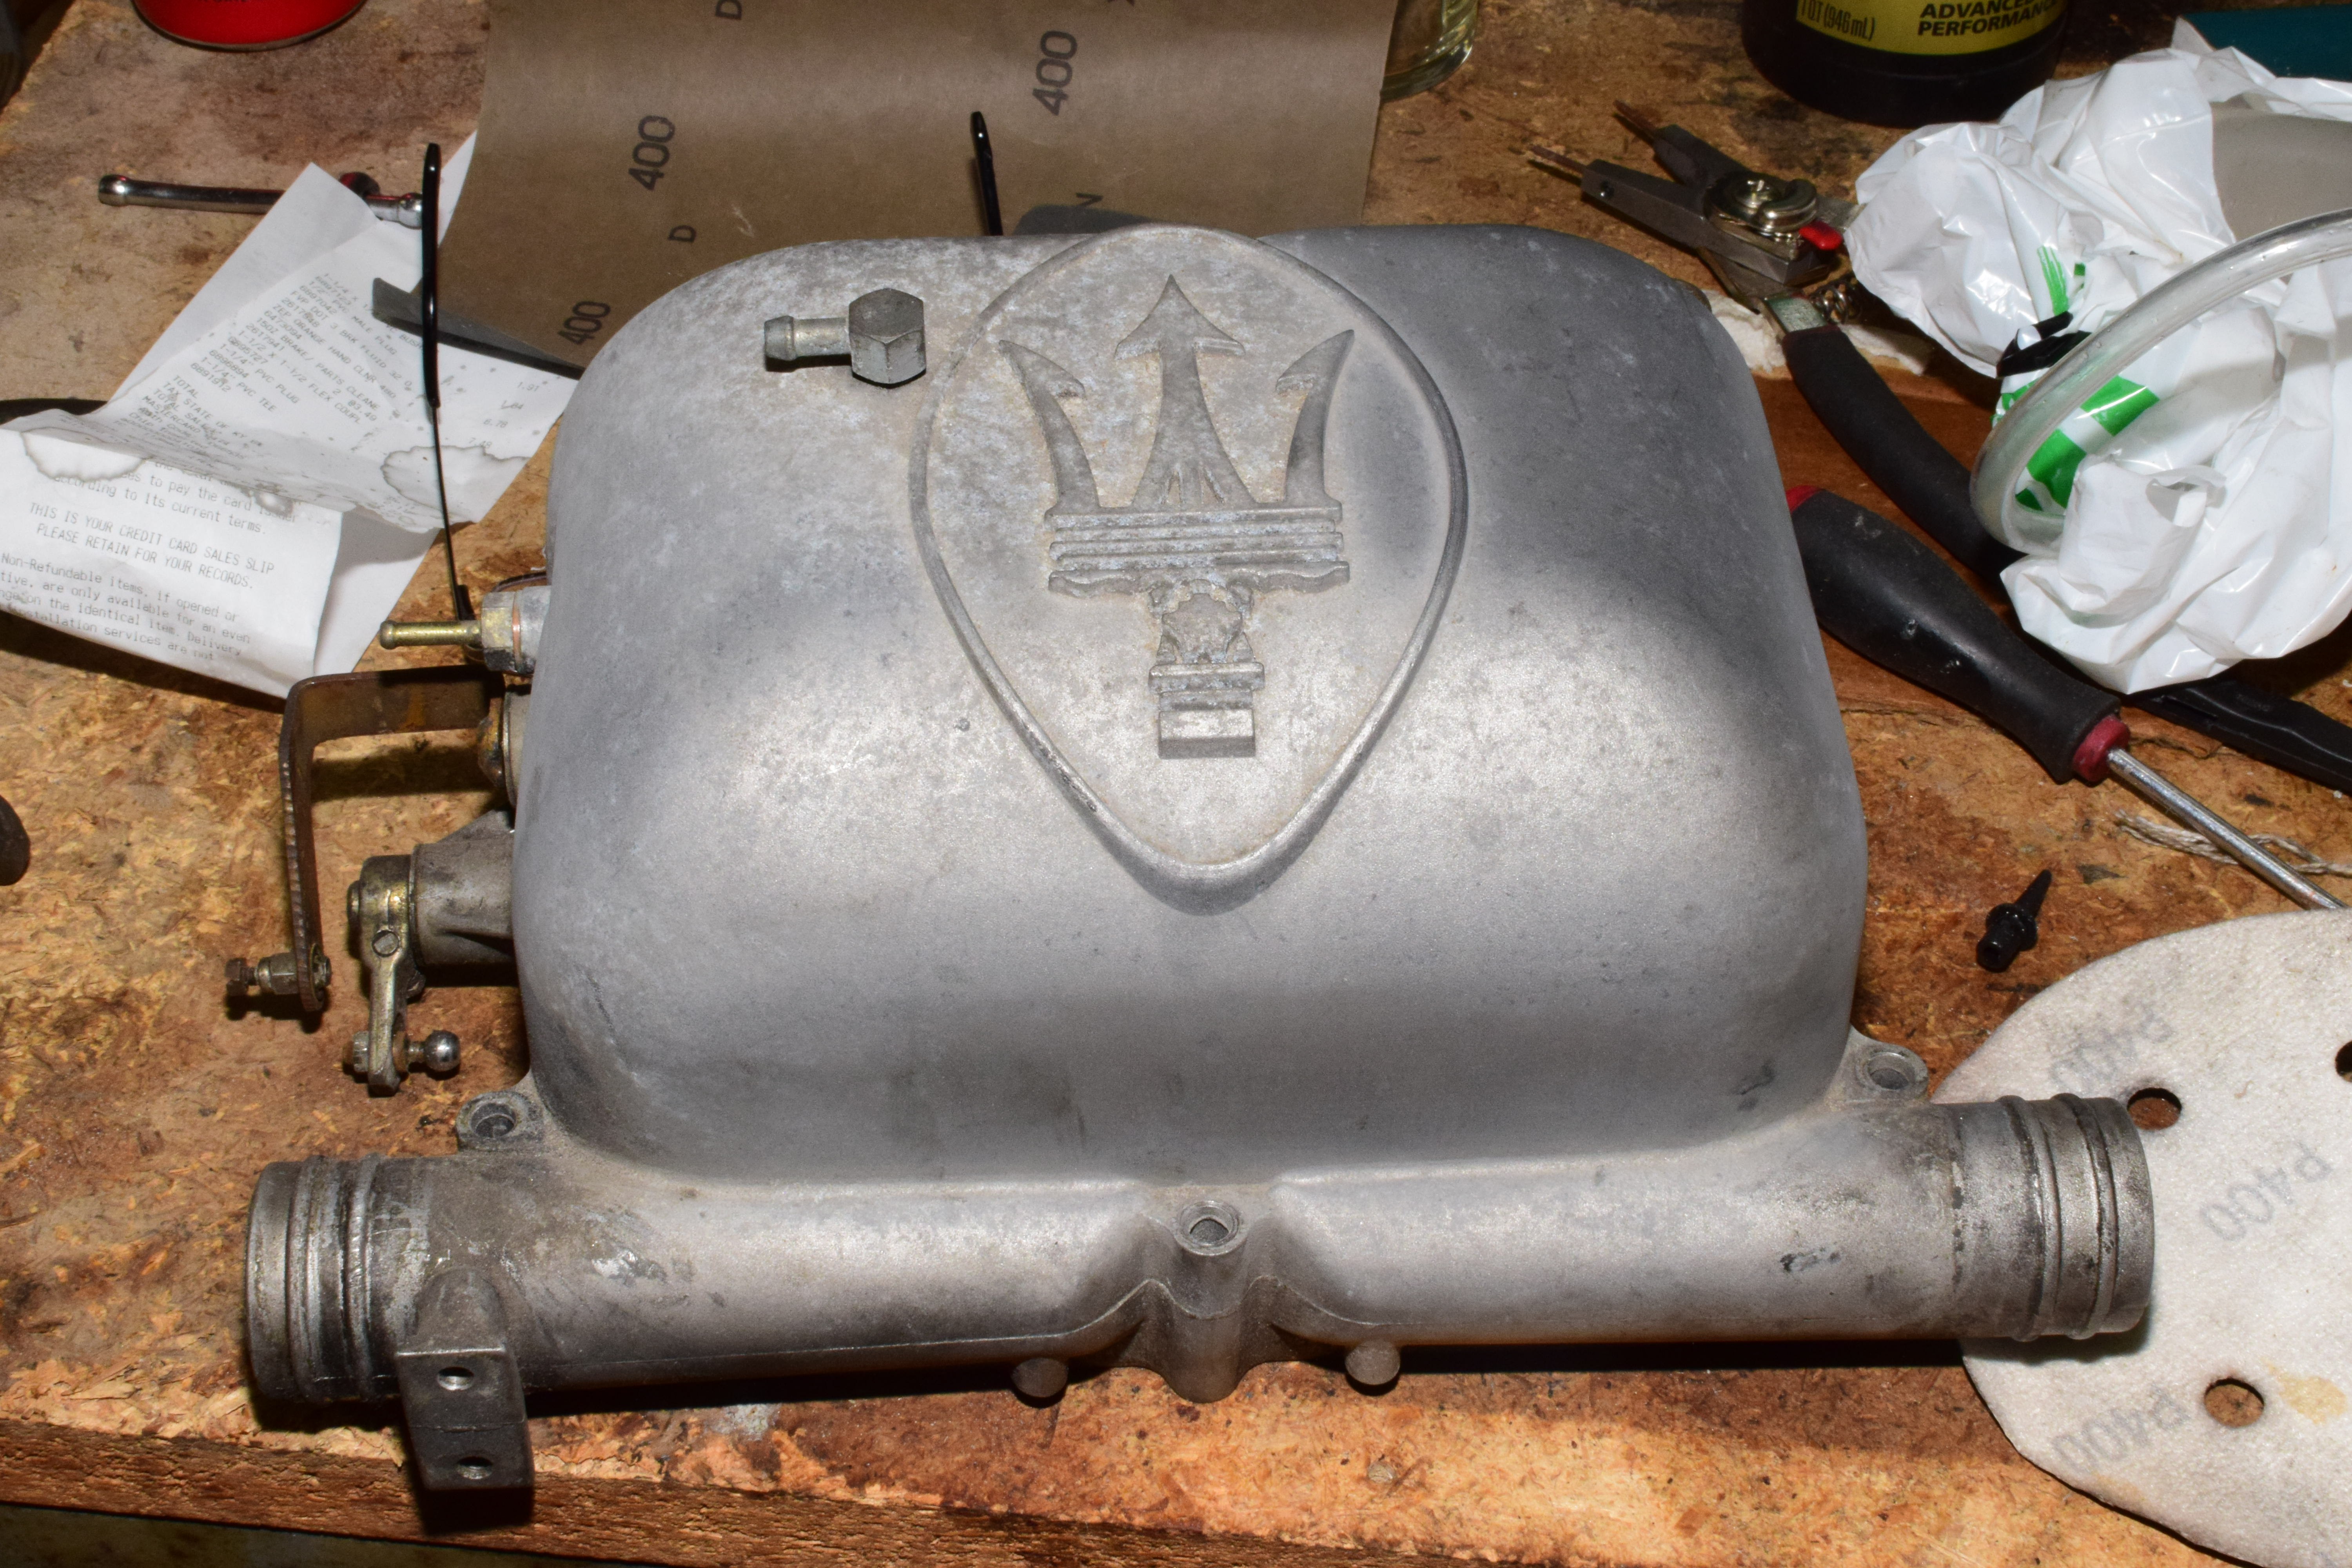
The carb hat needs to be resealed, but the original gasket is pretty chewed up. Instead of running down a new one, I’m going to use some fuel-safe RTV. But before I make that final, the carb hat should be a little more presentable. The order is in for a couple cans of VHT wrinkle paint in red and while I wait for that, I got the carb hat off and disassembled.

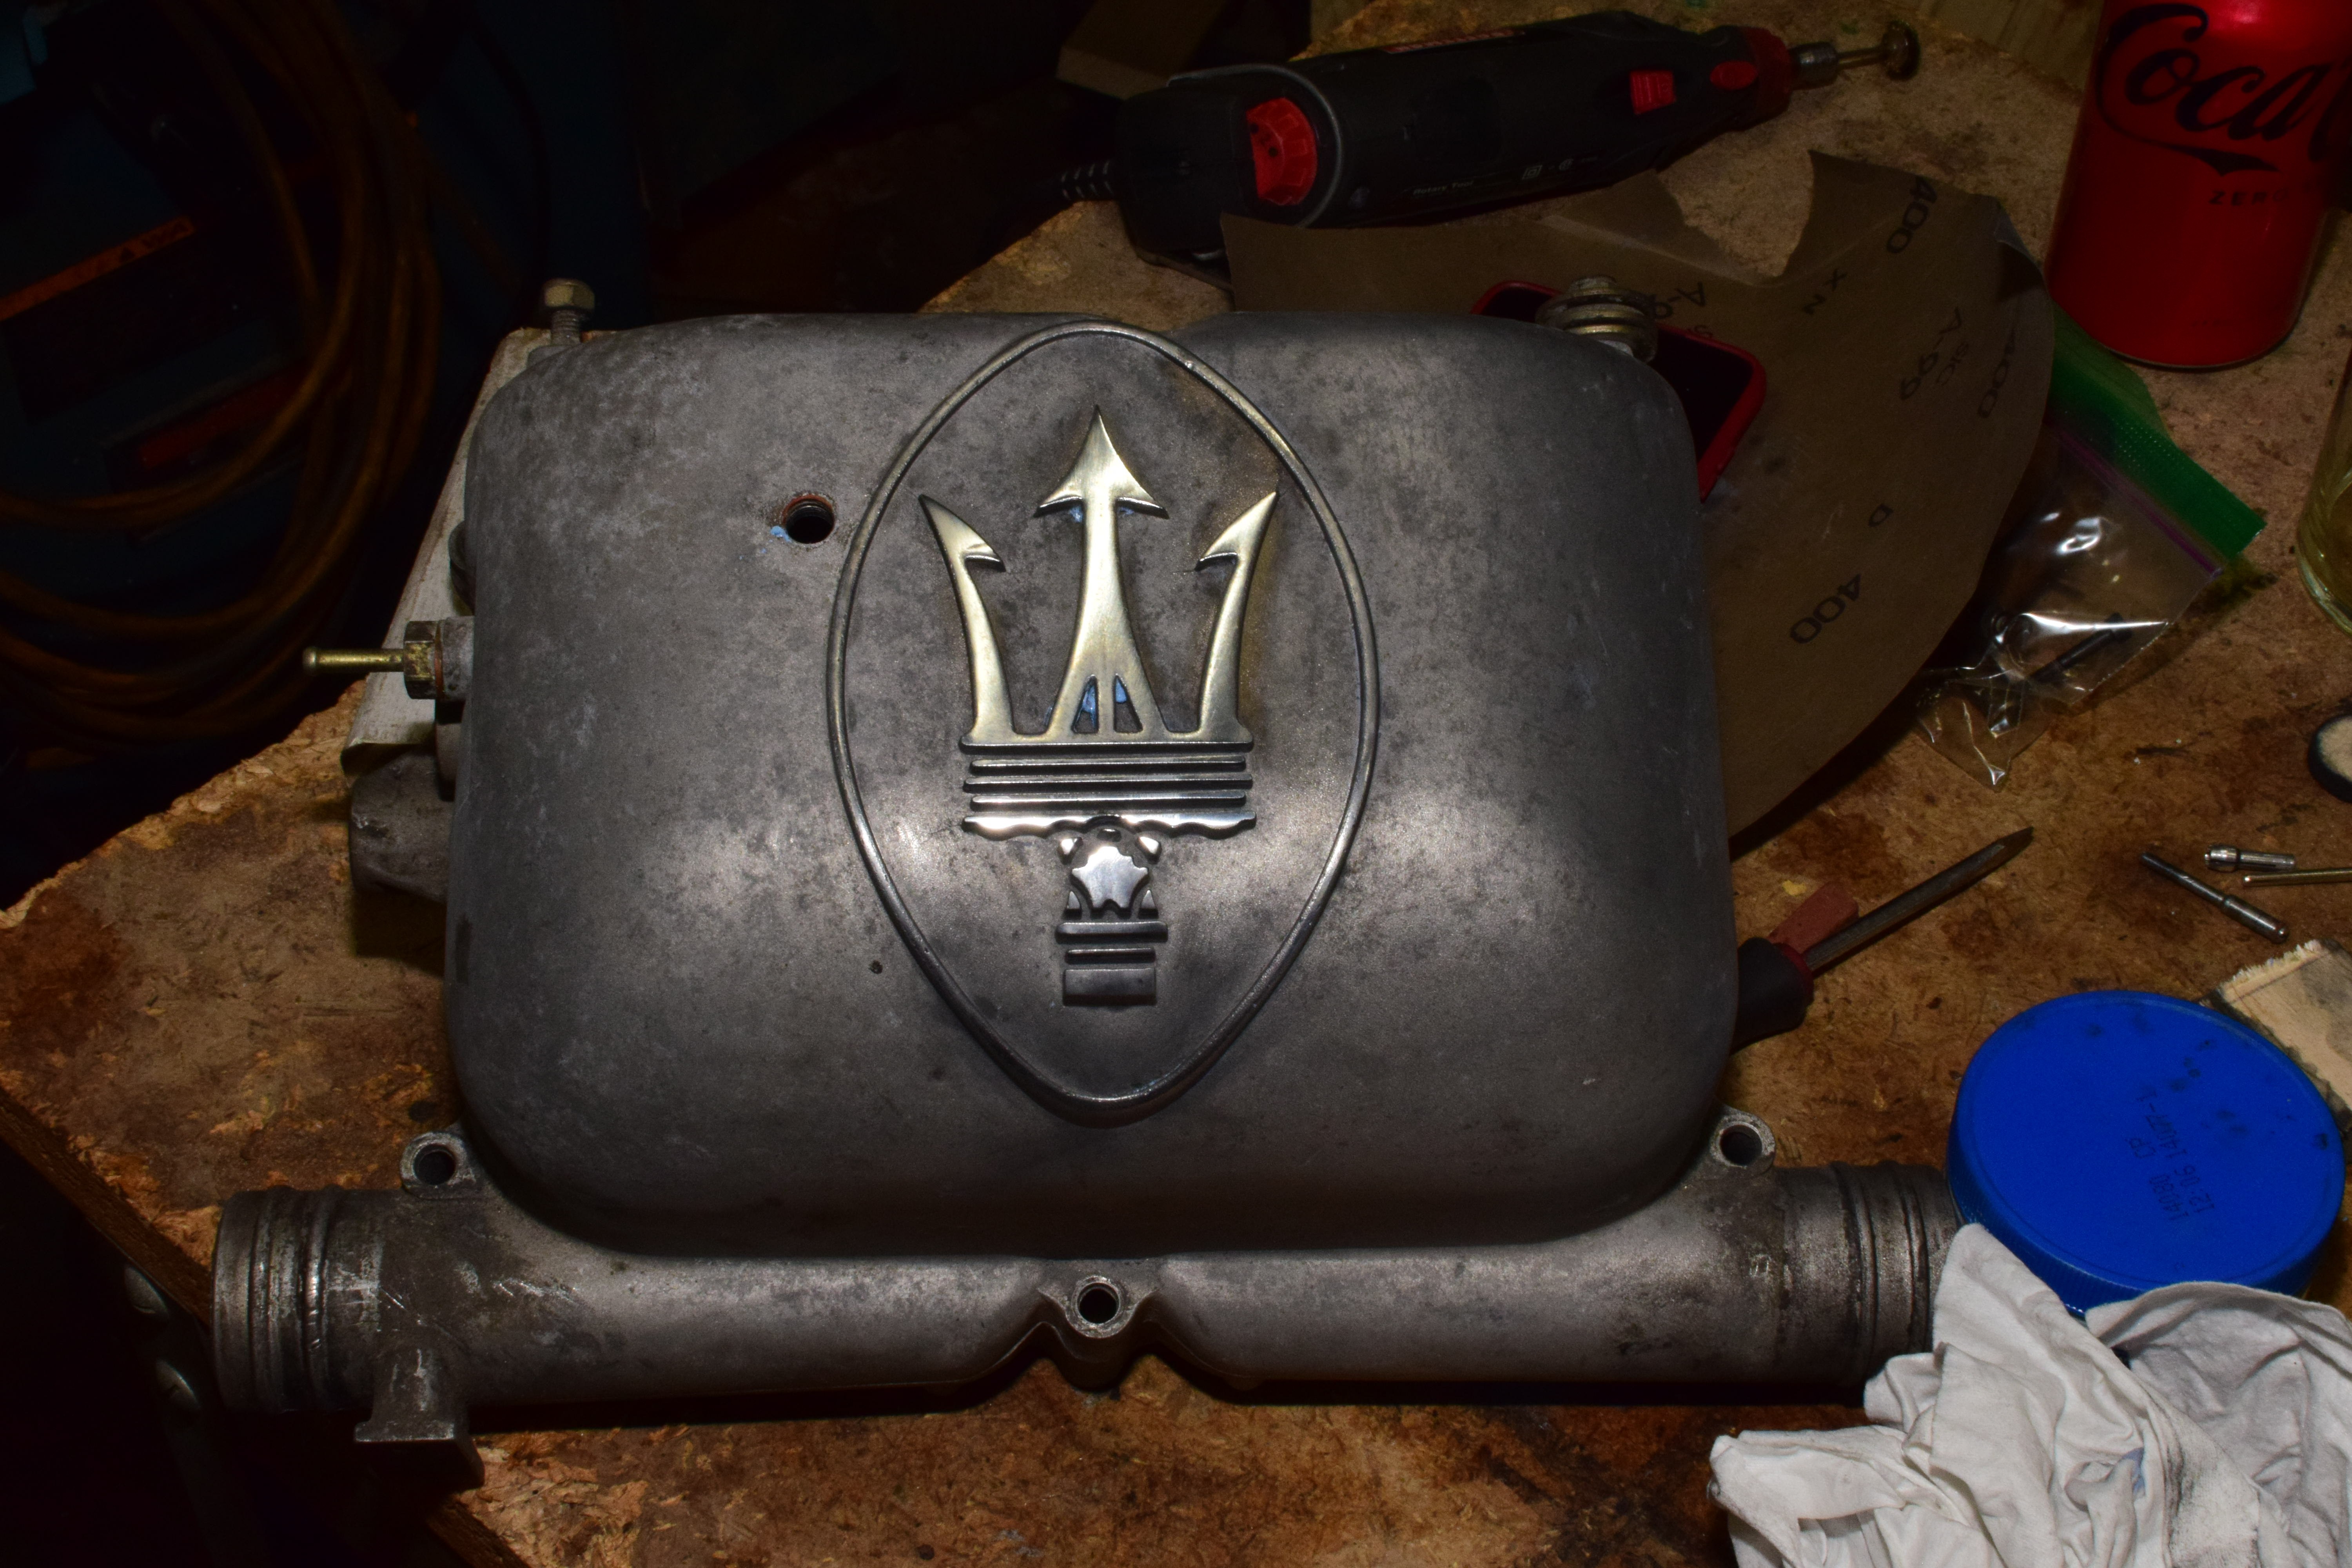
The look that I’m going for is the shiny trident on the red wrinkle so before I put the paint on it, I figured it would be easier to get the logo polished when I didn’t have to worry about damaging a fresh coat. I hit it with some steel wool, 400 grit sandpaper, a bronze whiz wheel, and some aluminum polish. It didn’t take a lot of effort to get it looking like this:

From there, I put the hat in the ultrasonic cleaner to get it cleaned up and ready to be painted.

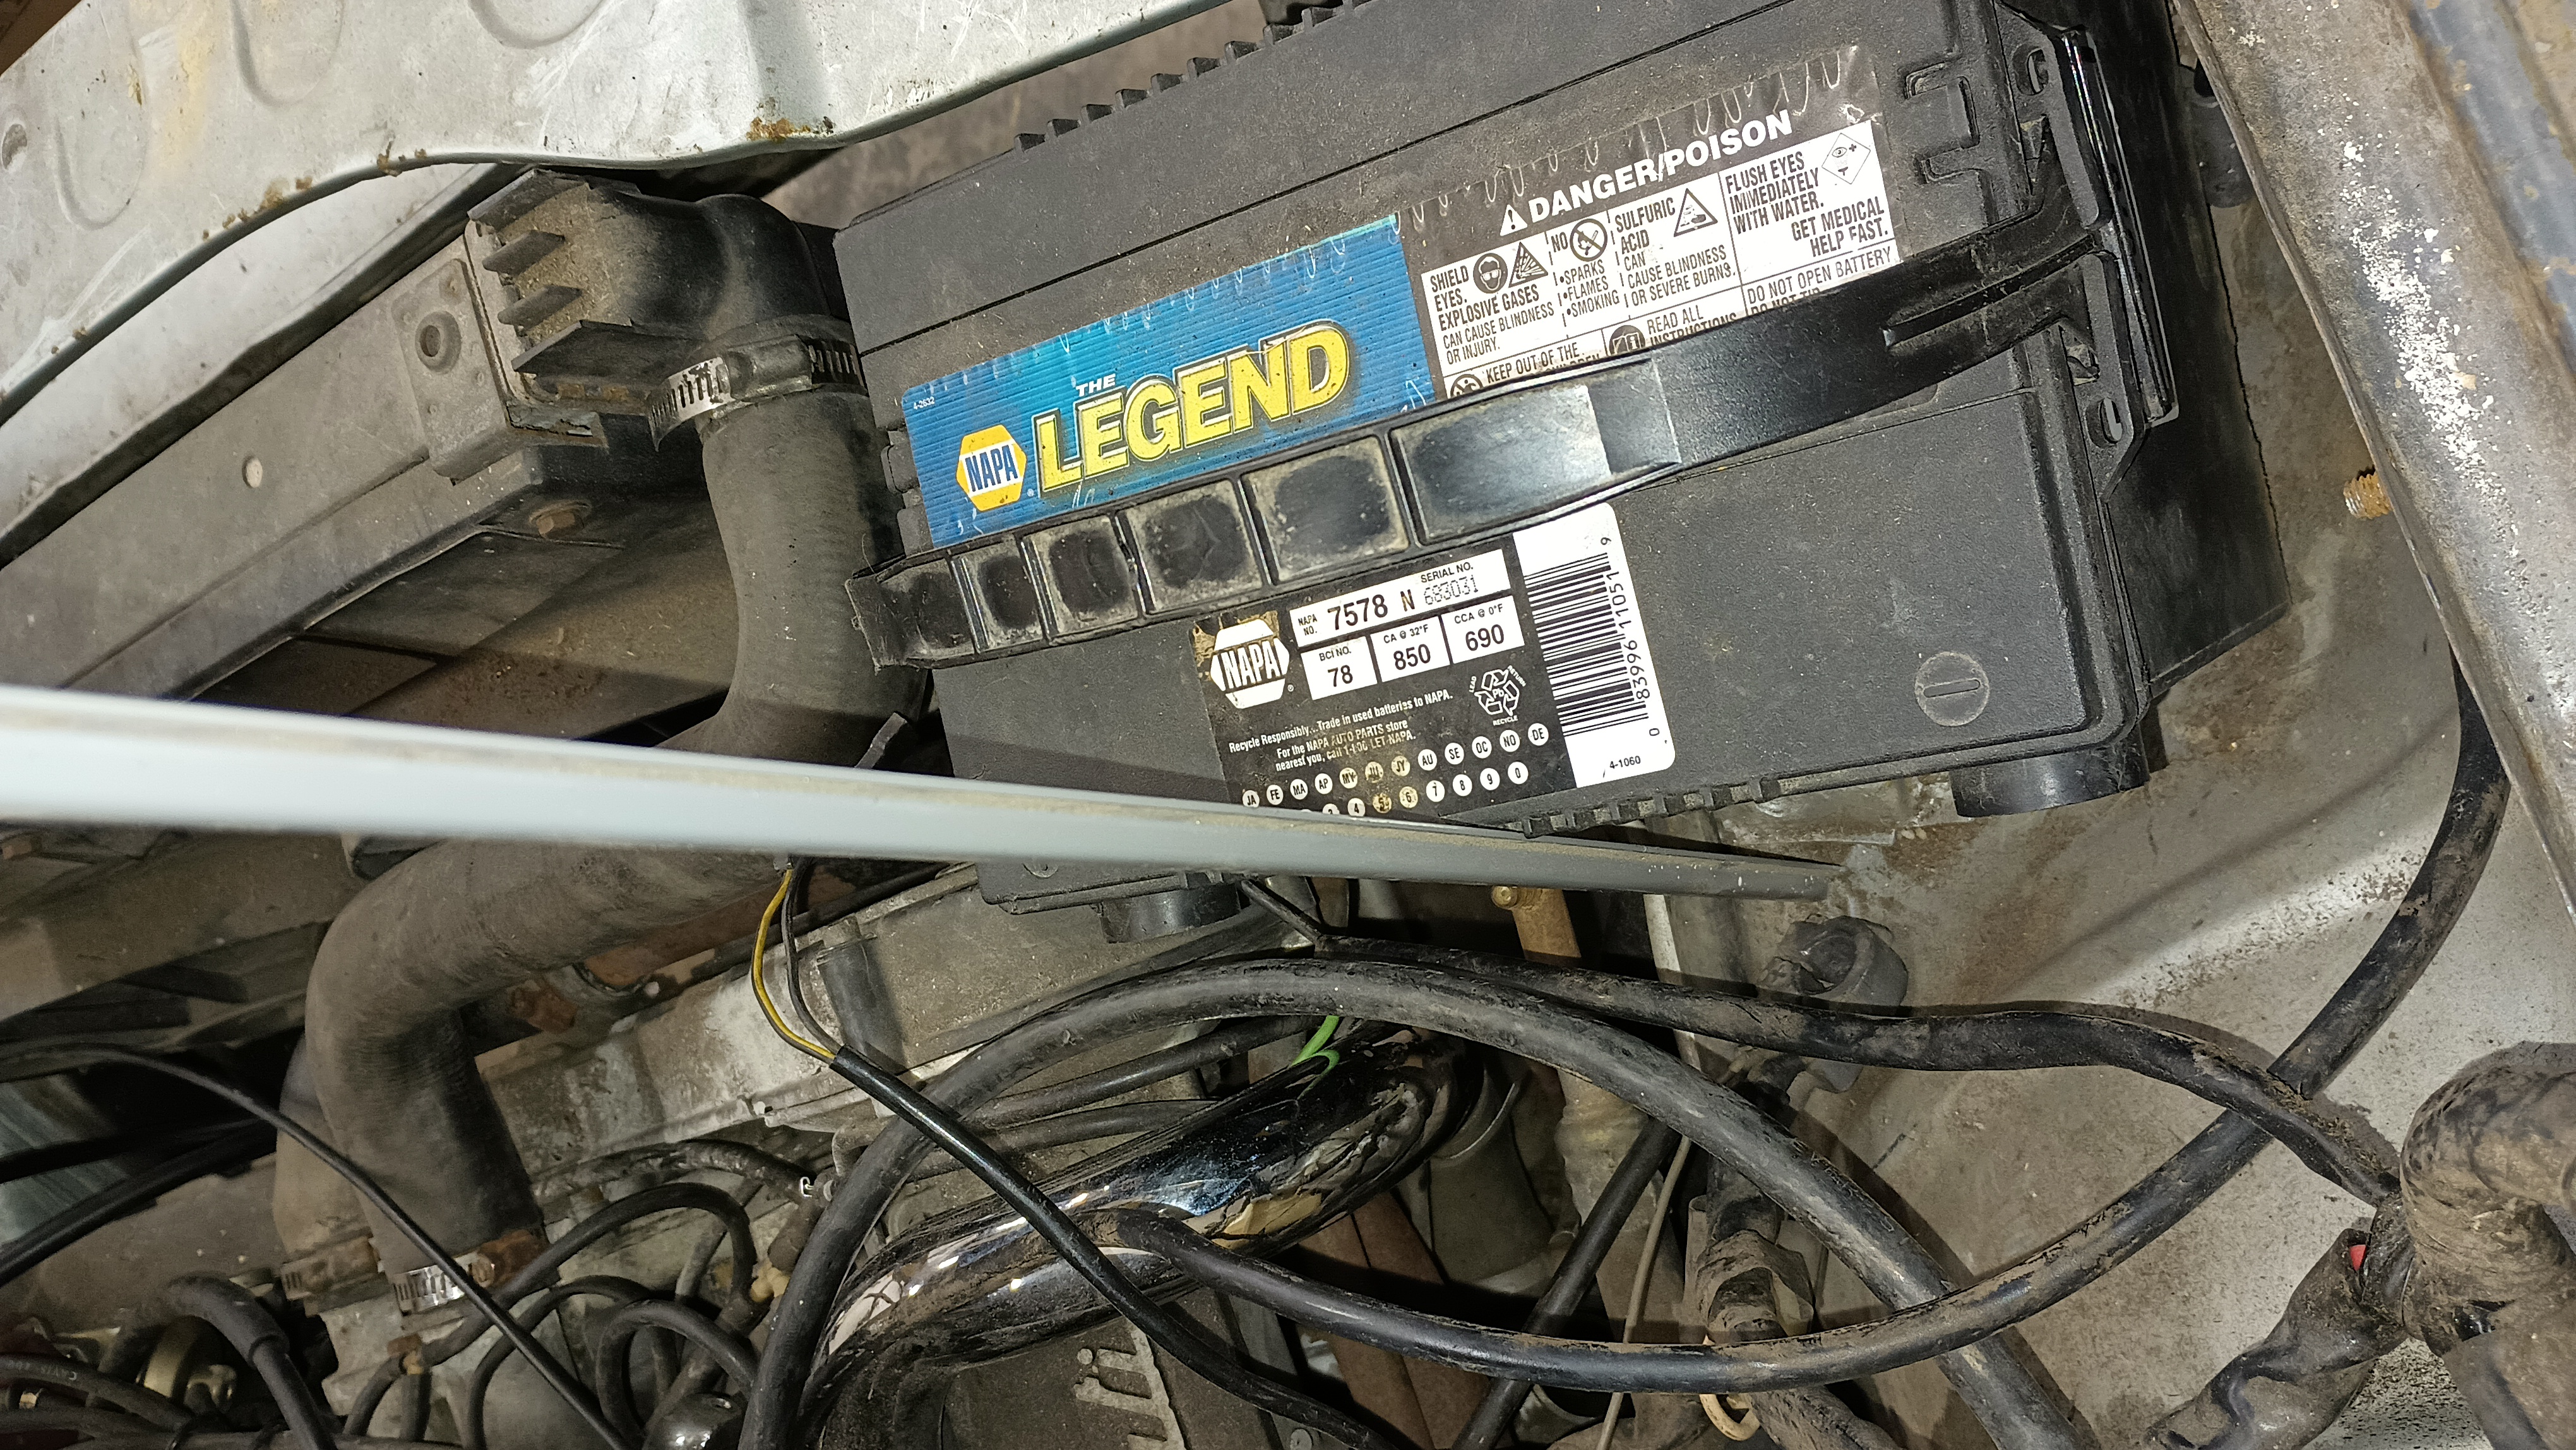
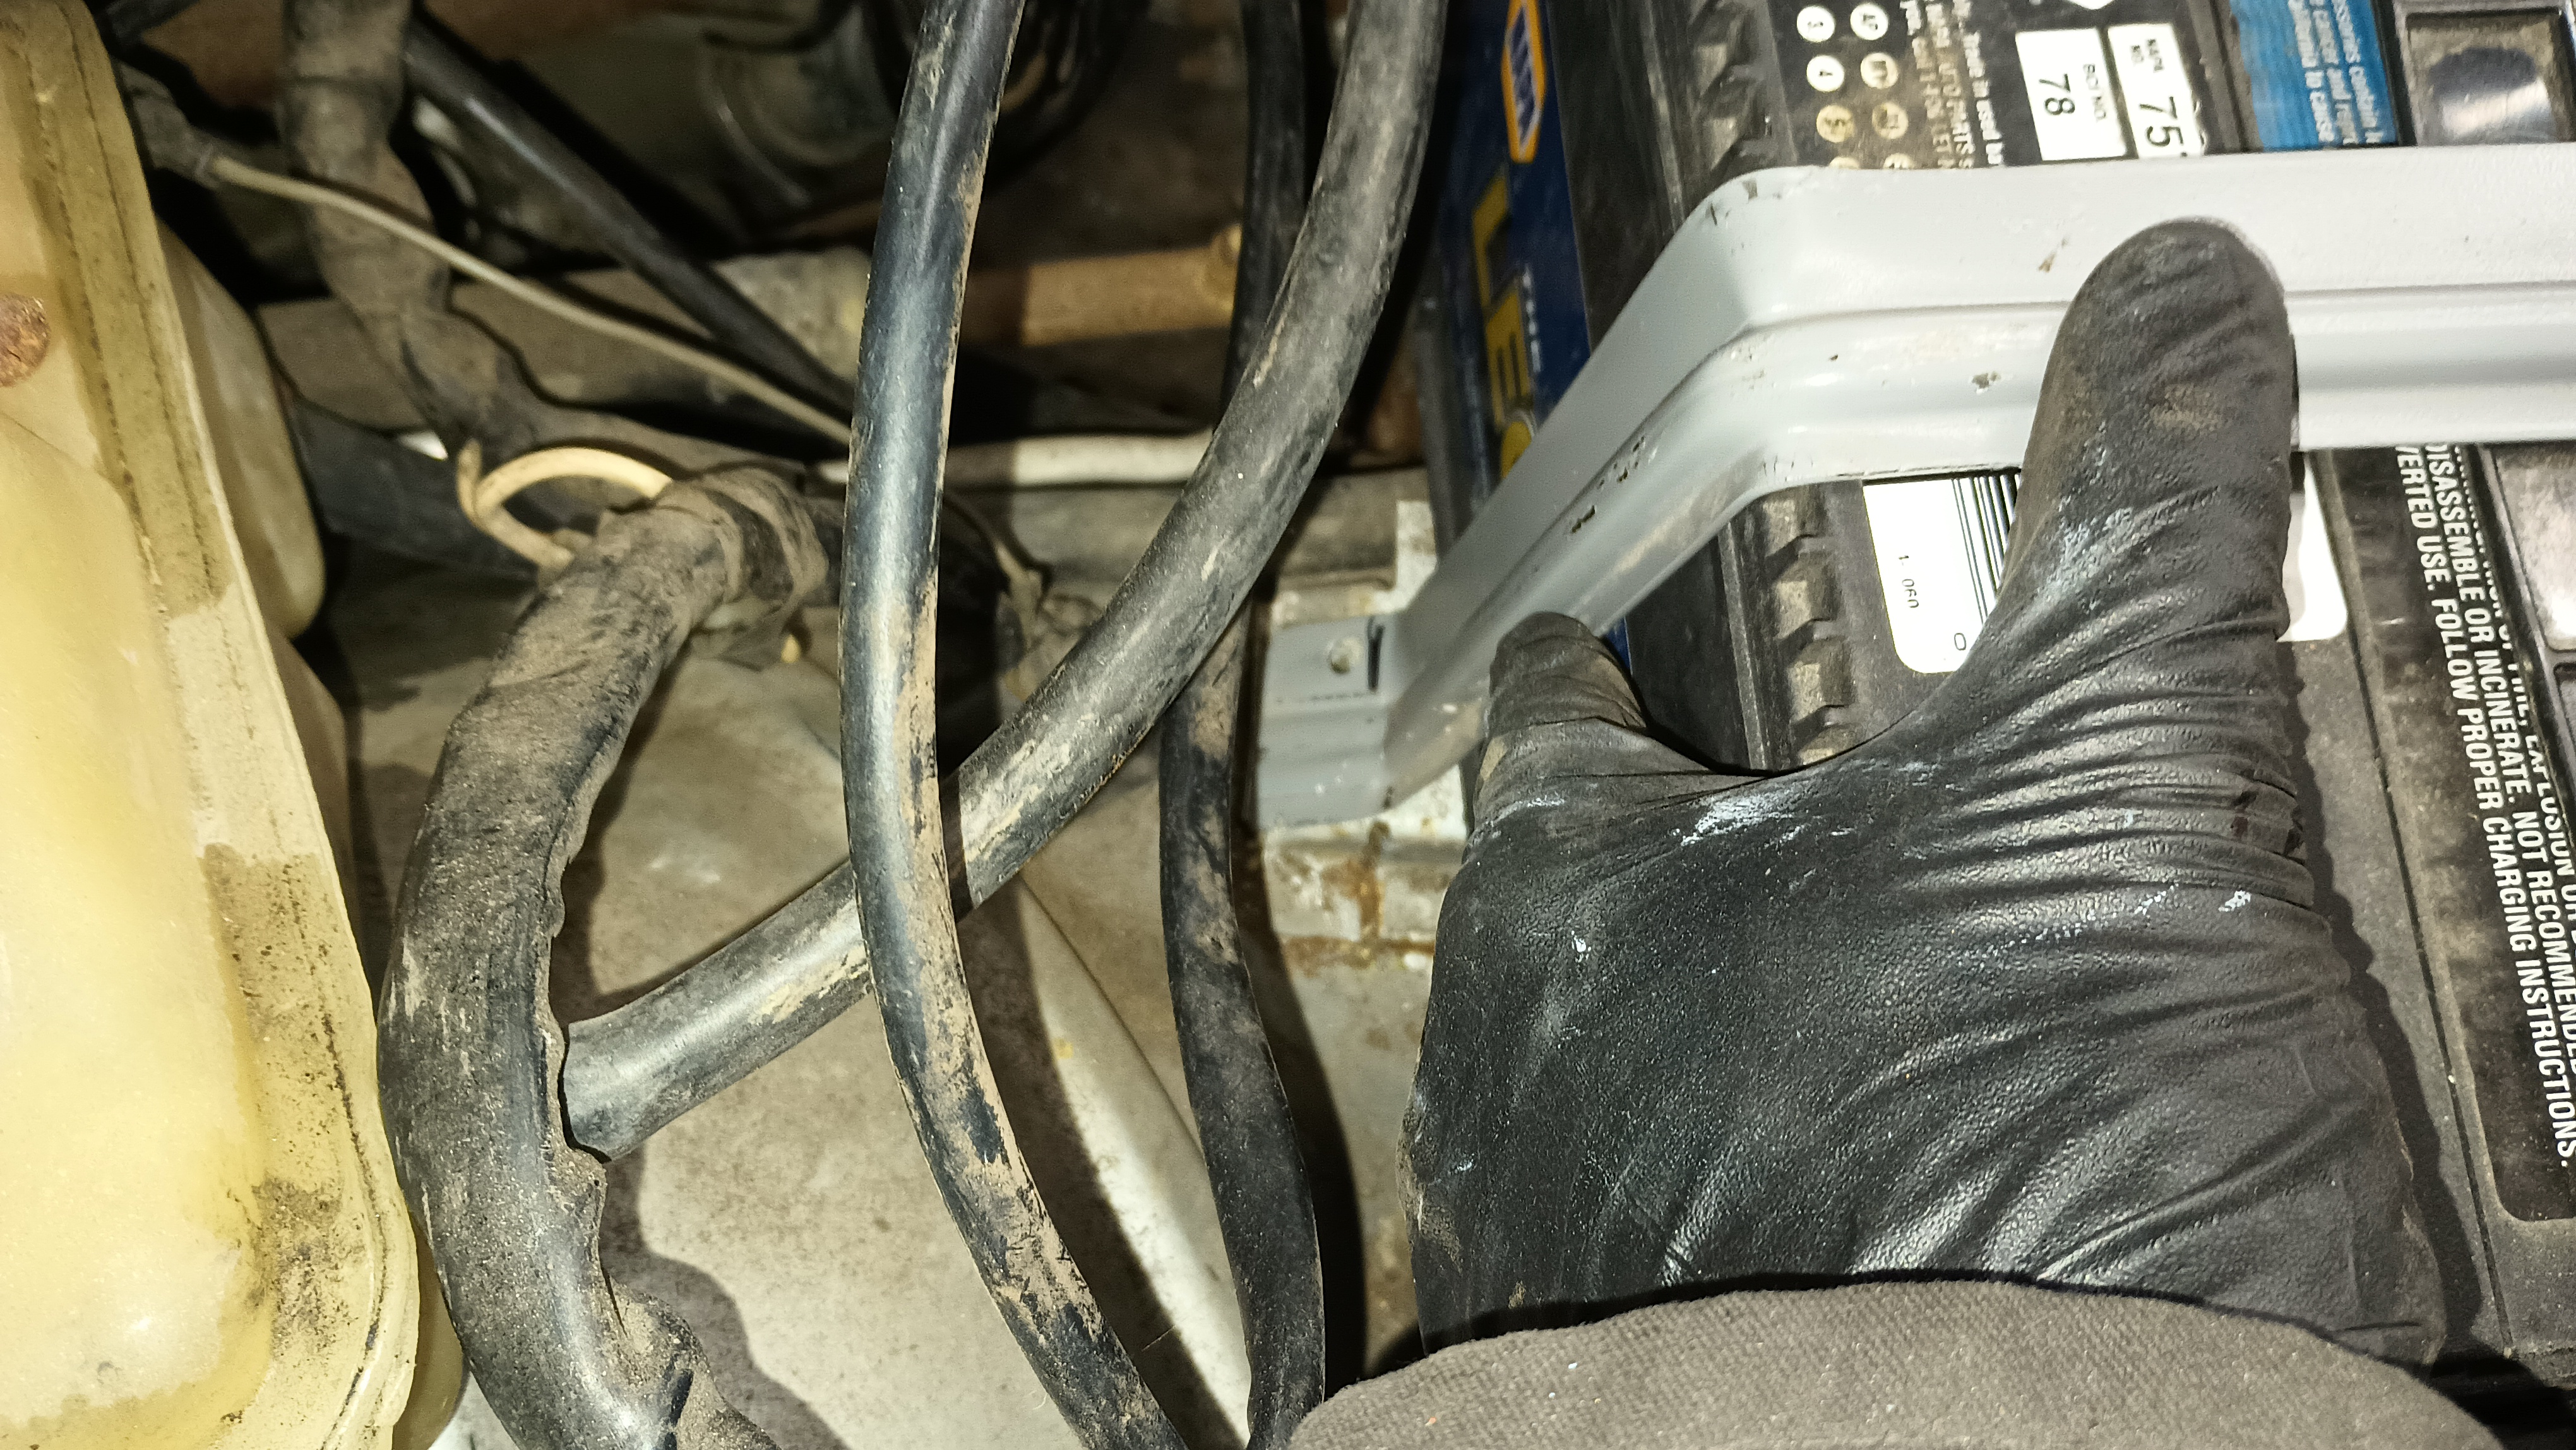
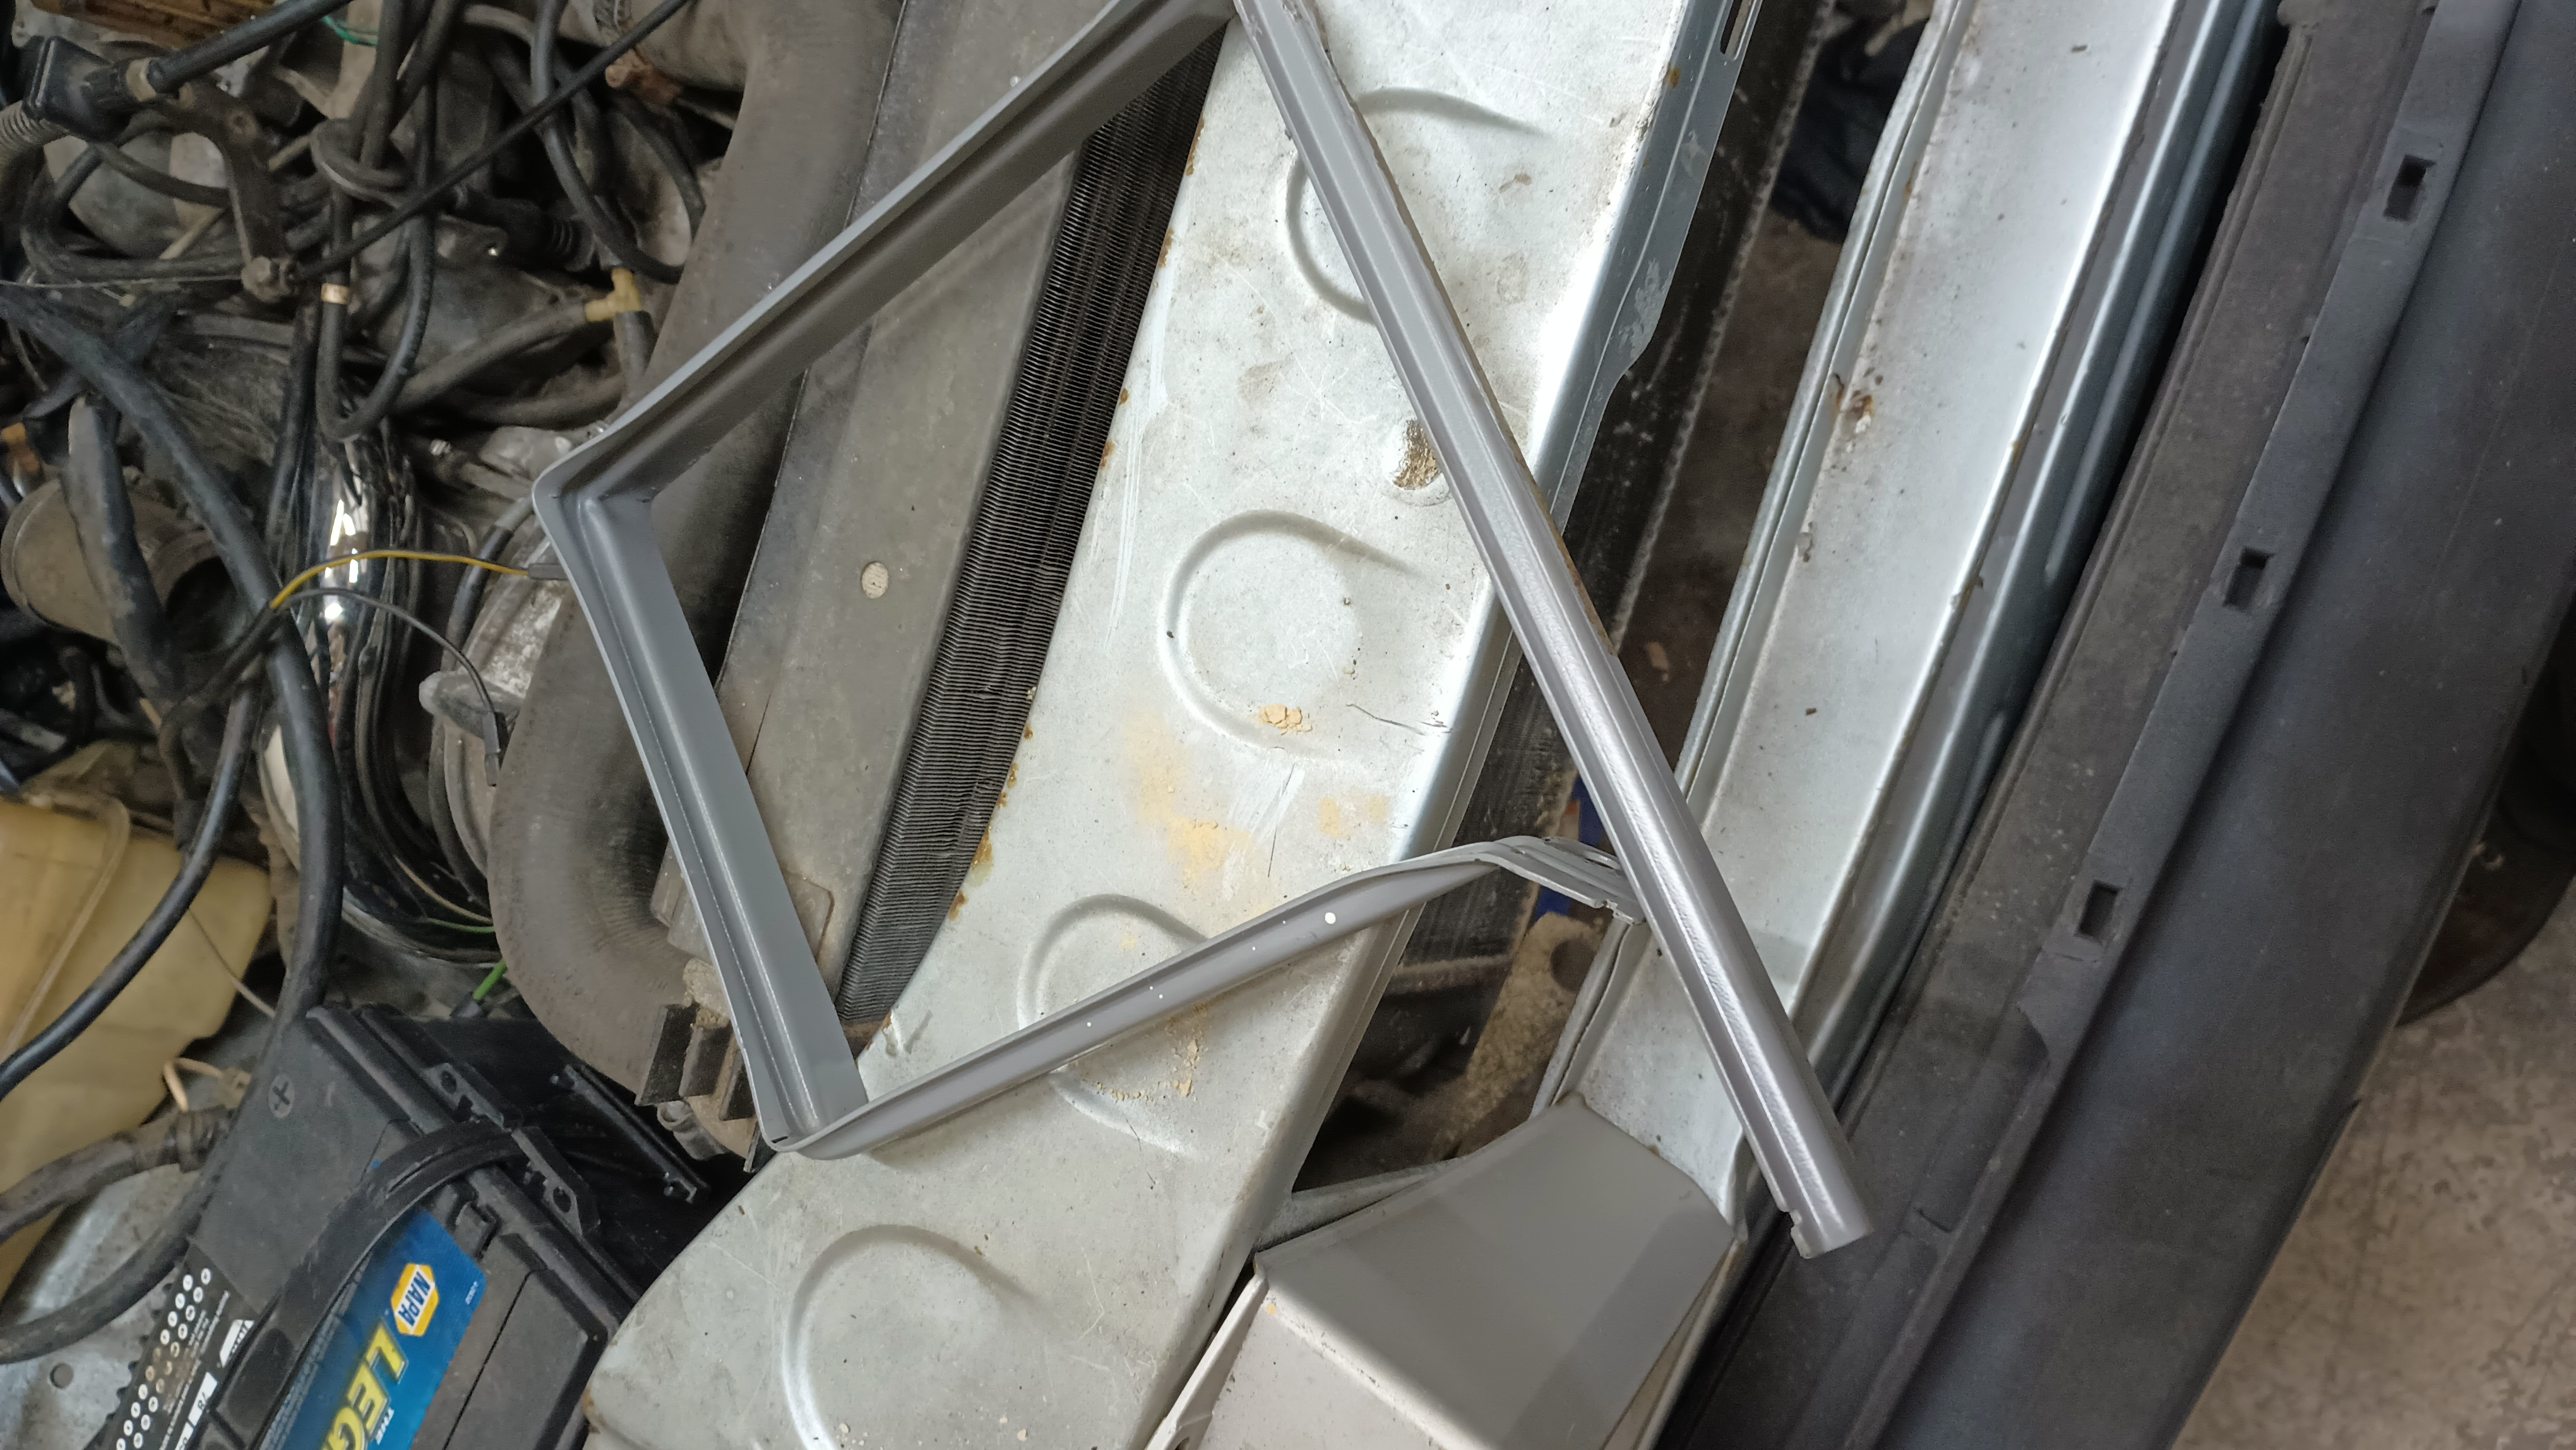
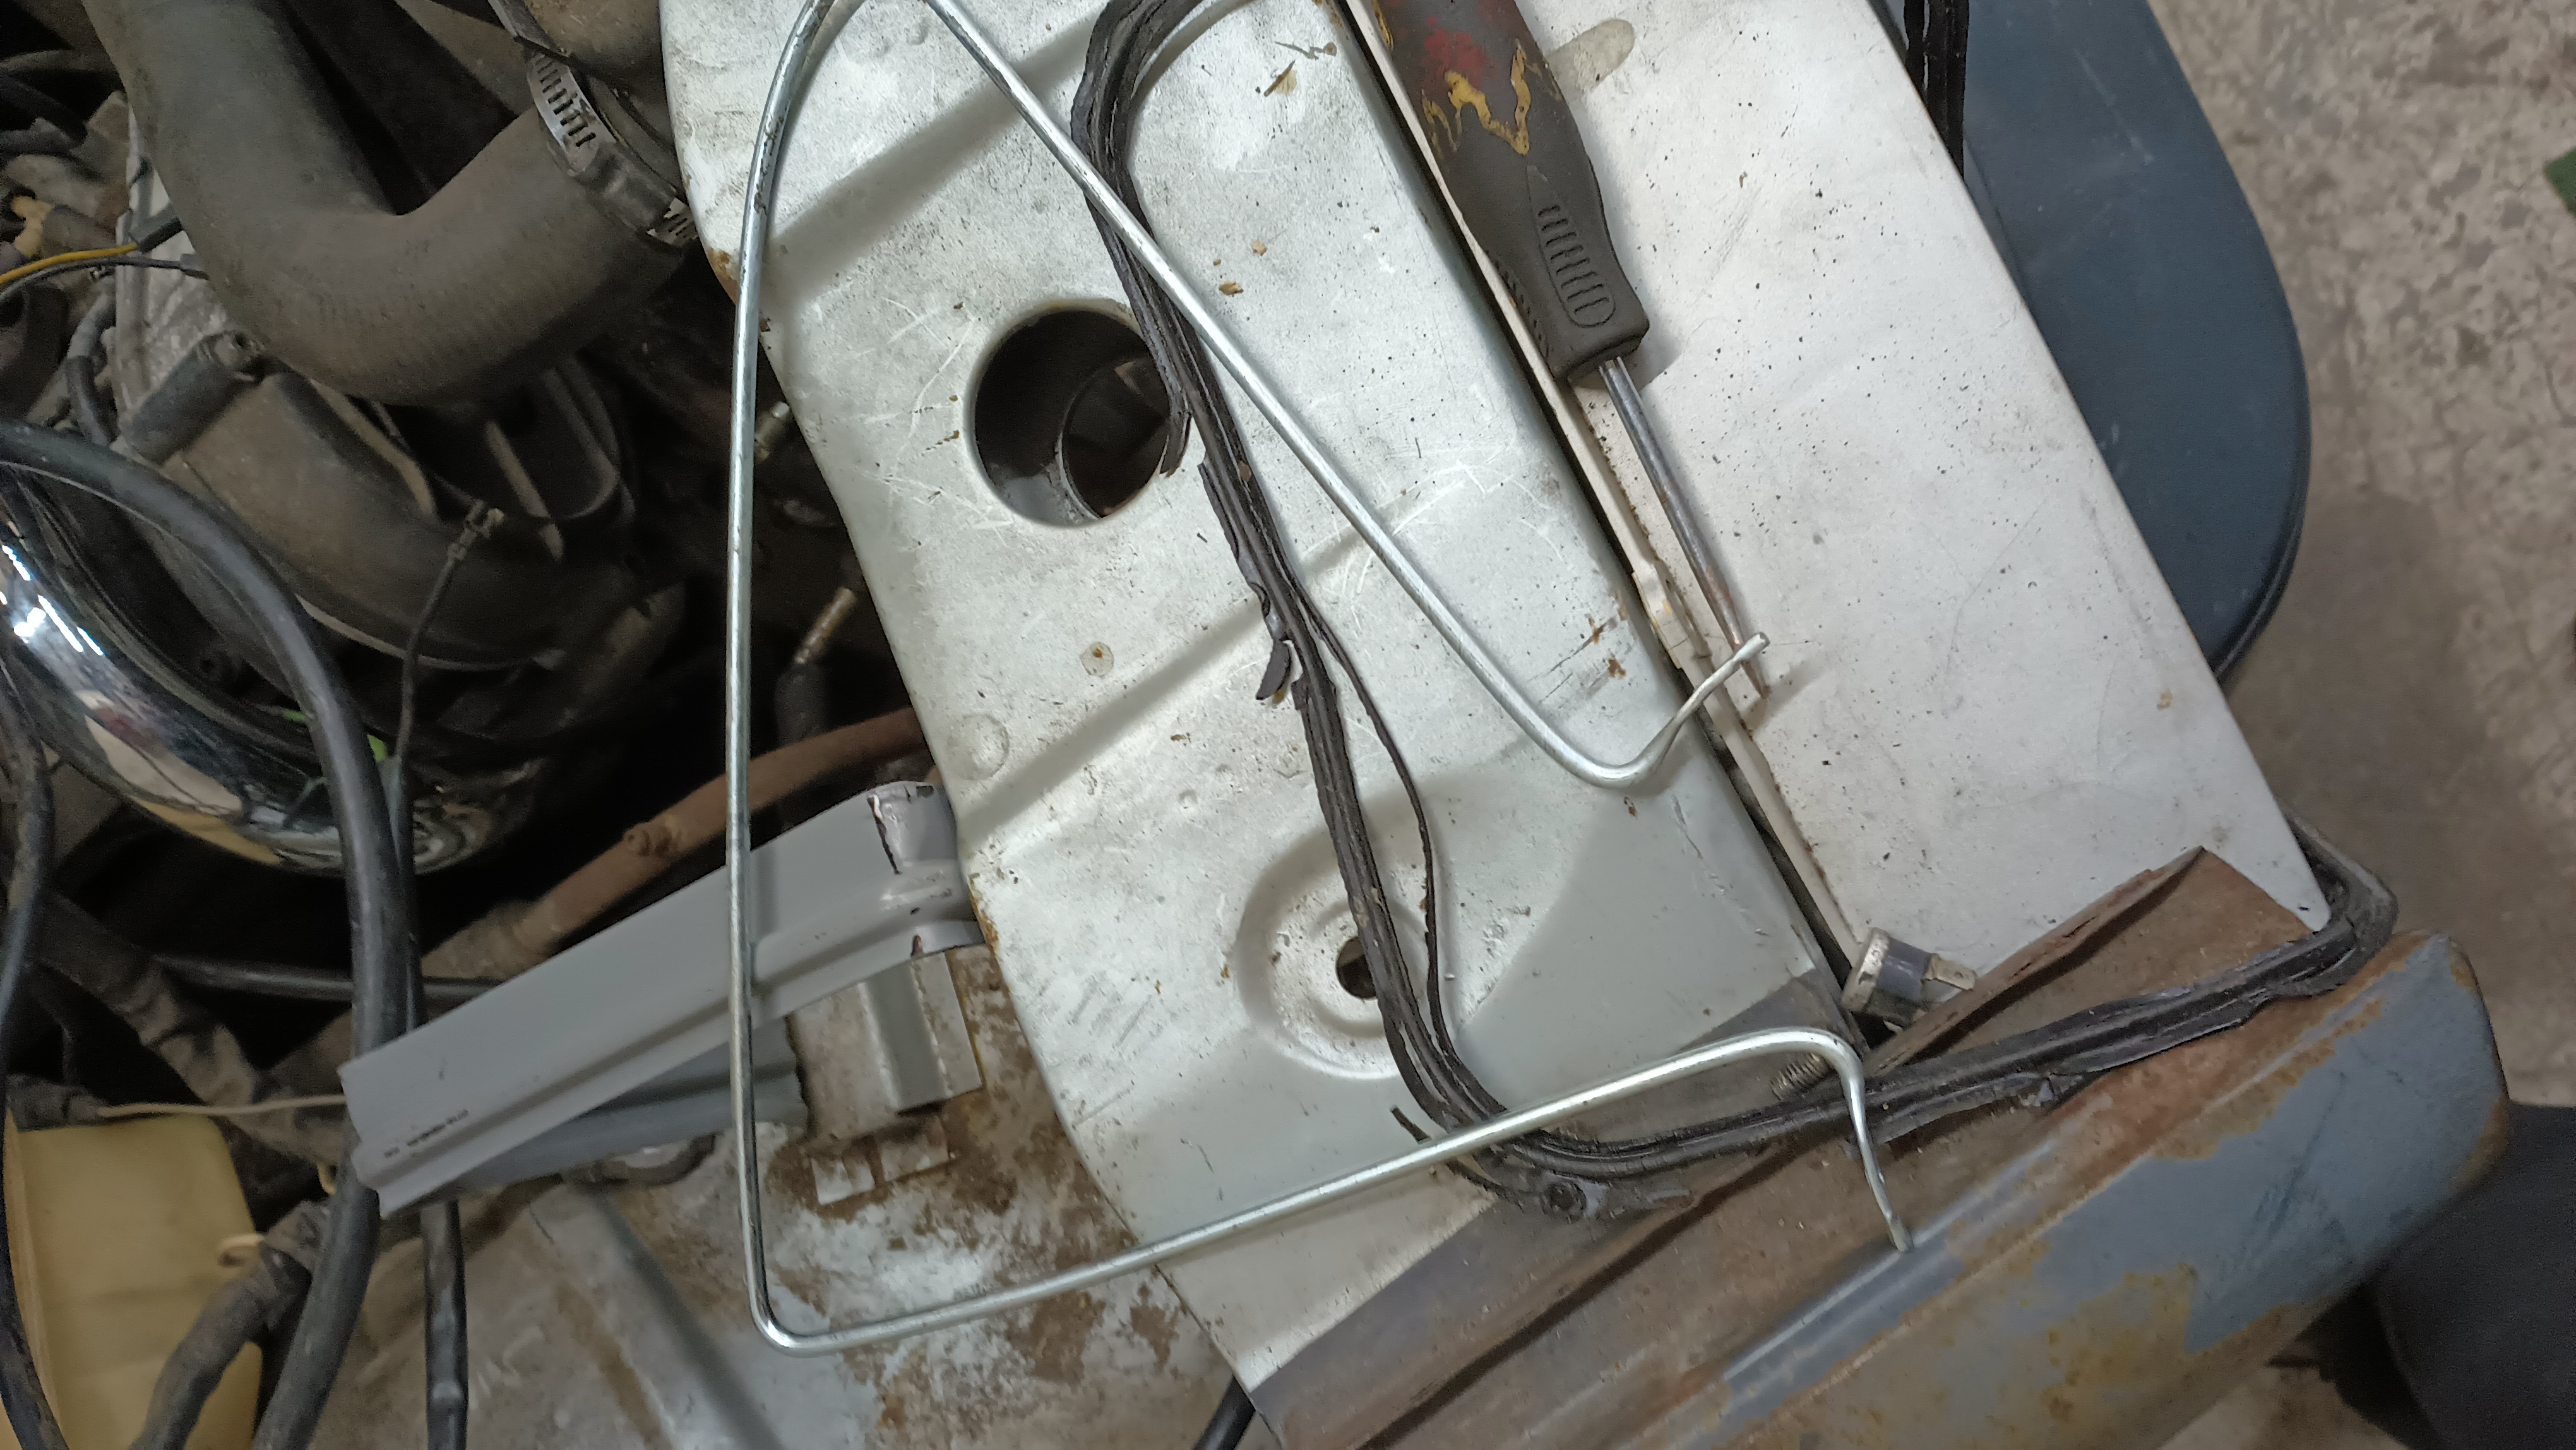
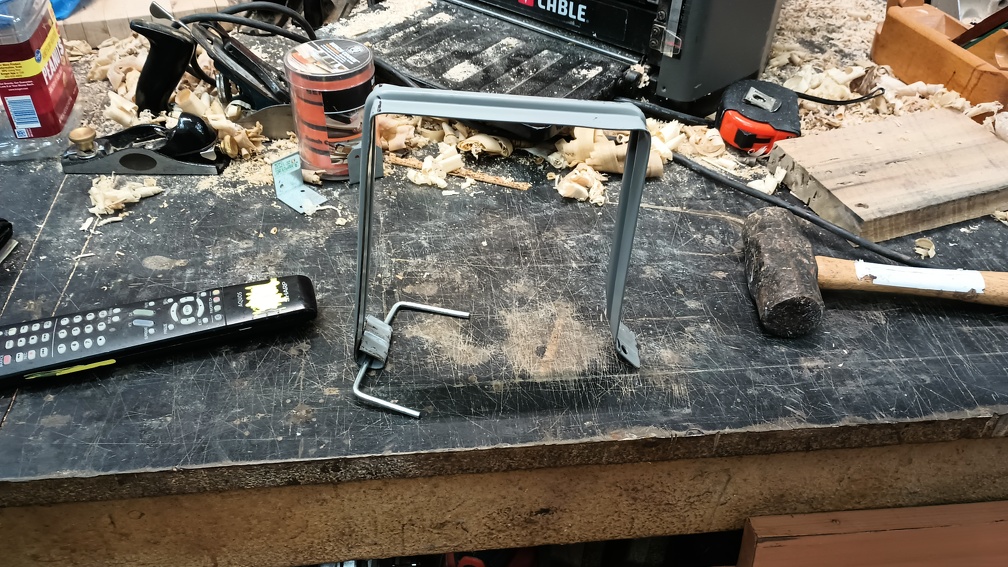
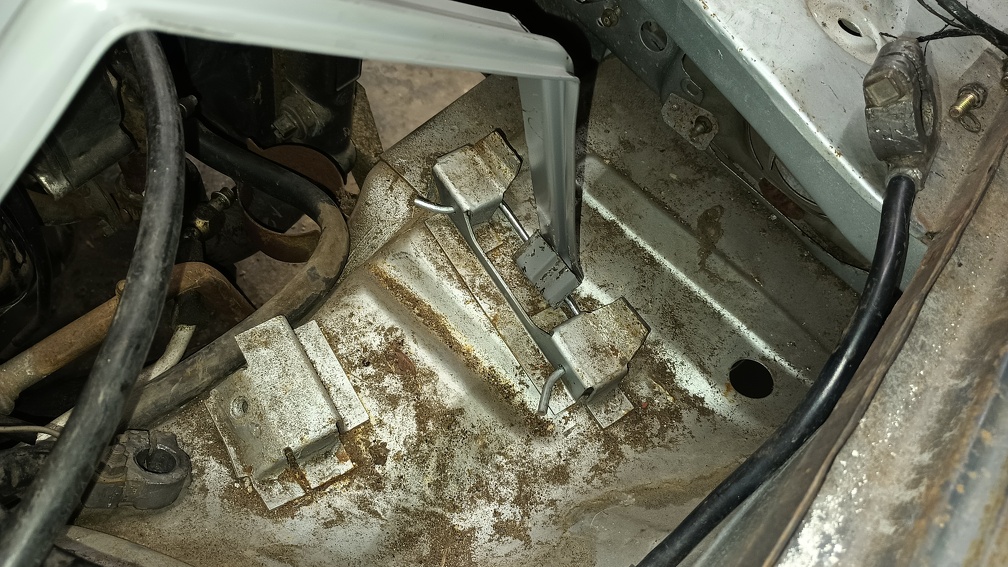
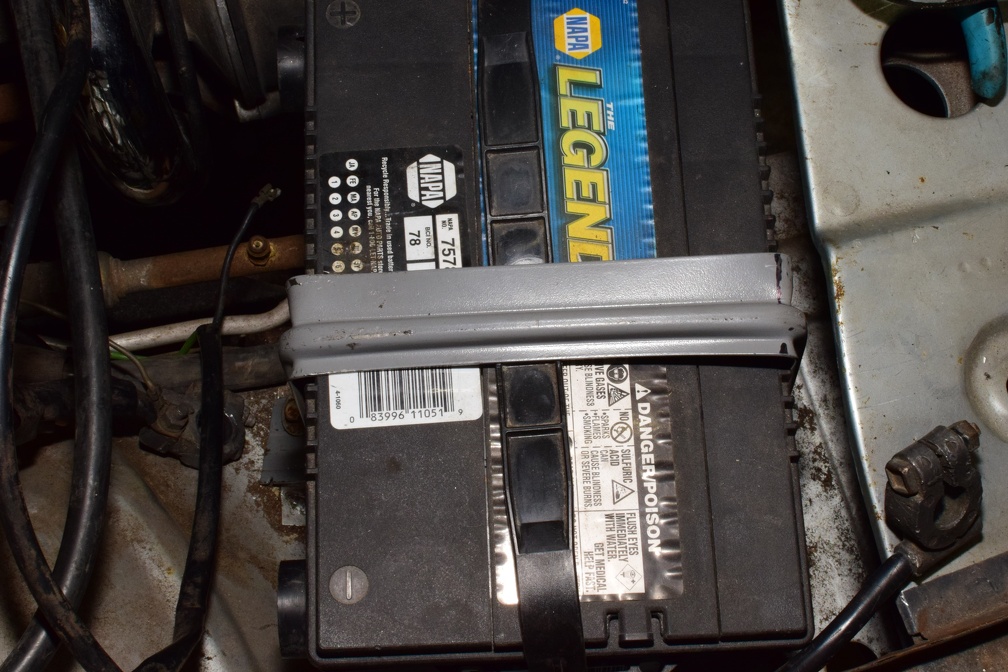
Next up, the battery needed to be tied down. Tim had an old battery laying about that’s not great but should be good enough. None of the battery tie-down brackets were with the car, so I needed to manufacture a solution. I started with this bit of file cabinet that I had in my scrap pile.

I measured it and then using my hydraulic press as a brake, I bent it into shape.

To attach it to the bracket, I used a bit of metal rod from the same file cabinet scrap, cutting it and bending it to fit in the existing spot on the car and then bending the hold down strap around it.

The battery is quite secure now, but I will try to make some small adjustments to make it look a little more perfect.