Turdbo Neon

Project log for the re-building of the 1997 Dodge Neon Sport

Suddenly I care about how things look…

The good hardware stores are all closed on Sundays so I tried to go to Ace and get some stainless and/or chrome hardware. It was pretty much a bust. They had chrome hex key button bolts that would have worked for the 5 intake manifold bolts, but they wanted something like $3.29 each for them, and it didn’t seem worth it. I think that a stainless flange head hex cap bolt is what I want, and they didn’t have anything like that. I did, however, score a couple chrome bolts for the fuel rail and one of the long bolts that I need for the throttle body attachment.

Painting the new Intake Manifold

Okay, picturefied update time!

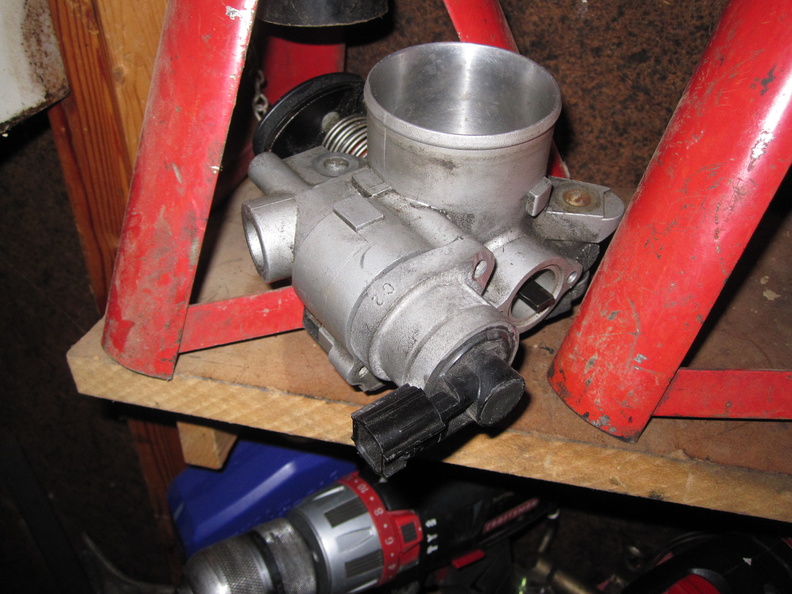
First off, here’s the SRT-4 throttle body I got the other day:

The PT Cruiser TPS mounts in a different orientation so even though the bolts line up and it will actually install, the little tab there won’t actually engage the sensor. I suppose I could have tried to open it up and make it work, but that seemed like a lot of work. Instead of that, I went to the junkyard and pulled a TPS from a 2000 Caravan 3.3L which appears to properly interchange. About $15 after taxes and entry fee, so yay!

The PT Cruiser IAC is set in place there and it appears to fit. There’s only one bolt hole in the sensor, but I think it’ll get the job done. The IAC is an SRT-4 only part, so finding one in the junkyard is going to be pretty tough, so rather than spend the $70 on a new one we’ll try this first.

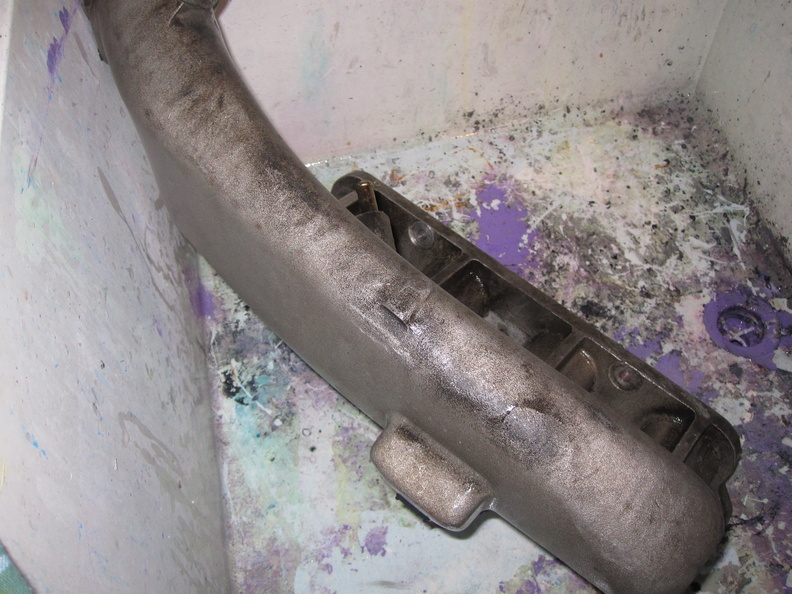
Starting out, the manifold was pretty nasty.

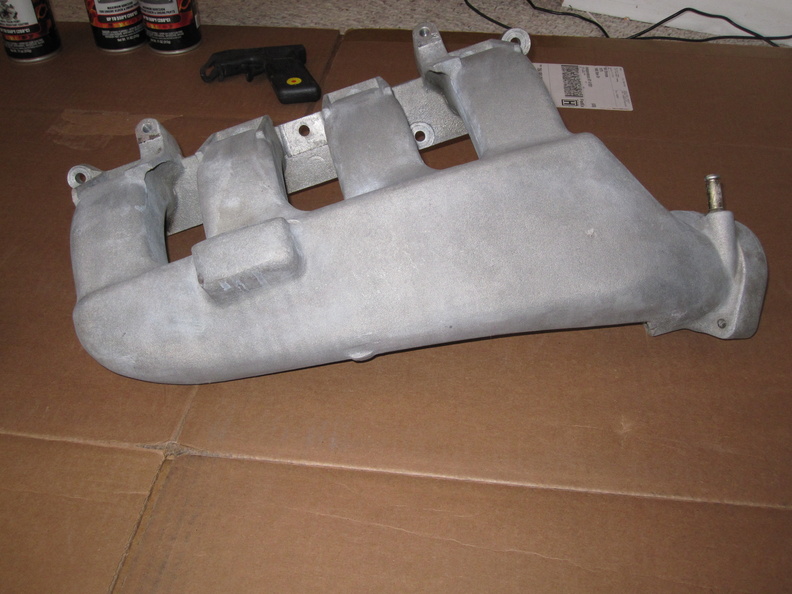
After a bath with the Purple Power and a wire brush, I was left with a cleaned up version:

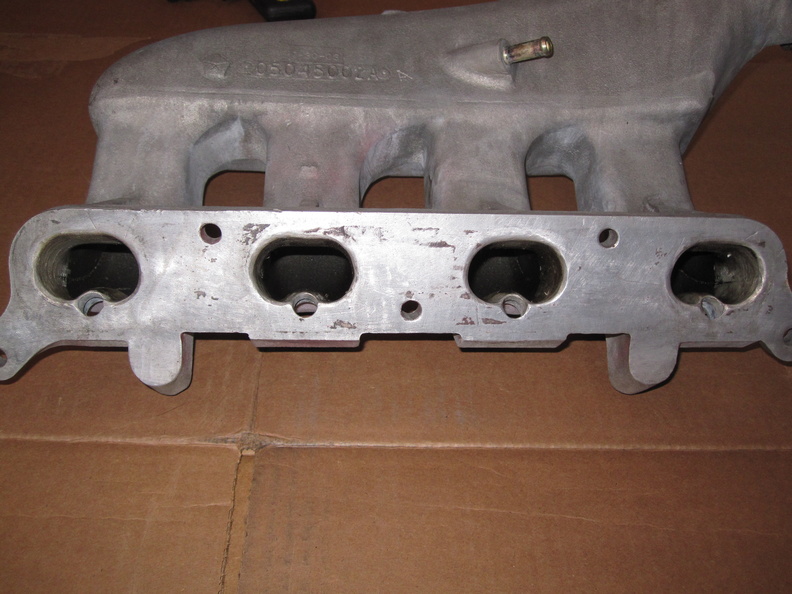
There was a bunch of goo on the mating surface, and it’s a little roughed up, but hopefully it won’t be too much damage to get a good seal.

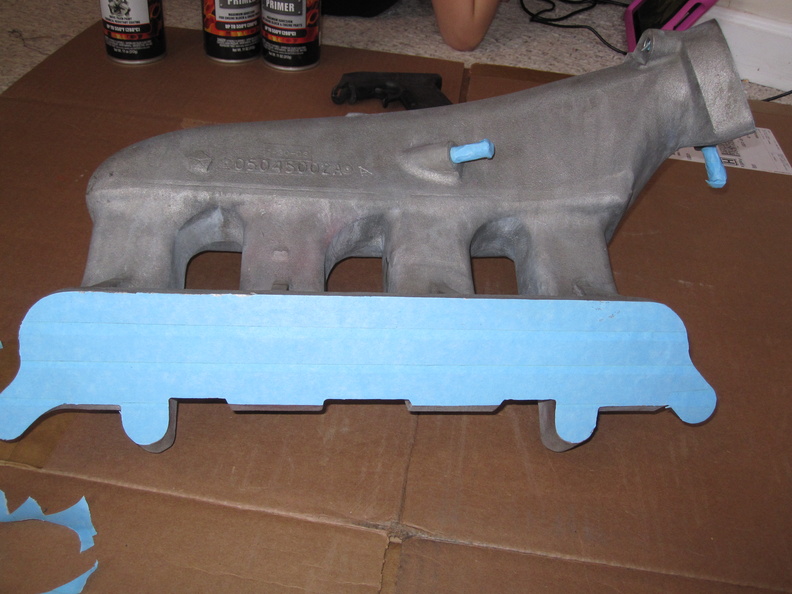
I got it all masked up

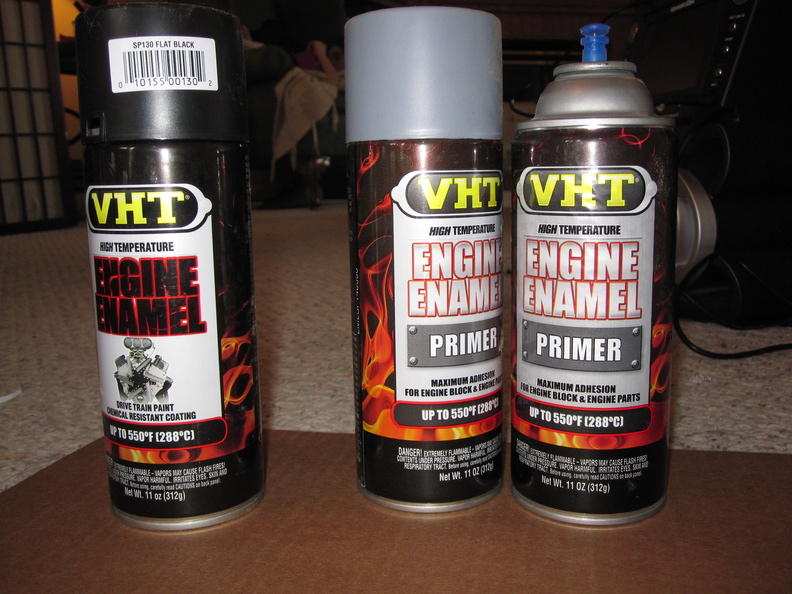
And then it was time to put these guys to work:

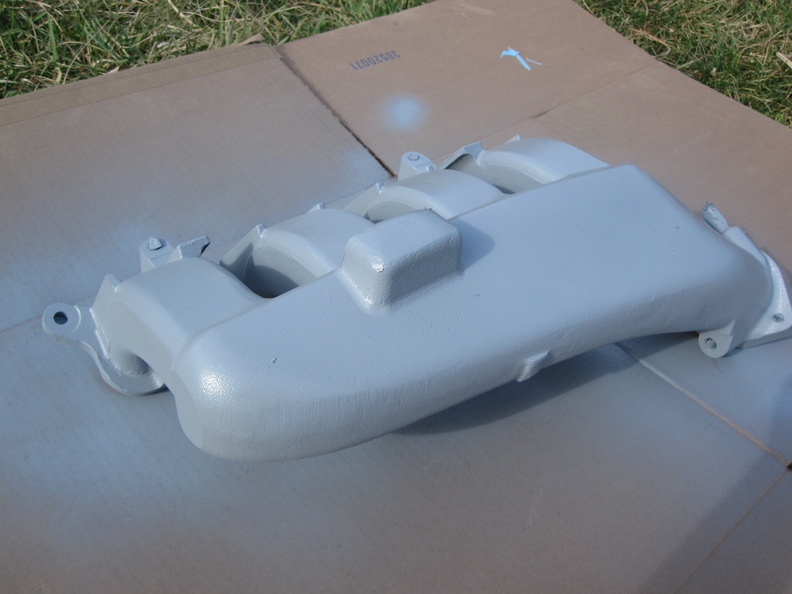
Primer on:

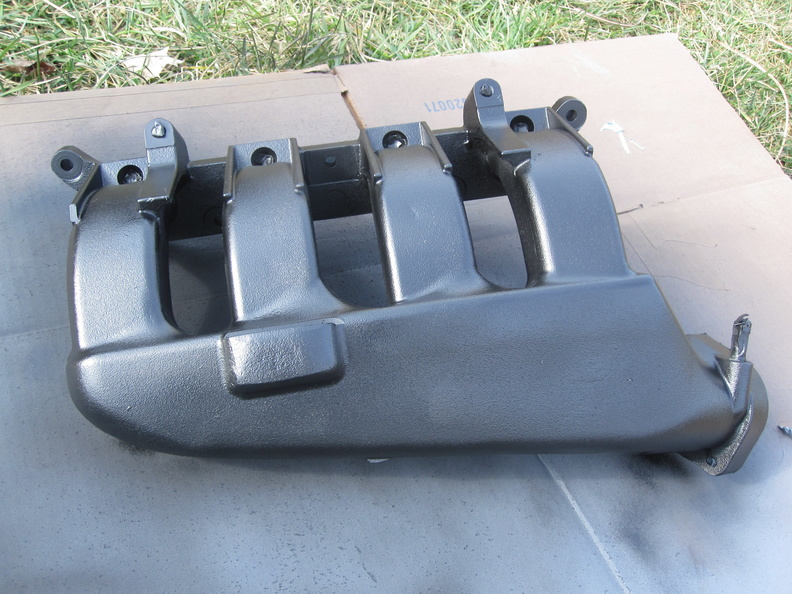
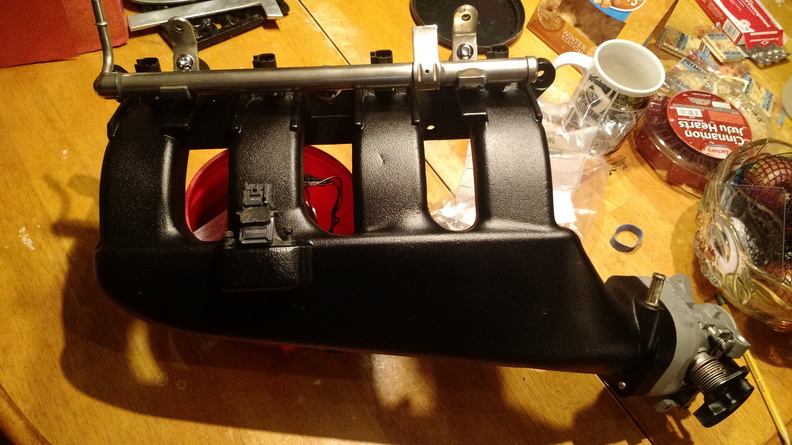
And painted:

The spacer piece and the throttle body itself will remain unfinished, I think. I’m not sure if I’m going to put the original MAP sensor back in or if I’m just going to make a block-off plate for it. The only MAP sensor I need is the one that’s already in MegaSquirt, so there’s no need for it, but it would make a very easy and cheap block-off plate, so I’ll probably just put it back in.

On a side note, I was out driving the car around today a bit to go pick up the paint and a couple other things I needed for around the house. It kind of hit me that I think I have yet to actually push the throttle pedal all the way to the floor, other than when I’m already in 5th gear passing someone on the highway. With the leak fixed and the rattling and knocking gone from the suspension — and with a fresh car wash! — it is really nice to drive. There are still some weird points in the tune that I need to address, but the overall response is just great, the sound is awesome, and I love how the blue vinyl looks. What’s better than that, though, is that I’m finally to a point with this car where when I add a new modification like this, my concern for how it performs is actually equal to my concern for how it looks!

I’m going to have to be careful here, because I’ve actually caught myself wondering if I should go get a beater to use for RallyX!

Sometimes Amazon is way more expensive!

Ugh. I’ve been too sick to get out of bed for the last couple days, but before I crashed out, I started cleaning up the new intake manifold with a little Purple Power and a wire brush. It looks nice, but I think before I put it on, it’s going to get some color. I was thinking of using the same VHT Hemi Orange that I used on the block and the valve cover, but my wife is pretty convincing in her argument that it would look mo’ better in a flat black. I don’t think I have enough primer left over, so I’ll need to pick that up as well as a can of VHT SP130. My original plan was to get it from Amazon, but they want $10.24/can with Prime shipping and $15.42/can for the primer while Autozone has it in stock for $7/can.

I think it’s supposed to be nice tomorrow, so I’m going to try to mask it up and get it painted tomorrow so that some night next week I can install it.

Before I succumbed to sinus hell, I also went ahead and placed the order with Davenport Racing USA for the non-adjustable HotBits rally suspension. I guess I’m going to have to call them on Tuesday and see what’s up because their store is set up to process everything through PayPal, but PayPal is saying that they haven’t accepted my money yet, which seems weird.

Speedometer Problems (fixed!)

I failed to mention before that the speedometer stopped working after I put it back together. The VSS connector was solid, but no reading.

I put a multimeter on the VSS connector and turned on the car but got under 4 volts when it was supposed to read 8. Pushing the ECU wires around a little would get me 8v momentarily but it wouldn’t stick. I read that the VSS can run on 5V, so I ran a new ground wire to the MS central ground and tapped in to the 5V ref signal out of MS. Works like a champ.

Loose ECU wires does also explain the battery light that was coming on intermittently. Now I’m one step closer to just pulling the stock ECU out.

Back in boost!

Boost is coming on smoother and faster and the car sounds so much better. There’s a little bit of power steering fluid that got spilled which is now burning off a bit, but otherwise things are pretty great.

I tried to tighten up the swaybar endlinks tonight, but that didn’t seem to make a difference. I’m starting to think that when I was told that the control arms I bought had new ball joints installed what the guy meant to say was that they didn’t.

Intake manifold and throttle body arrived today, but I need to clean them up and check my supply of gaskets before I do anything with them.

Exhaust Manifold Gasket Replacement Progress

Nothing to really see, and it’s not back together yet, but I’ve been out there the last couple nights for an hour or two here or there.

I was very concerned about getting the gasket over the manifold studs and about getting the one manifold bolt installed, so after sourcing the new Fel-Pro gasket, I took a really deep breath and got out my pry bar. Amazingly, it took almost no effort at all to get the gasket slipped over the studs and in to place! The only part that required some effort was the act of holding the really long really heavy pry bar in one hand while manipulating the gasket with the other hand.

With the gasket in place, I’ve started the re-assembly process. I put the other 9 bolts and nuts on first and snugged them up before I even attempted the devil bolt. The biggest fear I had was cross-threading it since there wasn’t an obvious way to come at it straight on. My approach was to put some blue RTV on the head of the bold and use that to attach my 10mm socket to the bolt and then use an extension on the other end of the socket. By manipulating the lower heatshield, I was was able to find a place that I could slide that whole contraption forward and try to start the bolt by feel alone. It was one of those situations where I knew I’d have to try to turn it a bit, then back everything out and take a look, then try to start it a second time, and so on. The first time I pulled the socket out to take a look, I was shocked to find that the bolt was no longer attached to the socket but was, in fact, halfway threaded in to the head! Huzzah!

From there, it was torquing down the manifold bolts, re-attaching the manifold braces, and re-setting the engine position and re-connecting the front and rear mounts.

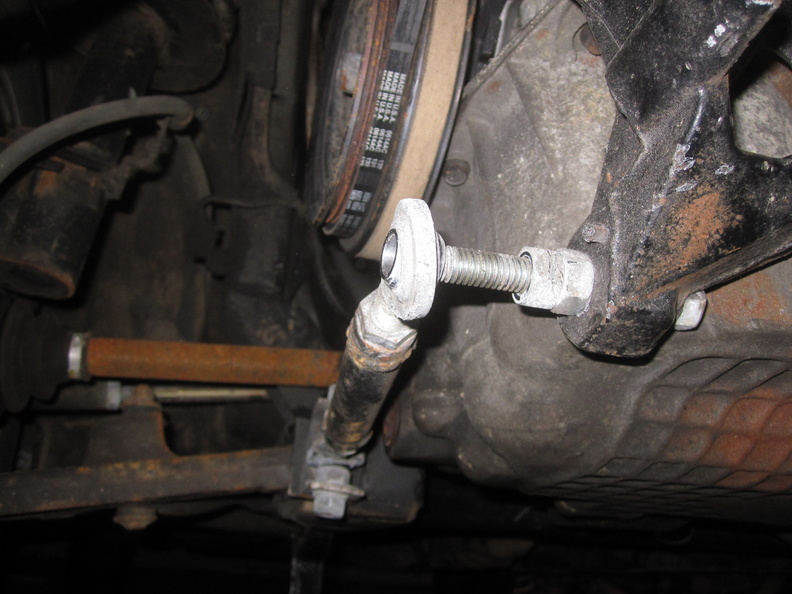
In other bonus news, while I was down there, I discovered that the right sway bar end link was loose! I’m hoping against hope that is the cause of the suspension banging that I keep hearing. If tightening that up solves it, that will be the fourth vehicle on which I had a front end suspension noise and the fourth vehicle where the fix for that noise was the sway bar. Updates as they become available.

Later this week, I should be able to get the headshield reconnected and the power steering and coolant reservoirs re-mounted. Then I can start it up and see how she sounds. Looking at the flex section on the downpipe, I’m pretty sure there will still be an exhaust leak in the system, but at least it will be after the turbo this time!

Exhaust Gasket is Out

Well, I fell asleep watching Bathurst after we got home last night. I’m not saying that the race was boring, but I did manage to check out during what I think was the 13th safety car. Given that I was tired enough to sleep through cars on a racetrack, I went to bed with a plan to get that gasket out first thing in the morning. You need to understand, though, that first thing in the morning means something different around here on Sundays, so after three or four cups of coffee and some really serious web browsing, I padded out to the garage.

First order of bidnizz was to loosen up the longitudinal engine mounts. That meant the torque tube on the front right and taking the top nut off the solid bobble strut on the transmission:

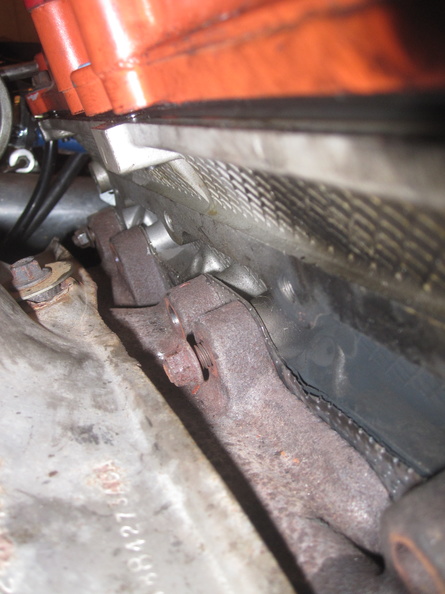
May I take a minute and say, “what’s the deal with all the surface rust down there?”

Anyway, once those were popped loose, I loosened the bracket holding on the coolant feed for the turbo and put my floor jack to the back of the transmission to rock the engine forward. Again invoking the principle of “I have no idea how I’m going to do this in reverse”, I used a prybar to push the manifold back over the studs so I could slip the gasket out. I think I might be best served by trying to remove the studs before trying to re-install, but I’m open to suggestions.

Here’s the exhaust leak:


The focus is pretty terrible, but you can basically see right through the layers of the gasket. The number 2 exhaust port (giggity) was the worst, but #3 was pretty bad, too. Later on today, I’m going to make a run to my FLAPS and get a new gasket and a new knock sensor.

What the heck was I thinking?

Next time, I’m just going to live with the exhaust leak.

Ever since I put the car back together, there’s been a bit of an exhaust leak at the front. I thought it was the flex section on the downpipe, but before I started tearing in to things I thought it just might be a good idea to take a look and make sure. I’m not 100% convinced that the downpipe isn’t leaking, but I can tell for certain that the exhaust manifold gasket is leaking. Today’s lesson, then, is that while manifolds are super easy to install when the engine is on a stand, they’re a real pain in the neck when the engine is in the car!

Here’s the offending gasket:

There’s enough air coming through there that I can feel it with my hand when the engine is idling. I’m not sure how it happened this way, but the manifold bolts were not fully tight. I’m not sure if I just forgot to torque them down or if they worked loose, but it managed to break up the gasket.
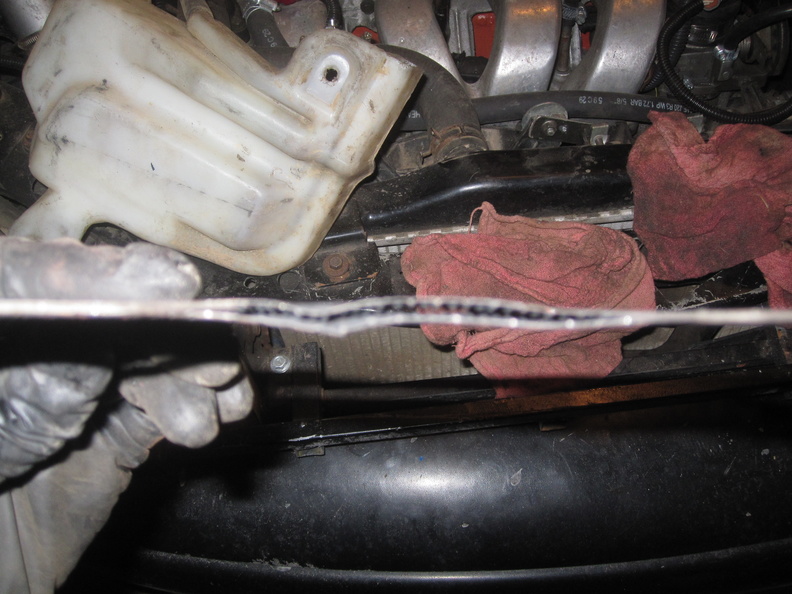
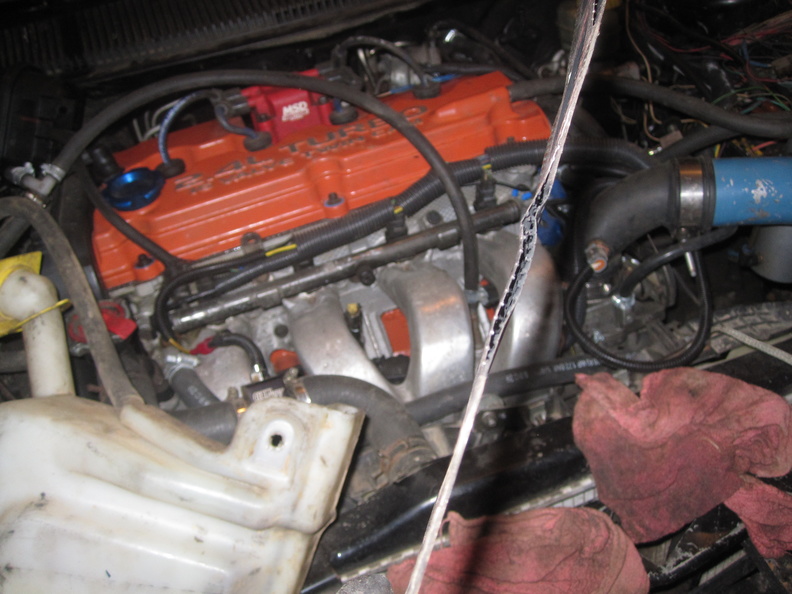
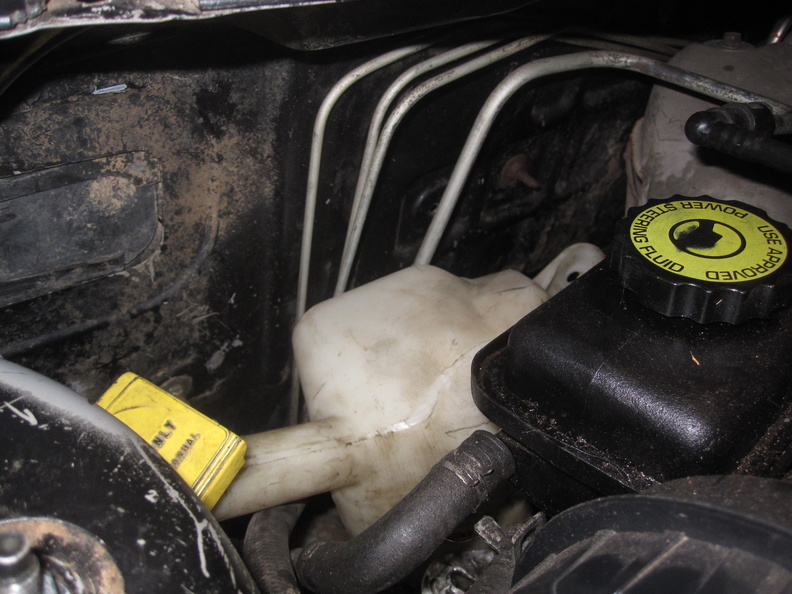
By putting that motor in this car, I’ve created a few serviceability issues that I need to work through. First up, the power steering reservoir and the coolant overflow bottle have a bit of a catch-22 removal process. The bottle needs to be unbolted and pushed down, and then you can get to the bolts holding on the reservoir.

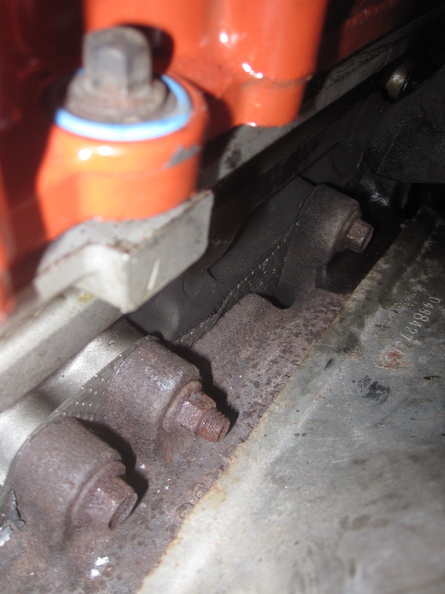
As a reminder to myself, these oversized nuts (heh heh) are the mounting spacers:

Once that was out of the way, I was able to get the top manifold bolts off pretty easily:

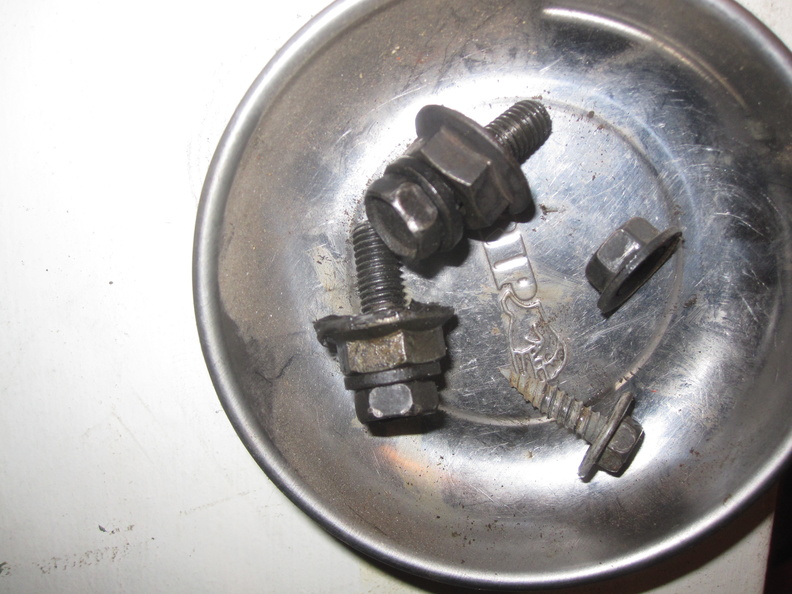
The bottom, however, is a different story. I removed the top half of the heat shield so I could loosen the lower half. With that gone, I could get three of the four lower bolts out pretty easily. The fourth, however, is a real treat. Eventually, I removed the turbofold brace and relocated the heater core coolant lines a bit to gain access to the bolt that is basically under the turbo. Because of the heatshield and the oil and coolant lines running around behind the block, it is nearly impossible to get to that fourth bolt. While I was able to remove it after about two hours, I’m still not 100% sure how I’m going to get that bolt re-installed later. I guess that’s Future Bill’s problem, and what has he ever done for me, anyway?

My next challenge is getting the manifold back far enough on the studs to be able to slip the old gasket off and a new one on. I think I can do it without disconnecting any of the exhaust piping, however, I will need to rock the motor forward because there is not enough clearance between the firewall and the body of the turbo.

For now, I took a bit of a break to watch Bathurst and do family stuff. I’ll probably try to get a little farther along later tonight.

In the coming-soon department, I just purchased a KnockSense MS kit to be able to add knock detection to Megasquirt to try to keep from blowing this motor up. From srtforums.com, I found someone selling a stock intake manifold and throttle body so I should have those next week as well. The throttle body doesn’t have an IAC or TPS, so I’ll need to get those, but I’m going to see if the PT cruiser parts can be adapted in any way first. That should seal the engine up a little better since the intake wasn’t a perfect fit on the head and the 1gn Neon throttle body shaft has no ability to prevent boost from blowing through. Once I know what I’m doing for an IAC, I’ll pull MegaSquirt back off the car and add in the tach, idle control, and knock detection circuits all at once.
IT’S ALIVE!

Now, I’m not going to go and say that it’s “done” or that it’s “ready”, but I will admit to having taken a six mile drive tonight with no trailer or tow truck required!

The tune isn’t great, the alignment is off, the blow off valve isn’t working, I need to get a power steering belt, and there’s some sort of boost/vac leak going on.  But, I drove it and it can pull really hard, even with a boost leak, set for only 7 pounds of boost, and without me really pushing it very hard at all.

I have become all that I hate

I got the oil filter adapter installed.  Oil pressure and oil temp gauges appear to be working.

Problem is, the way the oil cooler is mounted, the oil filter cannot be installed with the sandwich plate adaptor.  There isn’t enough clearance to thread the filter with the hot side pipe installed.  So now, in order to do an oil change, the hot side pipe must be removed.

Good news, though, is that the reservoir for the coolant is installed, the PCV system is almost complete, and antifreeze and oil are in the engine.  All the wiring is complete, and MegaSquirt is all wired in and good to go.  I still need a little more hose to run the catch can to the intake manifold.  The radiator has coolant, but it needs some distilled water.  The boost controller needs to be installed.  And I need to put the axles in and fill the transmission. Then I can try to start the car.  I turned it by hand a little and then actually let the starter turn the motor a little bit.  So far, so good.

  1. PS belt
  2. Distilled water for cooling system
  3. Get hose for PCV system
  4. Install boost controller
  5. Torque down O2 sensor
  6. Install axles
  7. Fill transaxle
  8. Try to start engine
  9. Re-install front end