As I mentioned already, I could have just taken the table home at this stage and it would have been fine. But there were a couple things left to do.
Most obviously, the table needed to have its lip attached. Originally, my plan was to use the furring strip to build up a 3/4″ lip around the table. Sounds good in theory, but I had two problems with that. Firstly, I had used up the entire supply I purchased in framing up the storage drawers. Secondly, the more I thought about it, the more that seemed like a very limiting lip height.
Initially, I thought I would just forgo the lip entirely and use some edging tape to cover the unfinished edge of the plywood. Dad did some hunting around his leftovers in the workshop, though, and he came up with these cherry nosing strips. They just happened to be the exact right size and it gave the table a little rounded lip that was about a quarter inch high. Perfect to prevent things from rolling off, but not instant carpal tunnel.
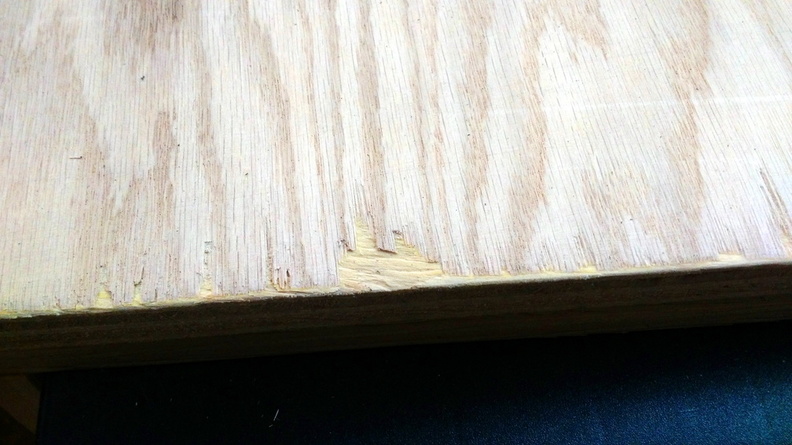
My next issue was that in the process of cutting down the plywood, the veneer got chipped a bit in a few places. Some of the chips could easily be filled with putty, but I was concerned what the larger chips would wind up looking like.
At this point, I should point out to those of you that haven’t figured this out yet: I don’t really know anything about woodworking. I’m just kind of bumbling my way through this project. I do know, however, that if I had a quarter panel that had rusted out, I would go find a good panel, cut out a large section of it, cut out the rusted section, trim my good panel to fit, and then weld it in.
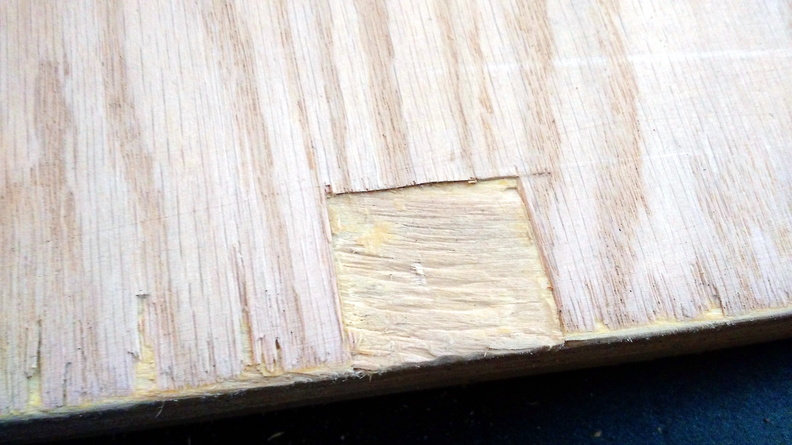
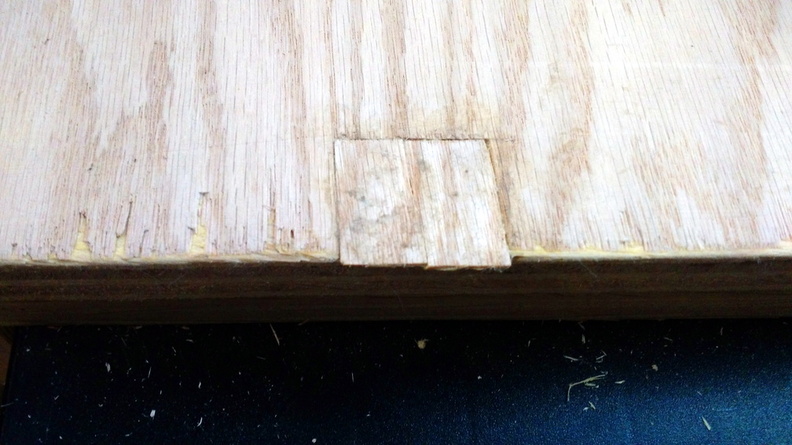
Whether it is the right thing to do, I approached the veneer chip the same way. I started with this chip:
Using a straightedge and an Xacto knife, I cut out the veneer layer:
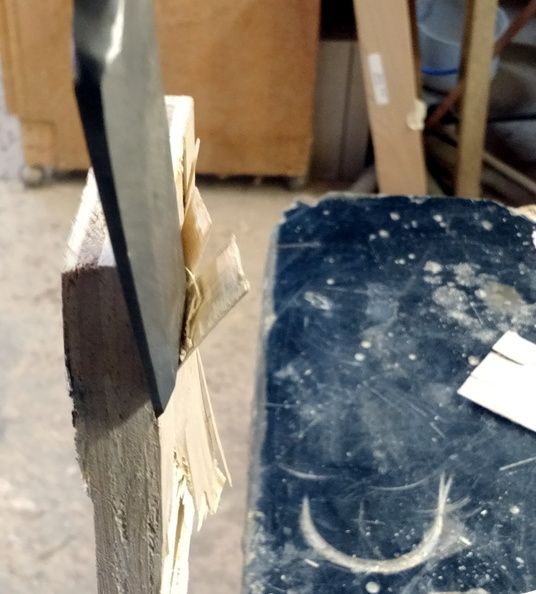
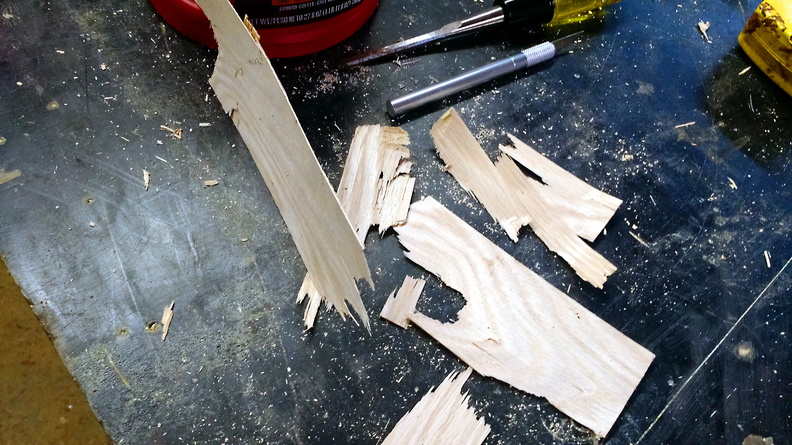
In order to get veneer to replace that bit, I used a chisel to separate off that layer from a leftover bit of plywood:
I found some thick paper and used it to cut and trim a template bit that would fit what I had cut out of the table top. Then I used that template to cut a bit of the veneer I salvaged and glued it into place:
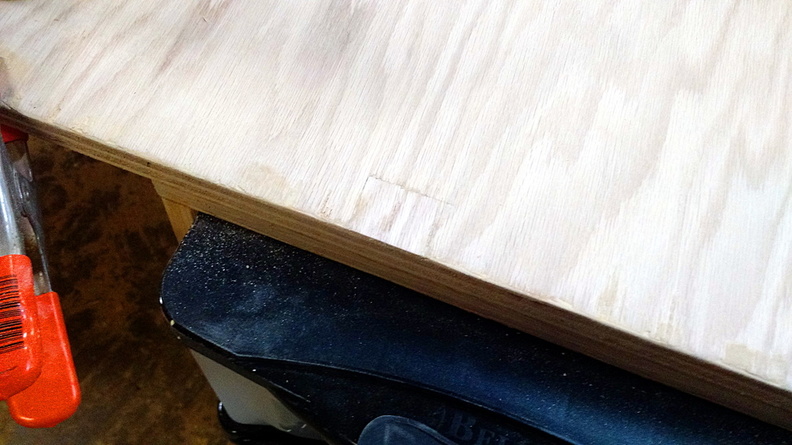
After some putty, a little sanding, and final trimming:
Not perfect, but much better than the giant void. In the future, I think it would be best to just not chip the veneer in the first place.
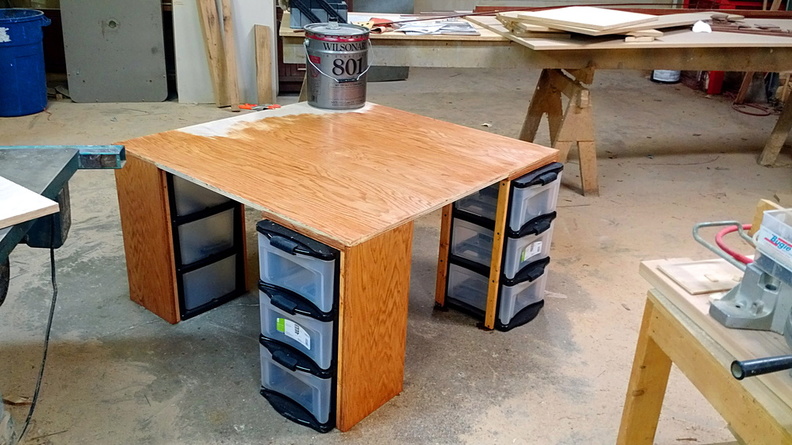
Moving along, though, with the veneer patched, I applied the stain:
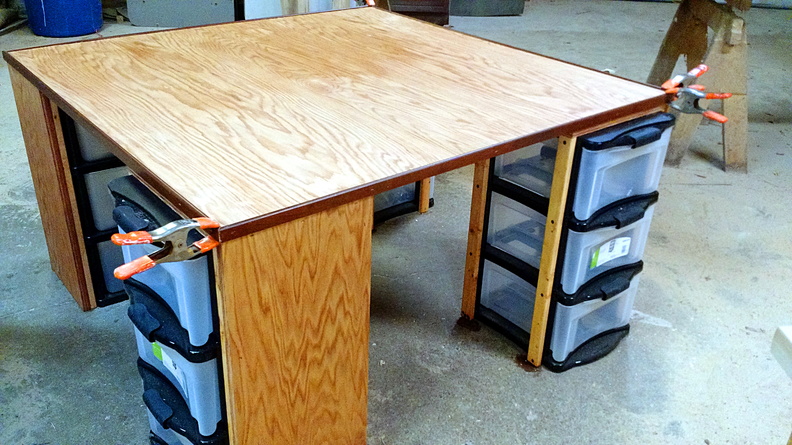
Once the stain was applied, I mitered the nosing and glued/stapled it on to the edge to give it this look:
Ignore the clamps. All-in, I spent a total of about 12-16 hours on construction and finishing. Again, a decent percentage of that was spent trying to re-engineer this thing. If I did it again, I’d go about it a little differently. Using those drawers as a base is just a stupid idea. I might build actual boxes for legs in which those drawers might fit. Or I might build boxes in which storage containers could be stored or hung somehow. I would even consider building compartments that those fabric storage boxes would fit in.
But I would never, ever consider building furniture using plastic storage drawers as a base. Ever.
Because that’s an incredibly dumb idea.
In retrospect, I realize now that I should have realized then how dumb that idea was before I started. In the end, I think I put the best possible polish on this particular turd that could be done, and it really does look pretty nice. But it still has a little flex to it.
Because building furniture using plastic drawers as a base is pretty stupid.
I alluded to a potential problem with the drawer-legs. This table is quite heavy and somewhat awkward to lift and hold. Because they’re not boxed in all the way, you really shouldn’t lift it by the legs, so it requires a lot of off-balance hefting to get it off the ground. In the process of trying to do that to load it into the van to get it home, I managed to forcefully remove three of the legs.
Repairing that added another 30 minutes or so to the build. Instead of just screws, I put some glue down and then used a screw that was a little bit wider so that it would have a harder time pulling out. Time will tell how well that works.
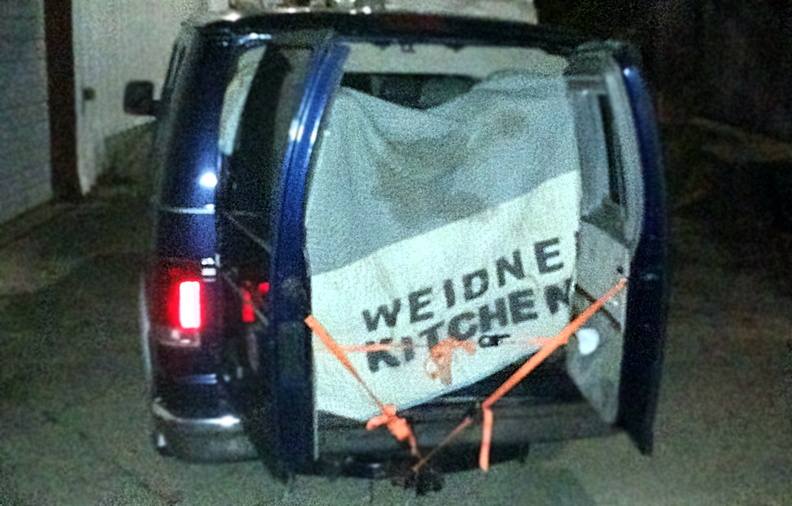
Another lesson that I learned from the Jethro Gibbs School of Building Boats in Your Basement is that you need to double check the size of your vehicle. As it turns out, because I left the drawers sticking out a bit from the top of the table — I think it looks and works better that way — it adds about 6 inches to the overall width and depth of the table: 48.5×48.5, That’s a bit too big to fit in my van. About 6 inches too big, as it happens. So it made the trip home somewhat precariously:
Overall, the wife and the kids are happy with the table. All-in, it cost me about $140 in supplies, but I got about $100 worth of nosing for free, and I used glue, staples, putty, and screws from dad’s workshop. I started the process on the 30th of December and brought it home on the night of the 2nd, but I didn’t touch it at all on New Years Day. Overall, I had about 12-16 hours into the project, but could easily replicate the table in about 8 hours if I were to ignore my advice about not building furniture using plastic drawers as a base.
Most importantly, though, I learned a very valuable lesson: Don’t trust anything you find on the Internet.
