When we left our intrepid adventurer, the Internet-inspired Lego table was turning into a Jell-O-like disaster of a project. I considered going ahead and building the table as-advertised, but I really didn’t want to go through the expense and energy just to have a bit of garbage in the basement. Whatever I wound up doing, I didn’t want to add any significant amount of fiberboard or OSB, and I didn’t want to have to purchase any additional supplies if I didn’t have to.
My dad came in at this stage and we both noodled a few different ideas to box in the corners or add legs, but nothing really resonated. I started cutting up the furring strips to see what I could do with them to strengthen the drawers and I came up with this:
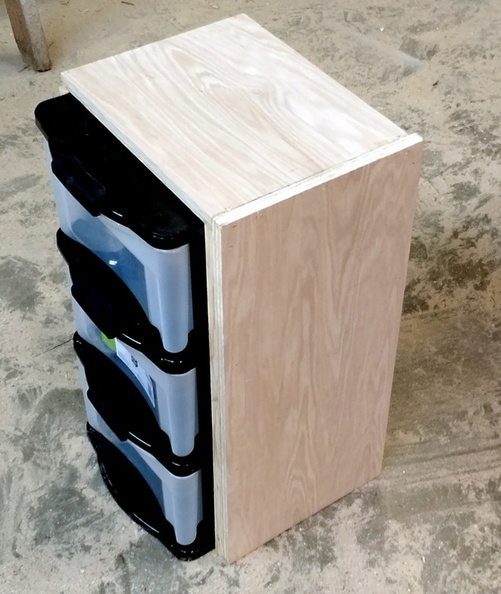
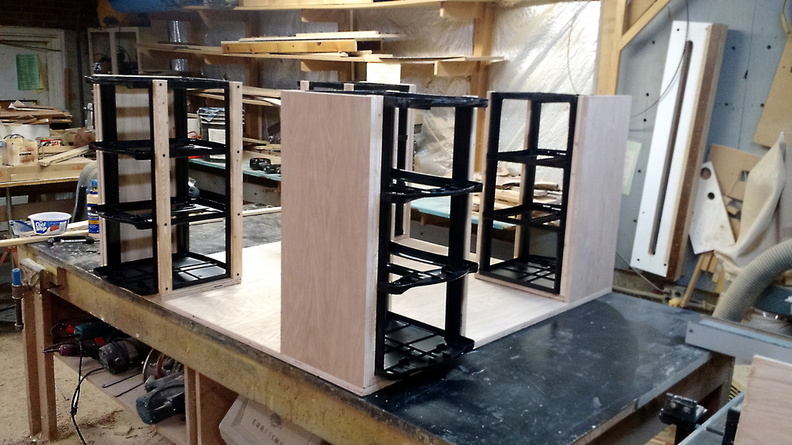
I cut the furring strips to the height of the drawers and attached them with screws to the “legs” of the drawer units. I cut down the other half of the plywood into side and top sections for the drawer units so that they would be partially boxed in. I tried just the side:
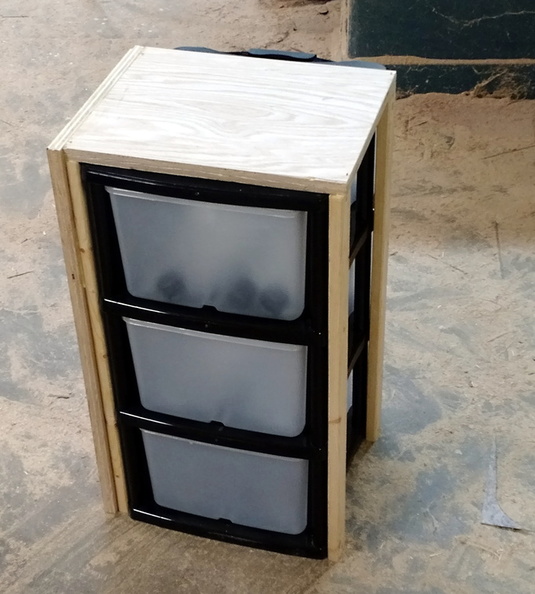
With the drawer until boxed in, the flex was reduced considerably.
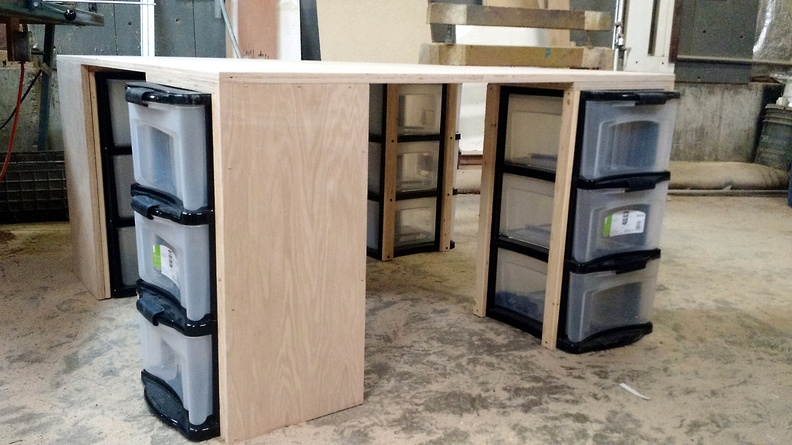
After mocking it up, it was much more stable, even before attaching the legs to the top. In the interest of full disclosure, I did need to head back to the lumber yard and grab two more furring strips for $0.80 each. I needed a total of 16 of the auxiliary storage drawer legs and I could only cut 3 from each furring strip.
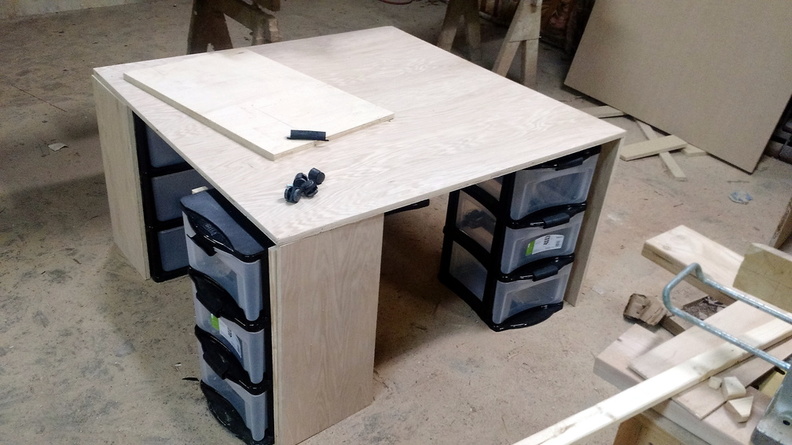
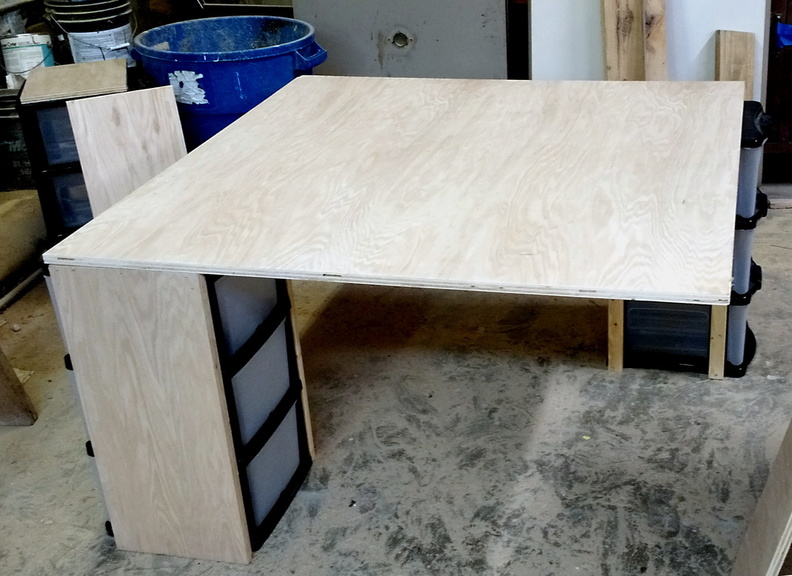
I put the table on the work table and lined up the legs. Using a couple right-angle drill attachments (I knew there was a reason I had two of them!), I screwed the legs/storage drawers on to the table top.
Once they were screwed on, it looked like this:
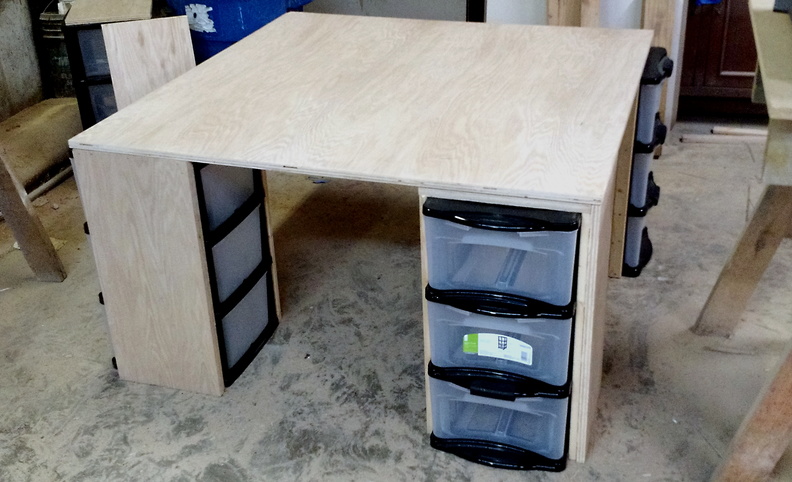
I was actually able to jump up and stand upon the table top without any problems. Given that I weigh significantly more than most housecats, I’m confident that this table would not have any trouble surviving in a house that suffers from a feline infestation. I’ll make an exception for Siegfried and Roy, however, since I only tested the table to about 185 pounds.
Now that the basic table was completed, it just needed some finishing work to be done. I could have brought it home at that point, however, and it would have worked out pretty well. It certainly would have been worlds better than the original design. At this point I would say that I had about 8-12 hours invested in construction. A good 3-4 hours of that time was spent trying to find a way to re-engineer the design, so if you’re looking to construct this table yourself, hopefully I can save you some time there.
You’re also going to notice that the table is not mounted atop casters. I’ve kept the casters and could install them, however, the boxed-in storage drawers are using the furring strips and plywood to transfer the force of the weight of the table around the plastic and down to the ground. If those casters were installed, the weight would be borne again by the plastic and I don’t believe that the wooden exoskeleton that has been fitted will be sufficient. That will probably put the flex back in to the table and that flex would likely result in the fasteners and glue being weakened over time. If I put it back on casters, it will need to be after boxing the other side — or maybe the side and the back — of the storage drawers and then adding a floor piece to each one as well. Even then, I remain concerned about the overall structure of the table.
As it turns out, I should have concerned myself more with this as I attached the legs. But that’s a story for later. Say, in the exciting conclusion of my adventures with the Lego table in part III.