I realize that it is kind of obvious that 12mm is physically larger than 7/16″. In fact, it’s about 1/32″ of an inch bigger. Basically, we’re talking about 15/32″ versus 14/32″. It doesn’t seem like much.
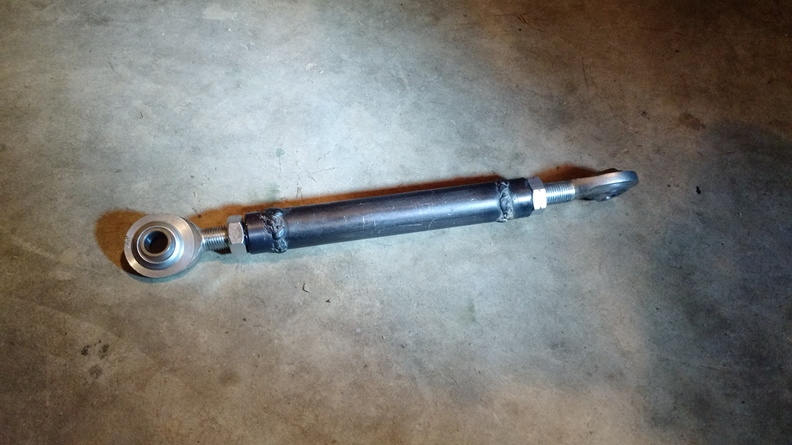
I got the rest of the parts for the engine torque strut today, so I went ahead and welded everything together:
It worked out pretty well, although I did need to cut a couple inches off the tube I bought. When I measured the length that I thought I needed, the engine was rocked way back on the side mounts. Anyway, that part went fine. The problem I ran in to is that the bolt hole that I need to connect the strut to is metric. 12mm specifically. I think you know how this is going to end.
The good news, though, is that while an M12 bolt will not fit through the rod end bearing, a 7/16″ threaded rod will slide through an M12 thread! So, my plan is to acquire a couple 7/16-14 nuts to lock a threaded rod in place through the hold in the mounting bracket on the front of the engine. That will give me a stud, basically, to run the rod end bearing through. On the other side, I bent up a bracket and put the 7/16″ holes in the legs. I still need to drill the hole for the attachment to the control arm, but to attach the heim joint, I’m going to get a 7/16″ bolt and nut plus a brass spacer. I’ll cut the spacer so that there’s a little bit of space on either side of the joint and it rests roughly in the middle of the bracket.
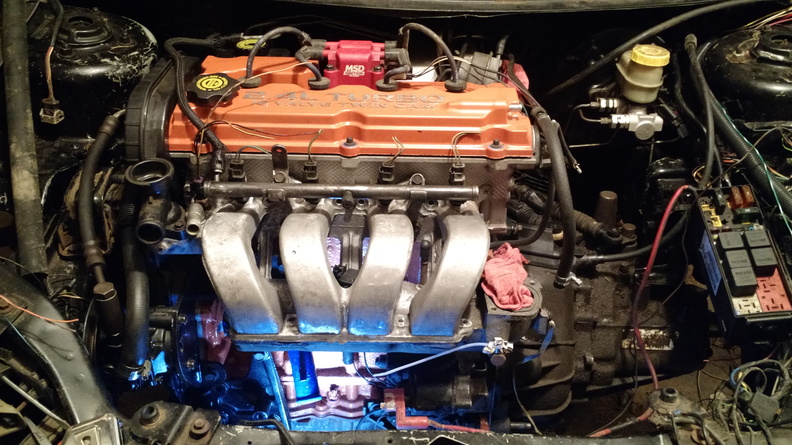
I worked on a few other things so that in the end, I left the engine bay looking like this:
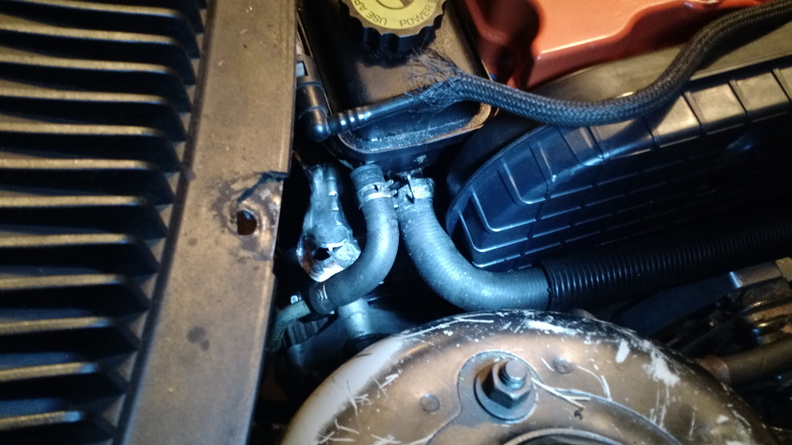
Tim came over and gave me some help tonight. Specifically, he was able to work out how I need to modify the coolant hard lines to accommodate the intake manifold and the heater core connections. Basically, I’m going to chop up the hard lines some more to separate the return and the source lines. That way I can angle things a little better.
In addition to that, we got the shifter and clutch cables hooked up — part of the hardline re-routing is to keep it out of the shift cable bracket! The thermostat is installed along with the fill pipe. We also got the power steering reservoir bolted up to the head using some old nuts as spacers. Amazingly, the return line for the P/S system actually fit, so I don’t think I need to get a new hose for that, so that’s good!
I also picked through the wiring harnesses that I have from the 1gn and from the PT and went ahead and plugged in the various connectors to their sensors. Additionally, I started running the new vacuum lines. Little things, to be sure, but now the wiring portion of the project can get underway and I can work on how I route everything. Overall, a night of good progress!
- PS and ALT belts
- Wire up voltage regulator
- Gaskets for throttle body
- Build torque strut
- Add bushings to bobble strut*
- Connect throttle cable
- Connect water hoses to hardline
- Connect heater core water hoses
- Connect exhaust
- Wire engine
- Install radiator
- Install cooling fans


