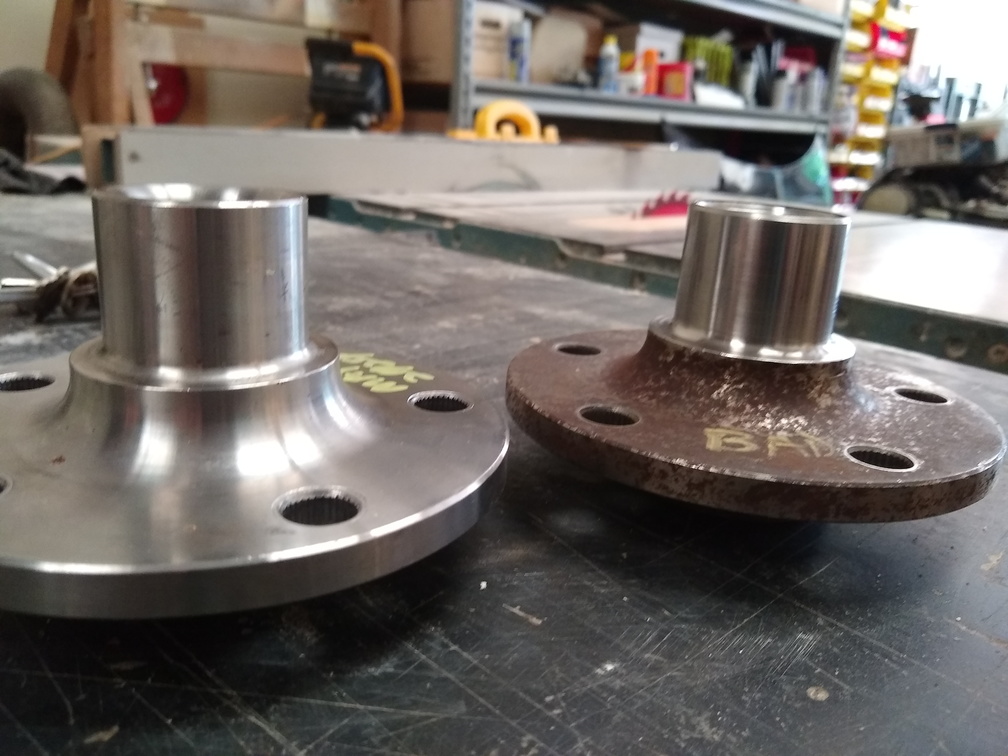
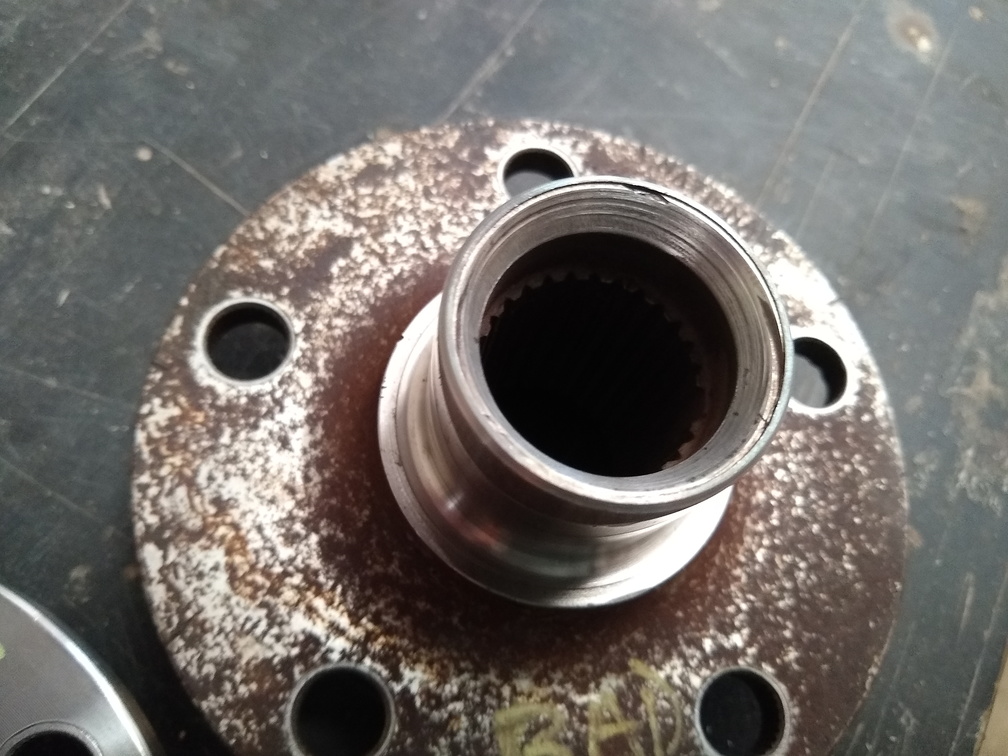
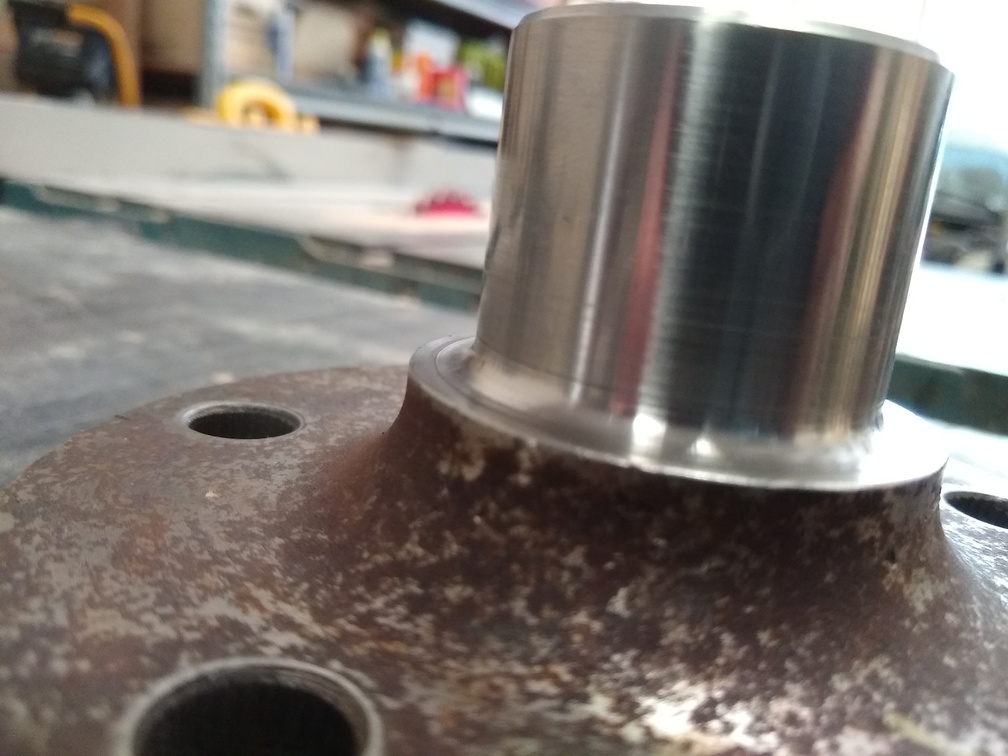
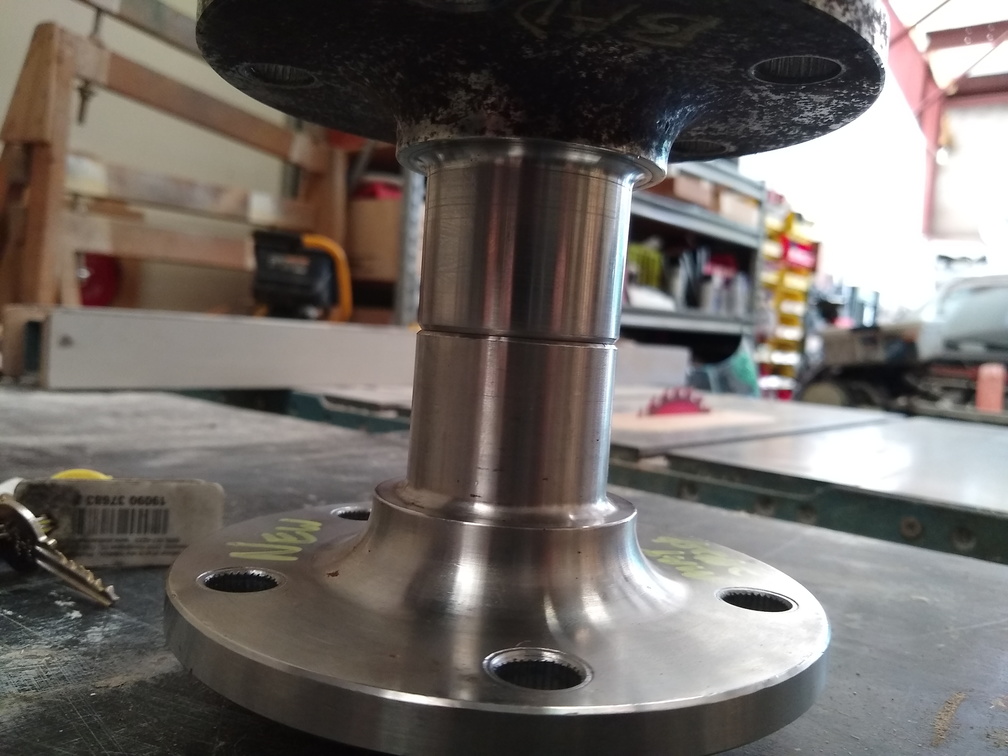
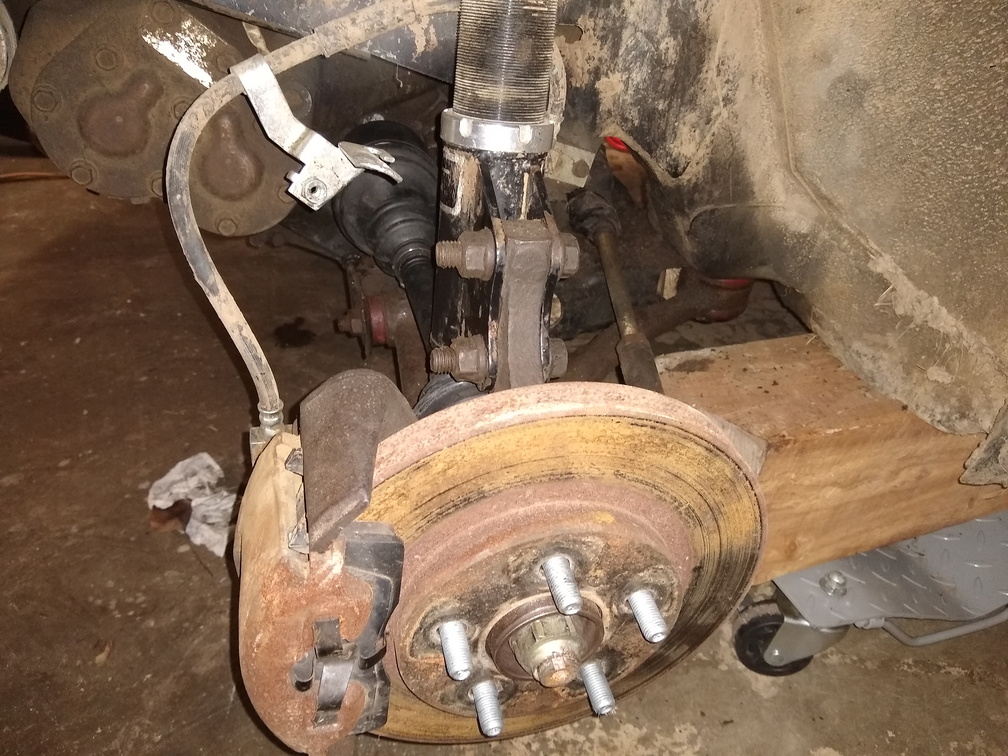
I finally had time to go get the hub from the machinist and get it installed. As promised, he turned down the hub, put on a sleeve, and then turned that down to match the size of the brand new Timken unit. I went ahead and pressed it into the wheel bearing, but it still had a little wobble to it that looked like it was coming from the bearing, so tore it all down again, put in a brand new bearing, pressed in the hub, and now it seems to be all good!
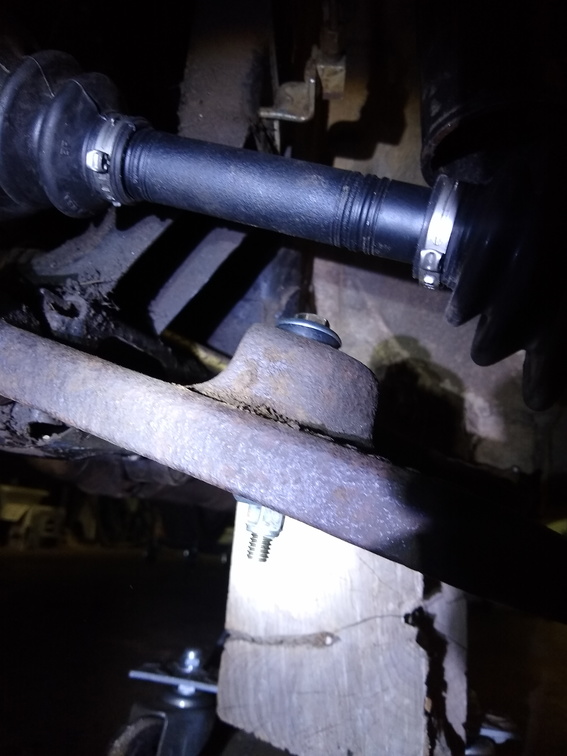
Nothing is ever that easy, though. I took the time to get the swaybar endlink replaced as well. The one on the car was all disappeared into the mounting hole on the end of the swaybar.
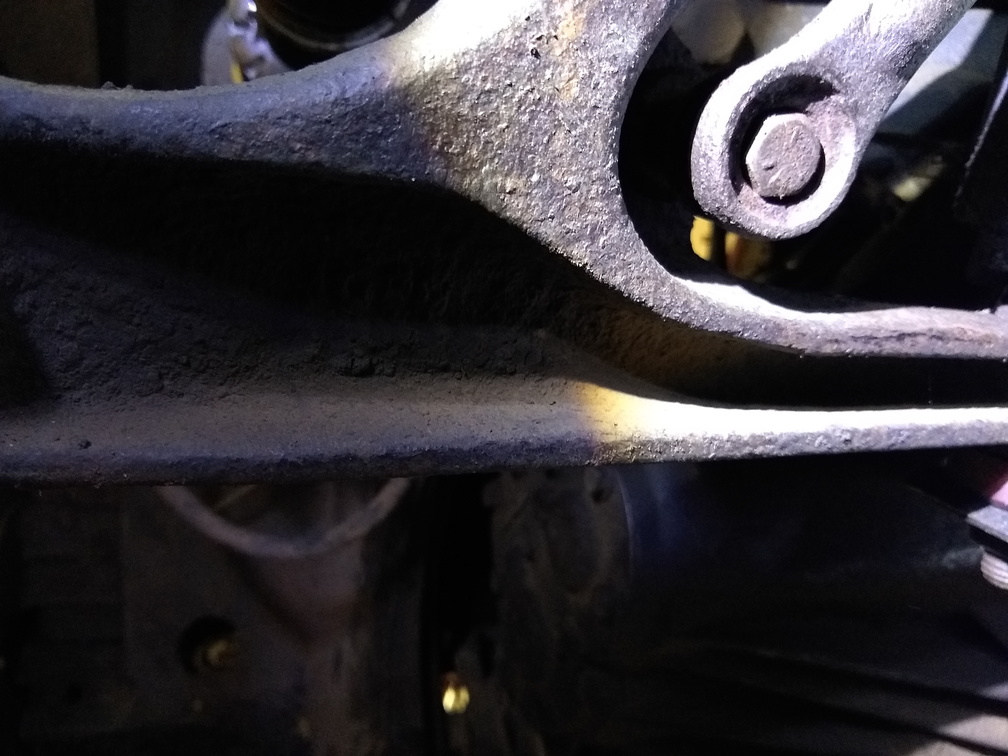
Since it was so far in and I couldn’t get a socket or wrench on it, the grinder came out to play and the old endlink came out in bits.

I didn’t think to put the longer studs on while the hub was out of the knuckle and there is no way to put them in once the assembly is together, so I am back to the short lug studs for now.
Once it was back on the ground, I was able to drive it out of the garage and back in. I used a ratchet strap to pull the engine forward and hold it in place, but there is still something grinding really hard in there. I suspect it’s the alternator on the power steering lines and it might just be a simple matter of moving things around and making sure they’re properly secured.