A trip to Lowe’s netted a new spool of flux-core wire and some new tips which enabled me to finish attaching the additional material to accommodate the correct angle of the engine. A little bit of welding later and I had this:
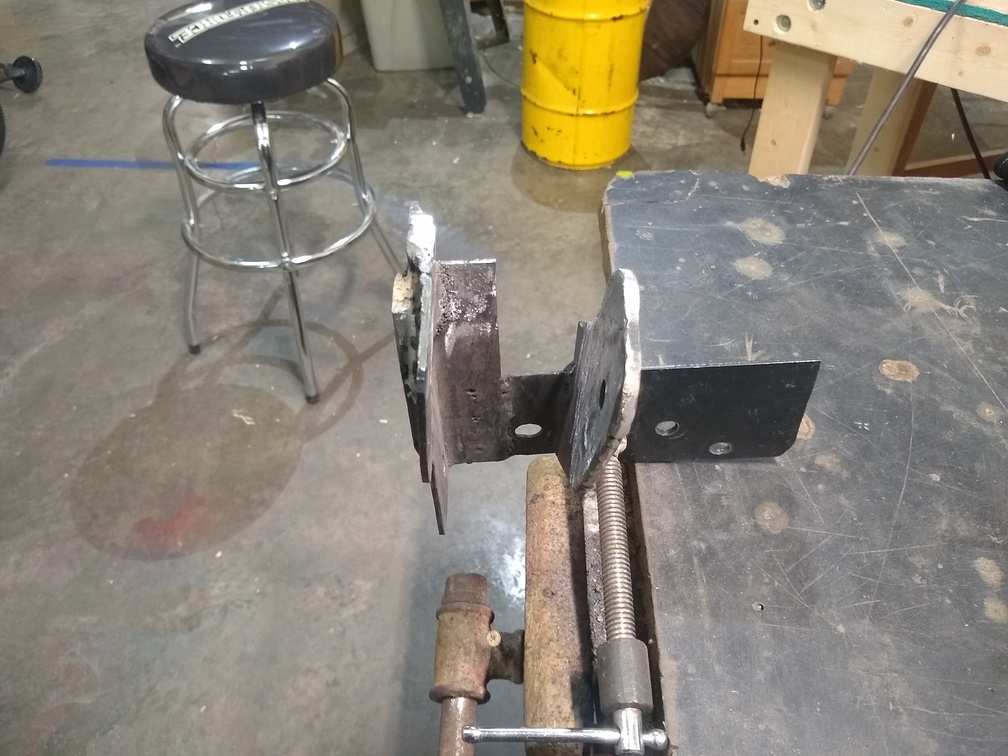
I was all set to just get it wrapped up on Sunday, but I put my drill bits in my B.U.T.T. and then left it at home. So, I had to wait to actually put the bolt hole in. In the meantime, though, everything got bolted back up to the car in order to mark the orientation and position of the body-side mount against the engine-side bracket. From there, I did some careful measuring and template-making so that I could mark the bracket in the proper place. The right side bolt hole was pretty easy to drill and was all good to go. The left-side bolt hole, however, landed right on the edge of the angle-iron that I used to put the right angle on the arm of the bracket.
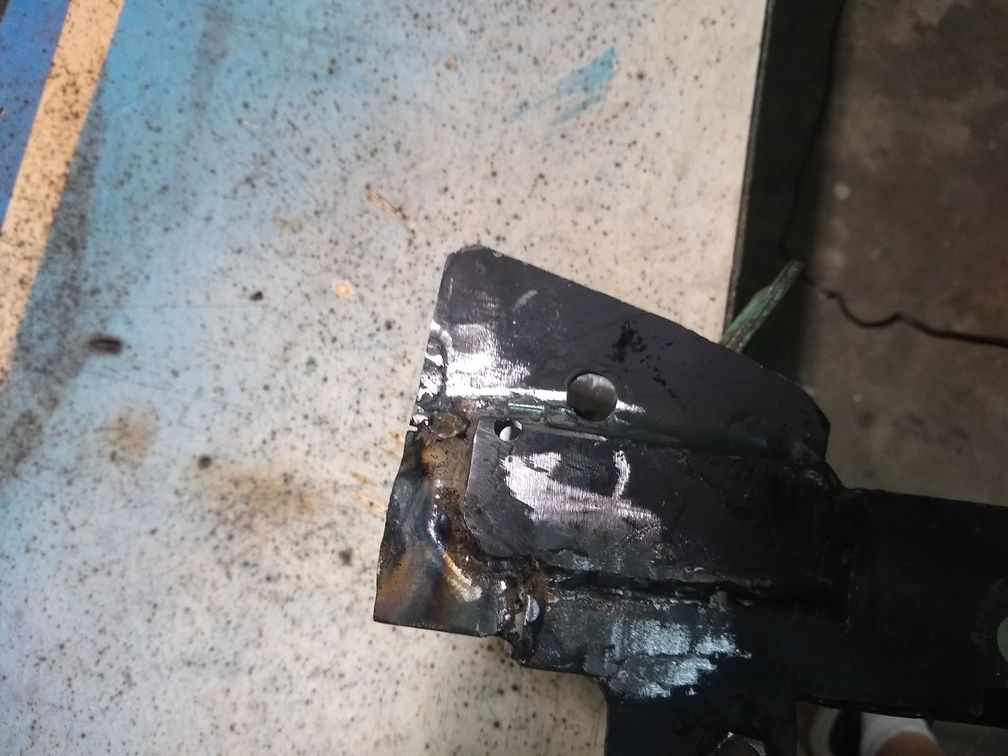
The new bolt hole is the smaller one to the left. That’s the starter hole and once it got to the 1/2″ size that wasn’t going to work too well. To mitigate that, I added a few layers of 1/8″ steel and re-drilled the hole. That gives the bracket enough “meat” to be able to support the bolt. As a side benefit, it also makes the bracket wide enough that I don’t need to add washers in order for the nut to be able to catch the threads.
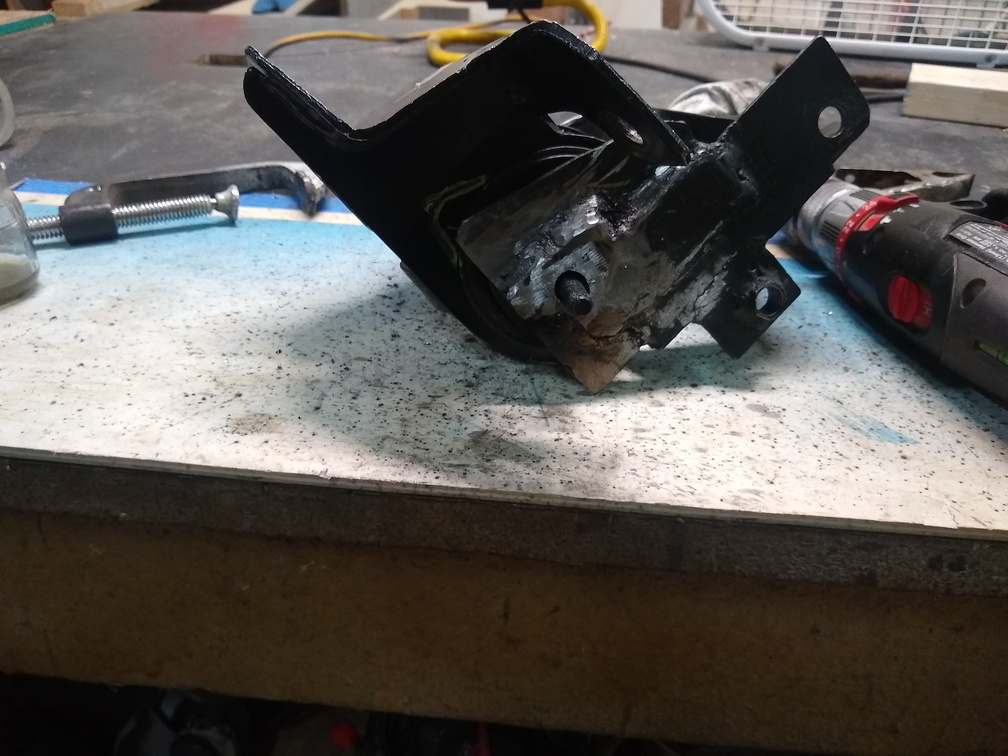
Of course the final test was to bolt everything back to the car once more with all the stock(ish) mounts connected to make sure that everything finally aligns. Good news:


Perfect (enough) fit! You can see that the bobble strut is bolted to the frame bracket in the back and that, while a little close, the body-side mount is not hitting anything. I have to take the whole thing apart again so I can sand down and paint the engine-side bracket and at the same time I’ll grind off a little bit more of the body-side mount just to make sure I don’t put a hole in the charge pipe.