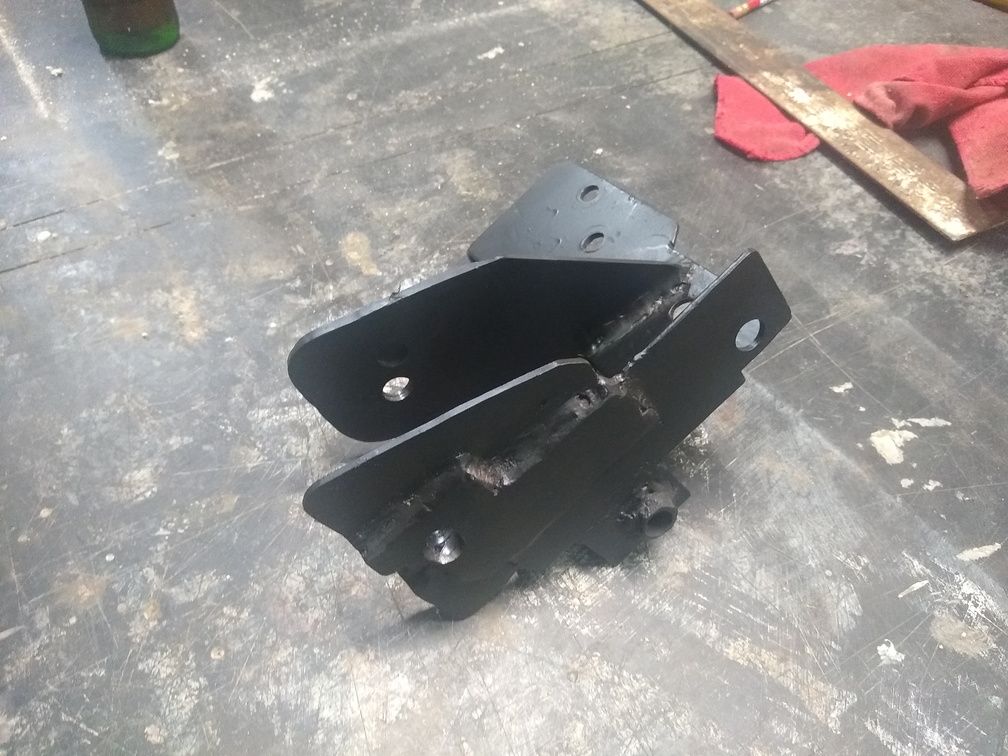
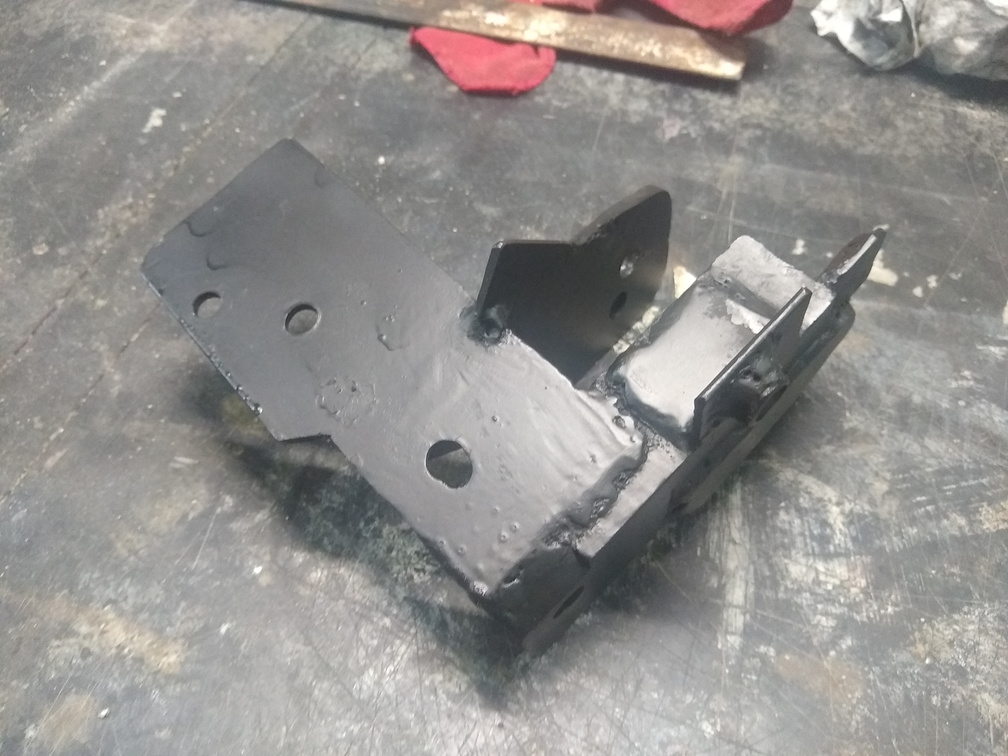
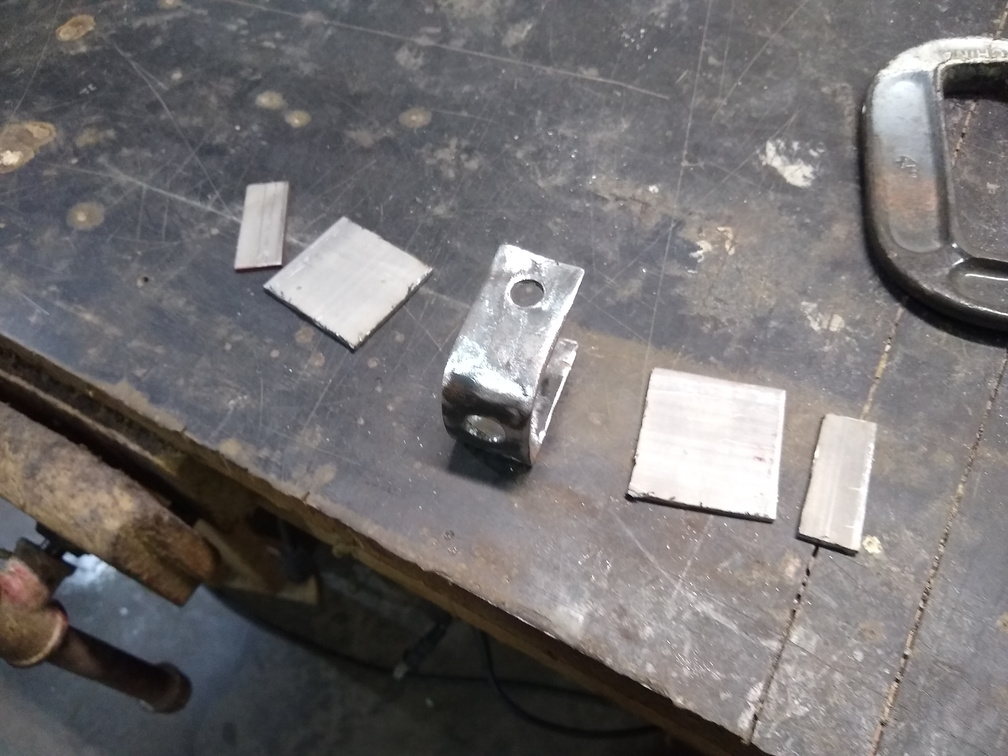
The freshly painted engine-side bracket looked pretty nice on the bench,

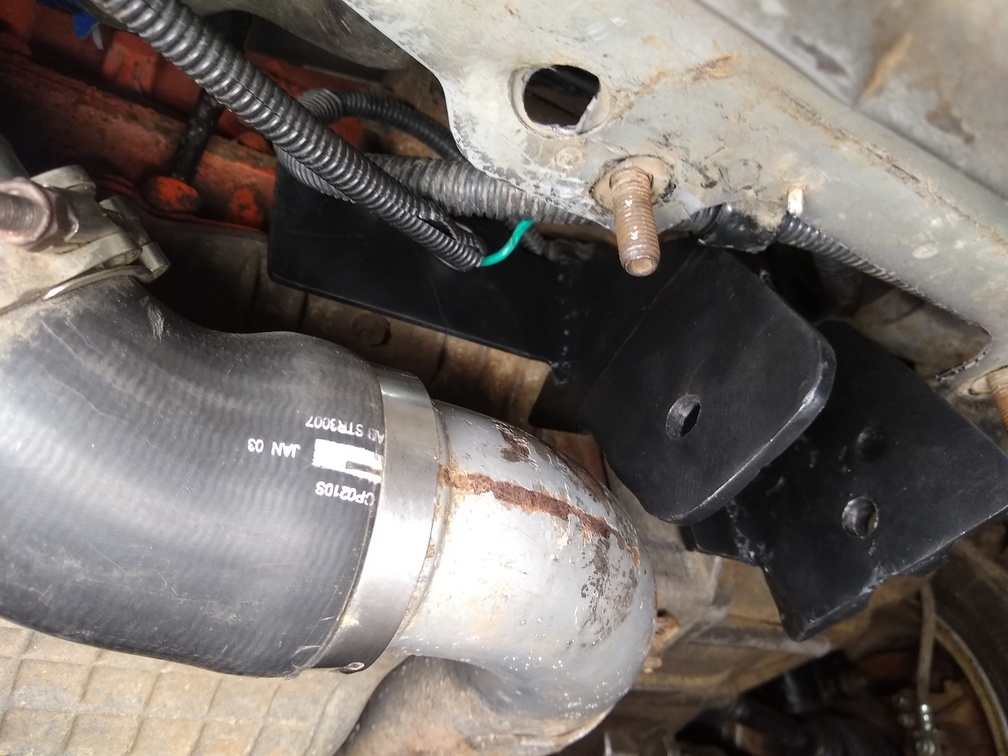
But it looks even better when it’s all installed on the car!
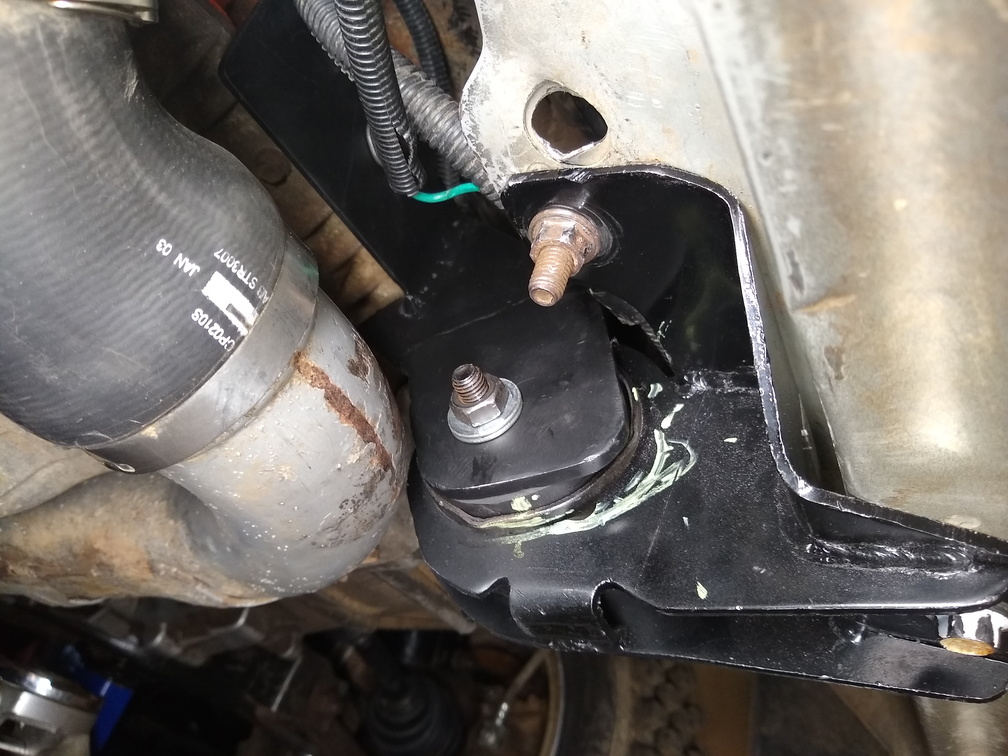
And even better yet when it’s all bolted up and holding the weight of the engine!
The initial plan was to just slam things back together and get the car on street tires for some driving around. But there was the problem of the torque strut. To keep it from rubbing on the oil pan, I was using a pretty long bolt and some spacers. As I looked at it, I realized that really what should be done is the bolt hole needed to be moved over about a half inch. But half-an-inch from the existing bolt hole was air. So, here we go.

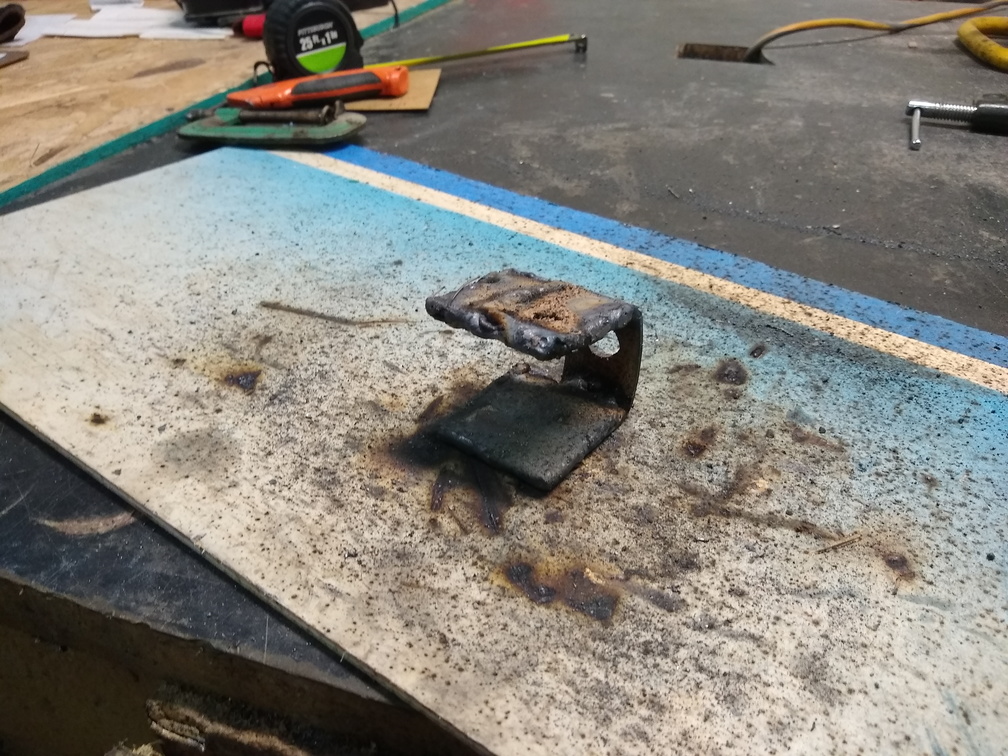
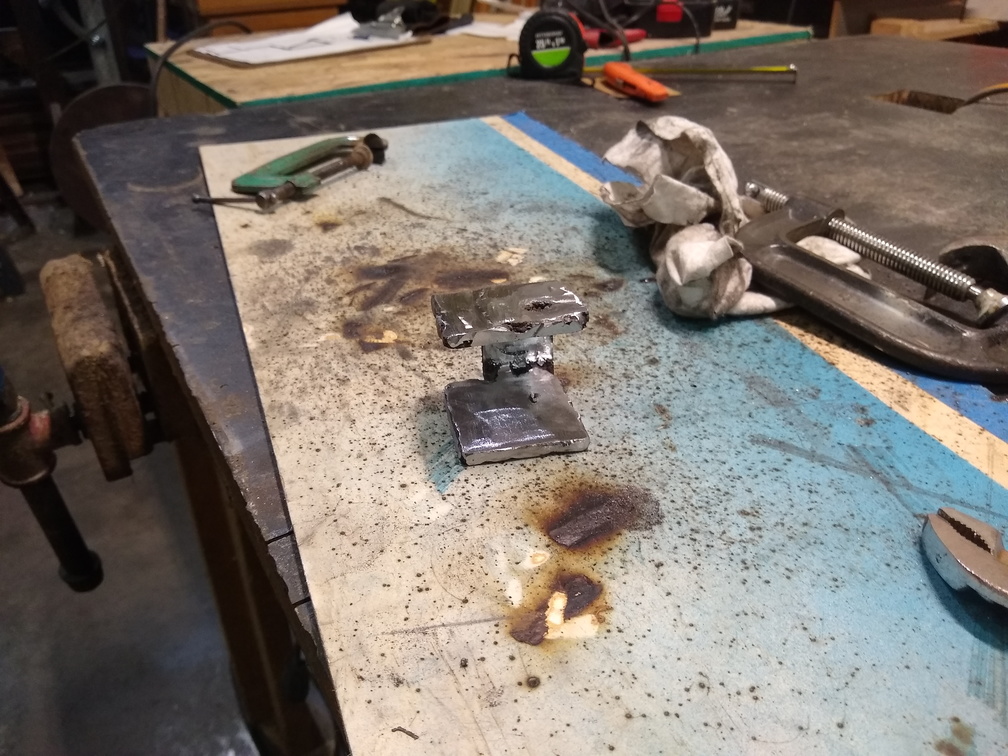
It took a couple hours, but using what I learned from re-shaping the engine-side bracket, I added some metal to the bracket to extend it farther towards the right side of the car. A little bit of hole-drilling and then I mocked it up to see what needed to change.
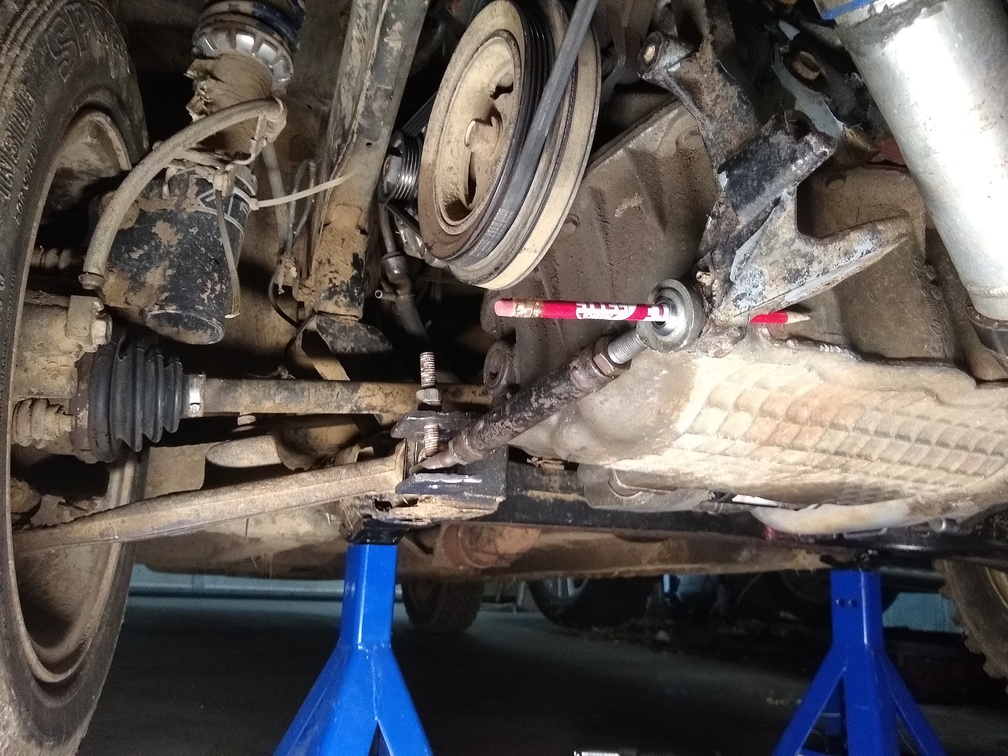
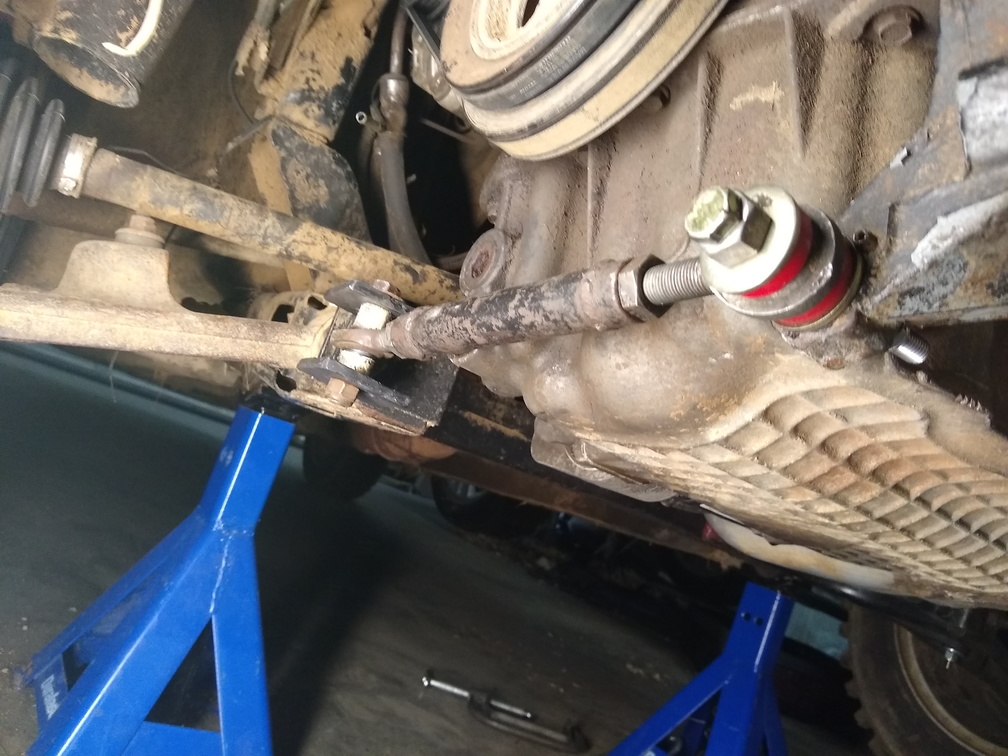
Turns out: Not much! The heim joint was originally held in with a bit of all-thread and some nuts as spacers. That was a PITA to remove, so I looked for something else to use to space and center the heim joint. Instead of using the solid bobble mount, I went to the regular factory strut. So laying on the floor of the garage under the car were two bits of pipe nipple that had been cut down to use as spacers for the identically-sized heim joint that was the lower end of the solid bobble. The needed to be cut down a little bit more, but with that done I had my spacers. It took a little bit of persuading (hammer time!) to get everything to line up just right, but now the torque strut is bolted up a little bit closer to the engine and it doesn’t rub against the oil pan:
By the time I had all that done, it was almost 1am and I was wiped out. So I went ahead and left the rest of the work for later. Here’s my list:
- Top off coolant – I lost a bunch when the motor mounts let loose last time and separated the hoses
- Secure power steering lines – they’re very close to the alternator pulley
- Correct camber on left-front
- Tighten strut body on left-front
- Put on street tires
- Do some testing
- Extra credit: Reconnect the digital coolant temp gauge sender. That will require some work since the wires are broken off right at the epoxy