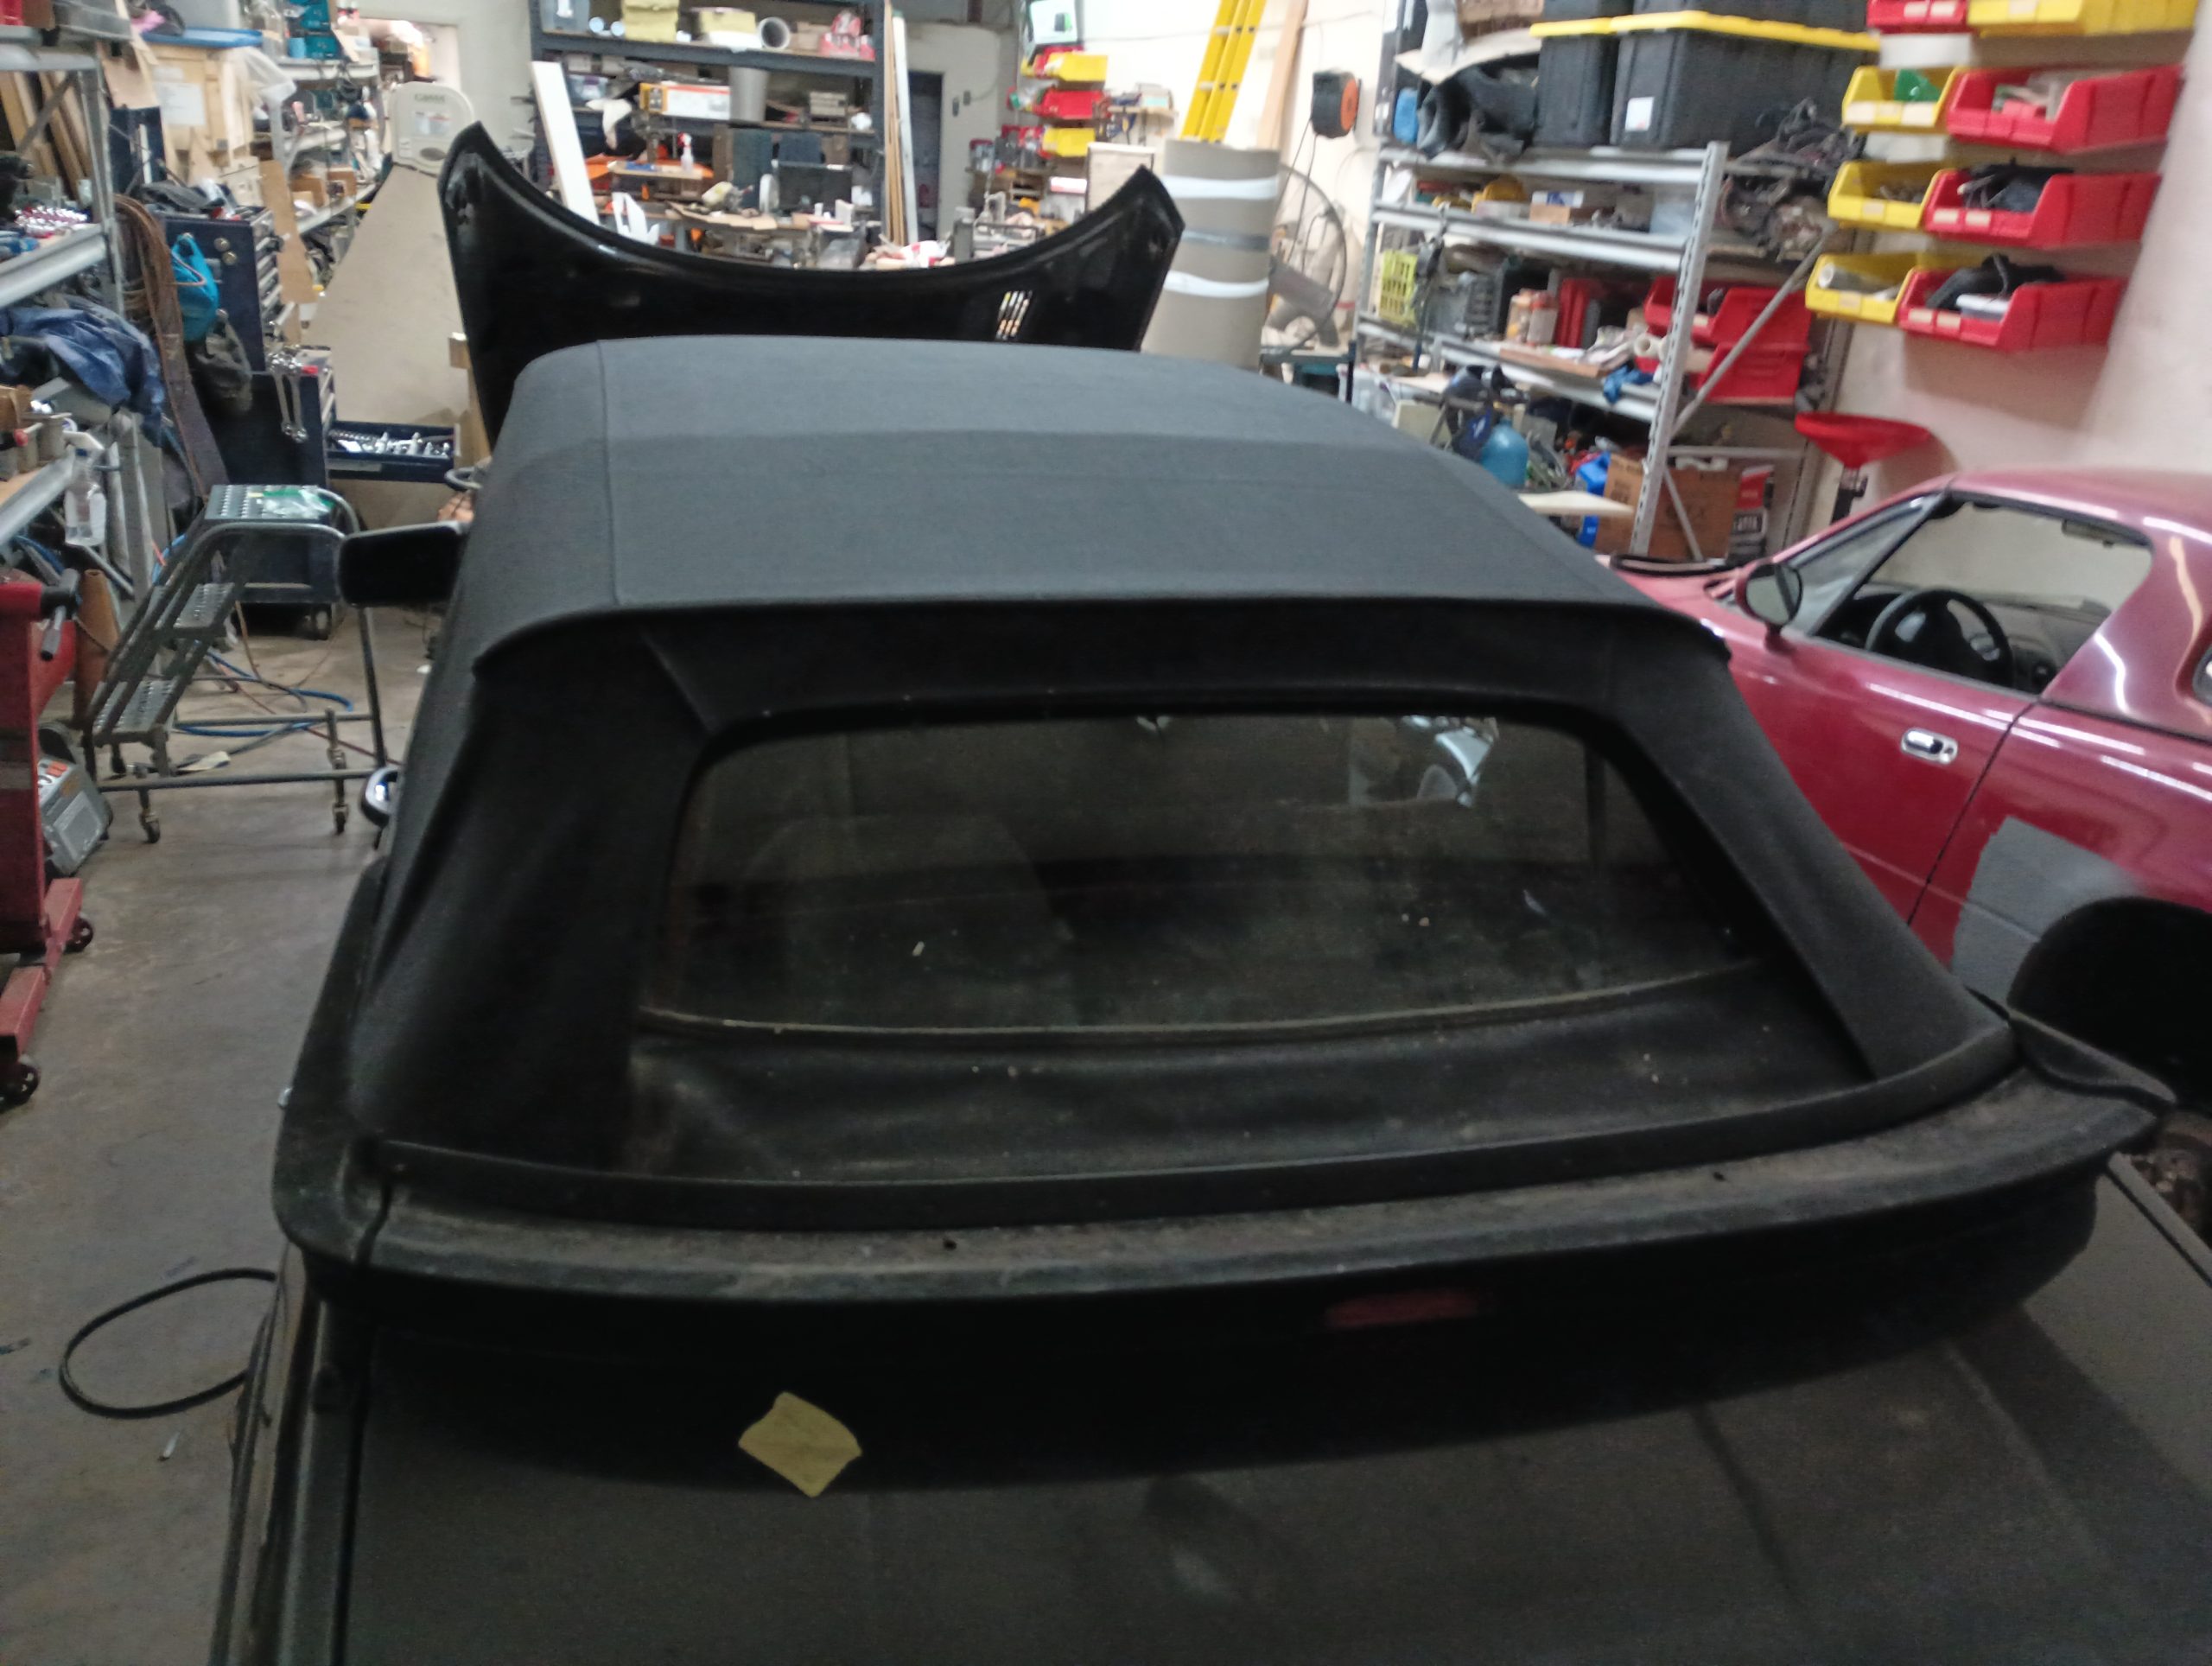
With the car finally doing the running, driving, and stopping bits that are required of it, it was finally time to make it weathertight again. There were a number of holes in the roof fabric that allowed the headliner to get exceptionally moldy and mildew-y and having to constantly throw a tarp over it was getting old and looking pretty janky.

Replacing the top presented me with two major issues: First of all, the car was only $750, so spending more than that on a top for it seemed crazy. Secondly, I’m exceptionally cheap.
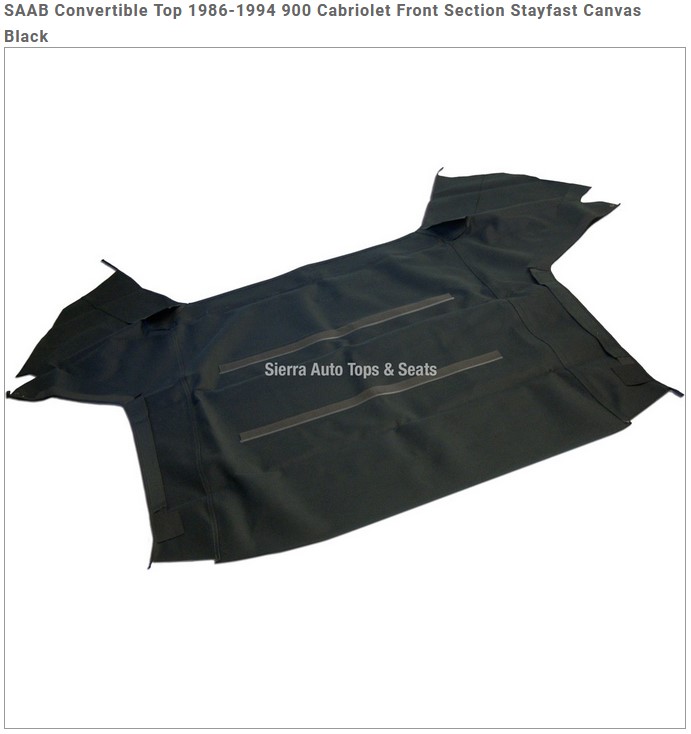
Saab used a three-piece top arrangement: There’s the main top which is what was all torn up on this car, the rear window section, and the headliner. Rather than buy all three parts, I decided that the headliner could be cleaned and the rear window section was solid. For $329.00 from Auto Tops Direct, I had a new black Stayfast Canvas front section shipped to my door.
The top didn’t come with any instructions, but I did find some available from another website dedicated to Saabs. Those instructions weren’t perfect and they didn’t include any pictures, but they were good enough to help me.
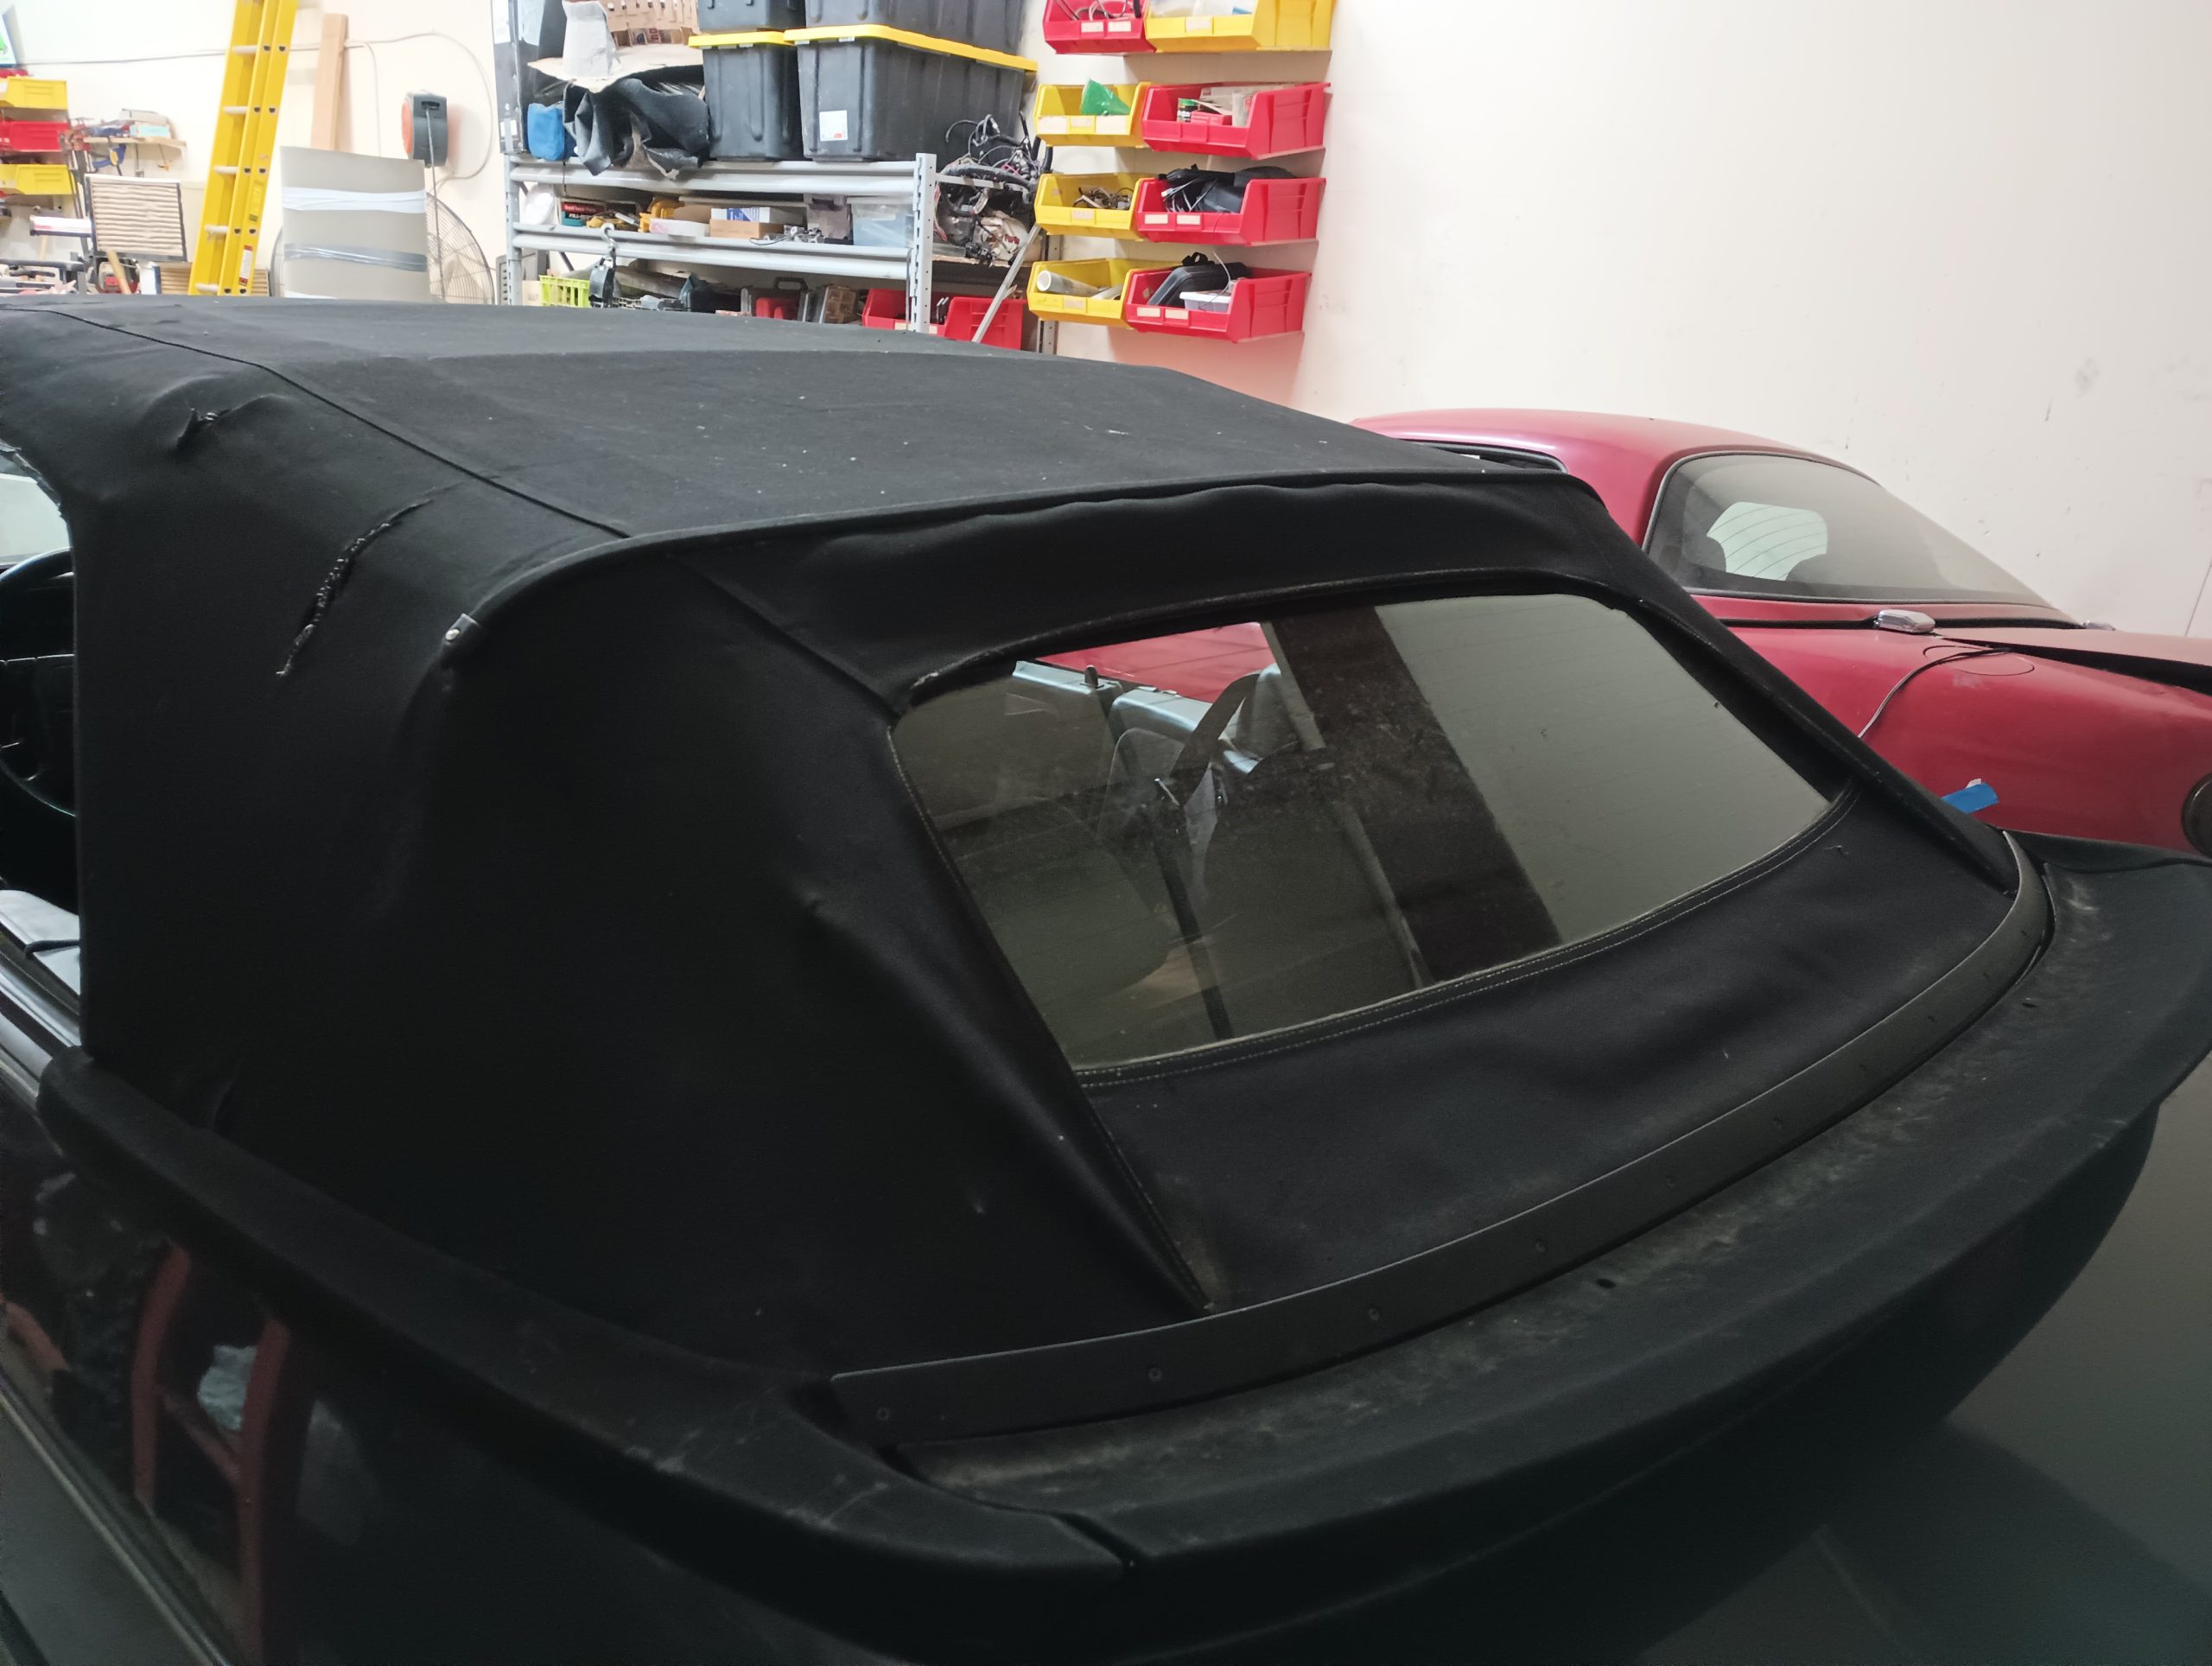
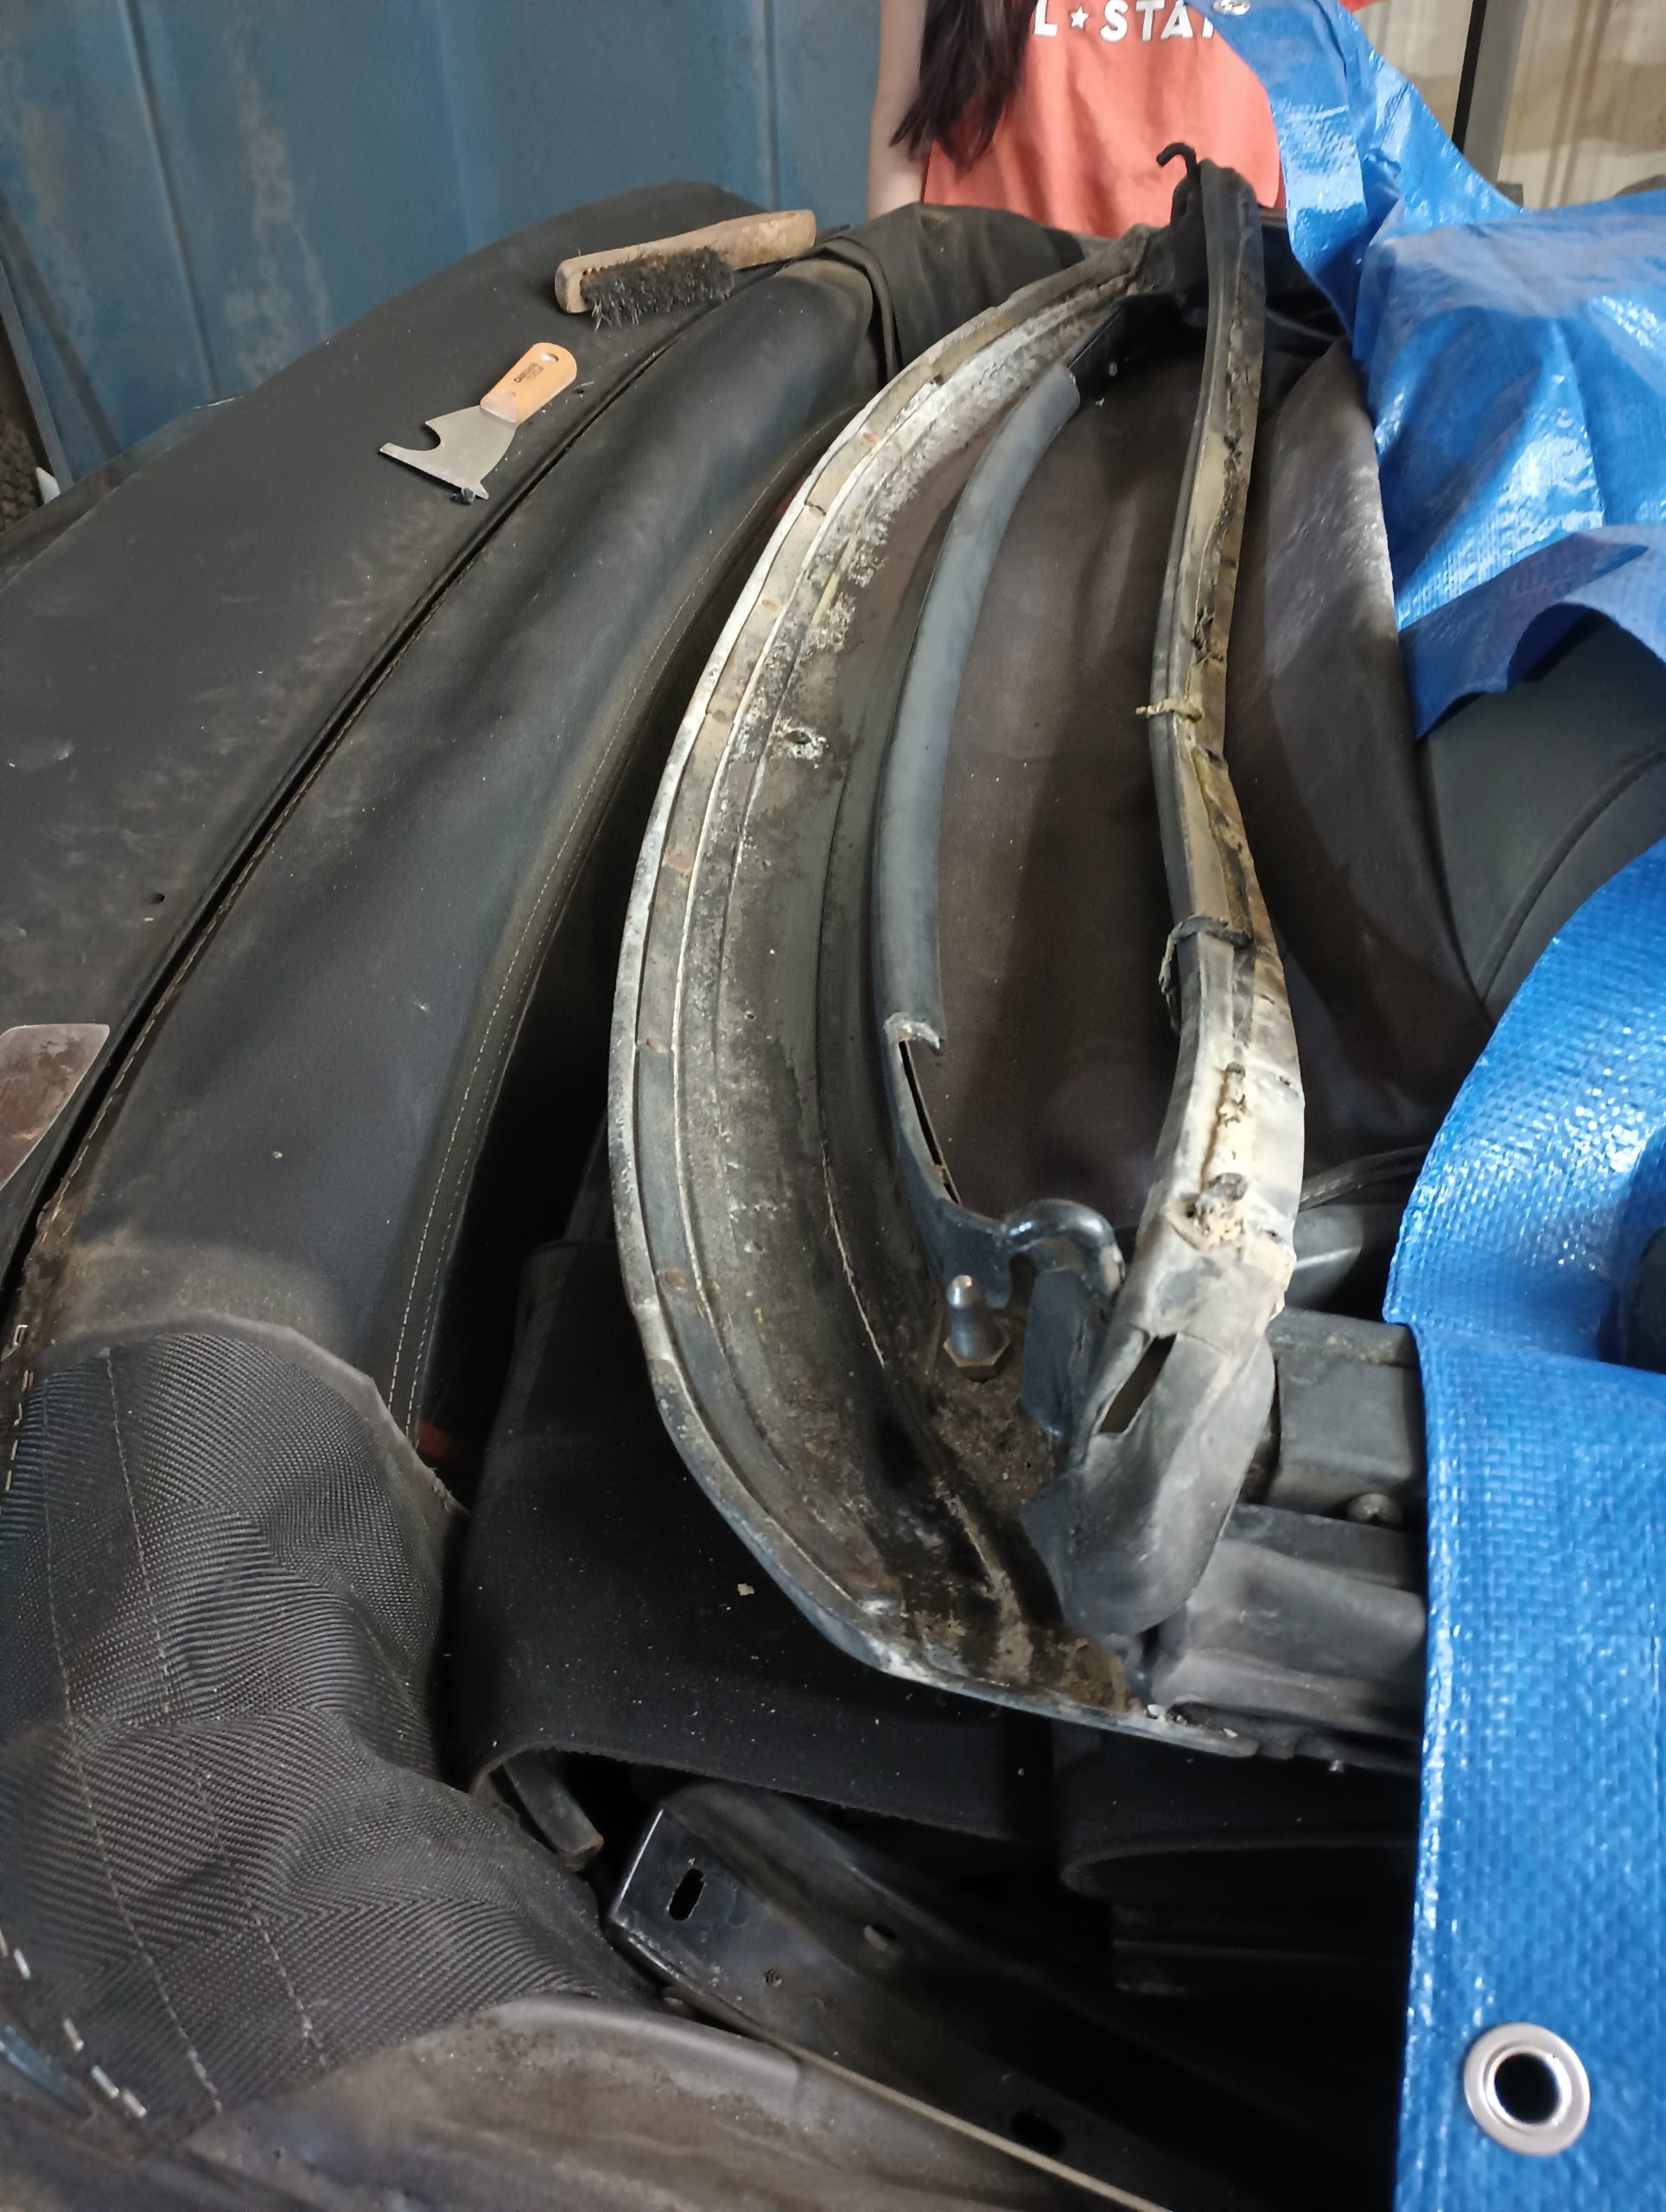
The old top came off without too much drama, revealing the rear section and the headliner. The rear section was as good as I thought it was and the headliner was as bad!
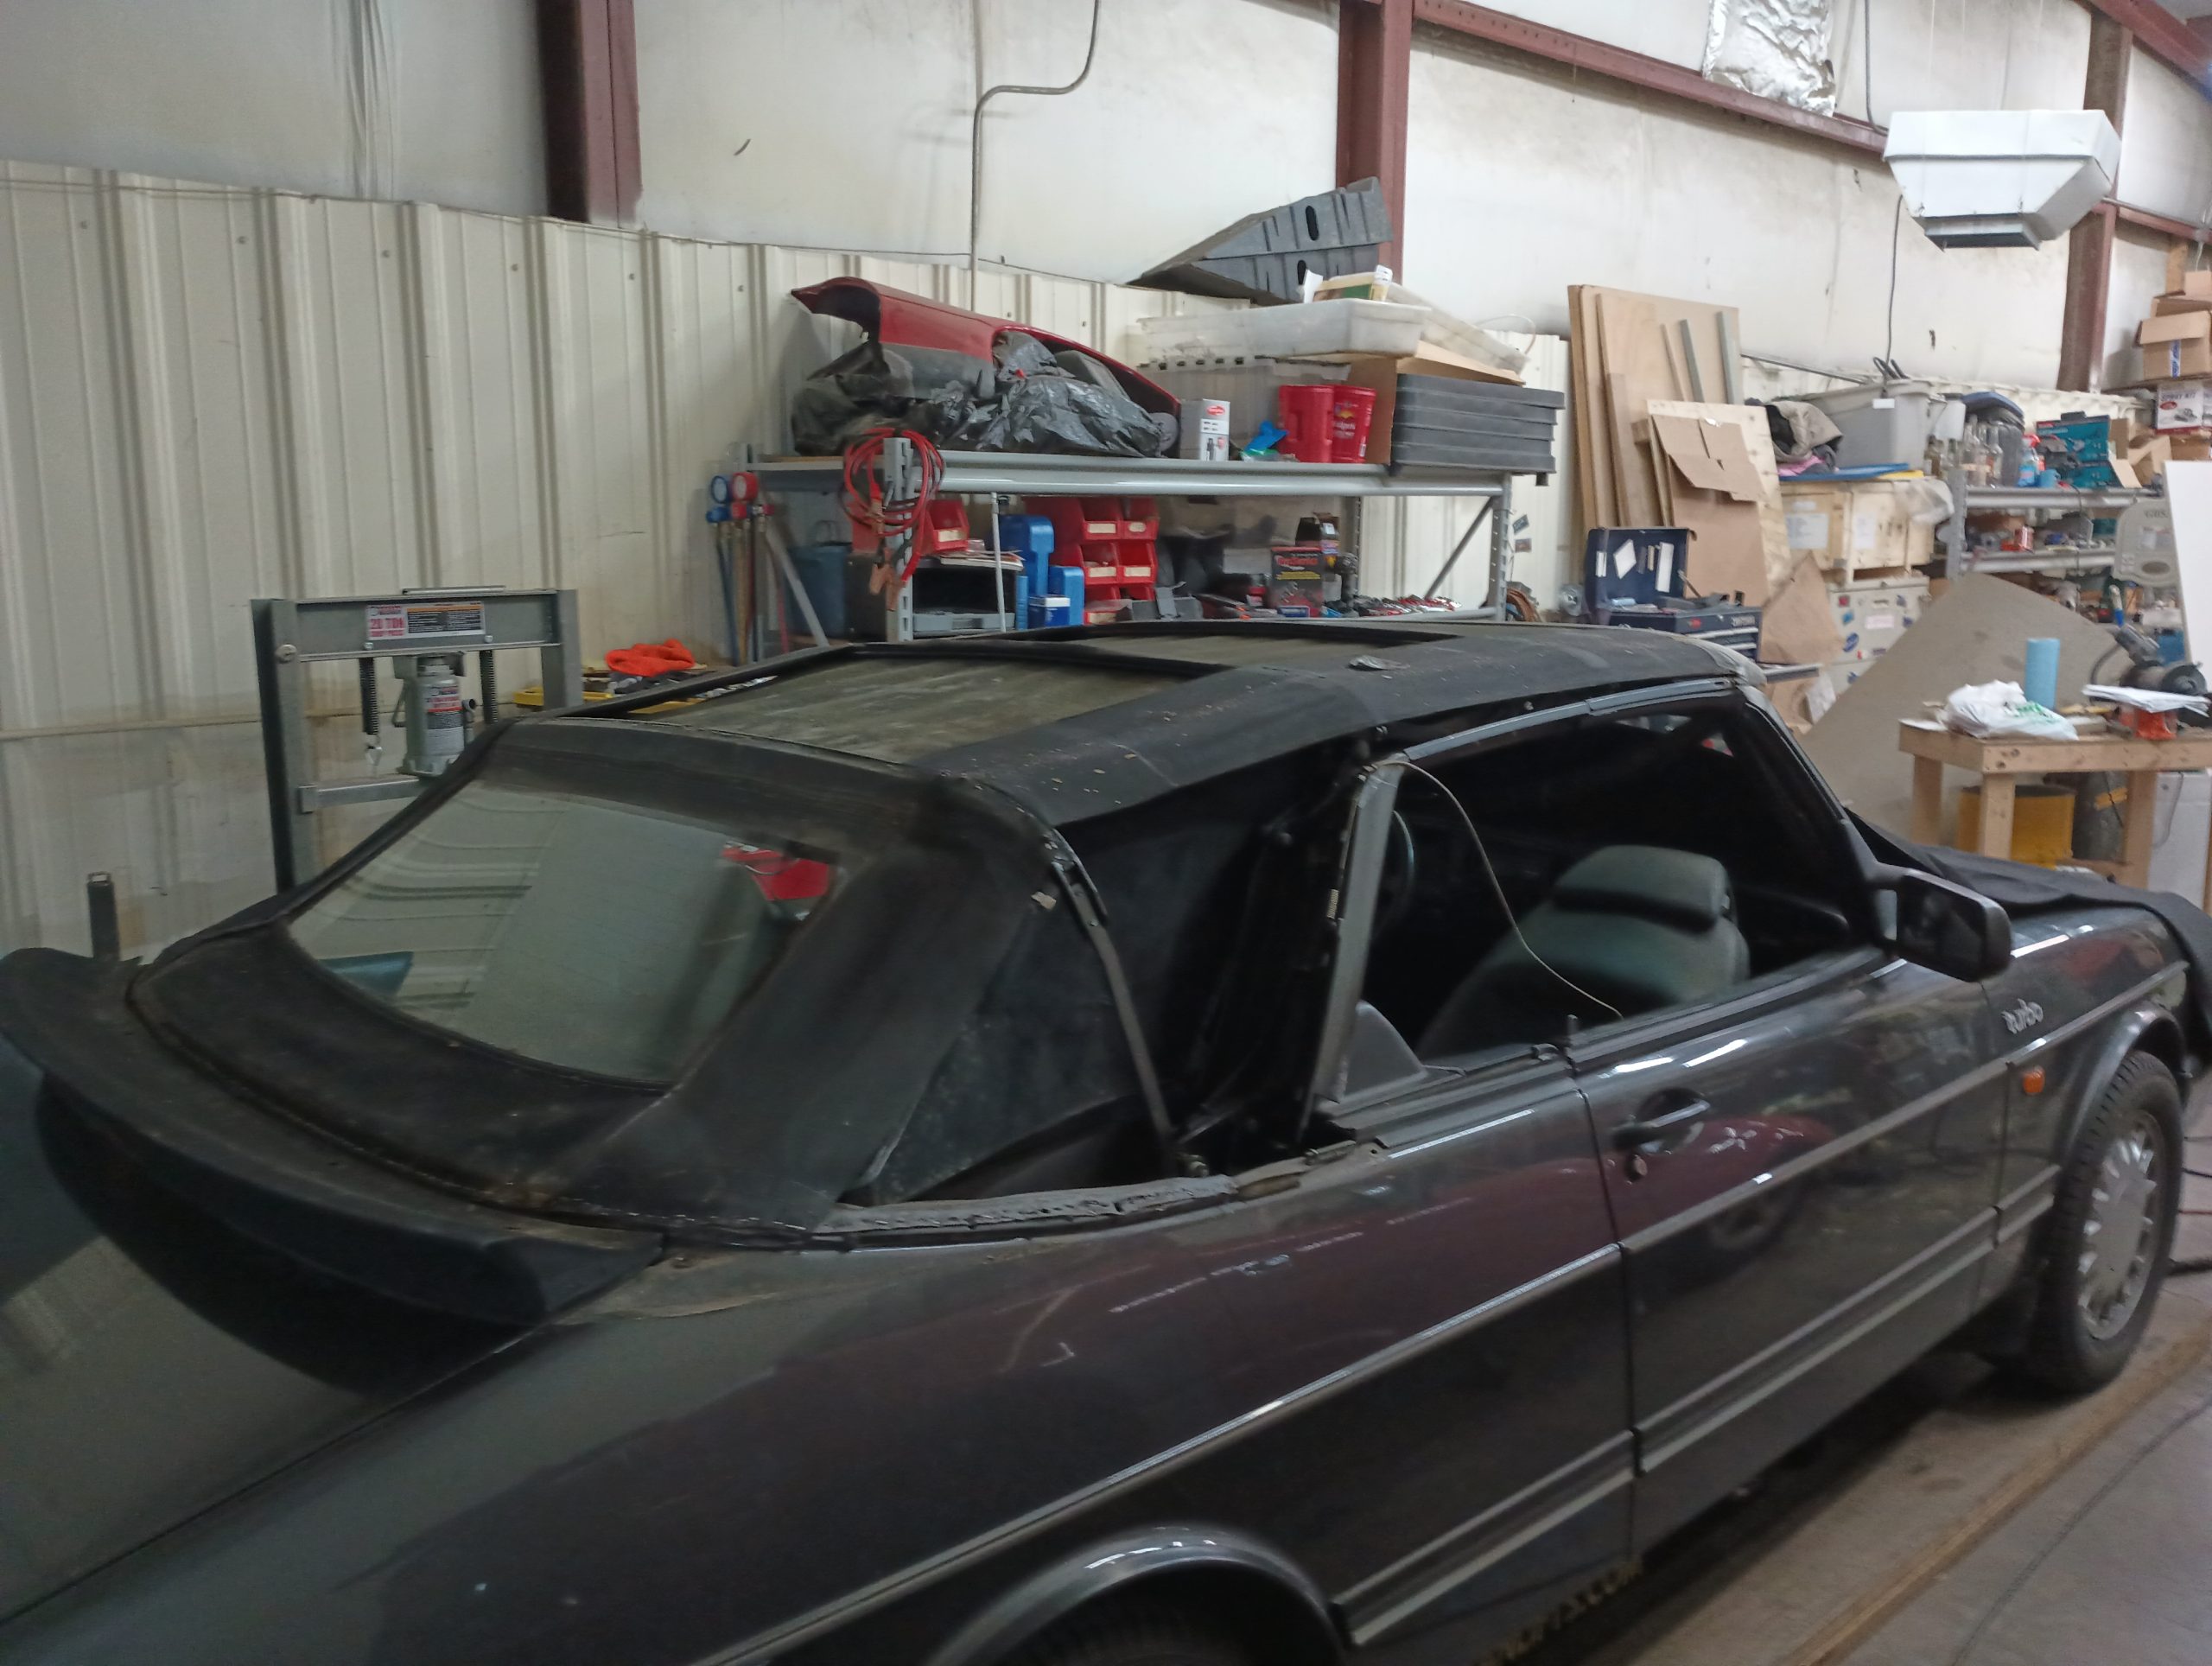
The only real surprise was the condition of the front bow. The aluminum had a lot of corrosion and the tack strip to which the top is supposed to be stapled was disintegrating. Fixing the corrosion was easy with some wire brushing and a little Rustoleum. The tack strip required some thinking.
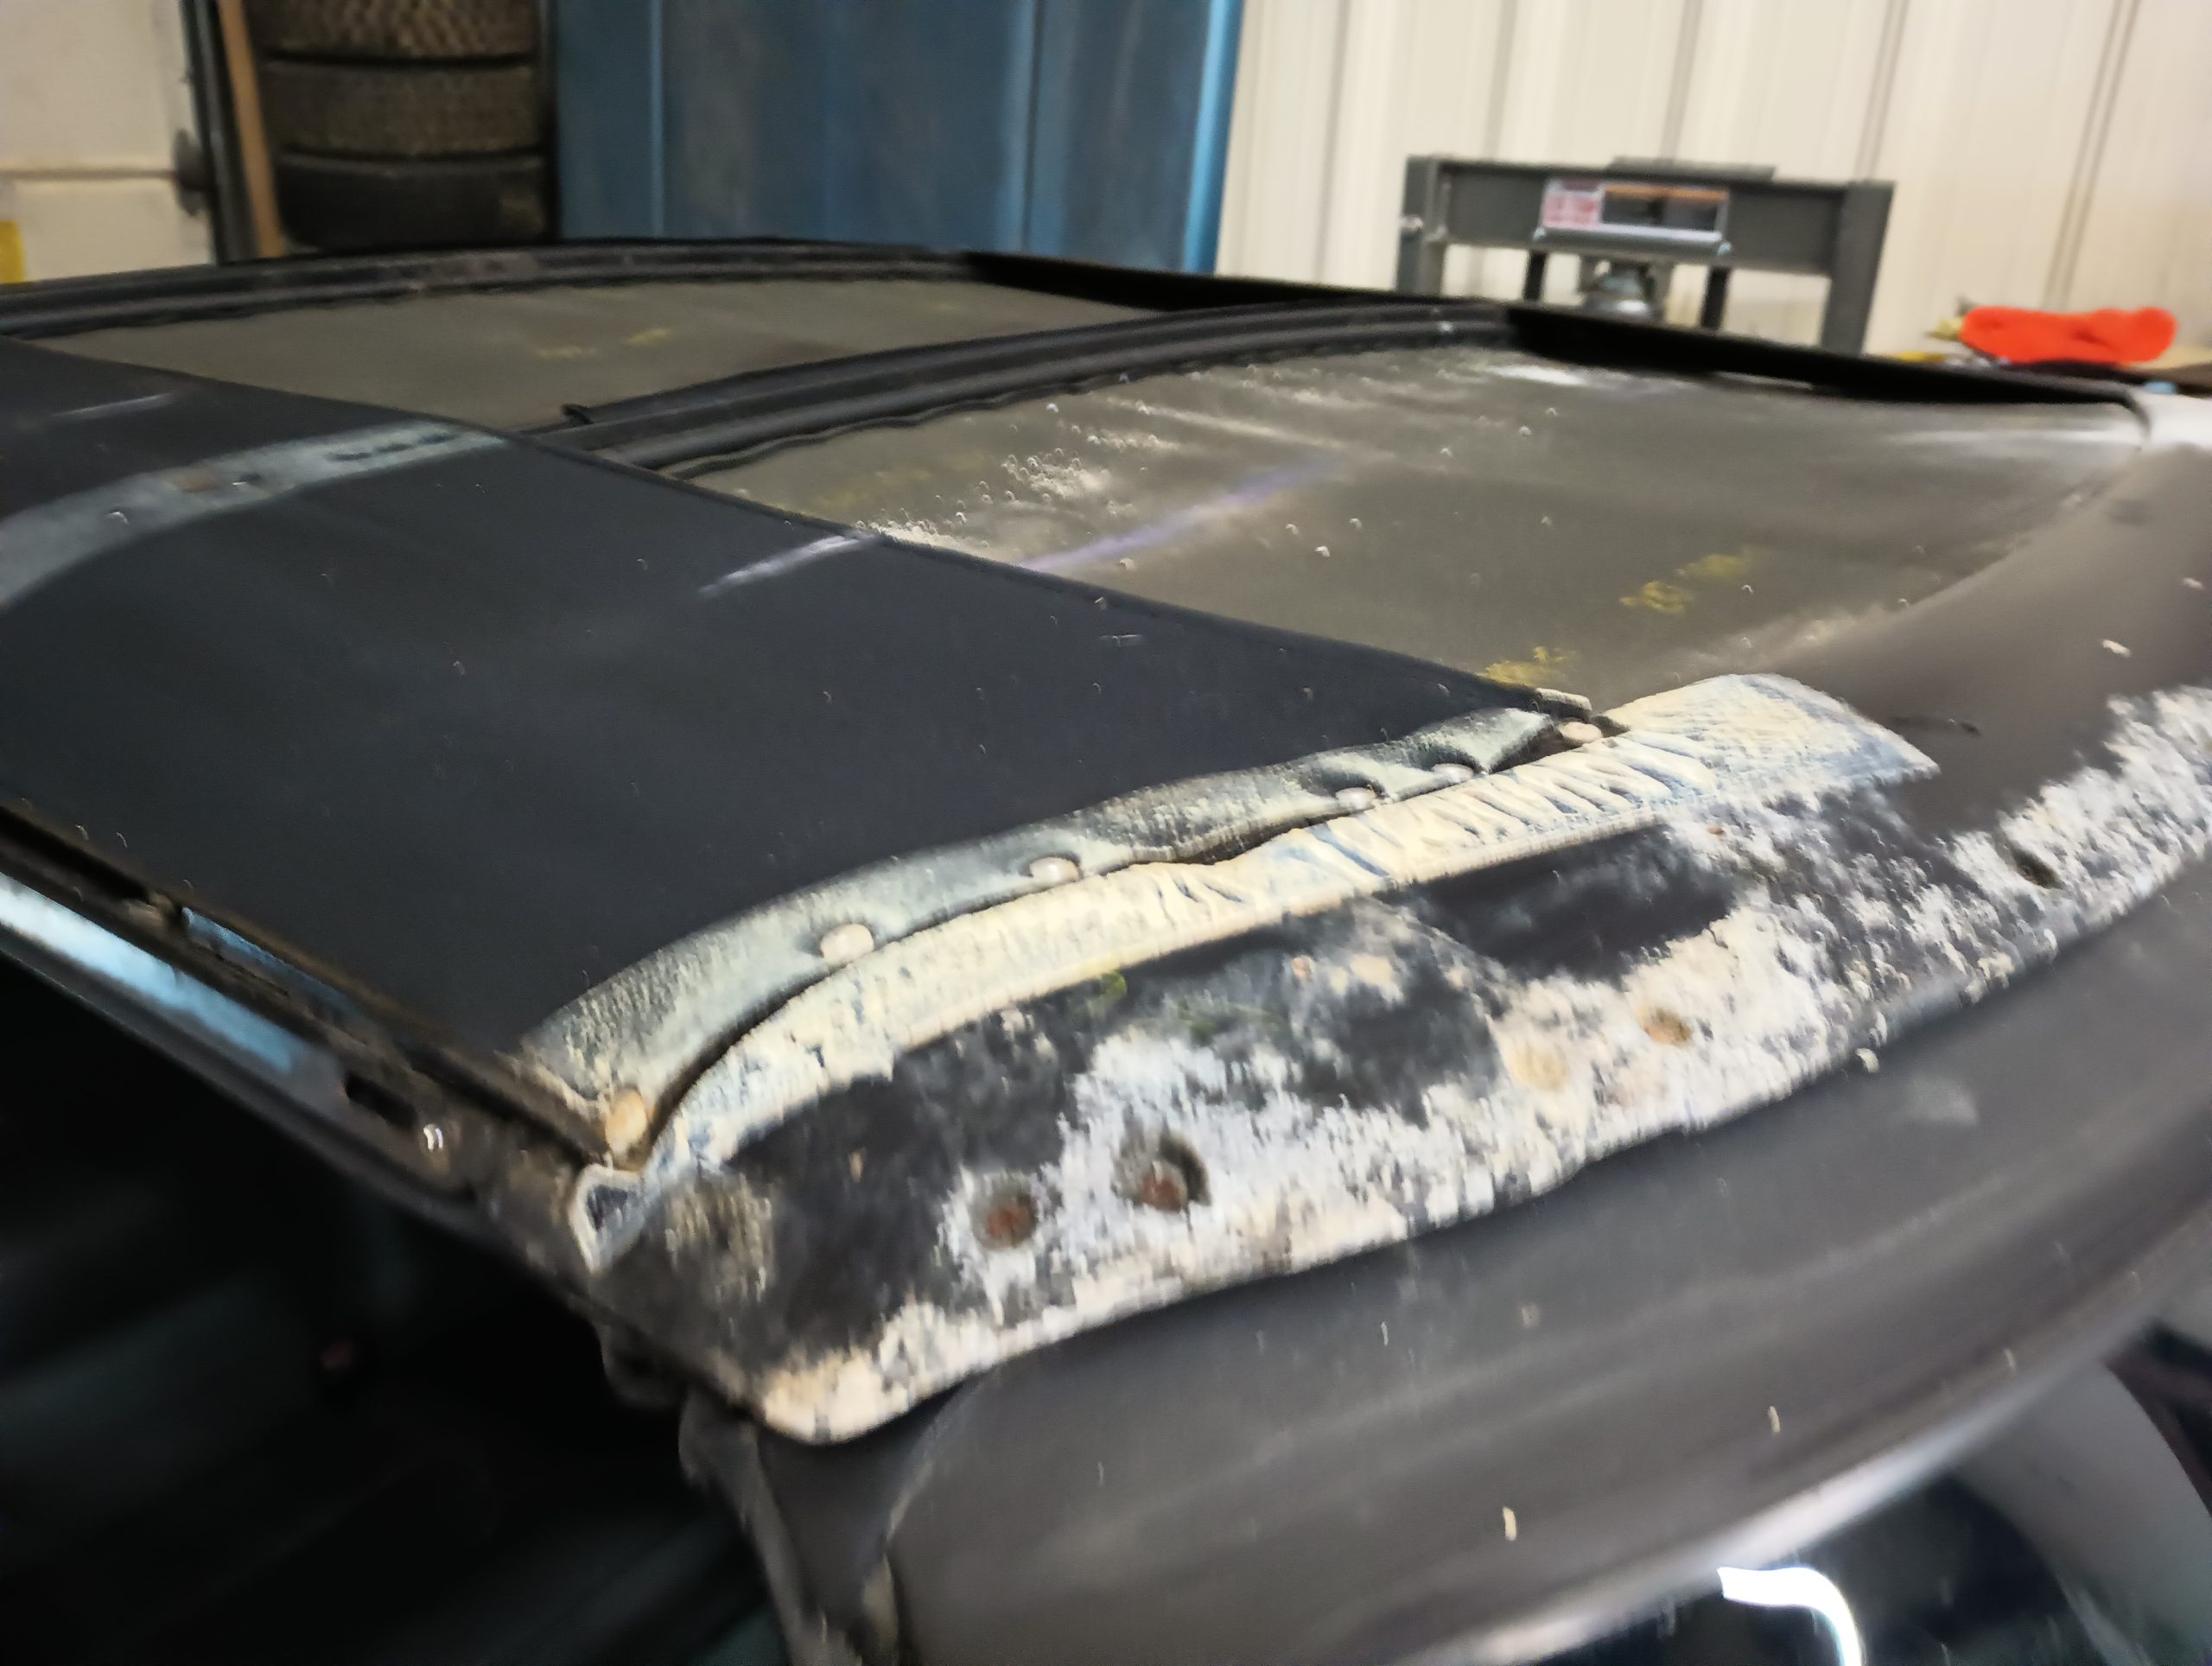
Since that tack strip didn’t exist anywhere that I could find, I set about trying to make a replacement. I thought I had a really good idea, but in actuality, I would not ever recommend that anyone do what I did. As an aside, that is a common theme in my life: I believe that I am an example to others. Of what to NOT do.
My solution was to replace that strip with PVC plastic sourced from a bit of PVC pipe pulled from the trash pile. I heated it up, split it down the middle, and flattened it out. I cut a section out, bent it to fit, and glued and riveted it into place.
That part was just absolutely fine. Basically, I recycled my cosplay prop building tricks and had myself a nice bit of plastic. The problem, though, was that I failed to answer the most basic question beforehand: Can I shoot a staple through PVC plastic?
The answer to that is “No. No, you cannot”.
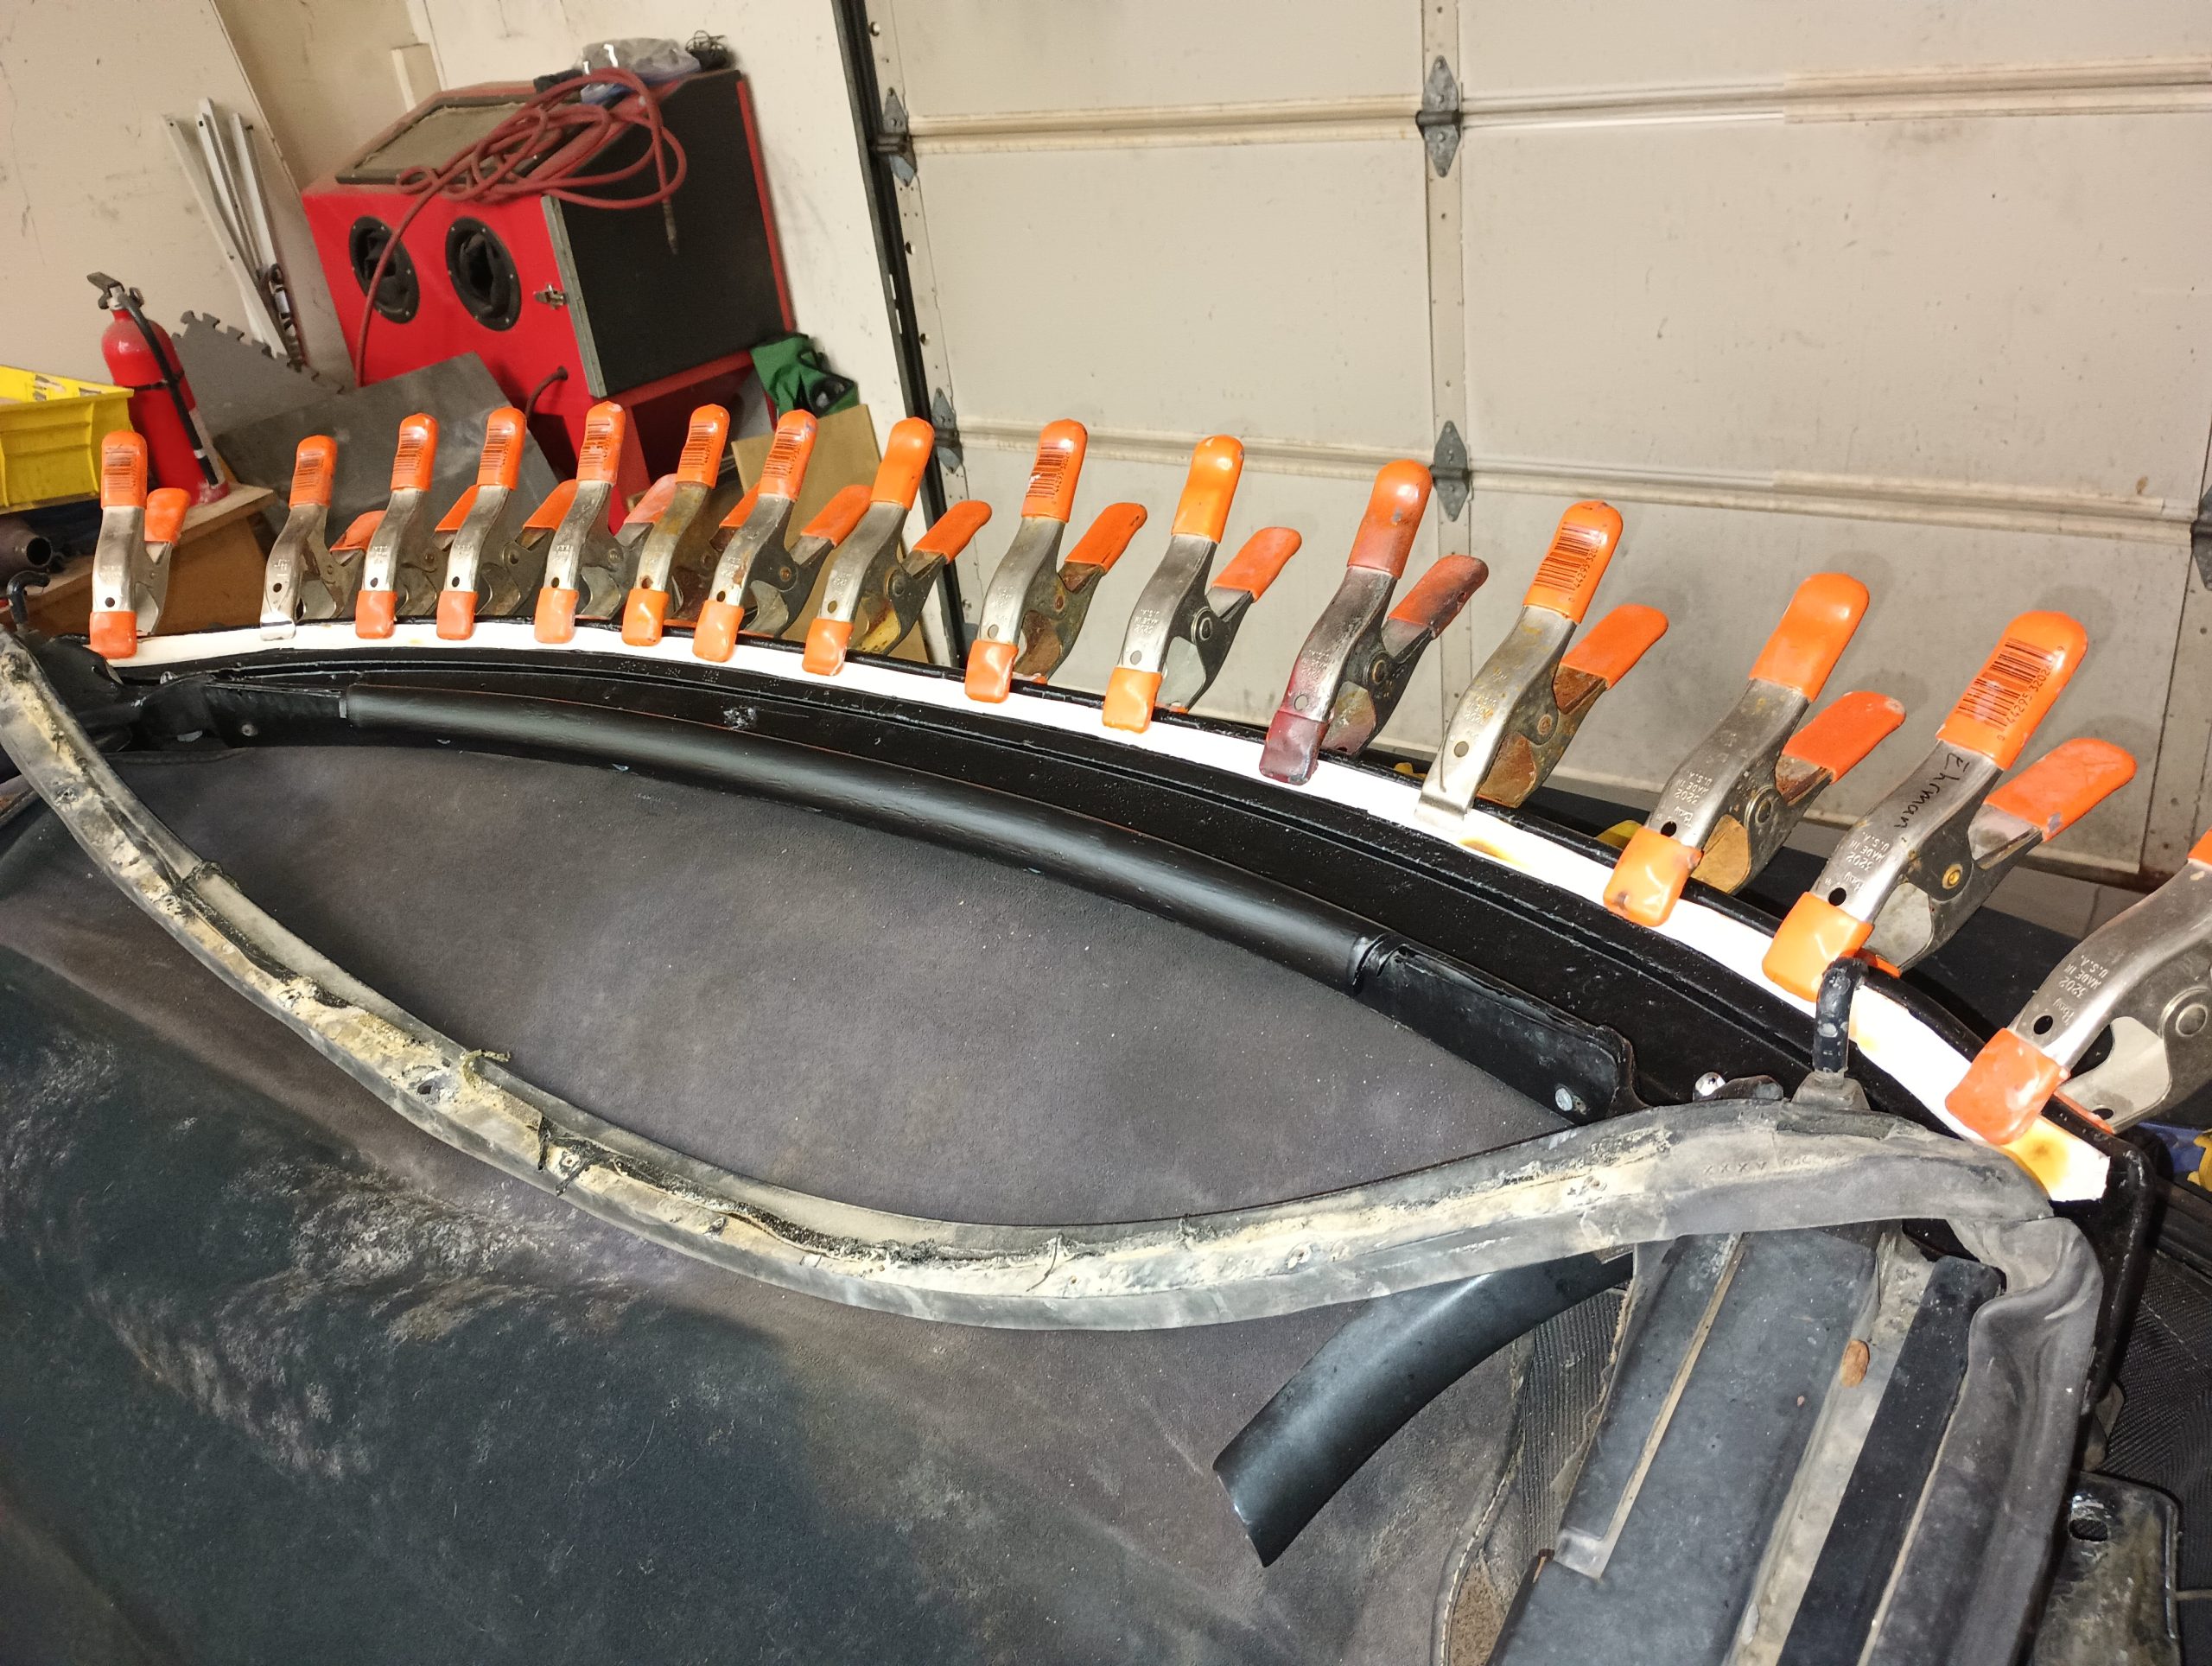
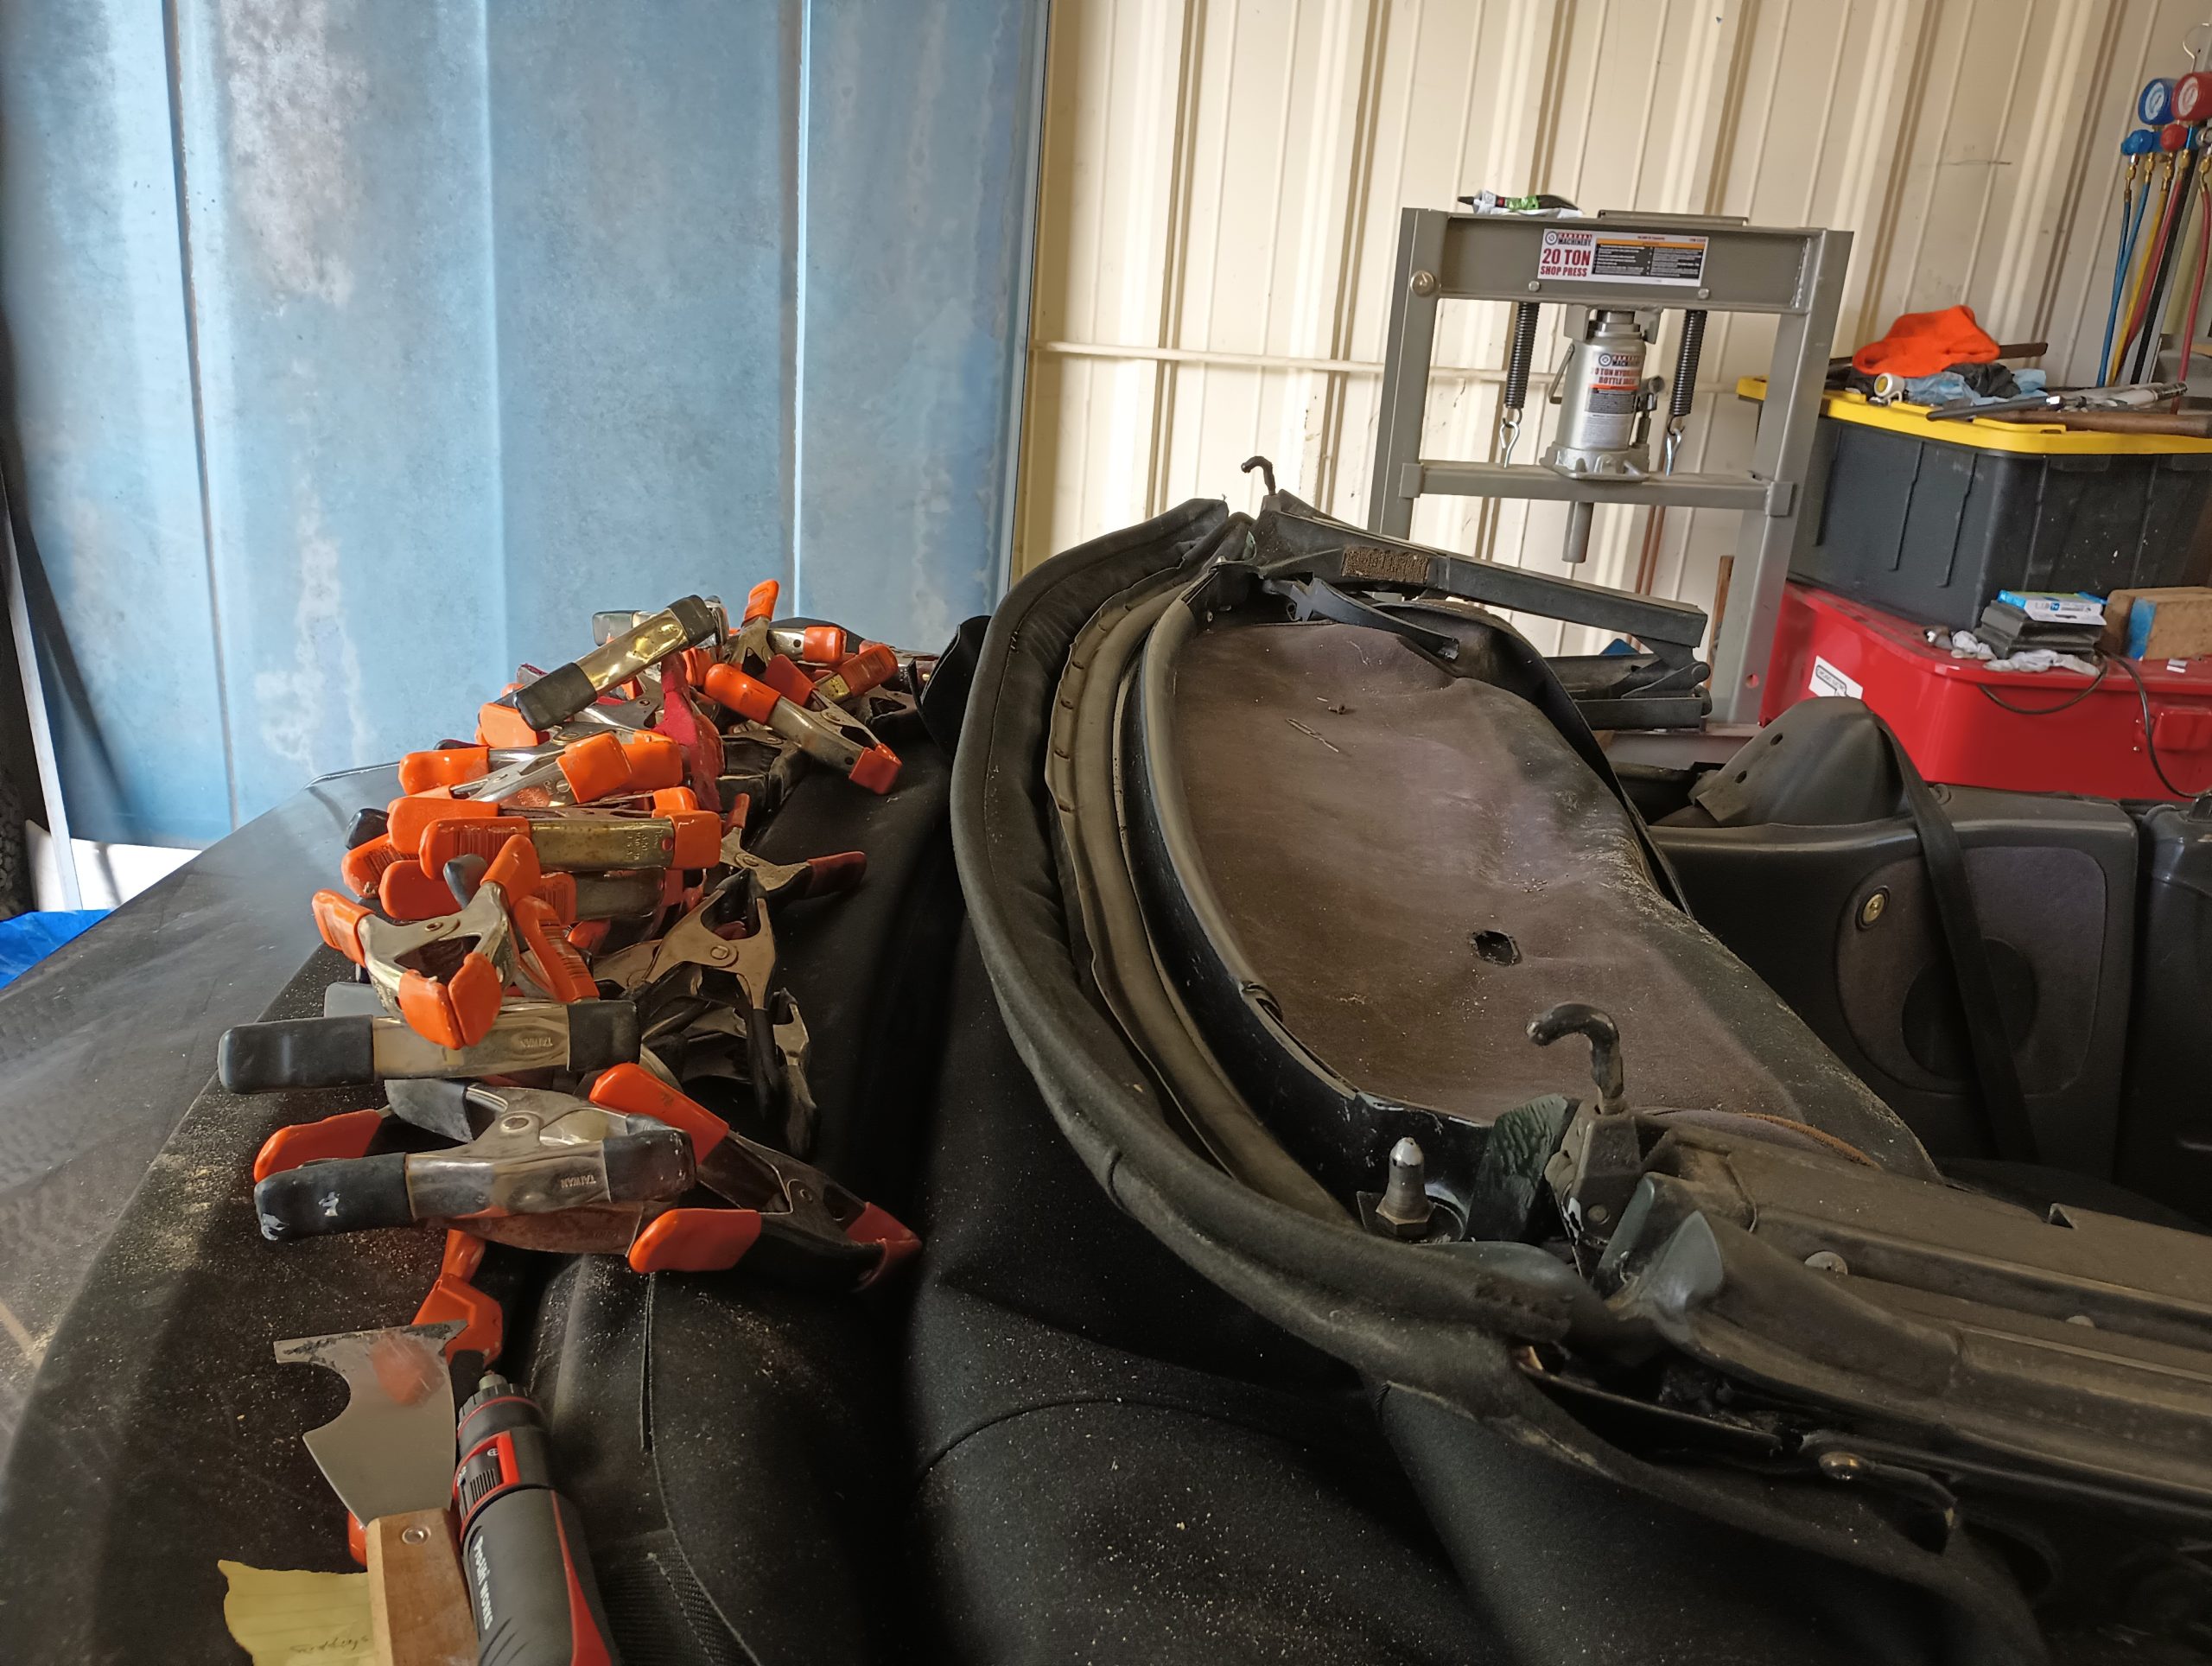
Since it was too late to change course, I had to experiment a little more to try to find a way to get the fabric to stick to the front bow. Fortunately the main ingredient in the front attachment methodology is 3M Weatherstrip Adhesive #8011. Much like in woodworking, the staples are there to hold things in place while the glue cures and to just give it a little extra attachment. After playing around with a leftover bit of the old top and a discarded hunk of PVC, I found that if I glued the top to the PVC, let it cure, then heated it up just enough to soften the plastic a little, I could sink a staple all the way in and everything would remain solidly attached. Putting that in to practice on the front bow, I was able to get the front section of the new top as well as the wind stop strip glued down and stapled.
As you look at the picture, you might notice something that I hadn’t mentioned before. The headliner was in good shape other than being a bit mildew-covered, right? So what’s that hole right there? Stupid. That hole is the physical manifestation of stupid.
Once the fabric is attached, the final step of preparing the front bow is to glue the rubber weatherstripping back down to the bow. In order to do that, the old adhesive must be stripped off the rubber. Heat is a very effective tool for getting that adhesive off the weatherstrip without damaging it, but one must be careful where one is pointing the heatgun lest one melt a giant freaking hole in the otherwise perfect headliner.
Other than that misstep, though, the process of putting the new top on was rather straightforward. The new material seems like it’s pretty thick and of good quality, but of course only time will tell. For now, this part of the project was wrapped up and I could move on to the next job.